Currently the use of multimedia elements is taking a great boom and it is ideal to have the necessary tools to share these between various devices in a secure and fully functional way. One of the applications developed for this purpose in Linux environments is Gerbera which is a UPnP media server through which it will be possible to transmit our digital media through the home network and play them on a wide range of UPnP compatible devices. Gerbera is based on MediaTomb and is designed as an open source UPnP MediaServer (GPL)..
Gerbera implements the UPnP MediaServer V 1.0 specification which is found on the website.
UPnP MediaServer
features
Among its characteristics we find:
- Allows you to navigate and play media through UPnP
- Extracting metadata from mp3, ogg, flac, jpeg, etc files
- Create automatic reexplorations of directories (timed, inotify)
- Web user interface with a tree view of the database and the file system, with which we can add, delete, edit or explore the media
- Highly flexible media format transcoding through add-ons and scripts
- User-defined server design which is based on extracted metadata (virtual containers with script)
- Supports the last FM scrobbing using lastfmlib
- Support for ContentDirectoryService container updates
- Generation of real-time video thumbnails with libffmpegthumbnailer
- Support for external URLs
- Flexible configuration with which it is possible to control the behavior of several server features
- Available for Linux, FreeBSD, NetBSD, macOS and eCS
- It can be executed in x86, Alpha, ARM, MIPS, Sparc, PowerPC
Now let's see how to install Gerbera on Linux in a practical way..
1. How to install Gerbera on Linux
Step 1
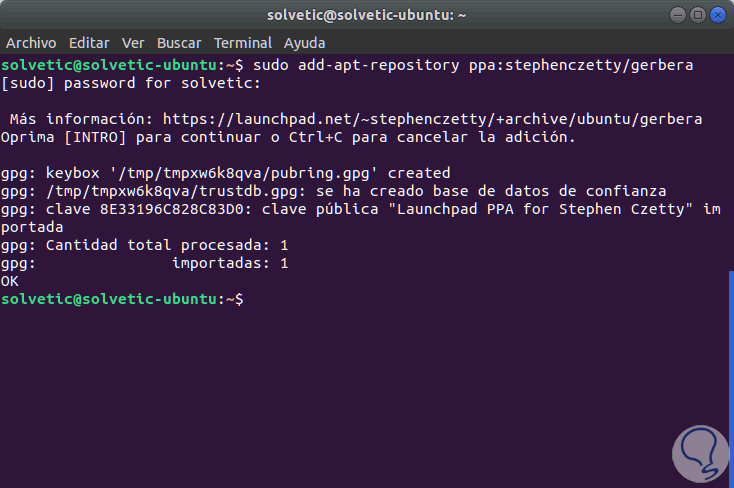
In the case of Ubuntu distributions, there is a PPA created and maintained by Stephen Czetty, from which it will be possible to install Gerbera by running the following commands:
sudo add-apt-repository ppa: stephenczetty / gerbera
Step 2
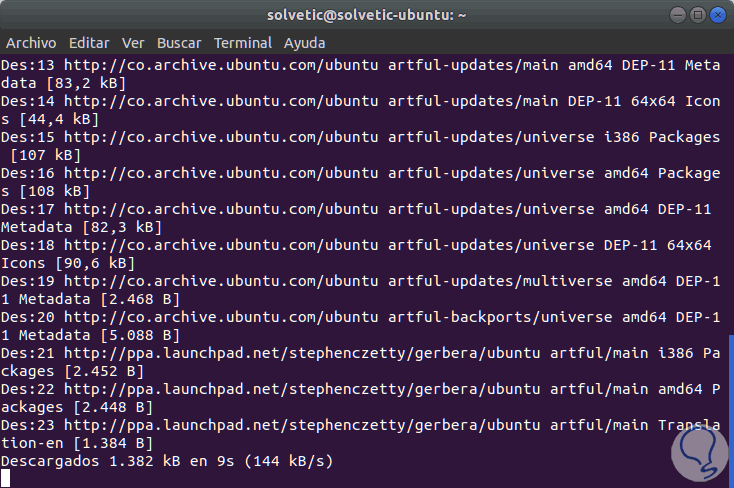
Then we will update the PPA using:
sudo apt update
Step 3
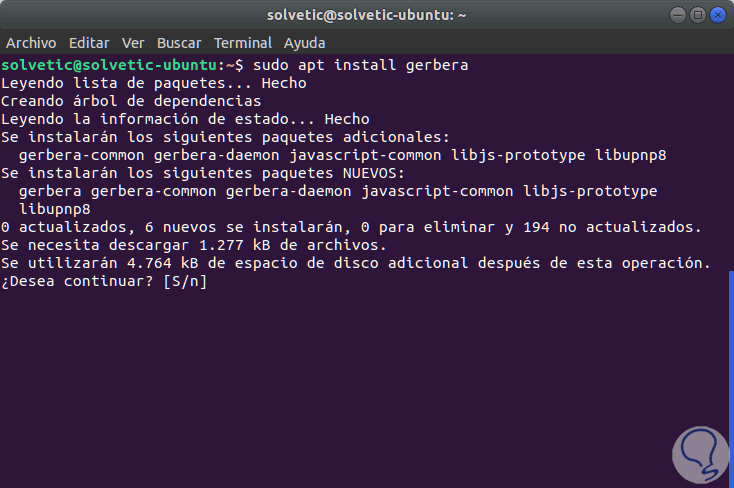
Finally, we install Gerbera using the following command:
sudo apt install gerbera
Step 4
There we enter the letter S to confirm the download and installation of Gerbera. In the Debian distributions, Gerbera is available in the test repositories and they are unstable, for this we must enable the PPA by adding the following lines
to the file /etc/apt/sources.list: sudo nano /etc/apt/sources.list
There we add the following:
# Testing repository - main, contrib and non-free branches deb http://http.us.debian.org/debian testing main non-free contrib deb-src http://http.us.debian.org/debian testing main non-free contrib # Testing security updates repository deb http://security.debian.org/ testing / updates main contrib non-free deb-src http://security.debian.org/ testing / updates main contrib non-free # Unstable repo main, contrib and non-free branches, no security updates here deb http://http.us.debian.org/debian unstable main non-free contrib deb-src http://http.us.debian.org/debian unstable main non-free contrib
Once this is done we will execute the following:
apt update (system update) apt install gerbera (Gerbera Installation)
2. How to manage Gerbera services on Linux
Step 1
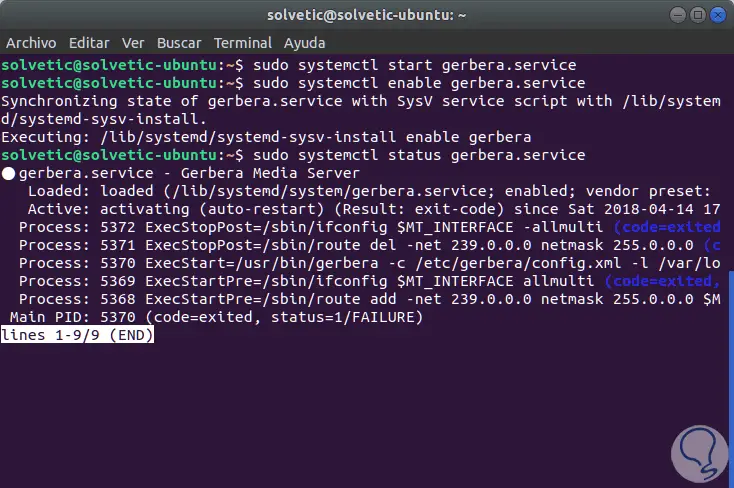
Once Gerbera is installed we will execute the following lines:
sudo systemctl start gerbera.service (Service Start) sudo systemctl enable gerbera.service (Enabling the Gerbera service on Linux boot) sudo systemctl status gerbera.service (Service Status)
Step 2
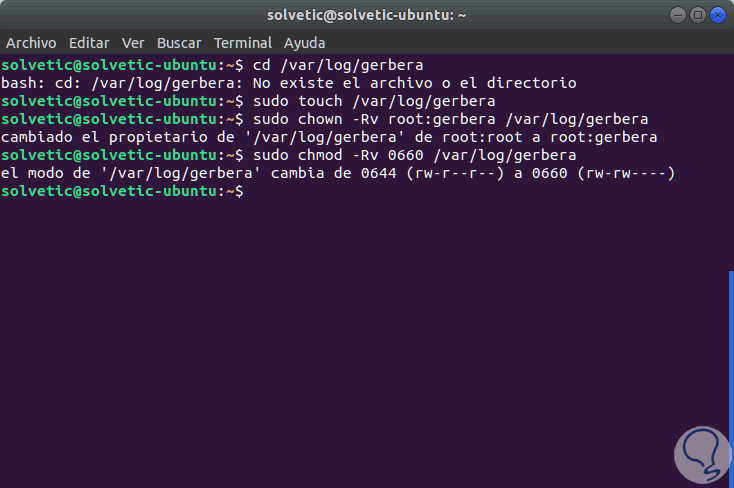
In case the start of the Gerbera service presents errors, we will verify that the / var / log / gerbera directory is created:
cd / var / log / gerbera
If it does not exist, we will execute the following:
sudo touch / var / log / gerbera sudo chown -Rv root: gerbera / var / log / gerbera sudo chmod -Rv 0660 / var / log / gerbera
Step 3
The next step is to define a network interface that is currently in use which will act as the value of the MT_INTERFACE environment variable, the default value is "eth0", but in case of using a wireless connection, we must configure it as "wlp1s0". In Debian / Ubuntu, these options can be set in the file
/ etc / default / gerbera: sudo nano / etc / default / gerbera
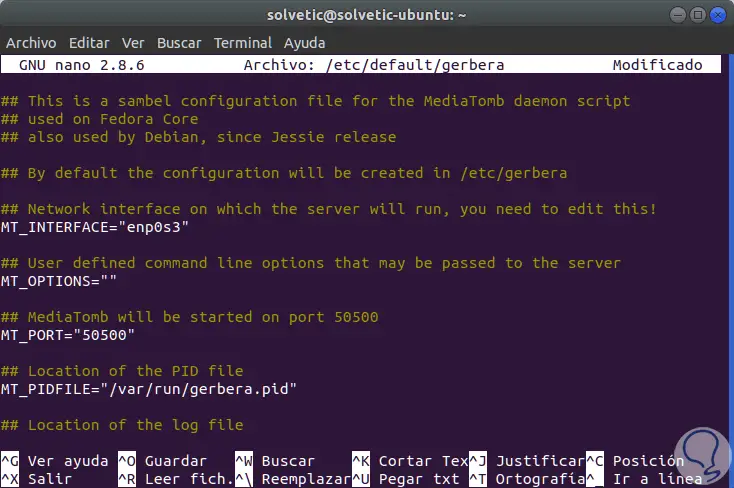
There we enter the correct interface and save the changes using the Ctrl + O keys and exit the editor using Ctrl + X.
3. How to access Gerbera on Linux
Step 1
Gerbera uses port 49152 for listening, so we will go to a browser and execute the following syntax:
http: // IP-address: 49152
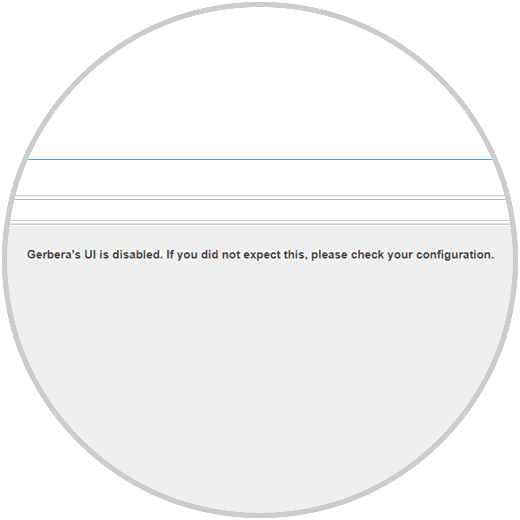
When executing this we will see the following:
Step 2
In case of receiving this error, we must enable the graphical interface and for this we execute the following:
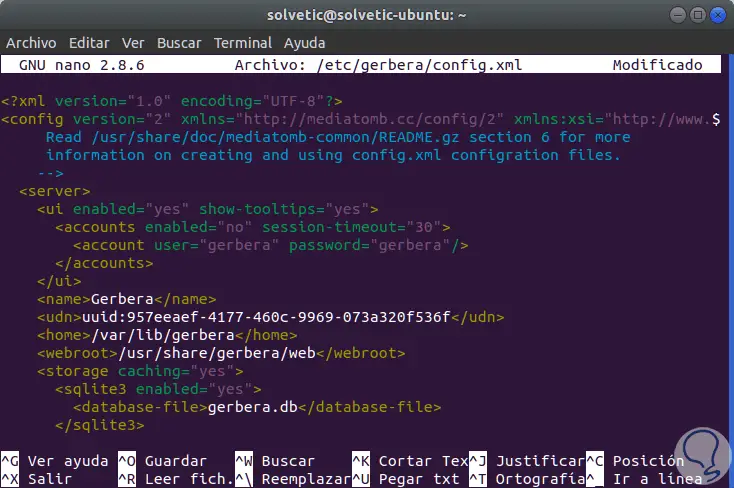
sudo nano /etc/gerbera/config.xml
Step 3
There we change the value of the line enabled = "no" to enabled = "yes". We save the changes and leave the editor.
Step 4
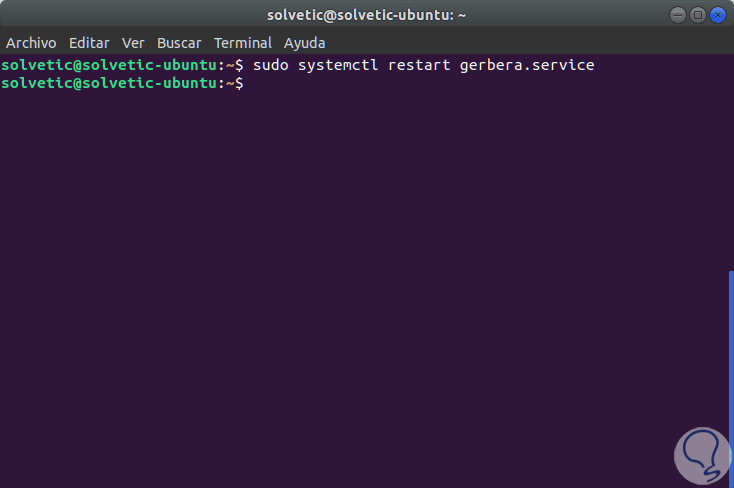
Now we must restart the service to apply the changes:
sudo systemctl restart gerbera.service
Step 5
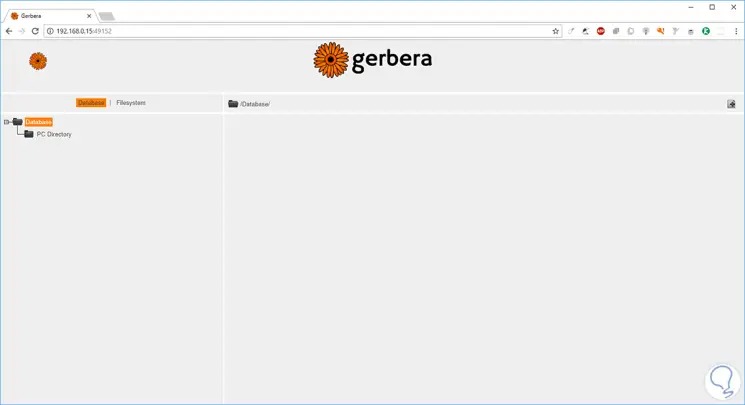
Now, if we access again we will see the following:
Step 6
There we find two sections that are:
Databases
Databases, which shows the files that can be accessed publicly.
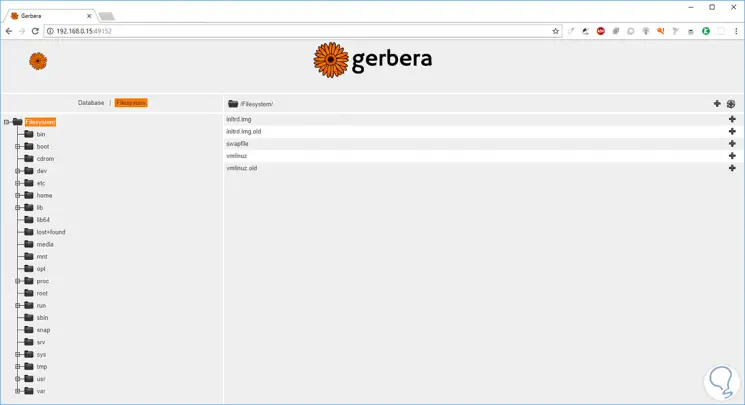
Filesystem
Filesystem, this option allows us to search for files in the system and select them for transmission. To add a file, we just have to click on the plus sign (+)
4. How to stream multimedia files using Gerbera on the home network
Now it is possible to stream multimedia files over the network from the Gerbera server. For its validation, we can use some other device as a client, in this case an Android mobile, there we will install a compatible upnp application, we have selected BubbleUpnp which can be downloaded in the following link:
BubbleUpnp
Step 1
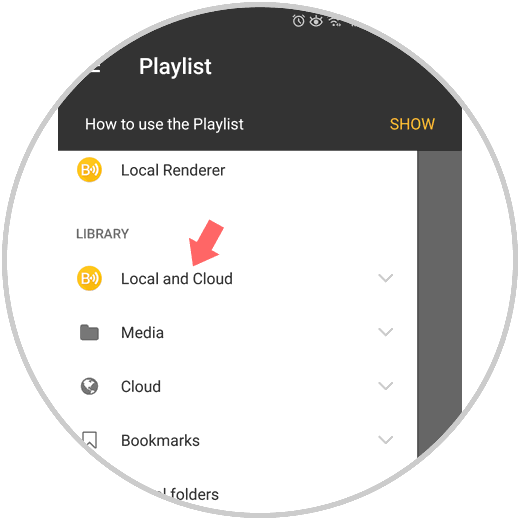
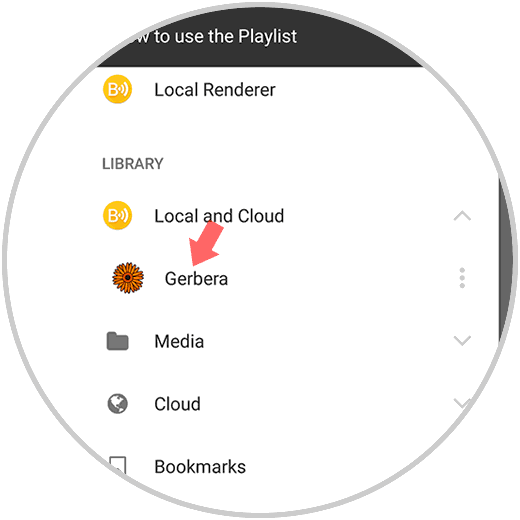
Once the BubbleUpnp application is installed, we will execute it and in the Library section click on Local and Cloud:
Step 2
By clicking there we can see the available servers where Gerbera is located:
Step 3
By clicking on Gerbera we can access the various libraries:
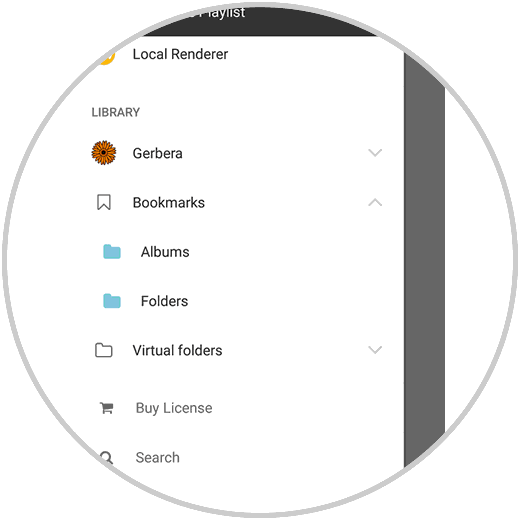
Now, from there it will be possible to start streaming multimedia content..
We have seen how Gerbera is a useful tool for the whole multimedia transmission issue in a home environment.