One of the common reasons why many users go to technical support is due to slow operation of the operating system, blocking it, no access to applications or programs, etc., and worst of all is when we validate the use of resources , such as disk or memory, and we verify that it is in high percentages when high consumption applications are not being used at the moment..
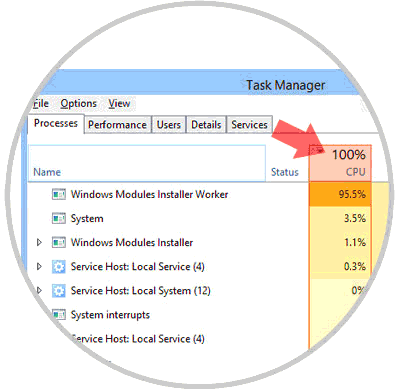
As we all know, Windows, regardless of its edition, makes use of multiple processes to allow each hardware and software component to be related to each other and there is a process called Tiworker.exe (Windows Modules Installer Worker) which can use many resources of our team negatively affecting its performance.
Now, we cannot disable this process lightly since it has a vital task for the operating system and it is that Windows Modules Installer Worker has the responsibility of performing the maintenance of the equipment , this is achieved by searching and installing the updates that are available without Import your type (security or cumulative). And normally the update process should not consume too many resources from the computer where the process is running..
According to Microsoft, the Tiworker.exe process allows the installation, modification and removal of Windows updates and optional components, guaranteeing optimum performance .
By default, Windows 10 makes use of Windows Update for the entire system update process and the Tiworker.exe process can work in the background carrying out this task which can affect the use of hardware resources ..
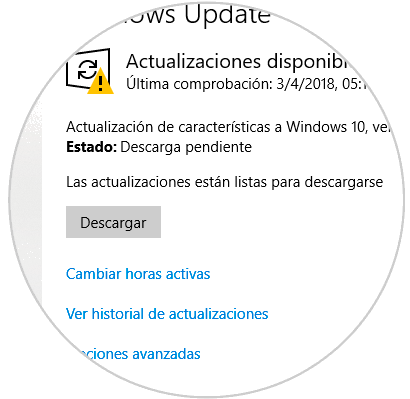
Microsoft is responsible for releasing new updates for Windows on a frequent basis and if we see any slowness in our computer it is possible that this process has downloaded new updates from Microsoft and is installing them, this process directly affects the performance of the machine since many updates are Large size.
In all this update process we should not be alarmed of this high CPU or disk consumption, since it is normal in the task of downloading and installing updates, but the reason why we should not worry is that when this process concludes with your objective, everything will return to normal and we will no longer see slowness or high resource consumption.
Now, the question arises that many Windows users is, can I disable this process? The answer is simple, No, this is because system updates are a fundamental pillar to preserve the security, compatibility and performance of both the system and of the applications hosted there.
There are several ways we can restrict Windows updates, we have alternatives such as:
- Postpone updates to a later date
- Using measured connections which restricts the download of updates by limiting the size of these, this applies when we use limited data.
Although this is developed by Microsoft itself, it is ideal to always keep the system updated to avoid any type of attack on the system.
This process is an integral part of the Windows operating system itself and so far there is no type of malware that is camouflaged as Windows Modules Installer Worker or TiWorker.exe with which we can be sure that it is not any type of virus or malware that is trying to affect our computer. The best solution to prevent this, without disabling it, we are going to analyze today through this tutorial.
1. Run the Troubleshooter in Windows 10
Windows 10 has an integrated tool called Troubleshooting which is responsible for fully analyzing various system parameters and thus solve normal problems or provide advice to help us correct them.
Step 1
To run the troubleshooter for Windows Update we will go to the “Start / Settings†path:

Step 2
There we click on the "Update and security" section and go to the "Troubleshoot" category and there we will locate the "Windows Update" line and at the moment of clicking on it the following options will be displayed:
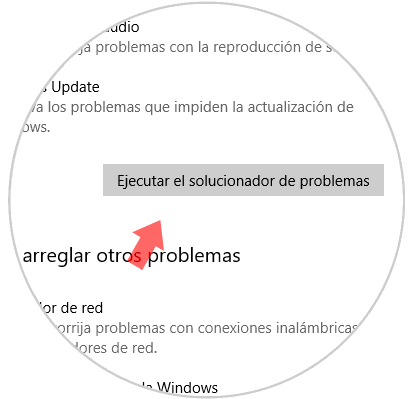
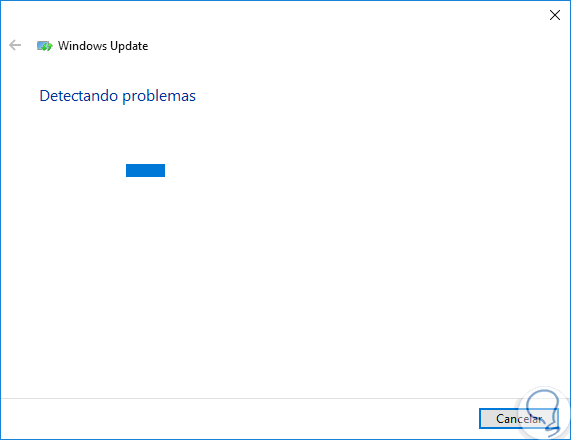
Step 3
Click on the "Run the troubleshooter" button and we can see that the analysis process begins. After the respective analysis is performed, possible solutions to correct this will be displayed.
2. Configure Windows Update in manual mode in Windows 10
Another of the options to use is to configure the Windows Update service in manual mode and in this way we will be the ones we define when the updates are to be installed.
Step 1
To configure it in this way, we will use the following key combination and execute the “services.msc†command:
+ R
services.msc

Step 2
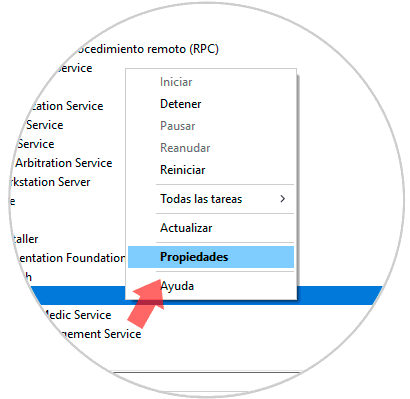
Press Enter or Accept and in the pop-up window we will locate the service called “Windows Updateâ€, we will right click on it and select the “Properties†option:
Step 3
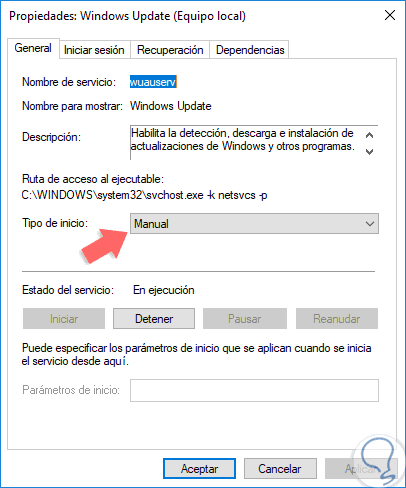
In the displayed window we select "Manual" in the "Startup type" field. Click on Apply and Accept to save the changes.
3. Stop downloading updates in Windows 10
Although it is not recommended for reasons of system security, we can stop the process of downloading updates in Windows 10.
Step 1
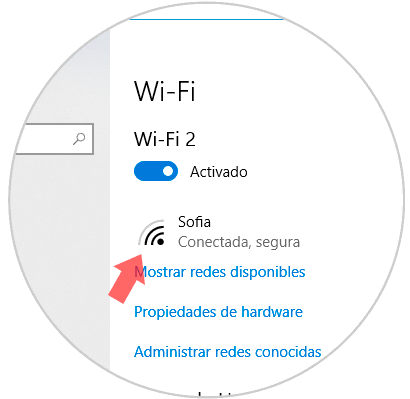
For this we will execute the following. In the case of using Wi-Fi networks we will go to the Start / Settings / Network and Internet menu and there we will go to the Wi-Fi section:
Step 2
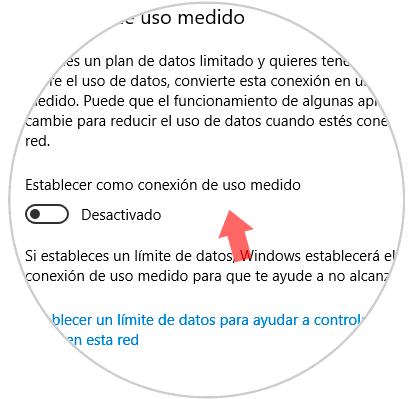
There we will click on the network to which we are connected and in the new window we activate the “Set as measured use connection†switch:
Step 3
In the case of using Ethernet, we will go to the “Start / Configuration / Network and Internet†route and there we go to the “Ethernet†section:
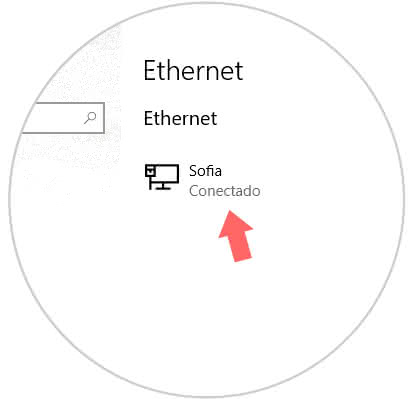
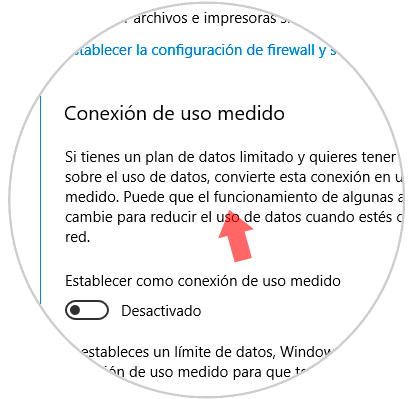
Step 4
There we click on our network and activate the switch located in the section "Measured use connection". In addition to this, in the case of Ethernet networks, we can perform a configuration process in the Windows registries, it is ideal to create a backup of this in order to avoid instability or system errors in case of failures.
Step 5
To access the registry editor, we will use the following key combination and execute the
regedit command, in the displayed window we will go to the following route:
+ R
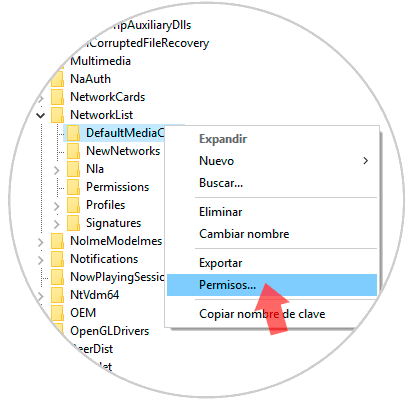
HKEY_LOCAL_MACHINE \ SOFTWARE \ Microsoft \ Windows NT \ CurrentVersion \ NetworkList \ DefaultMediaCost
Step 6
There we will right click on the “DefaultMediaCost†folder and select the “Permissions†option:
Step 7
The following window will be displayed:
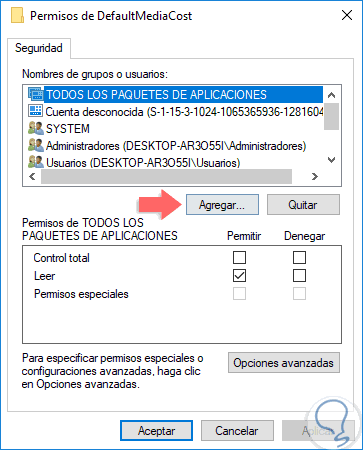
Step 8
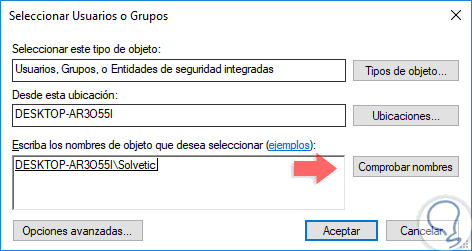
There we click on the “Add†button and in the pop-up window we will enter the name of our user and click on the “Check names†button to be assigned:
Step 9
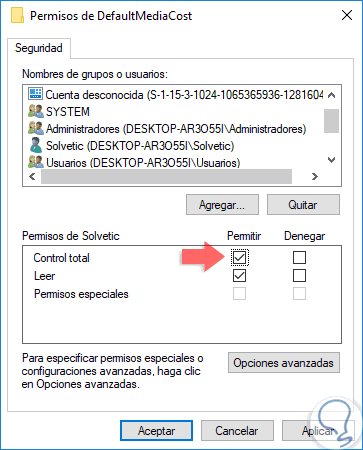
Click on Accept and now we will select the added user and activate the “Total control†box:
Step 10
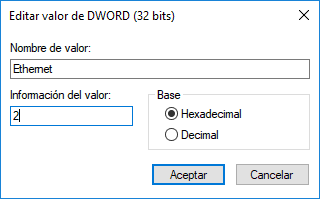
Click on Apply and Accept. Now, in the registry editor, we will double click on the “Ethernet†value and set its value to 2. Click on OK and we can exit the Windows registry editor. Finally, just restart the computer to apply the changes.
We have seen that this process is a vital part of the operating system itself and it is advisable to let it do its homework normally, but we can use these options if the high consumption of resources remains.