One of the most outstanding aspects of any operating system is its graphical interface and when we use Ubuntu 17 we can see that its default desktop environment is the traditional GNOME and has a display server called Wayland, something that bothers some users is the Elimination of the Unity environment which offers a range of special functions but something we should know is that the Unity desktop environment is not eliminated when we perform the process of upgrading to Ubuntu 17.10 from previous versions such as Ubuntu 17.04..
The Unity environment allows the integration of web viewers, called WebViews in some object-oriented languages ​​and in addition to this, docks can be added and features improvements in the management of focus events, resizing, and cursor position.
1. GNOME environment
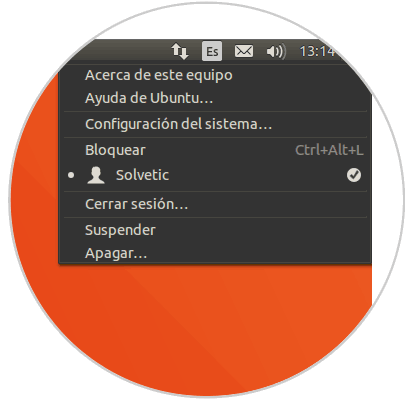
When we perform the update process From Ubuntu to 17.10, we can see that the Unity desktop has an Initiator located on the left side with a Search button at the top that allows us to search for applications, files and other elements.
In addition, we have a gear icon in the upper right corner which gives us access to equipment information, system configuration and help topics, from there it will be possible to carry out actions such as blocking the screen, logging out, restarting and shutting down the system:
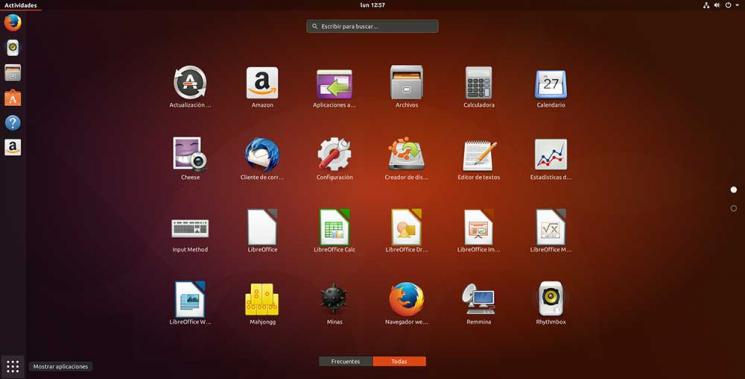
On the other hand, the GNOME environment has some similarity to Unity but has some improvements and functions, for example, the dock can be located on the left, right or at the bottom of the screen for its respective access. The Show applications button is added at the bottom of the dock which opens a list of applications where its design is much more practical and simple to perform the application search:
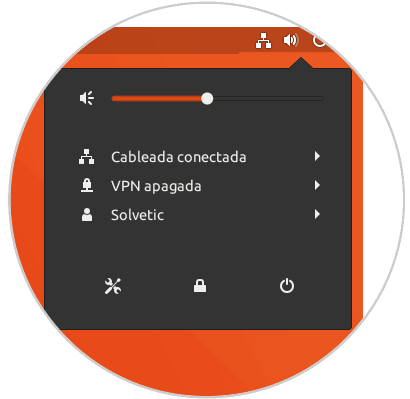
By clicking on any of the icons located in the upper right corner (gear icon), a menu will be displayed through which we will have the opportunity to perform actions on the volume, the network configuration or the Configuration application., Additional we can block the screen, log out, reboot and turn off the system:
2. How to remove Unity from Ubuntu 17.10
In case we consider that GNOME is the ideal environment for us, we can eliminate Unity which results in a saving of hard disk space by eliminating the Unity desktop itself and the unnecessary packages that are part of it.
Step 1
The first step to take is to create a backup of the most delicate information so as not to lose it when removing the Unity environment. Once this is done, we must access Ubuntu 17.10 with a different environment, for this, we close the session, click on our user and by clicking on the gear icon at the bottom we can select a different environment:

Step 2
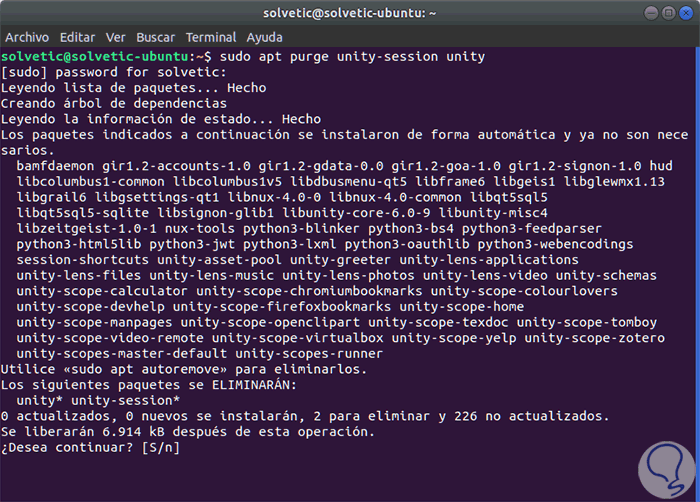
Once we access using the new environment, open the terminal and run the following line to remove the Unity desktop:
sudo apt purge unity-session unity
Step 3
There we enter the letter S to confirm the removal of Unity in Ubuntu 17.10.
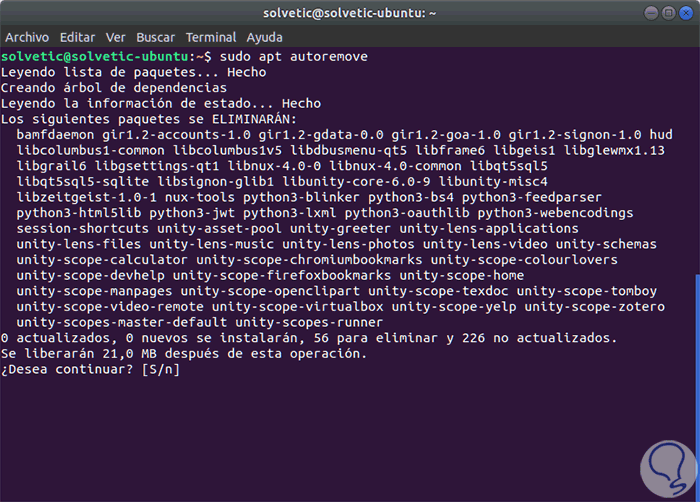
Once this step is done, we will remove the packages that are not necessary by running:
sudo apt autoremove
Step 4
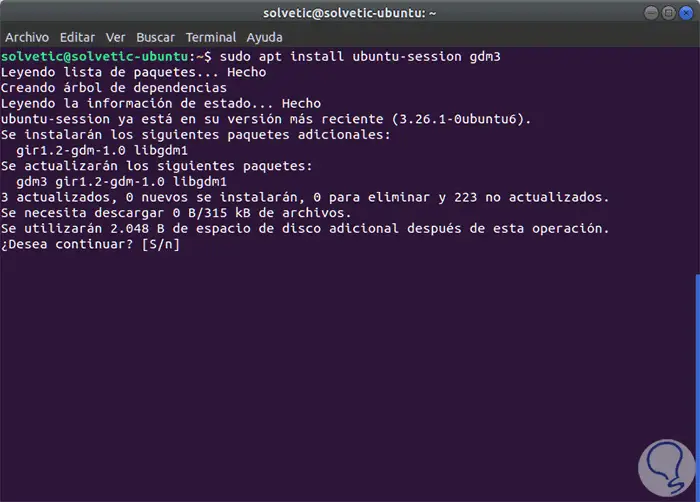
Finally, we must ensure that both Ubuntu Gnome and Gnome Desktop Manager 3 (GDM3) are installed correctly, for this we will execute the following command:
sudo apt install ubuntu-session gdm3
Step 5
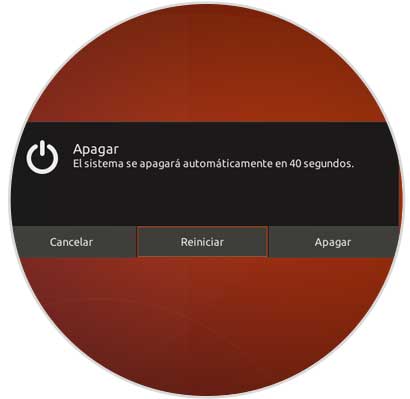
Now, we must restart Ubuntu 17.10 to apply the changes using any of the following options:
- Execute the sudo reboot command
- Click on the gear icon and then click on the power off icon and in the displayed options select Restart
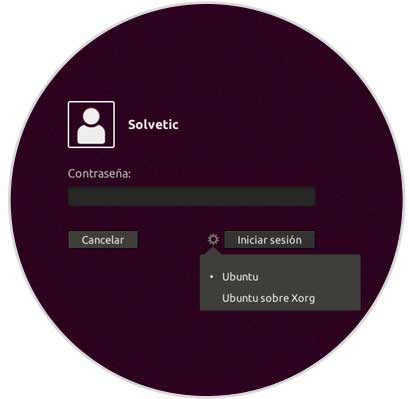
Now, when Ubuntu 17.10 is restarted, the Unity environment will no longer be available:
3. How to reinstall Unity
If for some reason at some point we want to have the Unity desktop environment again, just run the following in the terminal:
sudo apt install unity
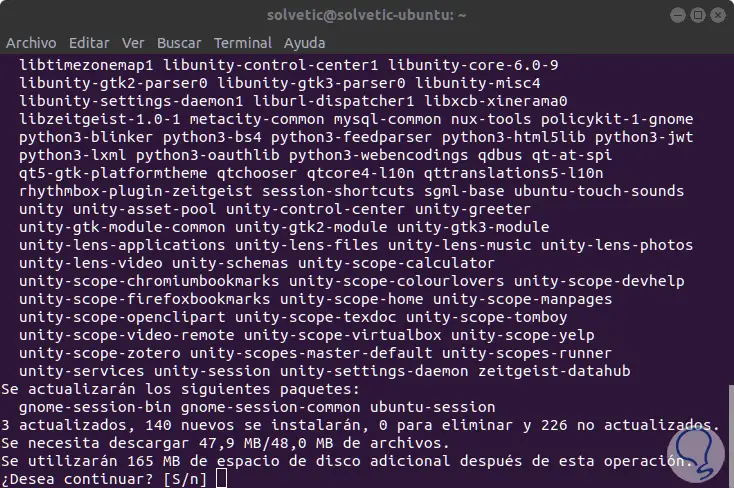
There we enter the letter S and wait for the download and installation..
We have seen how simple it is to manage these desktop environments in Ubuntu 17 and thus select the one that best suits our needs.