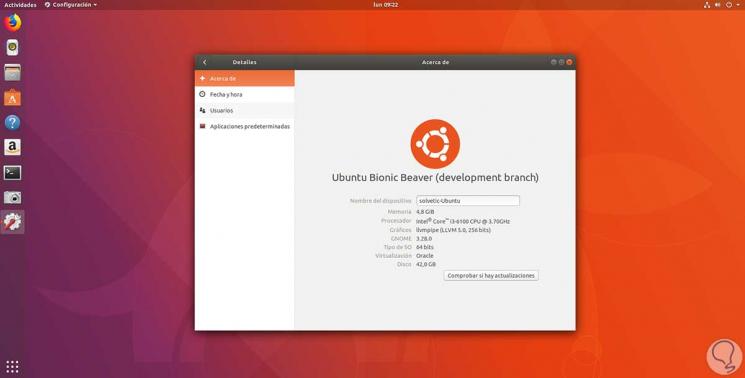
With the constant launch of new editions of operating systems , it is normal for the current system to automatically request the update to the new update or that we can execute it automatically..
In the specific case of this tutorial, we will talk about Ubuntu, which we currently find in edition 17.10 and the launch of Ubuntu 18.04 has been officially announced for all users on April 26, 2018 but we can make use of the beta versions for Test your news and features before they are launched.
Ubuntu 18.04 Features
- Native support for color emojis
- A new minimum installation version is included
- New installer for the Ubuntu 18.04 Server version
Now we will see how to update Ubuntu 17.10 to Ubuntu 18.04 beta completely taking into account that the beta editions are still in a development phase so it can become an unstable system and lose the information we store there..
Ubuntu 18.04 automatic update
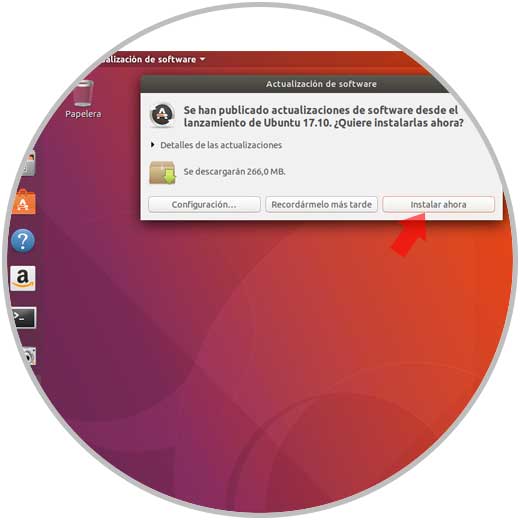
The first alternative we have is to wait for the moment when Ubuntu developers release the official version of Ubuntu 18.04 and so, automatically, the system will detect a new update and give us the possibility to download it:
How to update Ubuntu 18.04 using the software utility
Step 1
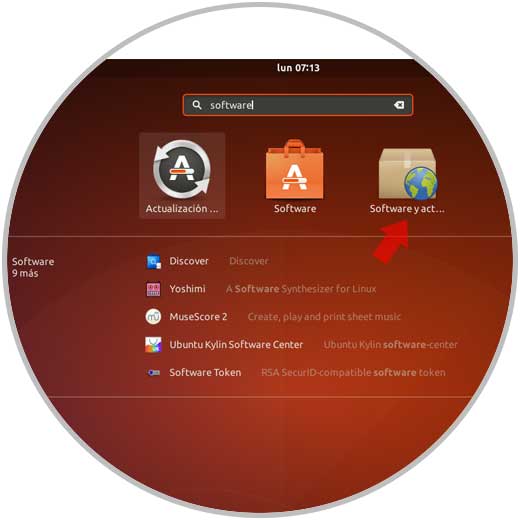
Ubuntu 17.10 has the Software and update tool that we can access from the search engine by entering the term software:
Step 2
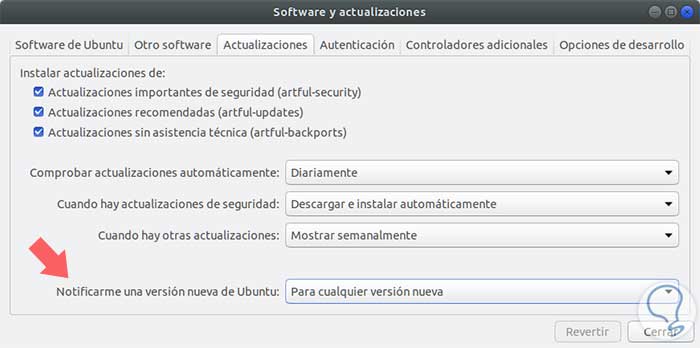
There we select Software and update and the following window will be displayed where we select the option for any new version in the Notify me of a new Ubuntu version field:
Step 3
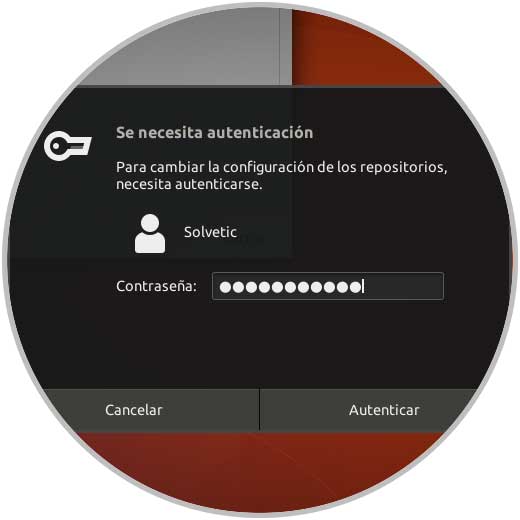
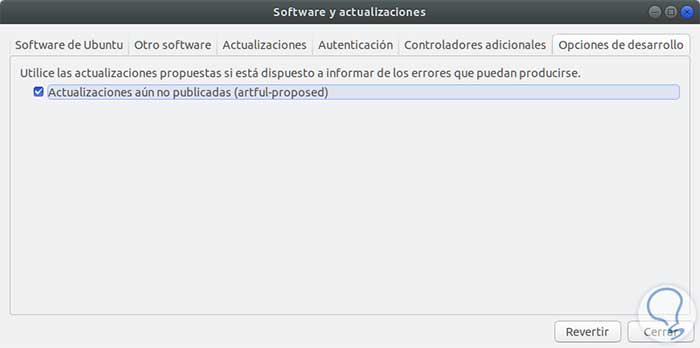
Now we go to the Development Options tab and activate the Updates box not yet published and it will be necessary to enter the administrator password:
We can see that the box has been selected:
Step 4
This will reload the cache of the Ubuntu software repository:
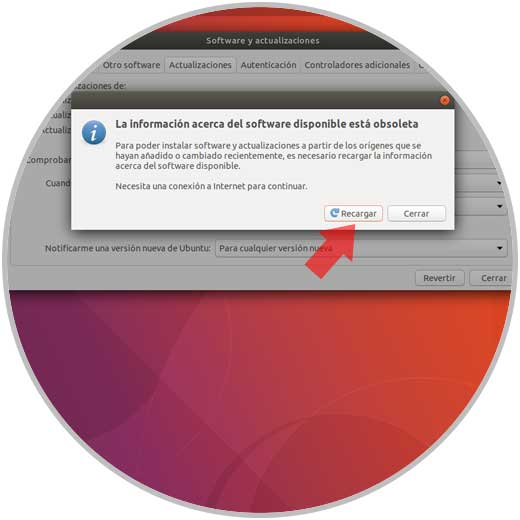
By clicking on the Reload button we will see that the respective process begins:
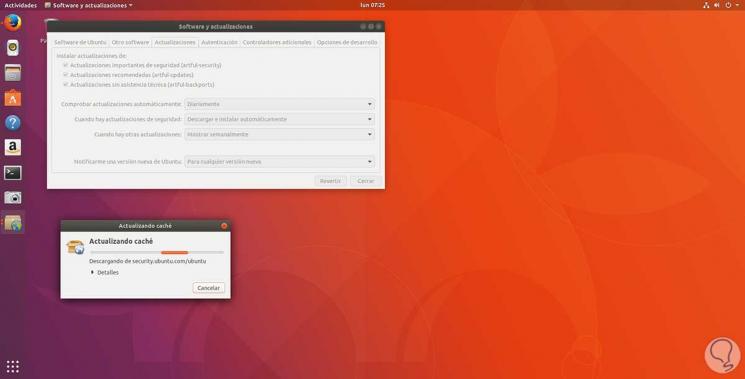
Step 5
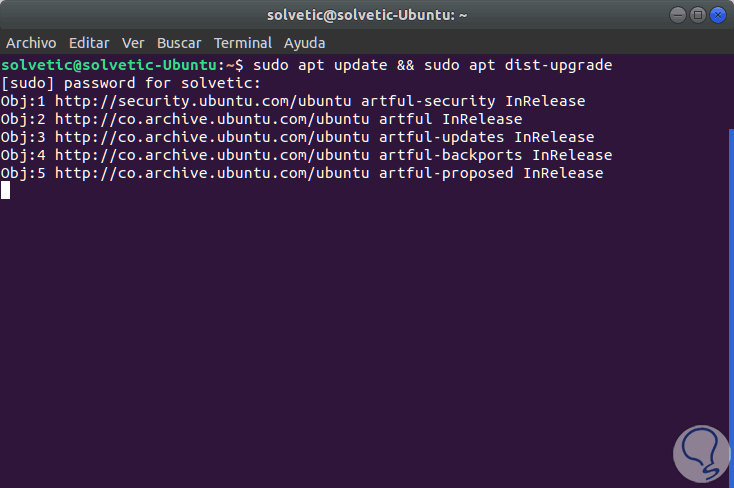
Once the Software settings have been defined, we go to the terminal and execute the following command to update the system, this may take some time based on the available network speed:
sudo apt update && sudo apt dist-upgrade
Step 6
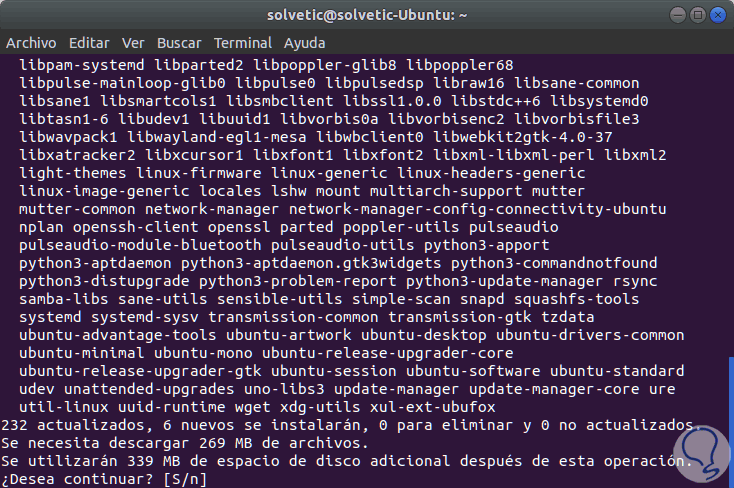
Later it will be necessary to enter the letter S to confirm the download and update. Once the process is finished it will be necessary to restart the system to apply the new system update.
Once the system has restarted, we will execute the following command to look for the new updates:
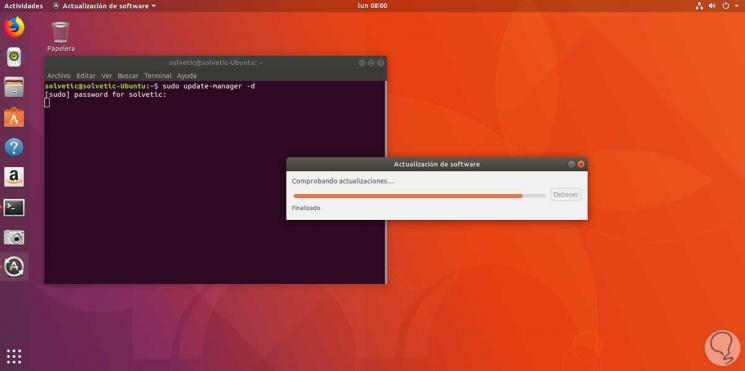
sudo update-manager -d
Step 7
This will open the update manager:
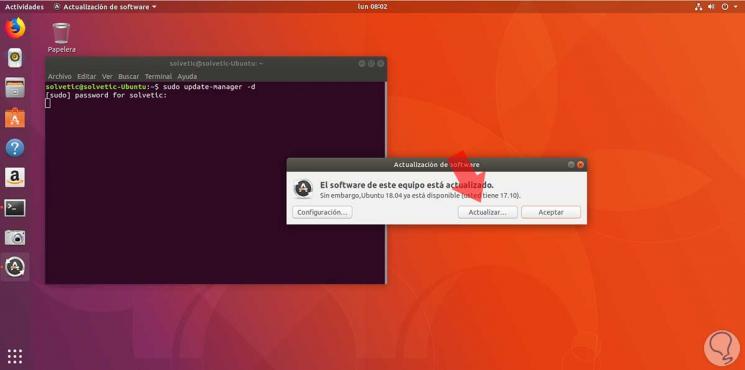
Once this process is finished we will see the following:
Step 8
There we click on the Update button and the following will be displayed:
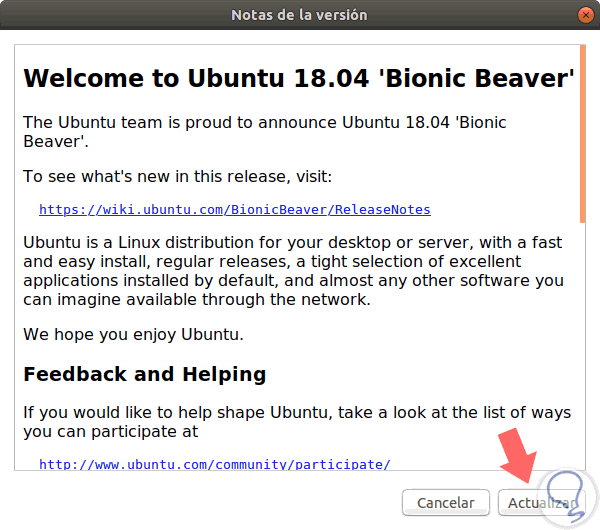
Click on the Update button and it will start the whole process of downloading packages necessary for this function:
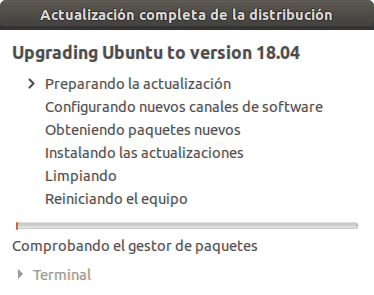
Step 9
Once this process is finished we will see the following window:
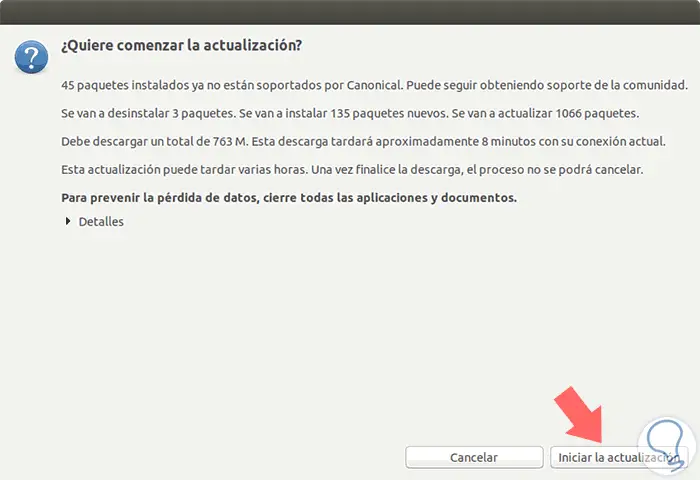
There we click on the Start the update button to begin the process of updating our equipment to Ubuntu 18.04.
Step 10
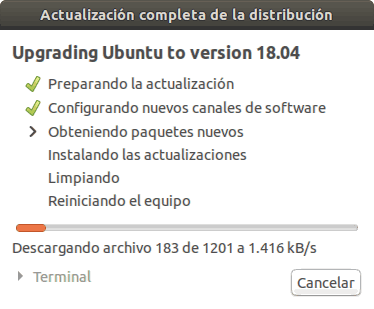
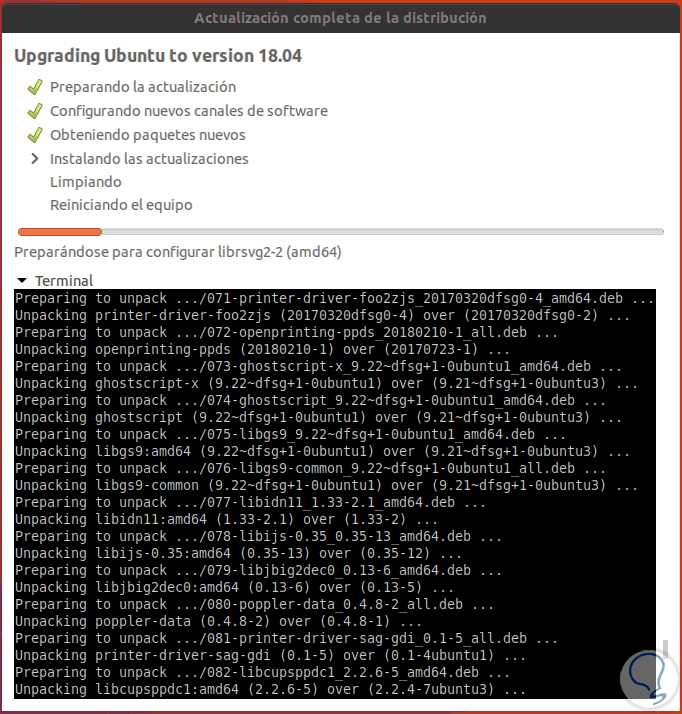
During this process, you will be asked if we want to keep obsolete packages from the previous installation of Ubuntu 17.10, we can remove them without problem.
At any time we can click on the Terminal line to visualize the process in core mode:
Step 11
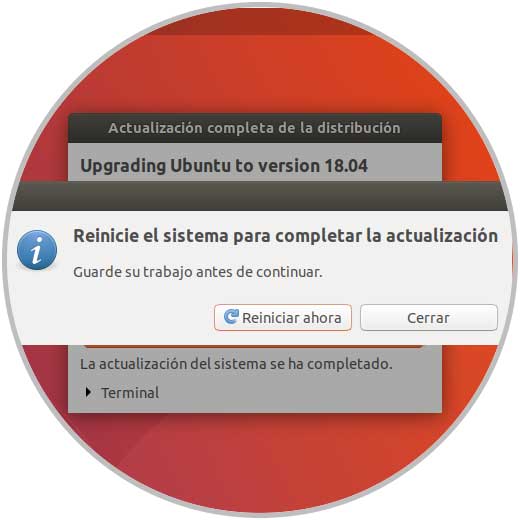
Once this process the team will be restarted to complete the update process to Ubuntu 18.04:
Step 12
There we click on the Restart now button to complete the update process and we will log in as usual:
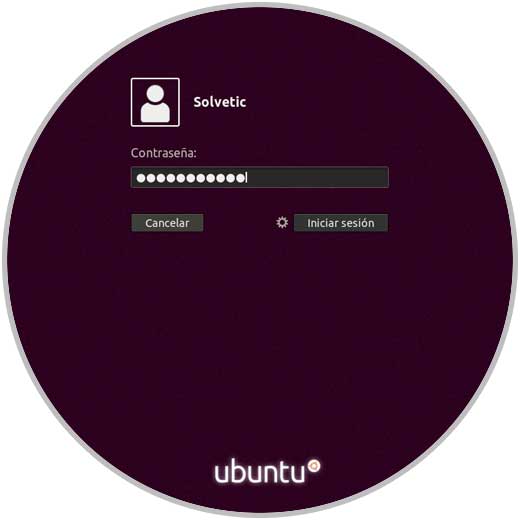
By accessing we can already enjoy Ubuntu 18.04 in its beta version..
