Each current developer of operating systems, regardless of the type this is, is always looking to add new features, improve existing ones and optimize the way the end user, both corporate and personal, can interact with the system in general, as well as with their integrated applications ..
In the case of Linux operating systems , one of the most popular distributions for its wide versatility, security and extension options is Ubuntu which is available for both server and graphic environment versions and is one of the most used by its large benefits.
Currently, the stable version of Ubuntu, both Server and Desktop, is Ubuntu 18.10 but in advance we can make use and try Ubuntu 19.04 which is expected to be officially available in April of this year 2019..
Ubuntu 19.04 Availability Schedule
Ubuntu 19.04, whose code name is Disco Dingo, has the following availability schedule for both users who like to try the versions before they are released, as well as the final version:
- Functions freeze: February 21, 2019.
- Freezing of the user interface: March 14, 2019.
- Core freezing: April 1, 2019.
- Beta release date: March 28, 2019.
- Final release date: April 18, 2019.
Architectures
The architectures that will support Ubuntu 19.04 are the following:
features
Some of the features that Ubuntu 19.04 will offer us in general (server and desktop) are:
- The default Yaru theme is compatible with more applications.
- Ubuntu 19.04 will be integrated with GNOME 3.32 which offers a series of visual changes and new features.
- Android integration through the KDEConnect function which is an application that gives us the opportunity to manage our Android device directly from the desktop, when using KDEConnect it will be possible to receive telephone notifications on the computer with Ubuntu 19.04 as well as respond to messages. control the volume of the desktop or music from the mobile, it will also be possible to share files and links between the phone and the desktop.
- Ubuntu 19.04 is expected to be integrated with Kernel 5.0.
- A better appearance of Ubuntu Software for the installation or update of applications.
- Python 3.7 has been integrated as the default version of the Python3 language.
- OpenSSL 1.0 has been removed in order to only distribute OpenSSL 1.1.1 LTS.
- Native JavaScript implementation for the KDE Connect protocol.
- Integration of Chromium as an alternate browser in the Ubuntu 19.04 Desktop version.
Through this tutorial, we will learn to update our version of Ubuntu 18 to Ubuntu 19.04 and thus enjoy these new features and take a look at the new that will be launched shortly by Ubuntu.
Note
It is important to note that this update process must be done from Ubuntu 18.10 to Ubuntu 19.04.
1. How to upgrade Ubuntu operating system
Step 1
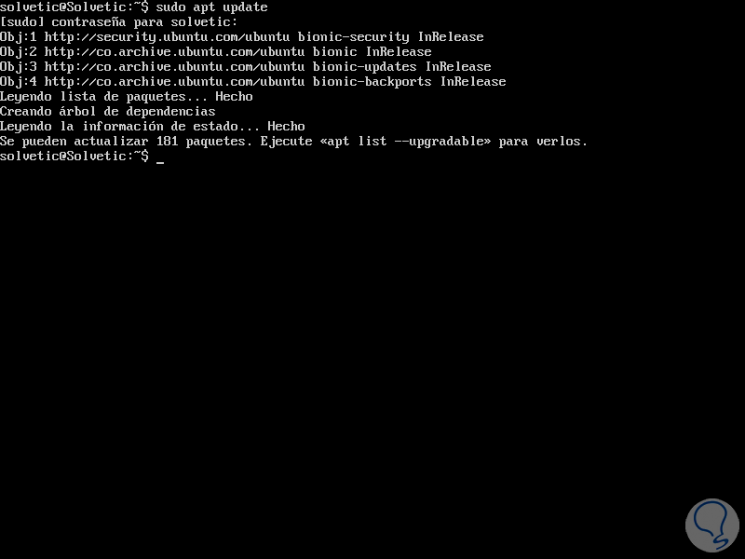
When we access Ubuntu 18, the first step will be to update our operating system, for this we will execute the following command in the terminal:
sudo apt update
Step 2
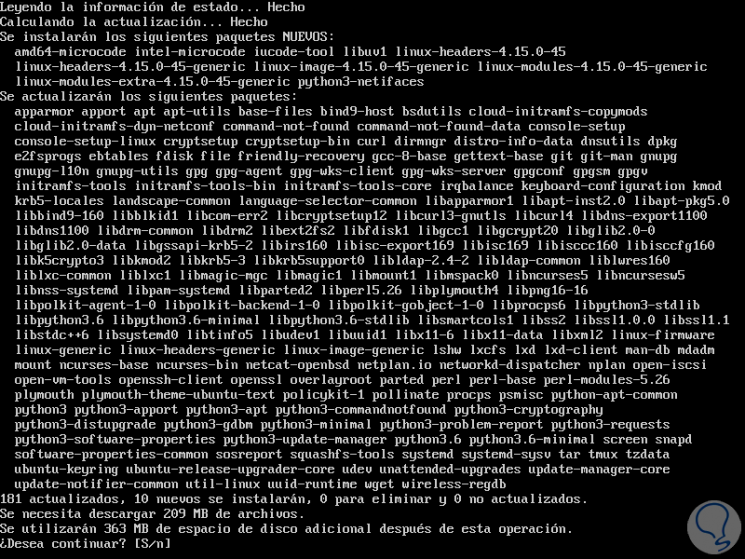
After this, we will update the available packages by running:
sudo apt upgrade
Step 3
Enter the letter S to confirm the download and update of the available packages:
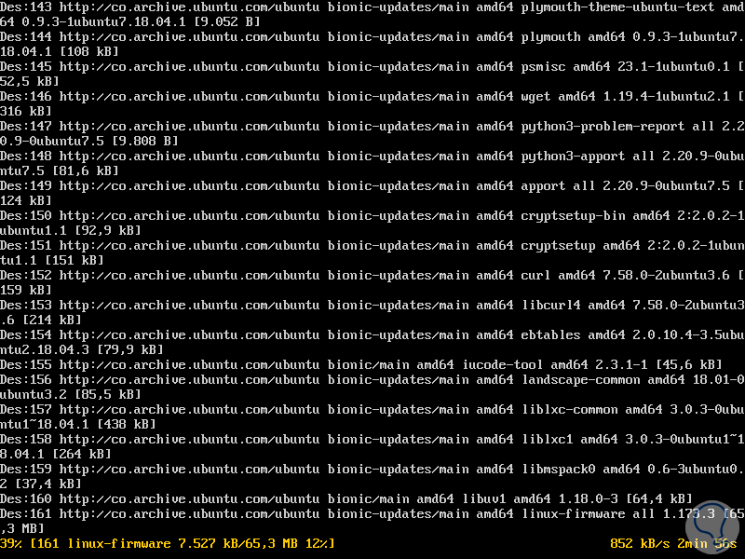
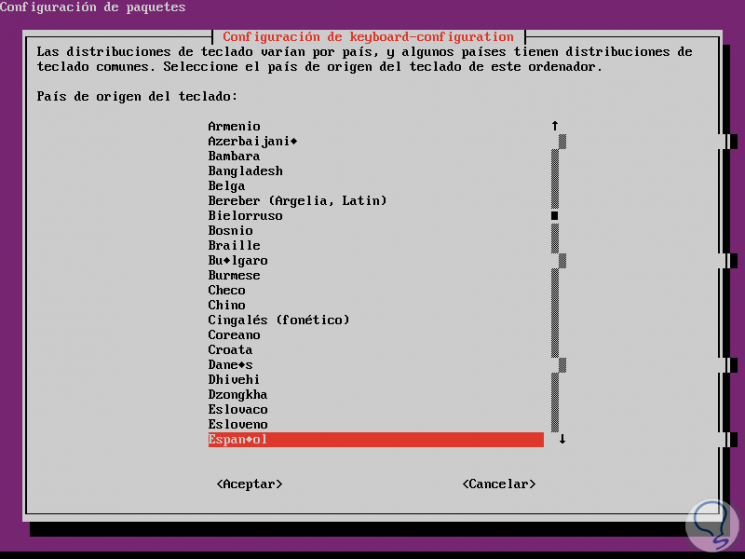
During this upgrade process we will see the following:
Step 4
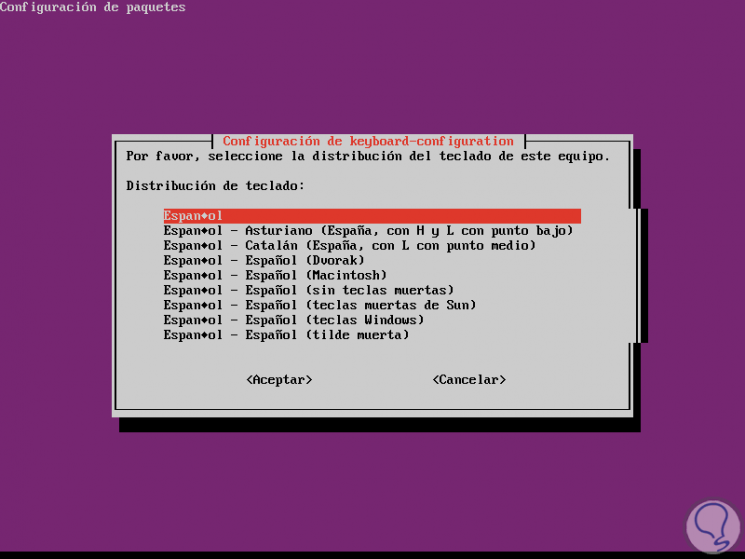
There we select the country of origin of the keyboard (language) and pressing Enter will display the following window where we select the keyboard layout to use:
Step 5
Select the appropriate language and press Enter to continue. Once this process is completed, we will execute the following line:
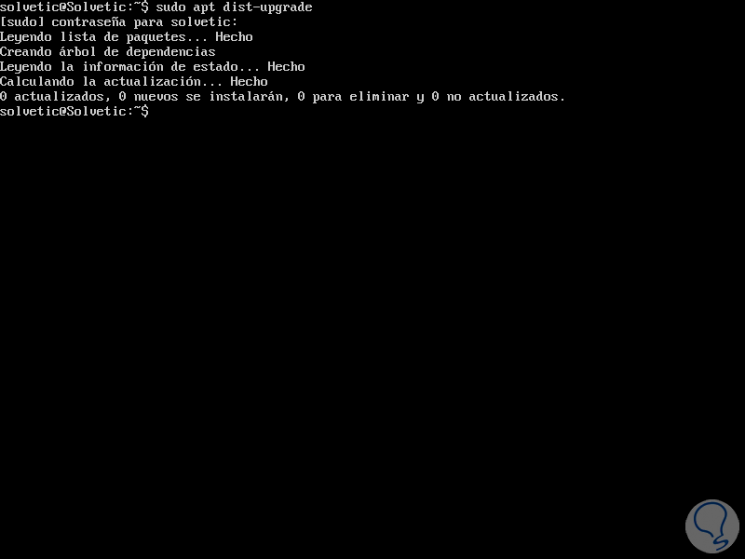
sudo apt dist-upgrade
The dist-upgrade command performs the update task but also intelligently manages changing dependencies with new versions that are available, so dist-upgrade can eliminate some packages that are not necessary during the process to improve the tasks of upgrade.
Step 6
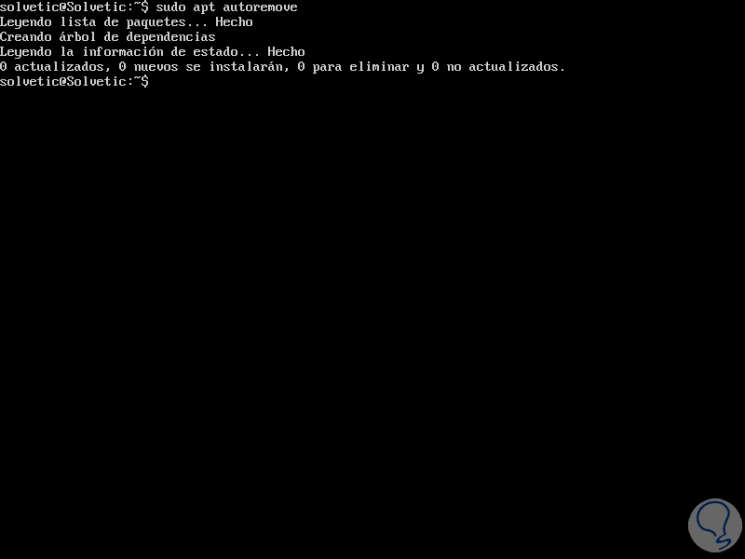
We proceed to remove all packages that are not necessary with the following command:
sudo apt autoremove
Step 7
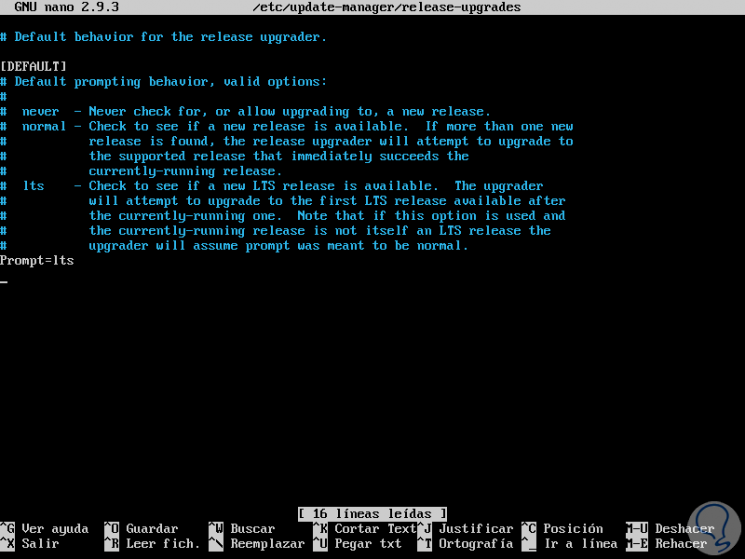
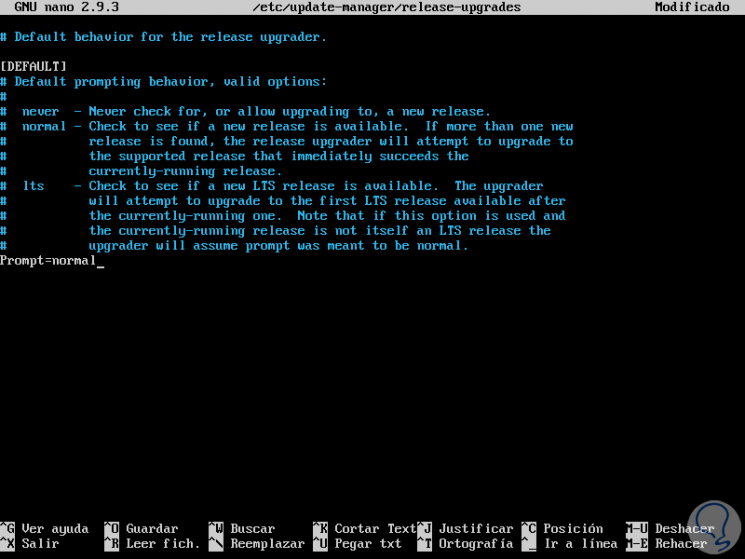
The next step is to update the update manager located in the path / etc / update-manager / release-upgrades, for this we will use the desired editor, in this case nano:
sudo nano / etc / update-manager / release-upgrades
We will see the following:
Step 8
There we go to the Prompt line and set the value to normal:
Step 9
We save the changes using the key combination Ctrl + O and exit the editor using the Ctrl + X keys.
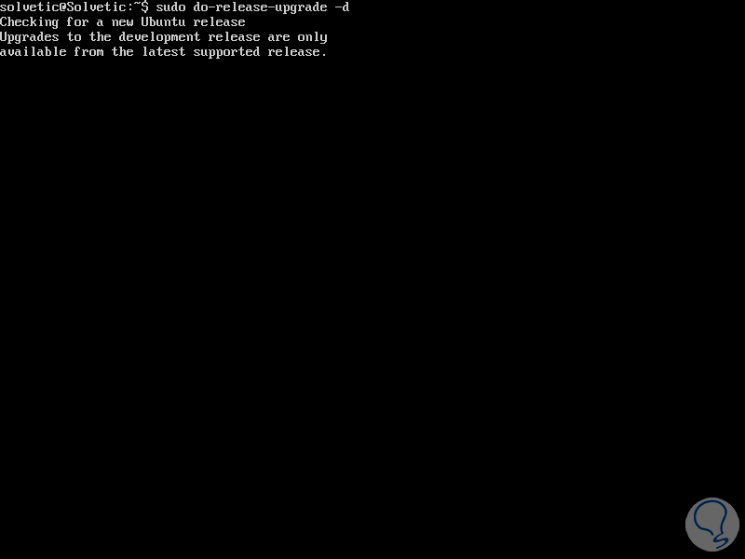
Now, we proceed to search for a new version of Ubuntu, in this case Ubuntu 19.04 by running the following command:
sudo do-release-upgrade -d
Step 10
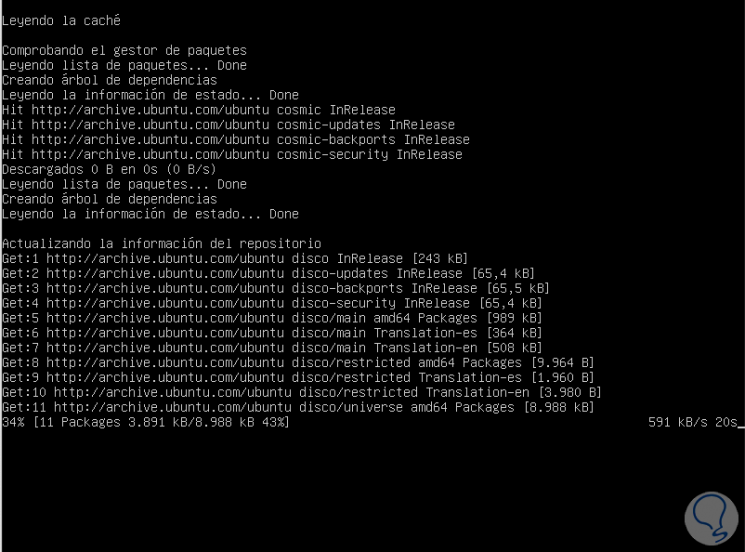
Once the system detects the new version of Ubuntu 19.04 available, it will start the whole process of downloading the necessary packages for the update:
Step 11
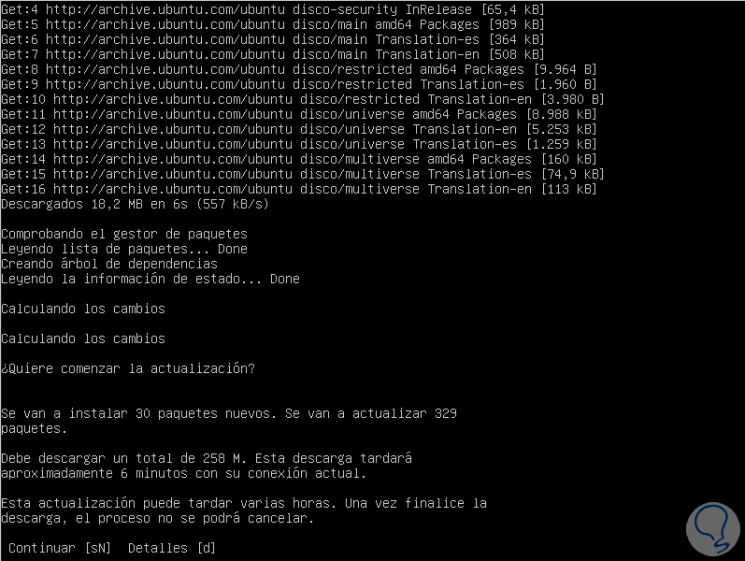
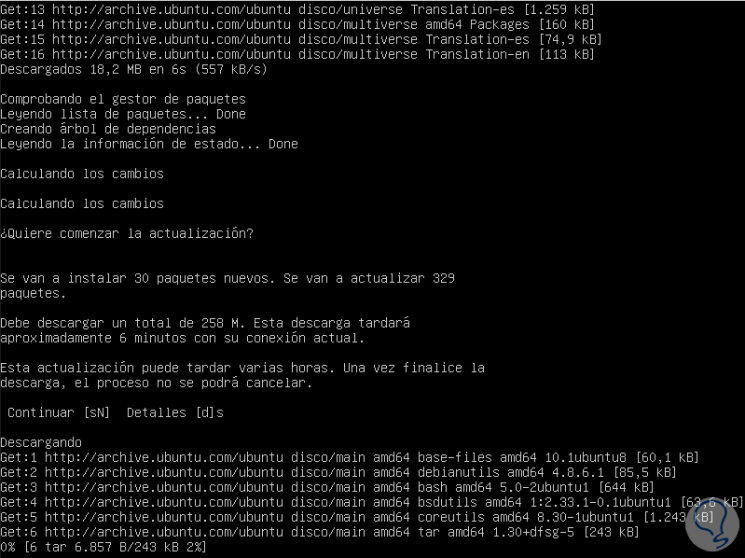
Note that the repositories are the official Ubuntu 19.04 (Disk). Once this process concludes we will see the following:
Step 12
There we enter the letter s to confirm the download of all new Ubuntu 19.04 packages:
Step 13
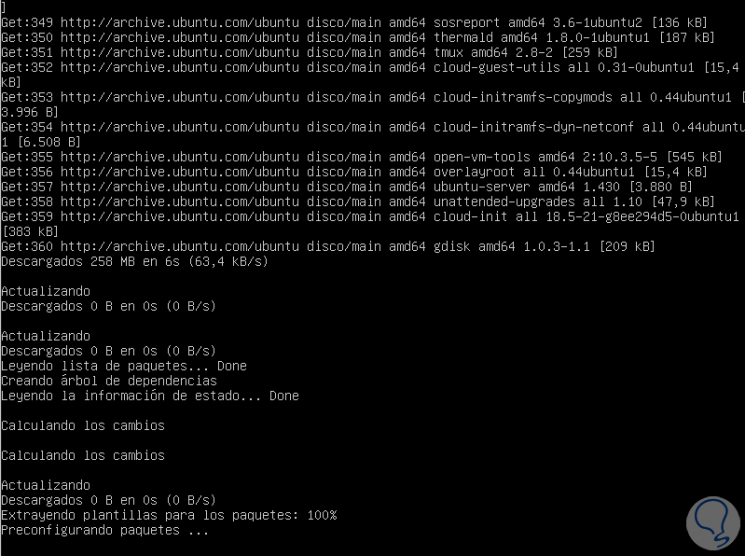
We can observe that the process of preconfiguration of the packages of the new version of Ubuntu continues:
Step 14
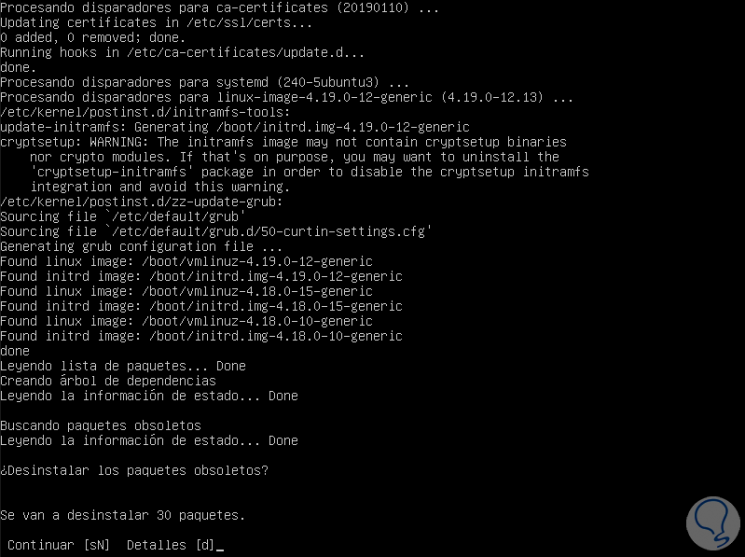
Then we will see the following message that we will accept to continue uninstalling obsolete packages:
Step 15
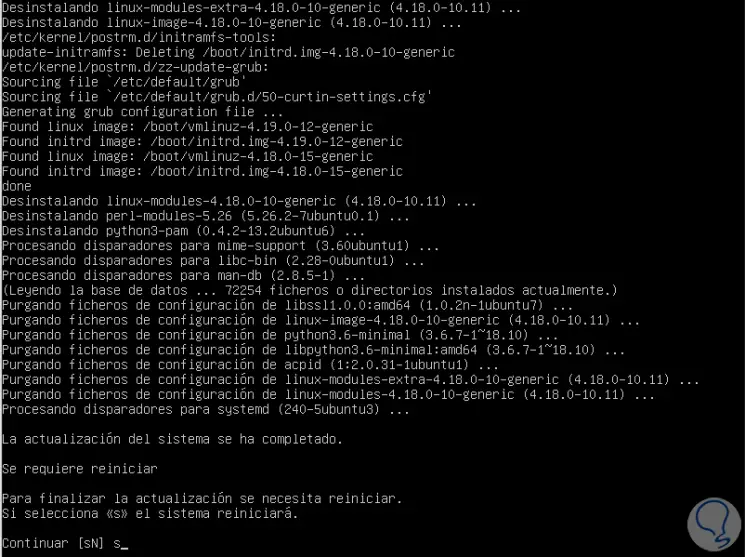
When the whole process is finished, the following message will be displayed indicating that we must restart the system to complete the process of upgrading from Ubuntu 18 to Ubuntu 19.04:
Step 16
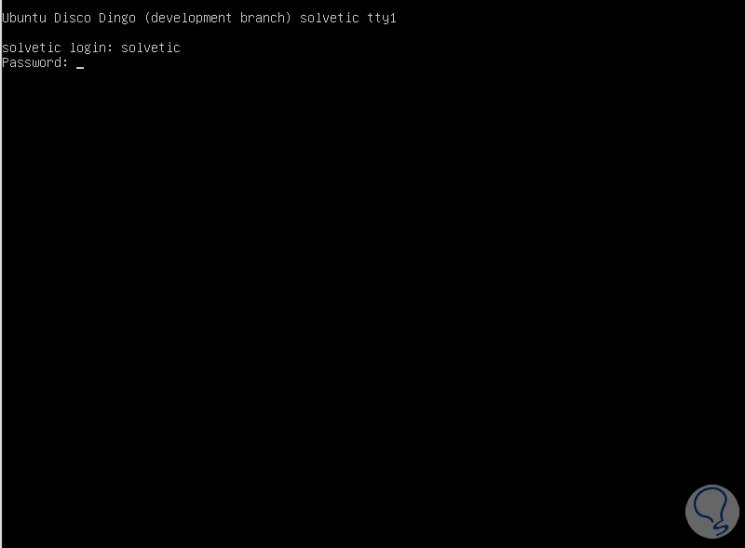
Enter the letter s and press Enter to confirm the action, and after the system is restarted we will enter the user credentials and we can verify that we are using Ubuntu Disco Dingo (19.04):
Step 17
Upon logging in, we can execute the lsb_release -a command to confirm that the system has been updated correctly:
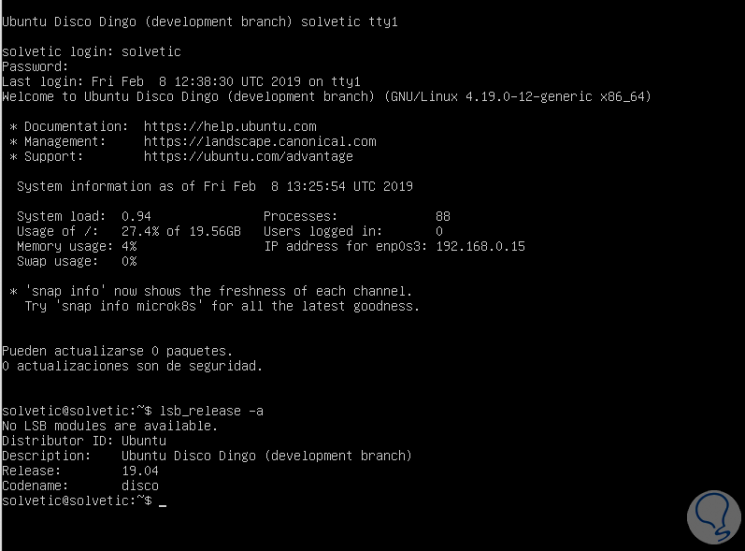
Thus we have updated Ubuntu 18.10 Server to Ubuntu 19.04 Server..
2. How to upgrade Ubuntu 18 to Ubuntu 19.04 using the software manager
Step 1
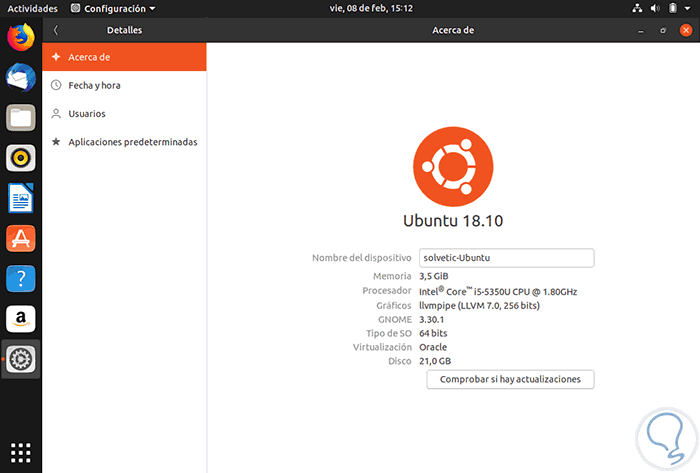
This method applies especially to Ubuntu 18 Desktop or Ubuntu Server if a graphical environment has been installed on it. To use this method, first, we will check the version of Ubuntu used, for this we have two options:
- Go to Settings / Details / About
- In the terminal execute the lsb-release -a command
Step 2
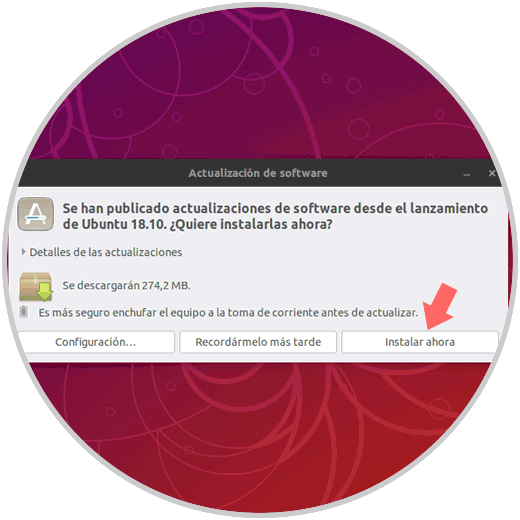
Under normal conditions, the operating system itself will indicate when a new update of this has been published:
Step 3
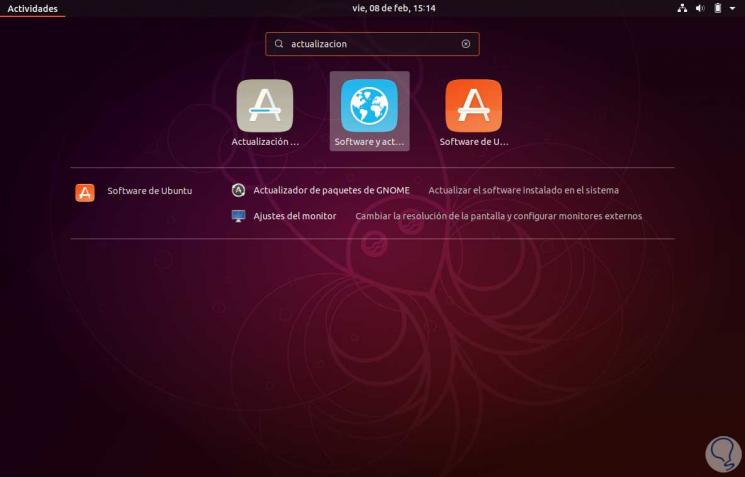
To configure Ubuntu 18.10 to receive and install Ubuntu 19.04 we must access Software and updates through the system search engine:
Step 4
The following window will be displayed:
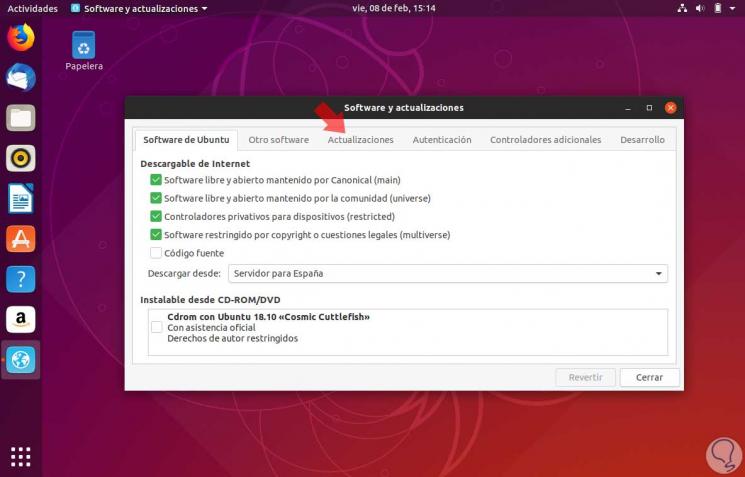
There we see the Ubuntu Software tab where we can configure aspects such as:
- Region from which updates are to be downloaded
- Type of software allowed to download
Step 5
Now we go to the Updates tab and there we find the following:
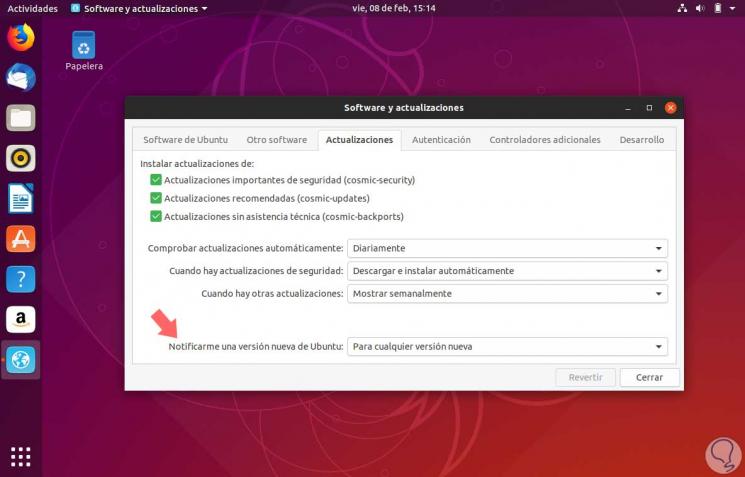
The key to upgrade Ubuntu 18 to Ubuntu 19.04 is the line Notify me of a new version of Ubuntu, there the options are:
- For versions with long-term technical service
Step 6
In this case we must select the option For any new version and in the upper options we can define the frequency and action that Ubuntu will apply for the updates, click Close to save the changes.
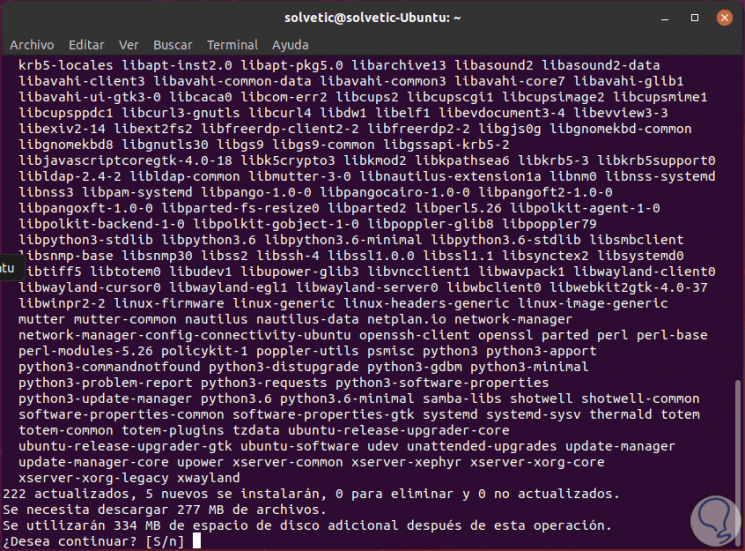
The next step is to go to the terminal and run the following command to check for updates:
sudo apt dist-upgrade
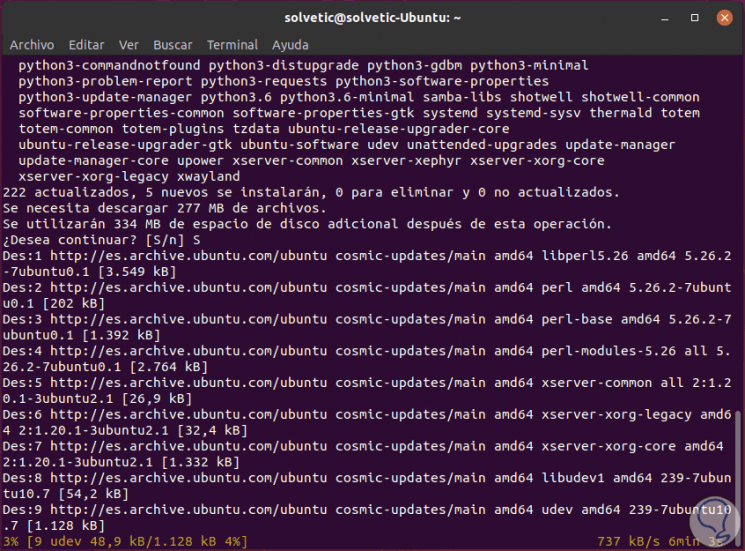
Step 7
Enter the letter S to confirm the download and installation of these packages:
Step 8
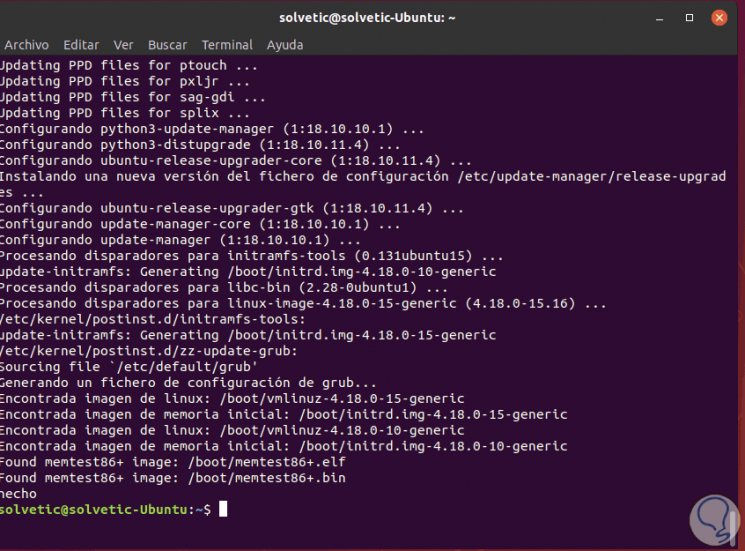
When this process ends we will see the following:
Step 9
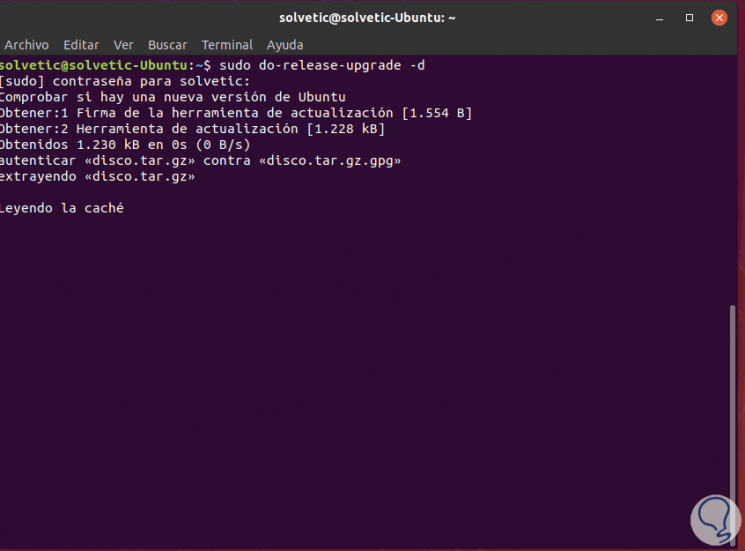
With this finished, it is time to proceed with the update from Ubuntu 18.10 to Ubuntu 19.04, for this we execute the following line:
sudo do-release-upgrade -d
Step 10
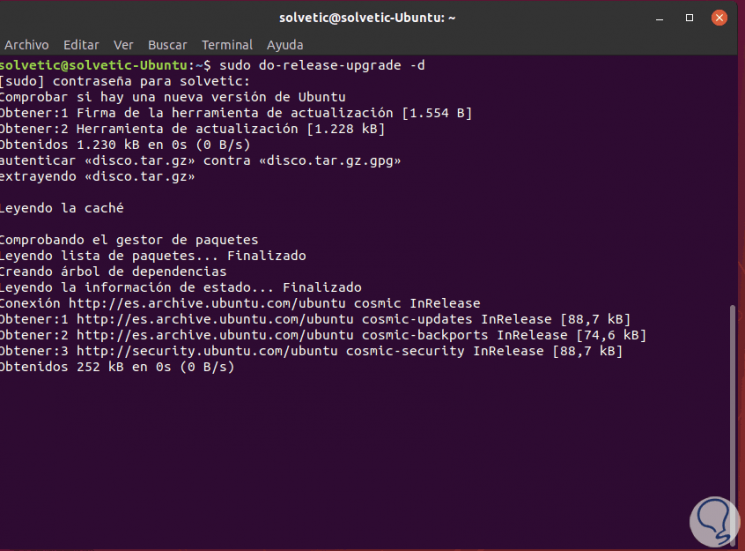
There we observe that the image of Ubuntu 19.04 (Disk) has been detected, now the process of downloading it begins:
Step 11
When this process is completed, the following will be displayed:
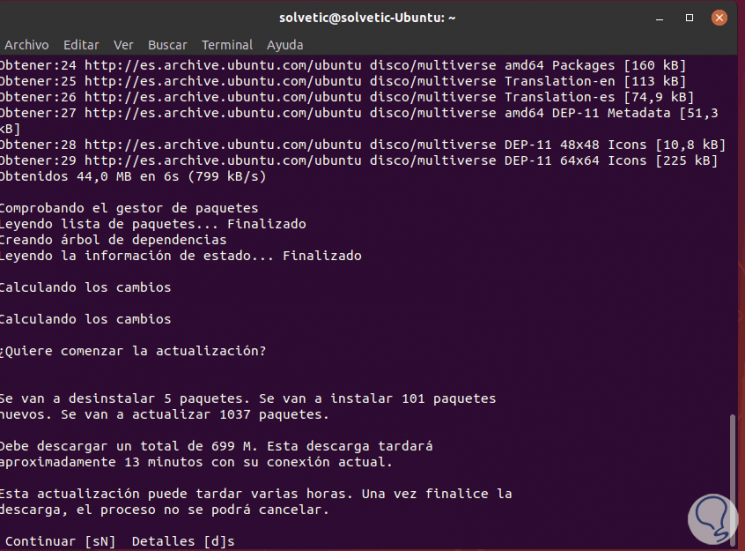
Step 12
There we enter the letter s to accept the download and proceed with it:
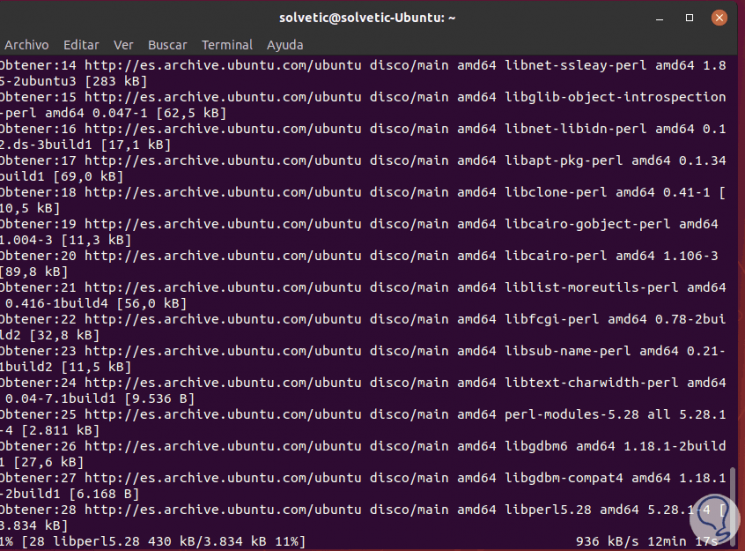
Step 13
This process may take some time depending on the speed of the network, when the process is completed we will see the following message regarding the uninstallation of obsolete packages:
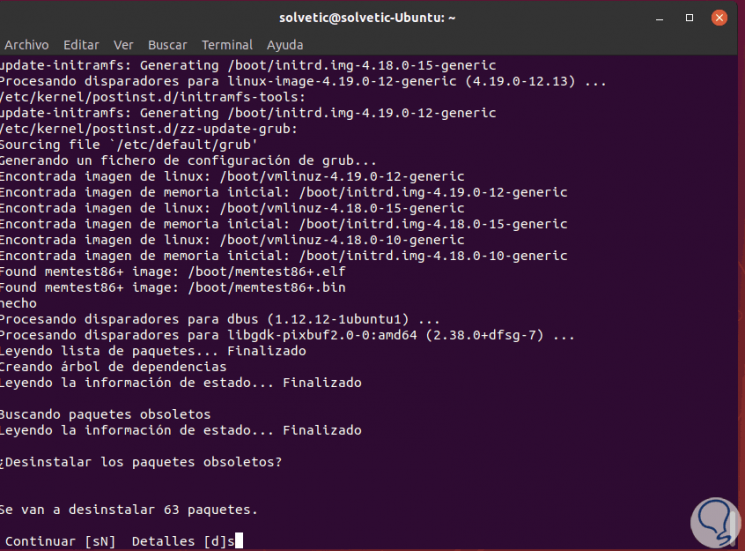
Step 14
Enter the letter s and press Enter to continue and when this process is finished we see that it will be necessary to restart the system to complete the process:
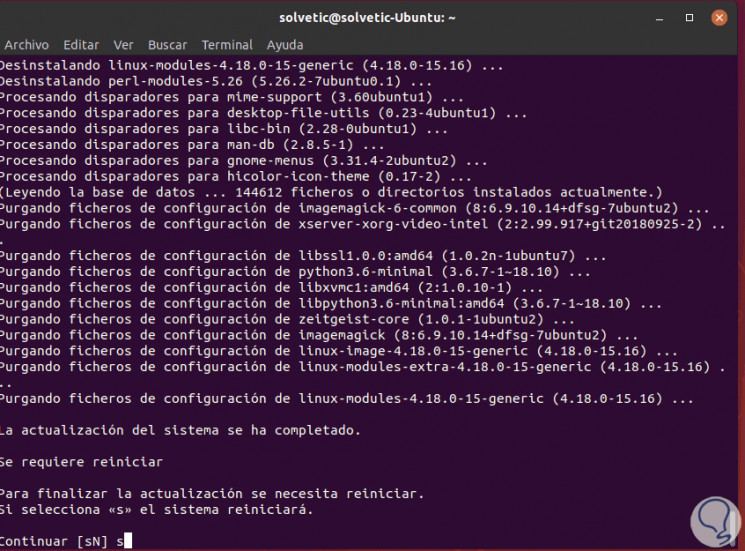
Step 15
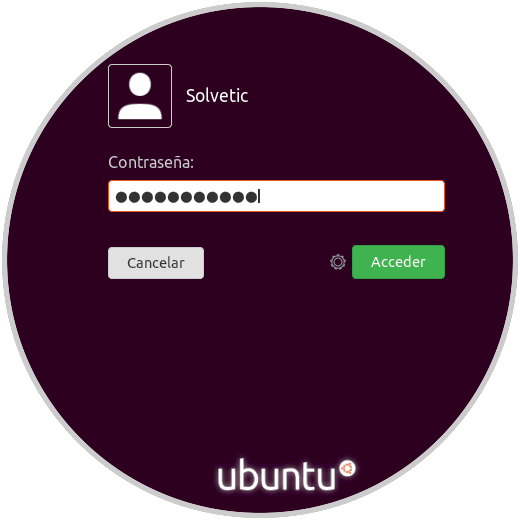
Enter the letter s and pressing Enter the system will be restarted and we must enter the access credentials:
Step 16
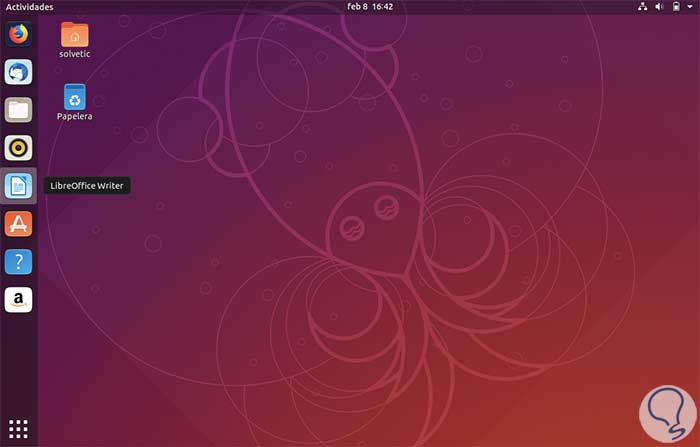
Click on Access and this will be the Ubuntu 19.04 environment:
Step 17
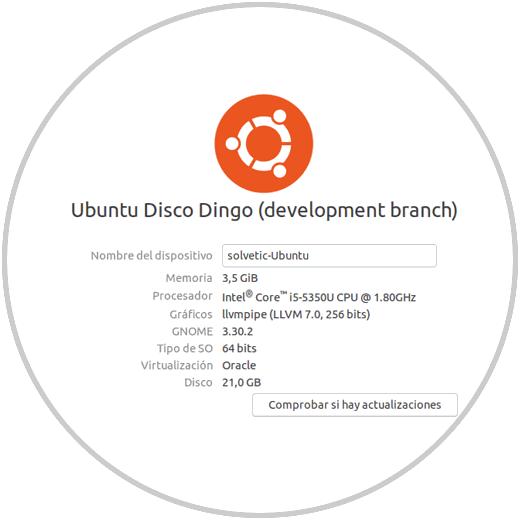
We can go to the About option to validate that it really is Ubuntu 19.04:
We have learned to update Ubuntu 18.10 to Ubuntu 19.04 using two different methods, but effective and in this way enjoy each of its features.