Linux operating systems have a great advantage over other systems and that is that all its architecture, being based on open source , lends itself to be scalable and easily accessible to all users. This allows us to install a large number of applications to manage data in a much more centralized, direct and dynamic way, so within this range of applications we have a caching system focused on memory objects whose purpose is to optimize the performance of memory and elements such as databases. For this, one of the most used applications for this process is Memcached..
What is Memcached?
Memcached has been developed as a memory storage manager which offers advantages such as high performance, being open source and totally free for all of us and Memcached has the goal of optimizing and improving all web applications which has a direct impact on the performance of the installed database.
Its design is based on a store of values ​​housed in memory and is composed of fragments of data such as strings and objects that are present in the calls of the API or the database itself and the best of all is that the Memcached API is available for the most used programming languages ​​today.
So that you understand a little more about the operation of Memcached, we can tell you that this utility makes use of some parts of the memory where it is most available and that memory use it for sectors where such memory is scarce and this allows to manage a balanced performance in all The system and its services.
Some of the features of Memcached are the following:
- Each node is able to use the memory of other available nodes.
- Each node is independent.
- It will be possible to access a visualization of all the servers integrated in the same created group.
- It has a client-based hash algorithm, this algorithm of selecting a server based on that key.
- Integrates a server software where the values ​​with the keys are stored directly in a hash table within Memcached
Now we will see how to install Memcached on Ubuntu 19.04 but the same process applies if you have Ubuntu 18.04 or 18.10..
1. How to update Linux system
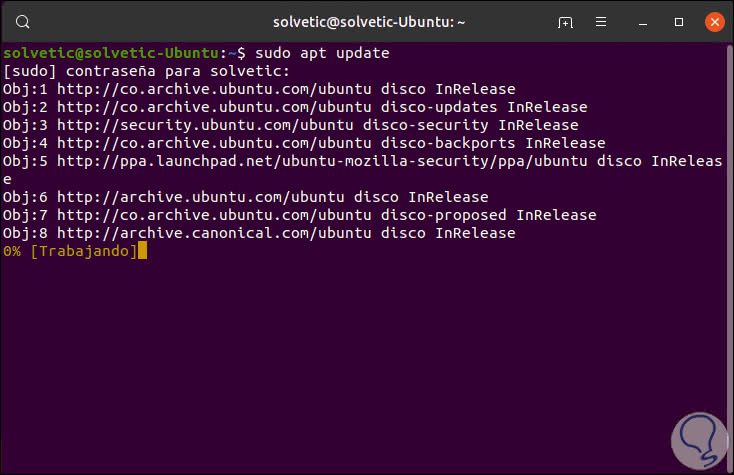
The first step to take will be to update the system packages by running:
sudo apt update
2. How to install Memcached on Linux
Step 1
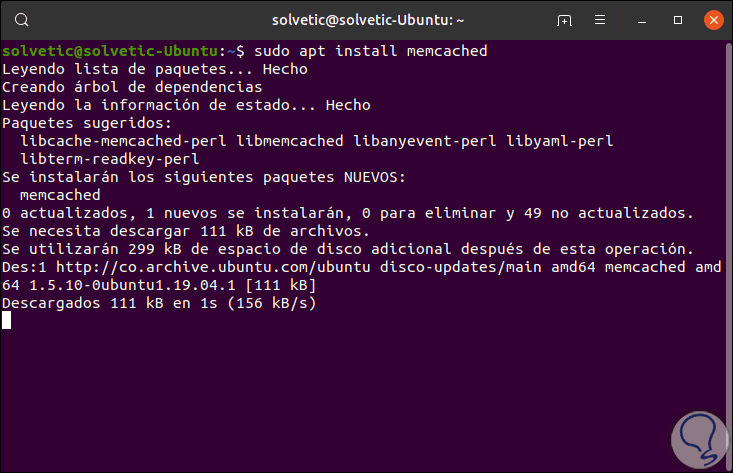
After updating the system, we proceed to install the official Memcached packages by executing the following:
sudo apt install memcached
Step 2
Next we will install libMemcached-tools which is a library in which tools designed to optimize the use of Memcached are integrated, this will be done with the following command:
sudo apt install libmemcached-tools
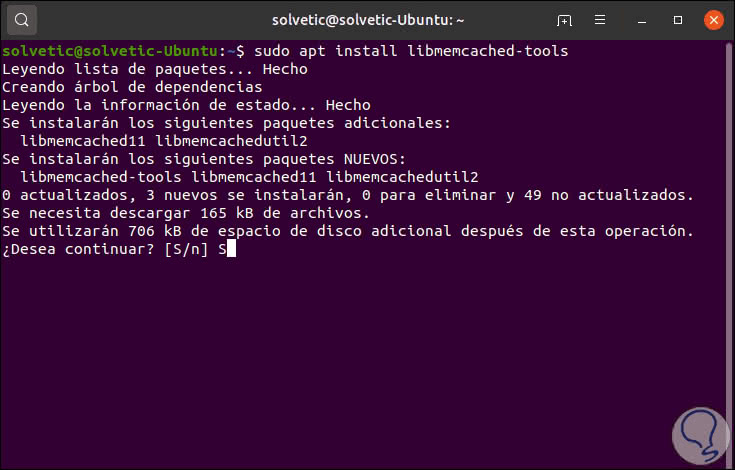
Enter the letter S to download and install the tools.
3. How to ensure the configuration of Memcached in Ubuntu 18 0 19
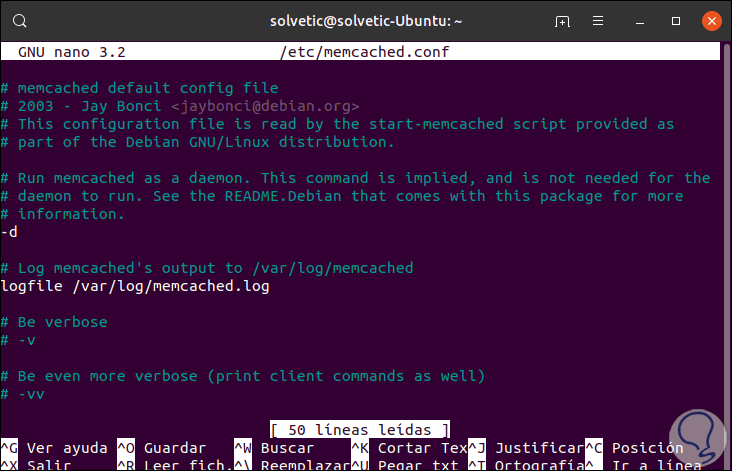
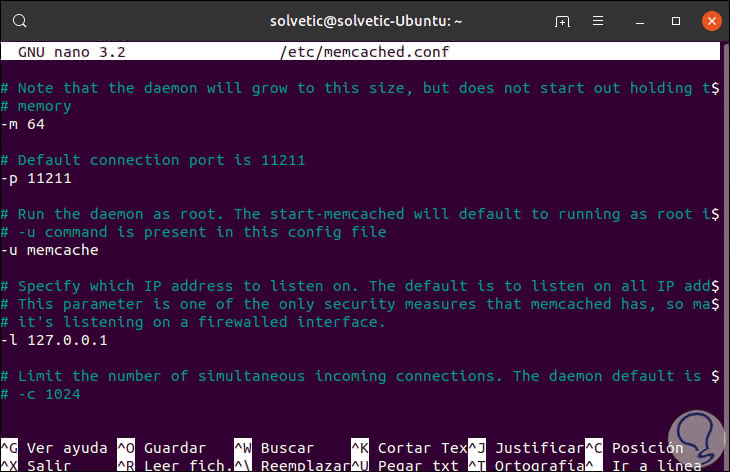
Once we complete these steps, we must validate that the Memcached instance is heard on local route 127.0.0.1. This is validated in the /etc/memcached.conf directory and it is important to clarify that the new Memcached updates have integrated the -l parameter directly into the local interface thanks to which denial of service attacks from the external network are prevented and this leads us It guarantees a better level of service.
Step 1
To open this file we will use some editor like this:
sudo nano /etc/memcached.conf
Step 2
In this file we will locate the section of the interface which presents the following syntax:
. . . -l 127.0.0.1
Step 3
If the set value is -l 127.0.0.1 we will not make any changes and if for access reasons we must allow external connections a tip that TechnoWikis gives you is to disable UDP which is provided for denial of service attacks, to perform this Disabling simply add the following line to the end of the Memcached configuration file:
-U 0
Step 4
If we do this we must save the changes using the Ctrl + O keys and exit the editor using Ctrl + X.
To apply the changes made we must restart the service by running:
sudo systemctl restart memcached
Step 5
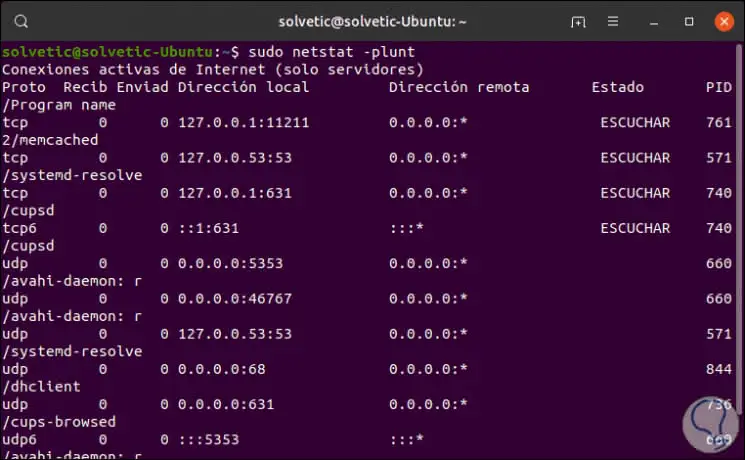
We check that Memcached is integrated to the local interface and only listens for TCP connections, for this we execute:
sudo netstat -plunt
There we locate the following:
tcp 0 0 127.0.0.1:11211 0.0.0.0:* LISTEN 2279 / memcached
4. Add authorized users in Memcached on Ubuntu 18 0 19
In order to add authenticated users to Memcached, we can make use of the simple authentication and security layer (SASL - Simple Authentication and Security Layer).
Step 1
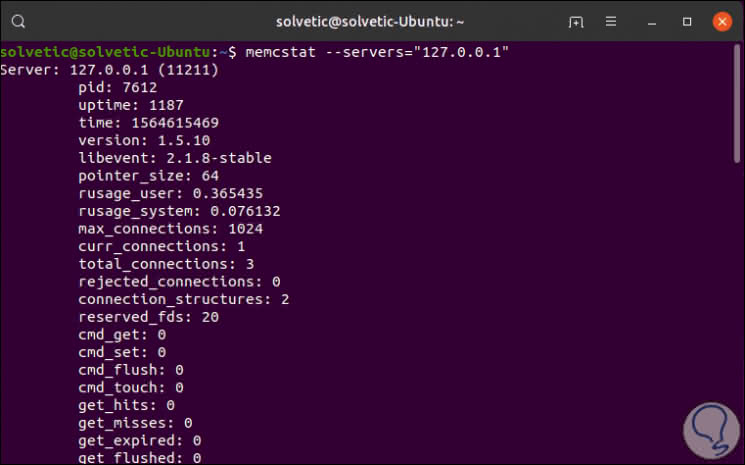
To do this we must enable SASL in the Memcached configuration file and then add the desired users, first of all we will check the connectivity of the Memcached instance using the memcstat command:
memcstat --servers = "127.0.0.1"
Step 2
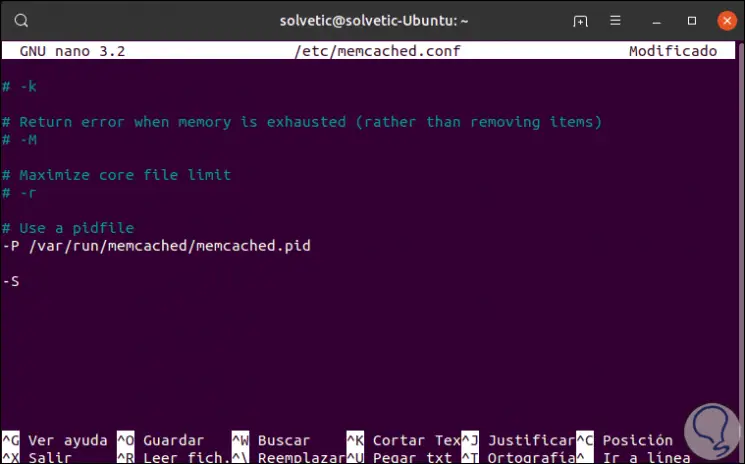
To enable SASL we will add the -S parameter to the /etc/memcached.conf file, for this we open the file again by running:
sudo nano /etc/memcached.conf
There at the end we will add the following:
-S
Step 3
Now we are going to uncomment the -vv line which delivers details to the file / var / log / memcached:

We save the changes with Ctrl + O and exit the editor with Ctrl + X..
Step 4
We restart the Memcached service:
sudo systemctl restart memcached
Step 5
We can check the logs in order to verify that SASL support has been enabled in Ubuntu:
sudo journalctl -u memcached
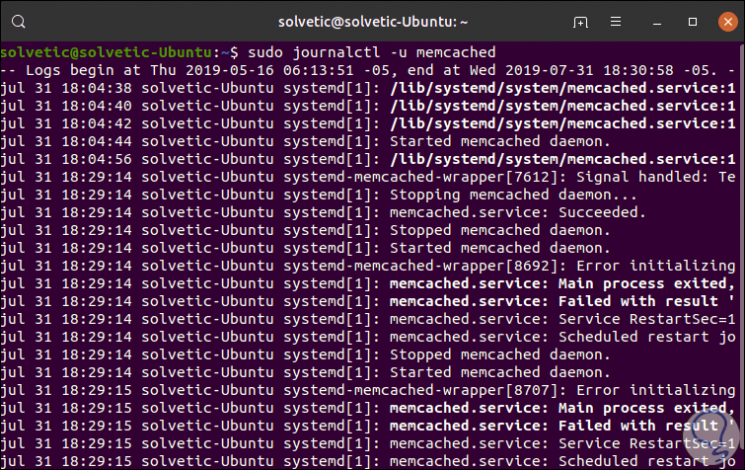
Step 6
There we must locate the line:
memcached systemd-memcached-wrapper [2310]: Initialized SASL
Now we validate the connectivity again:
memcstat --servers = "127.0.0.1"
Step 7
As we see no result is generated, there we can enter the following to validate the status of Memcached:
echo $?
As a result we will get the number 1:
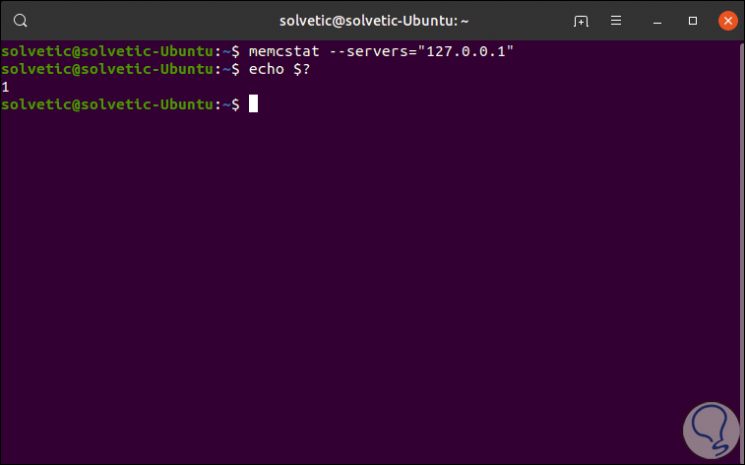
The $? Parameter returns the exit code of the last command executed.
5. Add Ubuntu 19.04 and Ubuntu 18.04 users
Step 1
Now we are going to install sasl2-bin which is a package where administrative tools will be available for the management of the SASL user database, for its installation we execute:
sudo apt install sasl2-bin
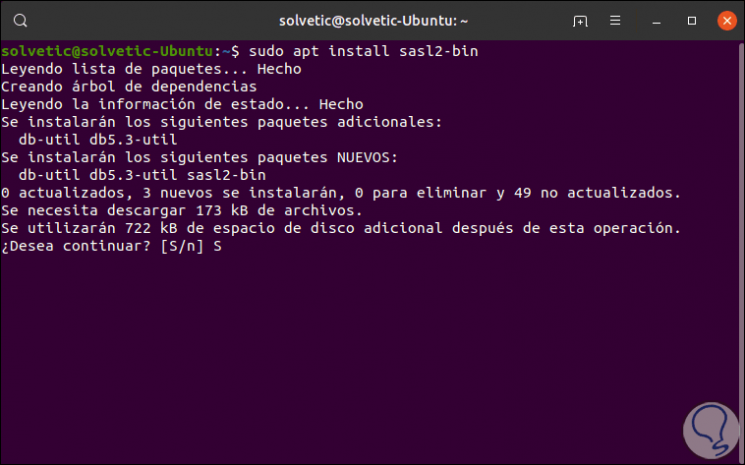
Step 2
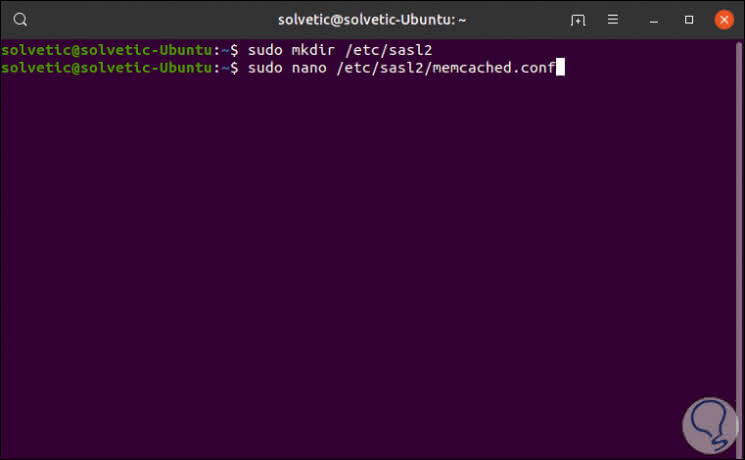
Enter the letter S to proceed with the download and installation, and then we will create the directory and the file that will be used by Memcached to verify the SASL configurations, we execute:
sudo mkdir / etc / sasl2 sudo nano /etc/sasl2/memcached.conf
Step 3
When accessing the file we will enter the following:
mech_list: plain log_level: 5 sasldb_path: / etc / sasl2 / memcached-sasldb2
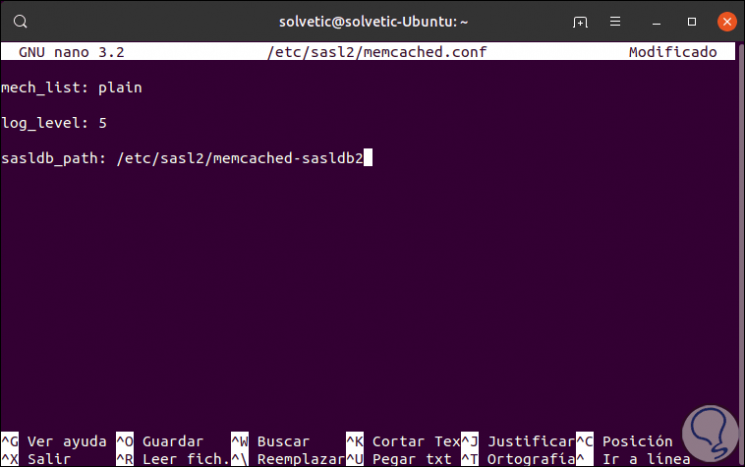
There we have indicated the registration level and the plain format has been specified so that we can use our password file and verify the plain text password.
We save the changes and leave the editor.
Step 4
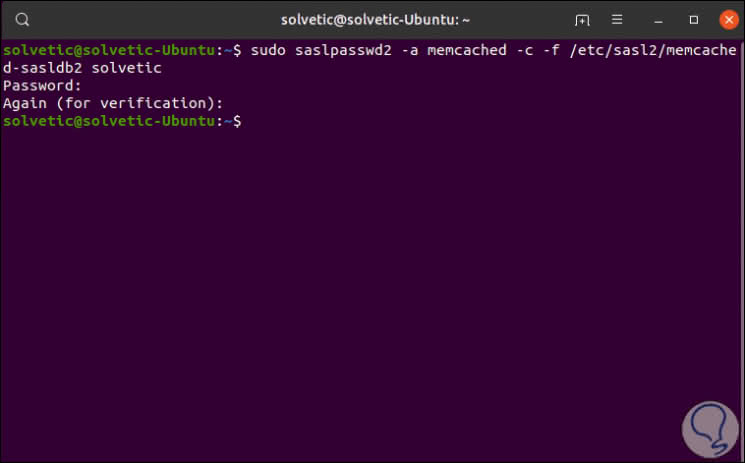
The next step is to create the SASL database by associating the user credentials that we will allow for the entry, this is achieved with the saslpasswd2 command as follows:
sudo saslpasswd2 -a memcached -c -f / etc / sasl2 / memcached-sasldb2 solvetic
The parameters used are:
Specify the path to the database
Pressing Enter will enter and confirm the password:
Step 5
Finally, we will grant the memcache user ownership over the SASL database by executing the following:
sudo chown memcache: memcache / etc / sasl2 / memcached-sasldb2

Step 6
We restart the Memcached service:
sudo systemctl restart memcached
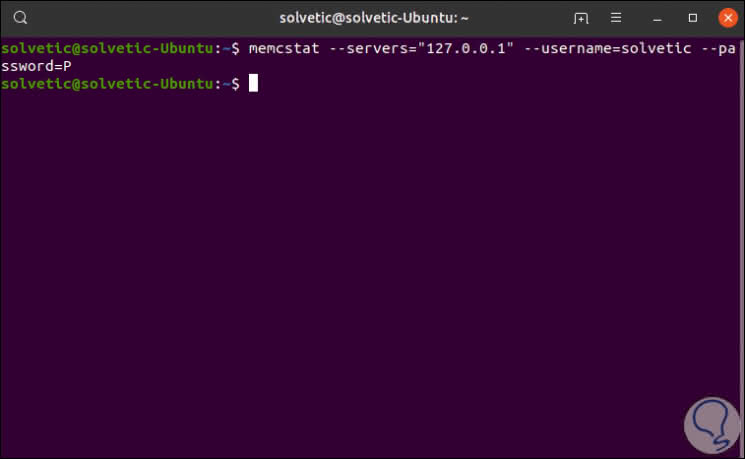
Now we are going to run memcstat in order to validate if the authentication process was successful but we will execute it with the authentication credentials:
memcstat --servers = "127.0.0.1" --username = solvetic --password = password
6. Installation of Apache and PHP for use with Memcached Ubuntu 19.04 and Ubuntu 18.04
Step 1
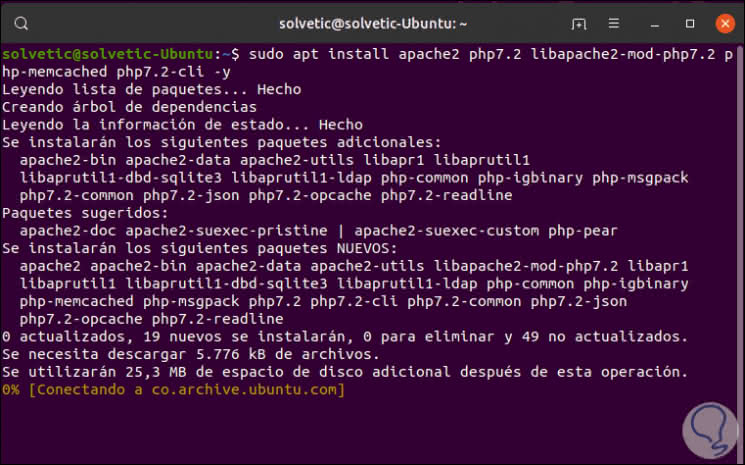
Finally Memcached has already been installed and now we will install both Apache and PHP to combine its use, for this installation we execute:
sudo apt-get install apache2 php7.2 libapache2-mod-php7.2 php-memcached php7.2-cli -y
Step 2
Once this installation is finished we will create a file called phpinfo.php in the Apache directory, for this we access with the following line:
sudo nano /var/www/html/phpinfo.php
There we will enter the following:
<? php phpinfo (); ?>

Step 3
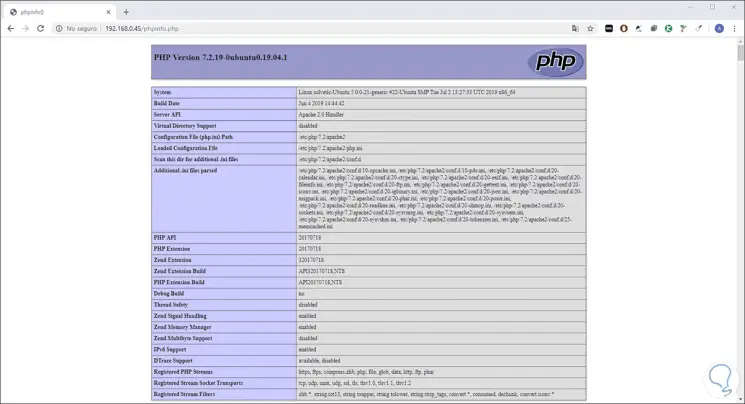
We save the changes and leave the editor, now, to test this configuration we access a browser and enter the following:
http: //ip_server/phpinfo.php
First we will see details of the server and Apache with PHP:
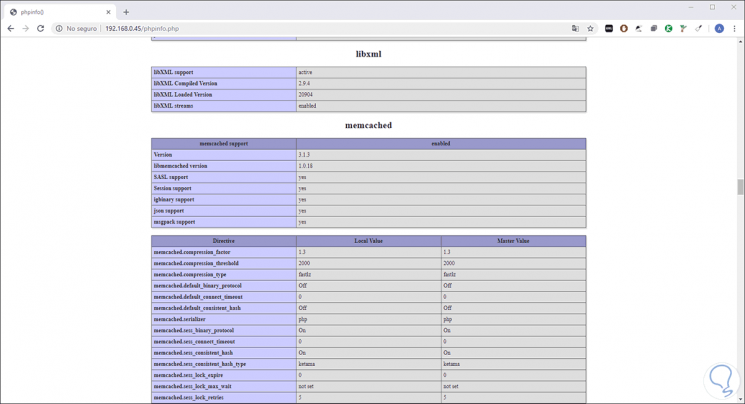
Step 4
Below we will find the Memcached section with its modules:
We have seen how to install and configure Memcached on Ubuntu 18.04, 18.10 or 19.04 and thanks to this increase memory management capabilities on the server.