As each developer releases its new editions of operating systems, we are expectant about what new features it has and what attributes have been removed..
Such is the case of Ubuntu, which has just launched the 18.04 edition both at the desktop and server level and one of the advantages of this new edition is that it will be LTS with a support of 5 years until 2023. Within everything What's new we will see in Ubuntu 18.04 Server we have functions such as:
New functions
- CPU controller for cgroup v2 interface
- AMD secure memory encryption support
- New MD driver with RAID software enhancements
- Enhanced power management for systems with SATA link power management
- Stacking support for Linux security modules
- Support for the signature of POWER host and NV kernels
- Backport improved support for IBM hardware and Intel Linux 4.16
- gcc is configured by default to compile applications as position independent executables (PIE)
- Python 2 is no longer installed by default, we now have Python 3.6
- The gpg binary is provided by gnupg2
- OpenSSH now does not accept the use of RSA keys less than 1024 bits
- Remote transfer of custom storage volumes
- Extended API / dev / lxd inside containers
- LXD server grouping (a large virtual LXD)
- Numerous improvements in command line tools
- Support for port redirection
- Azure pre-provisioning speed improvements
- For VMware it has support for 64-bit platforms and identification of the OVF data source provided
- New cloud-init command line tools available such as status, scan and clean
- KVM pod support for creating labels, select the storage group and compose machines with multiple storage groups
- Experimental support to configure zfs as the root file system
- New user interface for DNS administration
Install Ubuntu 18.04 Minimal Server
Now we are going to see how to install Ubuntu 18.04 Minimal Server in an integral way.
Step 1
The ISO image is available at the following link:
Ubuntu 18.04 Server
Step 2
Once the ISO image has been downloaded, we can burn it to a bootable DVD or USB media and then configure the device from the BIOS or UEFI to boot from there. Once we start from the disk where the Ubuntu 18004 ISO has been recorded, we will see the following window where we will select the language to use:

Step 3
Once we define the language, press Enter and in the next window we will have the following options:
Install Ubuntu Server
Start the installation process of Ubuntu 18.04.
Install MAAS Region Controller
It is responsible for installing the MASS drivers at the regional level.
Install MAAS Rack Controller
This option installs the Rack drivers for MAAS tasks.
Check disk defects
It is responsible for checking and analyzing the disk for errors before proceeding with the installation.
Check memory
Analyze the RAM to verify its integrity.
Boot from the first hard drive
Active option if we already have a previous installation on the hard disk.
Recover a damaged system
It is responsible for accessing support tools to correct system failures.

Step 4
We click on the first option and the following will be displayed:
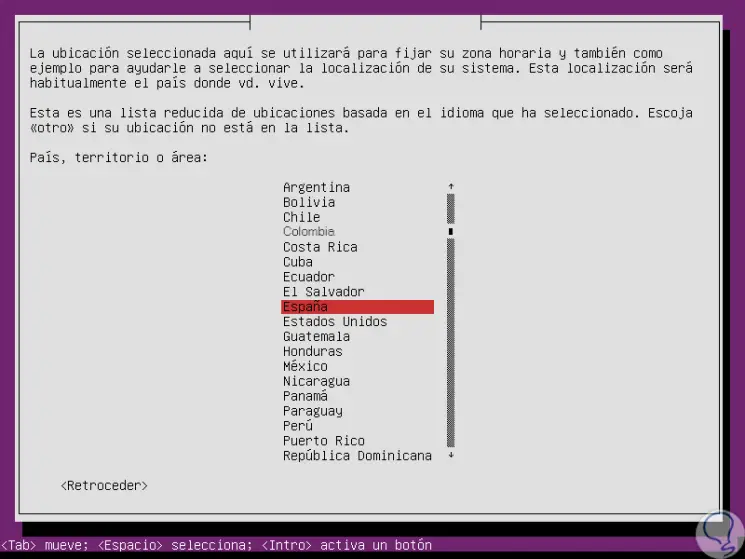
Step 5
There we select our graphic location and then we will see the following:
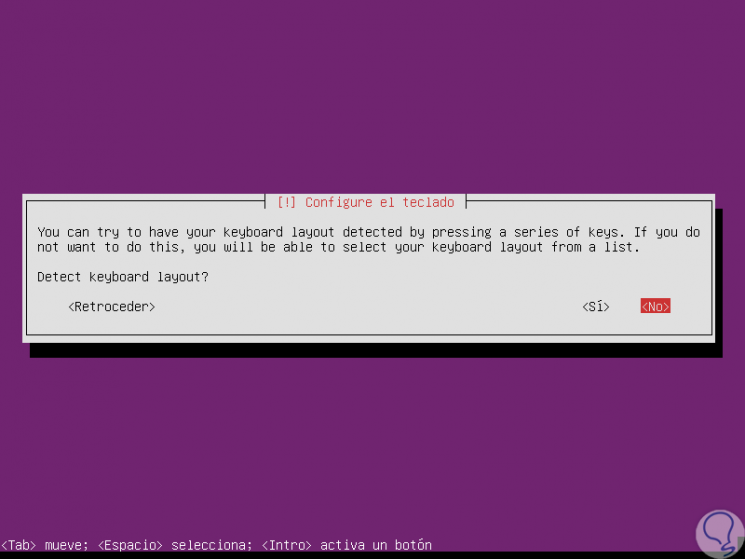
Step 6
There we can test or not the keyboard configuration, select No and press Enter and then select the language used with the keyboard:
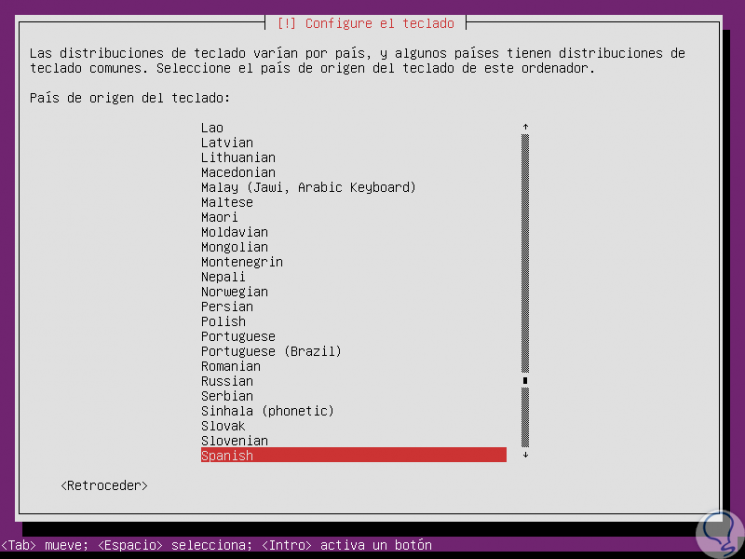
Step 7
We select the distribution of this one:
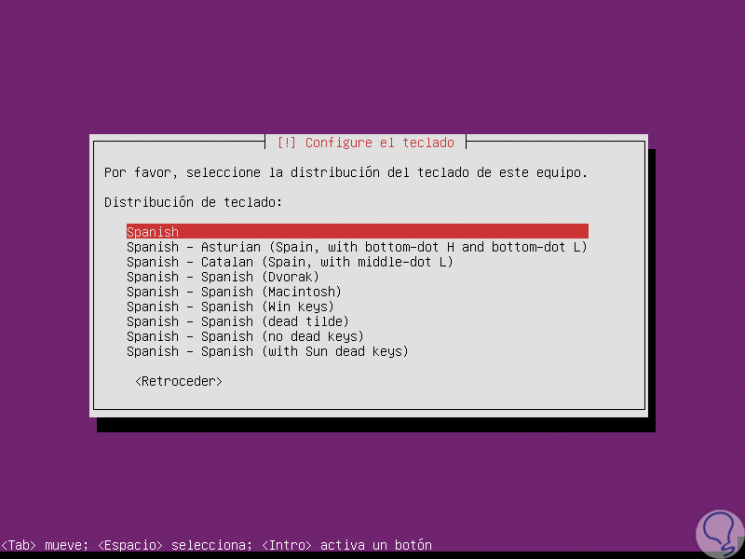
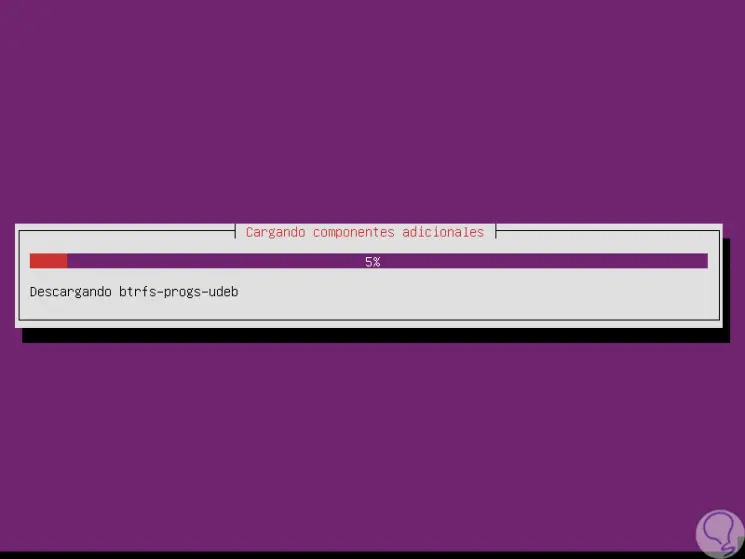
Step 8
Press Enter and we will see that the process of loading additional system components begins:
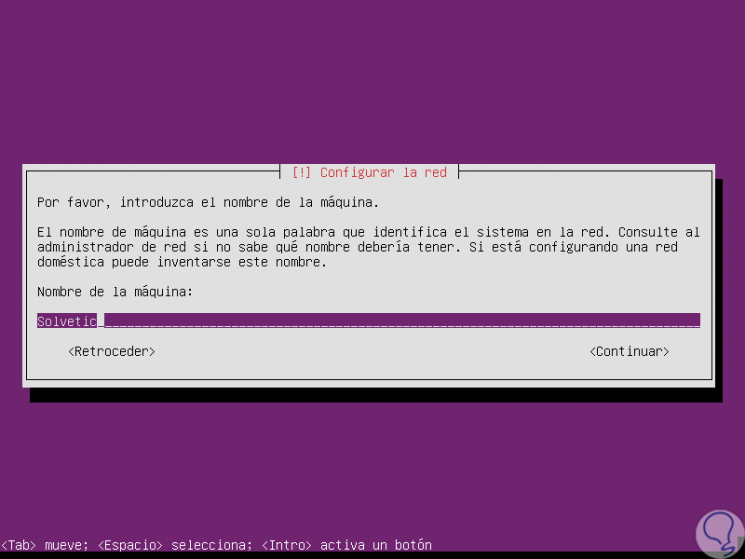
Step 9
Once this process is finished we will see the following window where we will enter the name of the team:
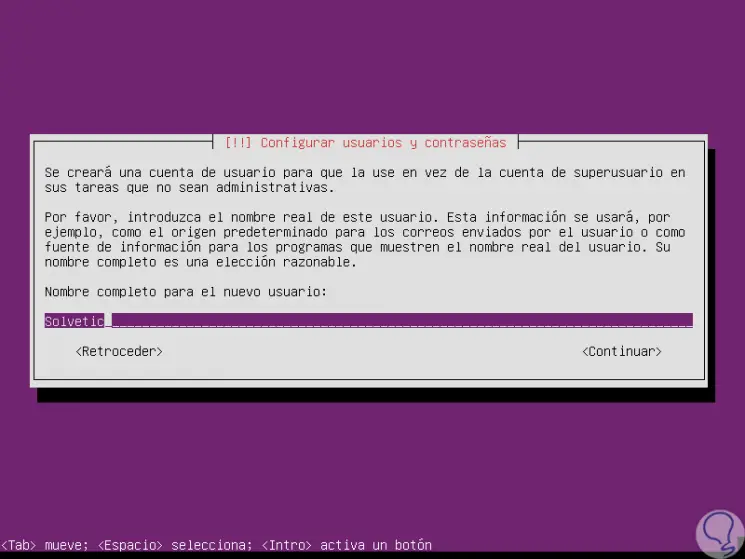
Step 10
Click on Continue and now we will establish the name of the system administrator user:
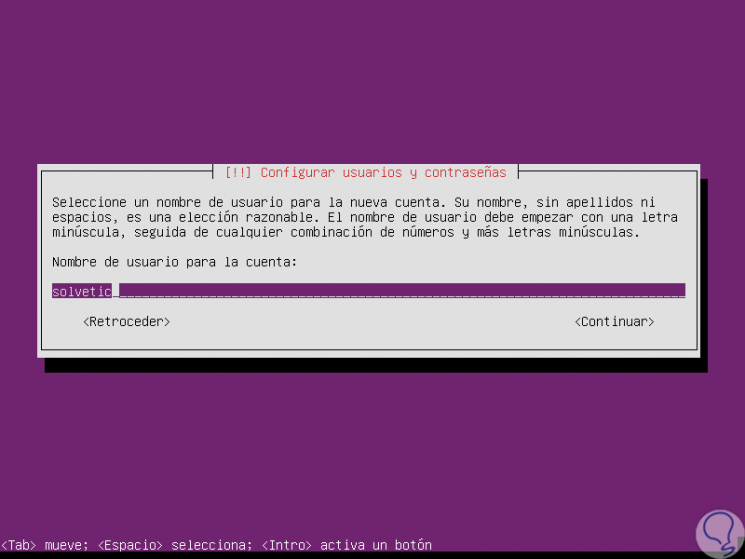
Step 11
Press Enter and confirm the name:
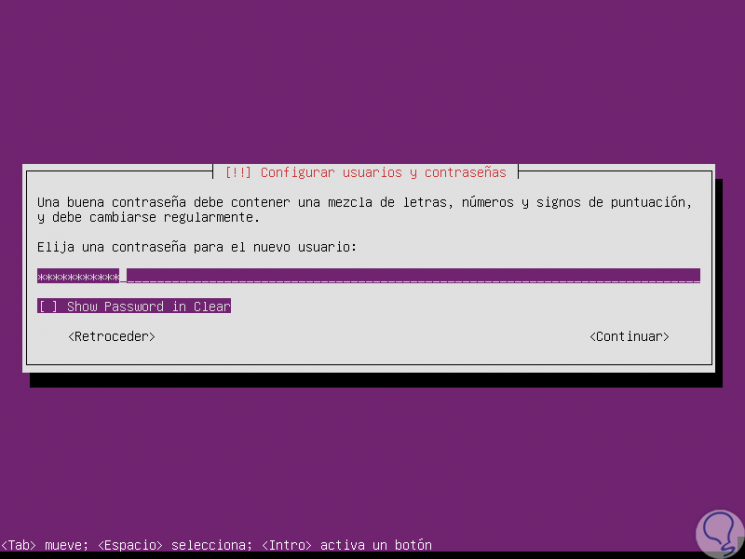
Step 12
In the following window we must assign and confirm the password for the respective user:
Step 13
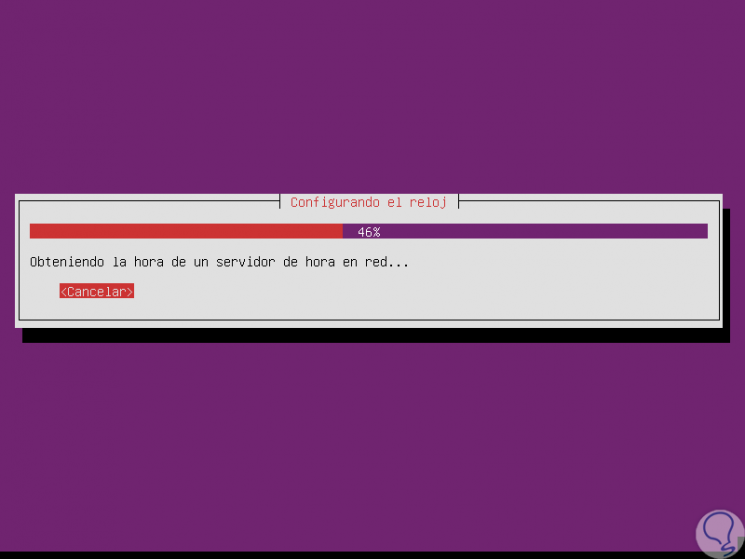
Once we confirm this the system will continue to apply changes:
Step 14
Next, the system confirms our graphic location:
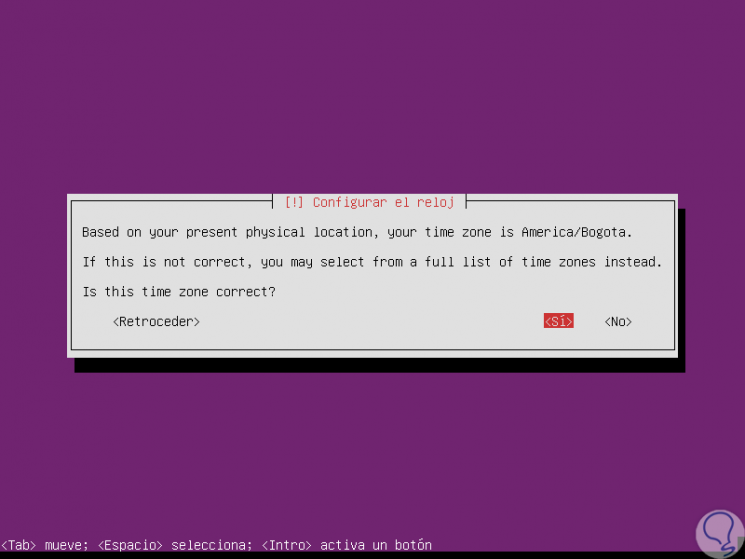
Step 15
If we are sure, select Yes and press Enter. Now we will arrive at the partition section of the disk where we will see the following:
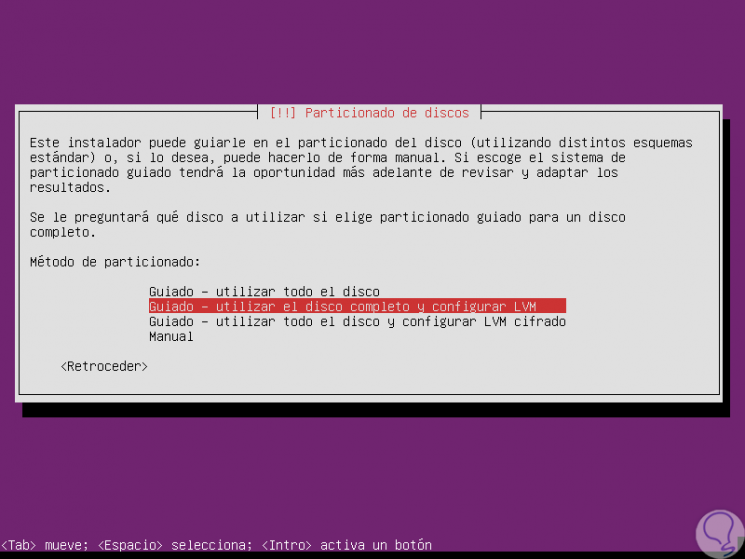
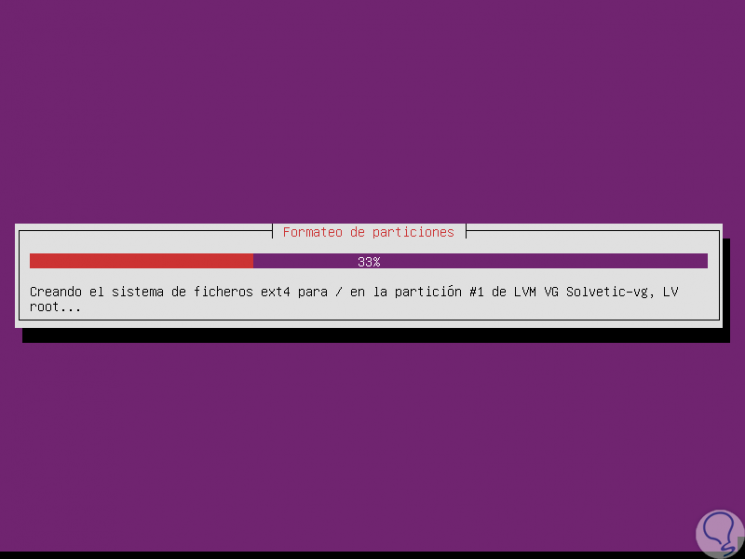
Step 16
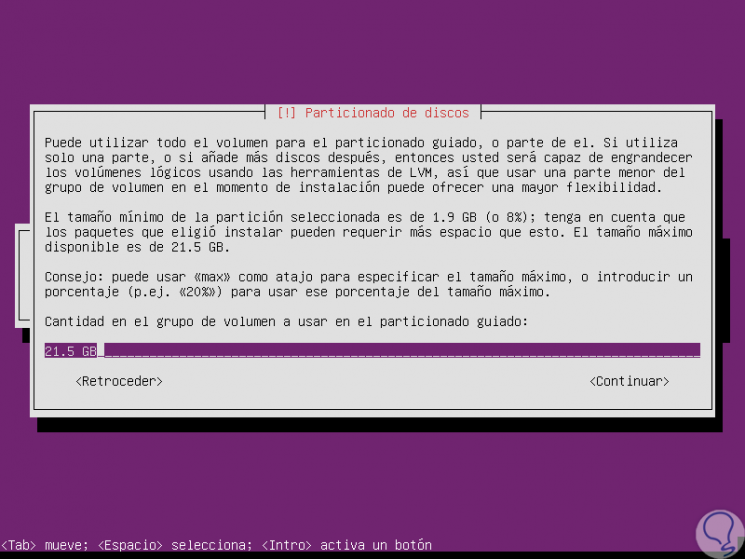
The default value creates a volume group with two logical volumes, one for the / file system and one for swap.
If we wish we can use the entire disk or manually set the partition. We leave the default option and then we will see the following:
Step 17
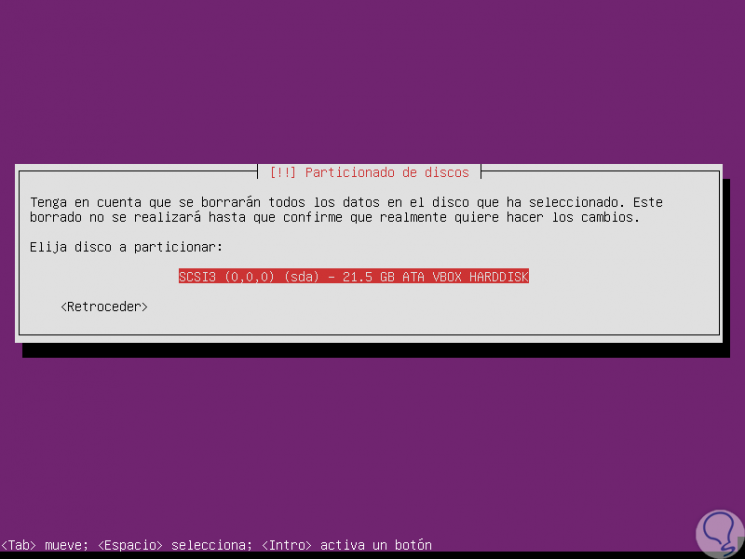
There we select the hard disk where Ubuntu 18.04 is to be installed and press Enter. The system will generate the following warning:
Step 18
Click Yes to confirm that the data is written to the selected disk. Pressing Enter we will see the following:
Step 19
There we will define the space to be used to carry out the action, once defined click on “Continue†and the following will be displayed:
Step 20
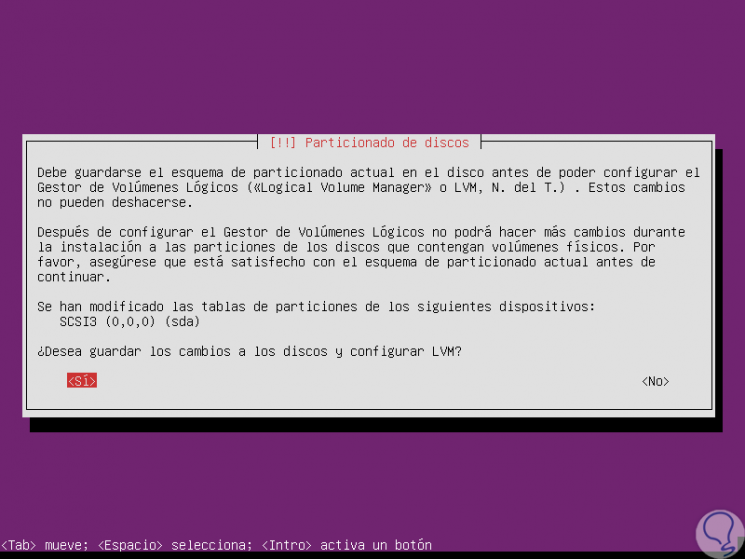
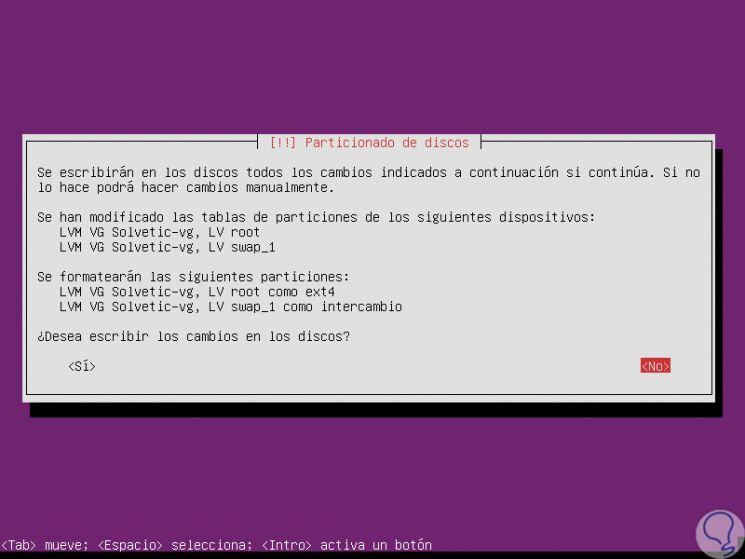
There we can see the structure with which the disk will be created, select Yes and press Enter and start the configuration process:
Step 21
We can see that the process continues:
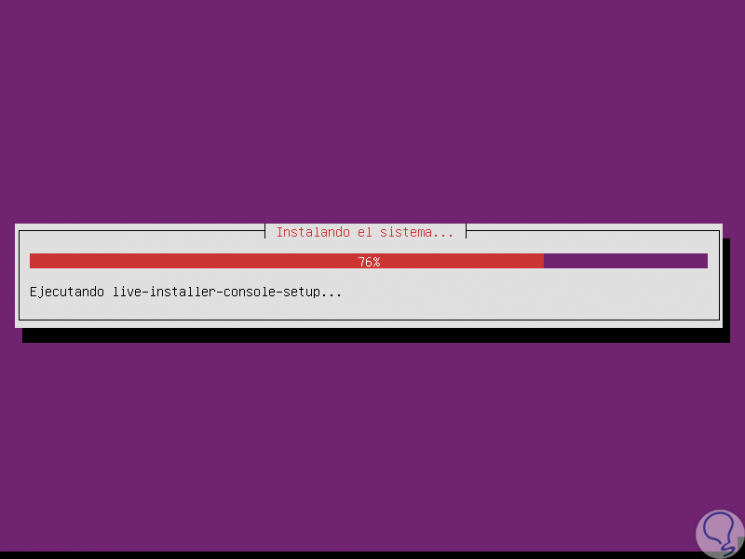
Step 22
During the installation process we will see the following:
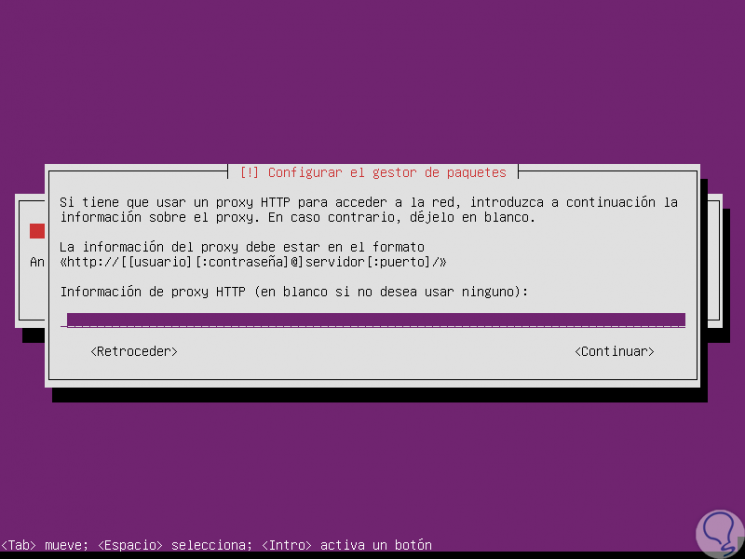
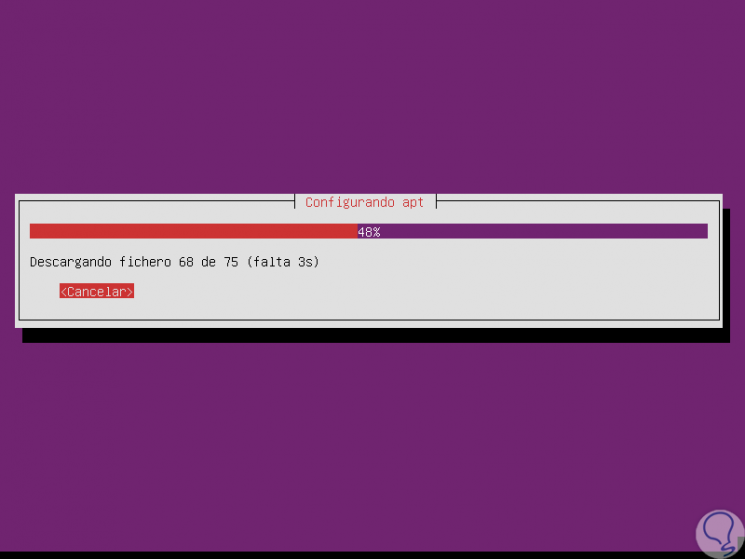
Step 23
There we press Enter or enter the proxy server if we use it. The package download process will continue:
Step 24
Later we can decide whether or not to enable automatic updates for Ubuntu:
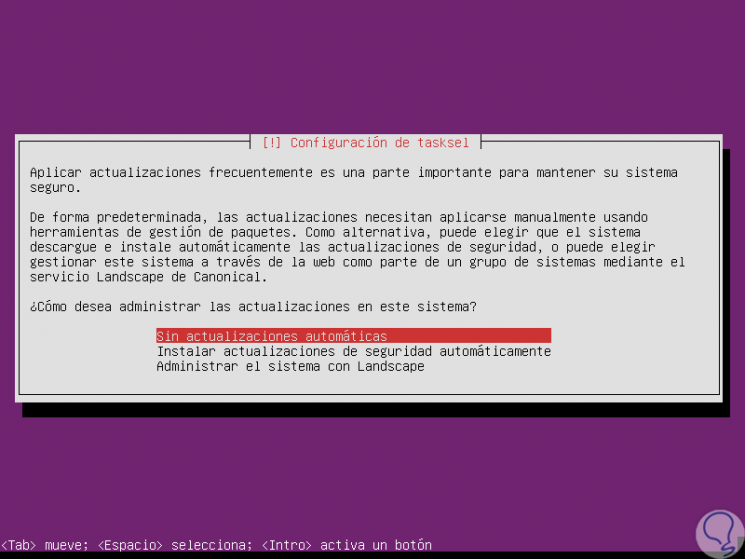
Step 25
Select the appropriate option and press Enter. Now, it will be possible to select the components to be installed in the operating system:
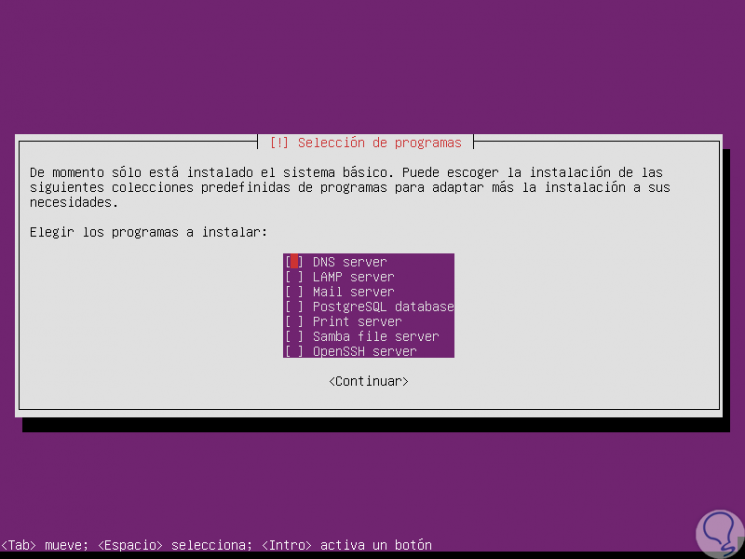
Step 26
We select the desired applications and utilities and the installation process will continue and later the following window will be displayed:
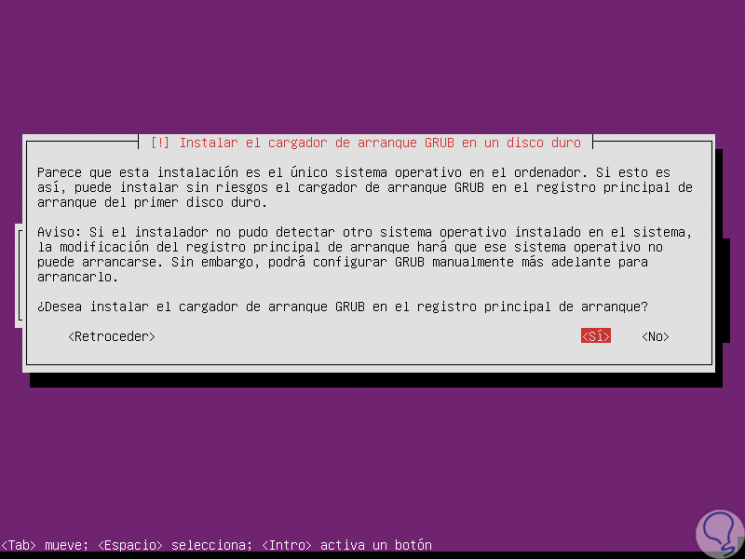
Step 27
There we can see that reference is made to the GRUB bootloader which is vital to boot the system, select
Yes and press Enter again. Once the installation of Ubuntu 18.04 is finished we will see the following.
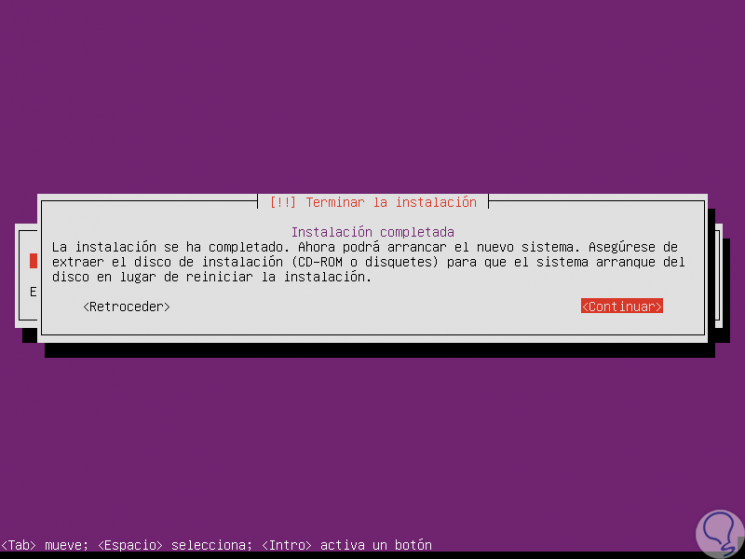
Step 28
Click on Continue and once the system is restarted we will see the login screen:
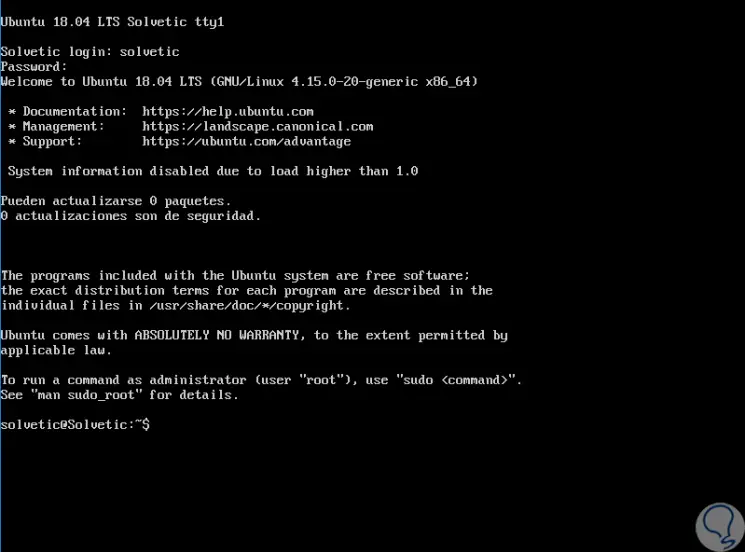
Asid and simple we will have the opportunity to install one of the most versatile and dynamic Linux systems to get the most out of all its tools.