An essential point when working with servers, regardless of the type of operating system used , is the time; and, although it seems that it has no real importance in the system, it plays a vital role that allows many services and processes to be synchronized. This is reflected in an optimal delivery of information to users or machines in the domain ..
If the server time is unconfigured and backups must be run at a specific time this may cause an error; since, if the system time fails for a few seconds, the task will not be completed, or if the server registers personnel access and fails in minutes it will be reporting an erroneous time to the access record of that person.
To avoid this type of failure, we can use the NTP server; which is developed to allow exact synchronization of local server time with internet time based on geographic location. It is for this reason that today in TechnoWikis we will see how to install this NTP server in Ubuntu 18.04 and thus be sure that the recorded time will be correct..
What is NTP?
NTP (Network Time Protocol - Protocol of) is a network protocol that has been created and designed to synchronize the clocks of the equipment through a network.
With NTP it will be possible to synchronize the clocks of all systems within the local network with the global network; since the NTP server synchronizes local time by contacting several servers distributed throughout the world. NTP supports Unix, VMS and Windows operating systems.
The NTP time synchronization services are available on the Internet network thanks to which we have the best options and alternative to establish a connection with the correct time zone since the NTP public subnet includes thousands of servers in most of the countries and on all continents of the world.
The NTP subnet is based on a hierarchy of levels, where each level is assigned a number called a stratum as follows:
- Stratum 1 (primary) servers of the lowest level are synchronized directly with national time services via a satellite modem, radio or telephone.
- Stratum 2 (secondary) servers synchronize with Stratum 1 servers and so on, so that NTP clients and servers with a relatively small number of clients do not synchronize with public primary servers.
To understand how NTP works and why it is the best solution to have a synchronized system, we must know that NTP clients and servers synchronize with the Universal Coordinated Time (UTC) time scale, which is used by laboratories national and is broadcast by radio, satellite and other available media. This is a global time scale independent of the geographical position in which we are currently and has no restrictions to correct the local time zone or daylight saving time but the operating system itself can execute these changes.
The protocol used by NTP is resistant to lost, repeated or falsified packets, which guarantees that the defined time is correct and real; since version 4 of NTP supports about four dozen reference clocks via satellite modem, radio and telephone including audio devices for instrumentation signals..
All reference clock controllers require that the reference clock only use Coordinated Universal Time (UTC) and the operating system kernel makes the time zone settings.
1. How to install and configure the NTP server on Ubuntu 18.04 Linux
Step 1
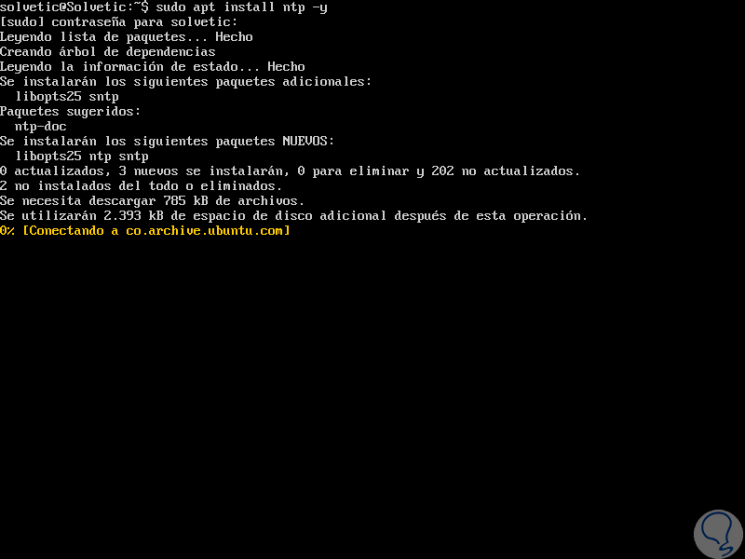
By default, the NTP package is available in the default Ubuntu 18.04 LTS repository, so to install it we must run the following command:
sudo apt install ntp -y
Step 2
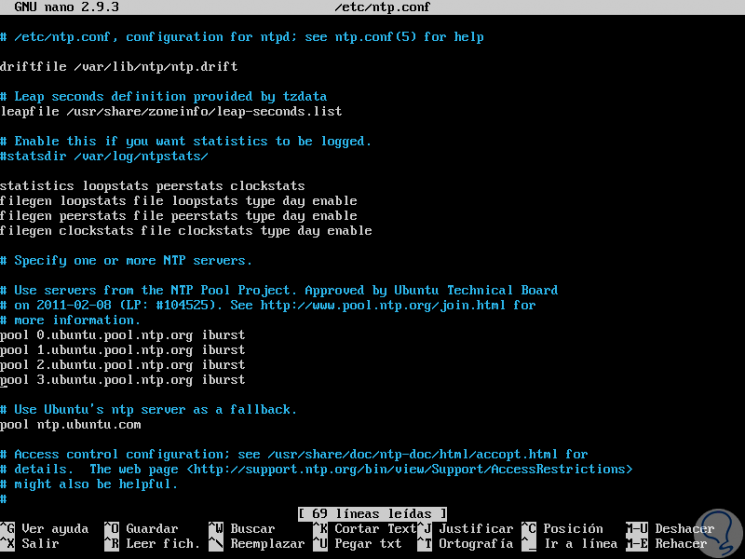
Once installed, it will be necessary to configure NTP to synchronize the time from the NTP public server, for this we must edit the ntp.conf file as follows:
sudo nano /etc/ntp.conf
There we will see the following:
Step 3
It will be necessary to replace the following lines:
pool 0.ubuntu.pool.ntp.org iburst pool 1.ubuntu.pool.ntp.org iburst pool 2.ubuntu.pool.ntp.org iburst pool 3.ubuntu.pool.ntp.org iburst
These must be replaced by the current geographical location, the complete list is available at the following link:
NTP Zones
There we will see the following:
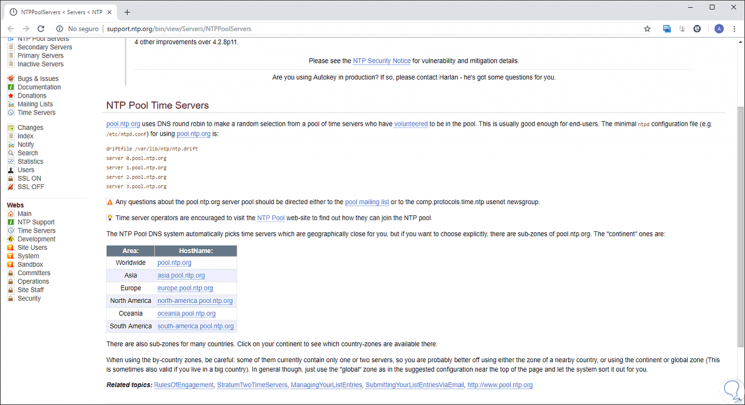
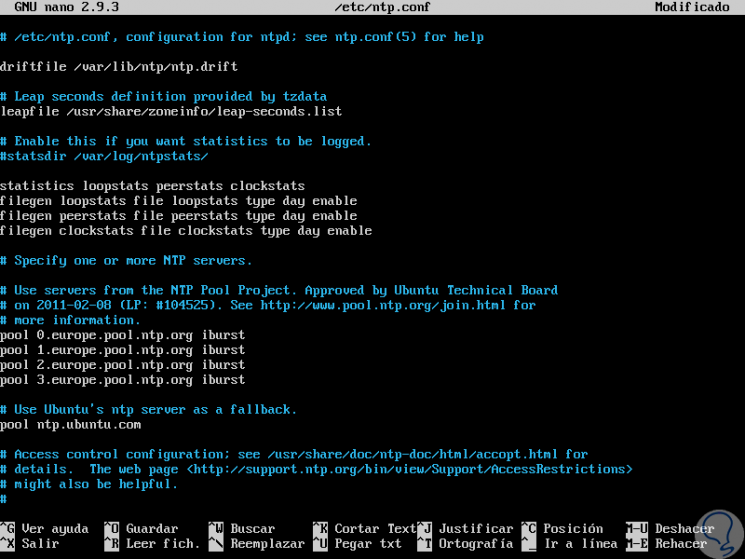
We must take the hostname based on the desired area and set it in the file that we have opened in Linux as well. We save the changes using the following key combination:
+ O Ctrl + O
We leave the editor using the keys:
+ X Ctrl + X
Step 4
Now we are going to restart the NTP service and apply the changes by running the following line:
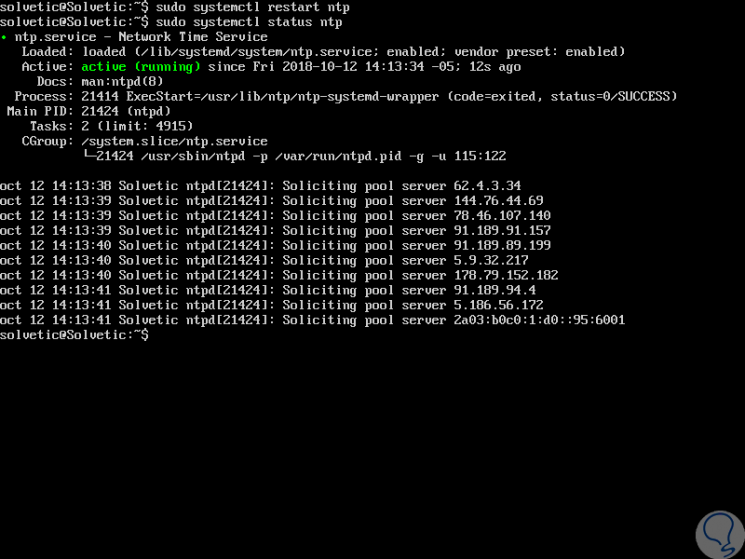
sudo systemctl restart ntp
We proceed to check the status of NTP by executing the following:
sudo systemctl status ntp
2. How to install and configure the NTP client on Ubuntu 18.04 Linux
The next step is to install and configure the NTP client in order to synchronize time with the NTP server, but first it must be necessary to configure the / etc / hosts file so that the NTP server can be resolved through the host name.
Step 1
We access this file using some editor:
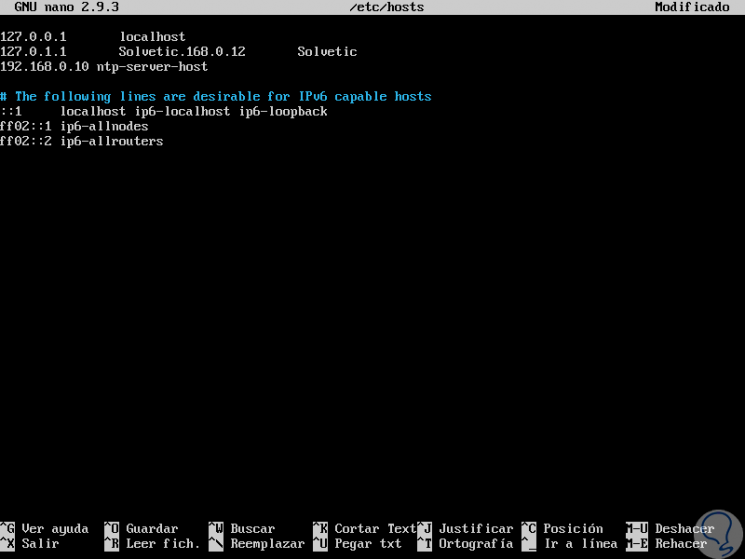
sudo nano / etc / hosts
There we will add the following syntax based on the server's IP address:
192.168. ***. *** ntp-server-host
We save the changes with the following keys:
+ X Ctrl + X
We leave the editor with the keys:
+ O Ctrl + O
Step 2
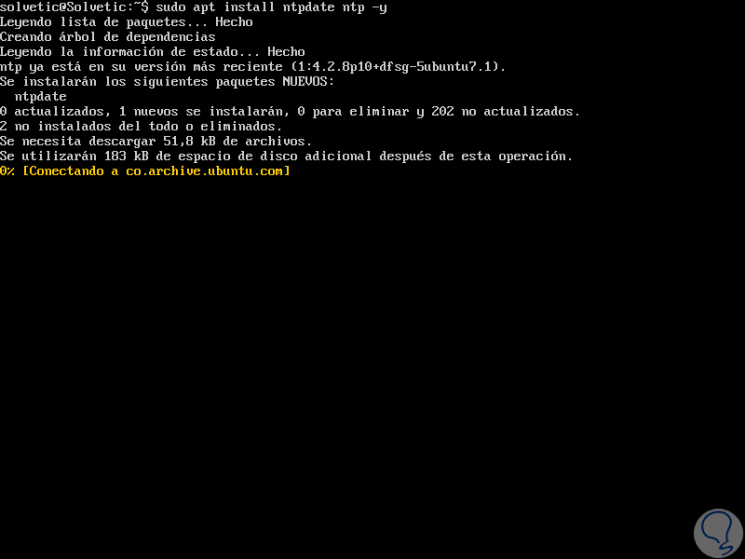
Now we are going to install NTP and ntpdate with the following commands:
sudo apt install ntpdate ntp -y
Step 3
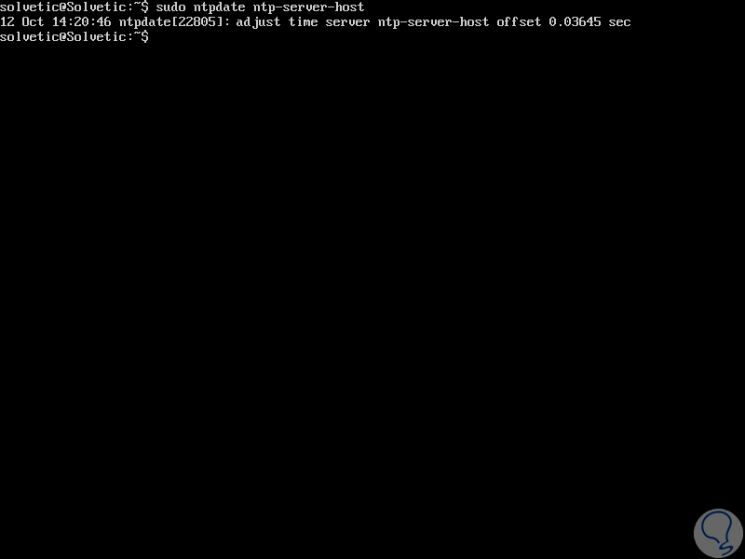
Manually check the synchronization with the NTP server by executing the following:
sudo ntpdate ntp-server-host
Step 4
Next, we will disable the default timesyncd service of the Ubuntu system with the following command:
sudo timedatectl set-ntp off
Now, we are going to edit the file /etc/ntp.conf and configure there the NTP server that we have configured as the preferred NTP server for time synchronization, for this we execute the following:
sudo nano /etc/ntp.conf
There we add, in this case, the following line at the end:
server ntp-server-host prefer iburst
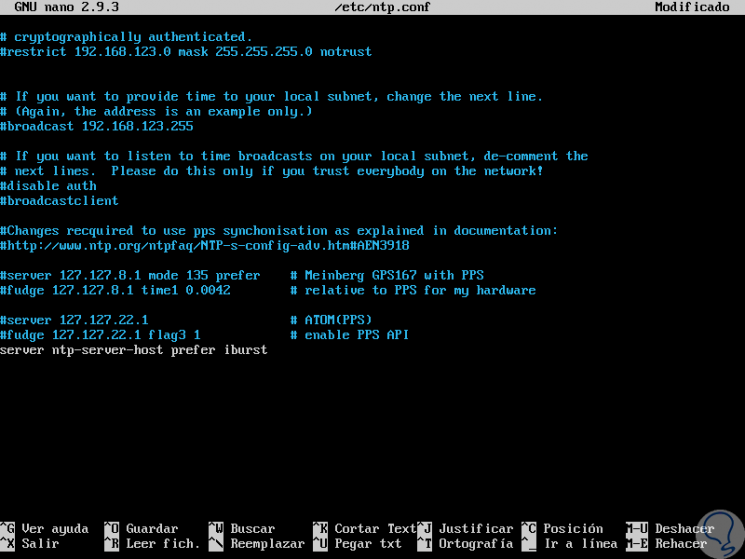
We save the changes and leave the editor.
Step 5
We proceed to restart the service to apply the changes by executing:
sudo systemctl restart ntp
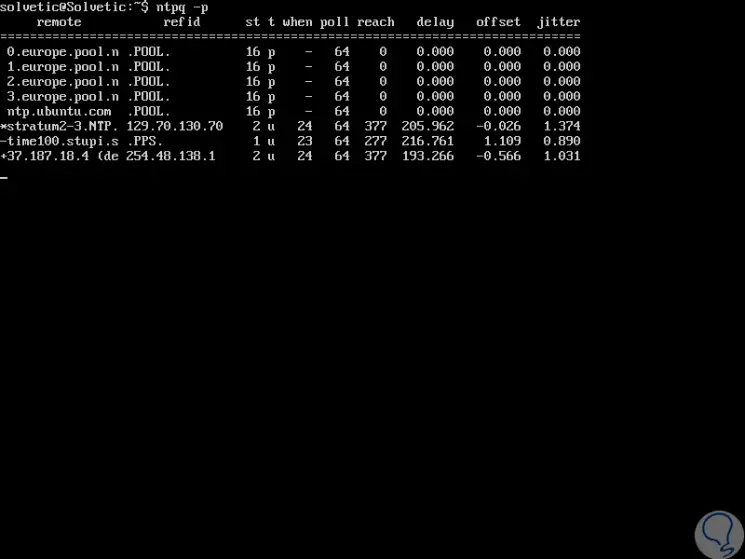
Finally, we will use the ntpq command to list the NTP time synchronization queue on our Ubuntu 18 server:
ntpq -p
There we will see the location that we have defined for the NTP server.
Thus, we will have the certainty that the synchronization of the time of our server is correct and thus we guarantee that all the services will be in order.