Ubuntu has developed one of the most versatile , secure and simplified management operating systems for both desktop (Ubuntu Desktop) and corporate environments ( Ubuntu Server ) where each of these versions has their respective features and functions based on the role to be executed..
In the case of Ubuntu Server versions , these have a series of special functions for the tasks and services that this must deliver to customers, so Ubuntu has developed some parameters more focused on it.
Ubuntu Server has a category called LTS (Long-Term Support), which is a long-term support version that is included in the Queens version of OpenStack and its support is available until April 2023, it is worth mentioning This support will only be for 64-bit versions.
Features Ubuntu 10.04 LTS
Ubuntu 18.04 LTS gives us features such as:
- Support for 32-bit PowerPC has been suspended.
- Linux kernel 4.15 which allows you to make use of the latest hardware and peripherals from IBM, Intel and other manufacturers.
- AMD secure memory encryption support.
- Improved power management for systems that implement SATA Link Power Management.
- Stacking support for Linux security modules.
- Support for signing POWER hosts and NV kernels.
- OpenJDK 11 is by default.
- gcc has been configured by default for compile tasks of position independent executable applications (PIE) which results in more effective use of random allocation of address space design (ASLR).
- Better mitigations to protect against Specter and Meltdown attacks.
- A default version of the CIFS / SMB protocol has been added for CIFS mounts.
- Improvements are implemented in the UEFI Secure Boot for better management of third-party modules.
- Equipment support with libteam is available through the NetworkManager.
- The default DNS resolution is resolved through systemd.
- The installer gives us an option to run a minimal installation for a basic desktop environment using a web browser and main system utilities.
- A live version is offered in the installation process.
- The backend configuration in Ubuntu Server 18.04 LTS by default will be provided through systemd-networkd.
- LXD has been updated to version 3.0, LXD is the container manager of the system integrated in all Ubuntu servers, it offers us the possibility to execute tasks such as LXD server grouping, remote transfer of custom storage volumes, NVIDIA support, API / dev / lxd extended inside the containers and more.
- In Ubuntu 18.04 LTS, Chrony will replace ntpd as the default server for the NTP protocol.
- cloud-init has been updated to version 18.2 offering features such as support for 64-bit platforms in VMware, improvements in Azure provisioning speed, improvements and changes in ssh key behavior for the default user and much more.
- Curtin was updated to 18.1 with improvements such as compatibility with the zpool and zfs experimental file system, user agent configuration support, accepts mounting options for the file system and more.
- MAAS has been updated to version 2.4b2 where features such as audit trail addition, DNS management UI addition, KVM pod support, user interface performance improvements, better backend performance are integrated from MAAS, experimental support to configure zfs and more.
- SSSD was updated to version 1.16.x.
- Nginx has been updated to version 1.14.0.
- Apache is available in version 2.4.29.
- landscape-client has been integrated into Python 3 and is available to be installed in the default image.
- New dynamic MOTD support for Canonical Livepatch
- Specific improvements of s390x.
- Ubuntu 18.04 LTS has the latest version of OpenStack, Queens, which includes components such as OpenStack Identity - Keystone, OpenStack Imaging - Glance, OpenStack Block Storage - Cinder, OpenStack Compute - Nova, OpenStack Networking - Neutron, OpenStack Telemetry - Ceilometer, Aodh , Gnocchi, and more.
- Performance improvements for the ARM64 architecture.
Now we will learn how to install Ubuntu Server 18.04 LTS in VirtualBox . Recall that VirtualBox is a platform available for architectures of 32 and 64 through which it will be possible to virtualize multiple systems and thus explore all its functionalities and features without affecting the productive environment or our physical machine..
VirtualBox can be installed on the following operating systems:
Microsoft systems
- Windows Server 2008 (64-bit)
- Windows Server 2008 R2 (64-bit)
- Windows 7 (32-bit and 64-bit)
- Windows 8 (32-bit and 64-bit)
- Windows 8.1 (32-bit and 64-bit)
- Windows 10 RTM build 10240 (32-bit and 64-bit)
- Windows Server 2012 (64-bit)
- Windows Server 2012 R2 (64-bit)
- Windows Server 2016 (64-bit)
On Linux systems
- Ubuntu 14.04 LTS, 16.04 LTS, and 17.04
- Debian GNU / Linux 7 ("Wheezy"), 8 ("Jessie") and 9 ("Stretch")
- Oracle Enterprise Linux 5, Oracle Linux 6 and 7
- Redhat Enterprise Linux 5, 6 and 7
- Solaris 10 (U10 and higher)
Your download is available at the following link.
Virtualbox
The Ubuntu Server 18.04 ISO image can be downloaded at the following link:
Ubuntu Server 18.04 LTS
There we will see the following:
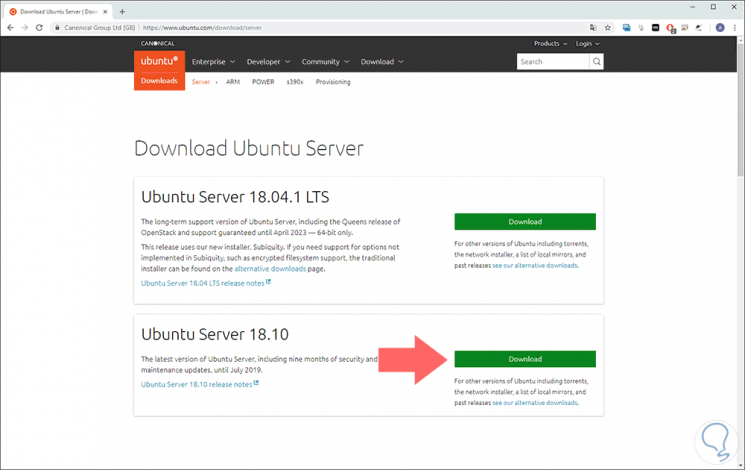
Click on the Download button located in the Ubuntu Server 18.04 LTS section to start the process of downloading the ISO image..
1. How to create Ubuntu Server 18.04 LTS virtual machine in VirtualBox
Step 1
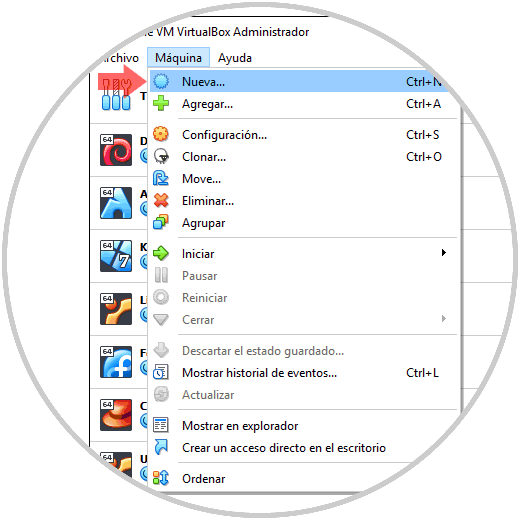
When VirtualBox has been installed, we access the application and we will create our virtual machine, we have the following options:
- Use the key combination Ctrl + N
- Go to the Machine menu and there select the New option
Step 2
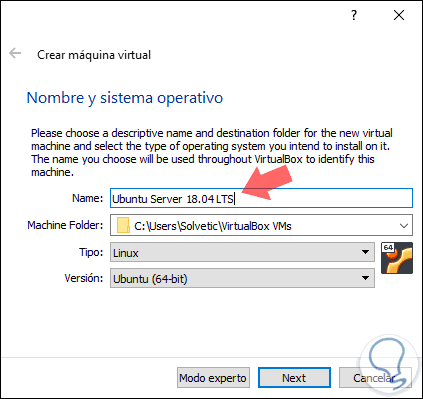
In the displayed window we will configure the following information:
- Name of the virtual machine to create
- Location where you will be staying
- Type of operating system to use, in this case we select Linux
- System version to use, in this case we select Ubuntu (64-bit)
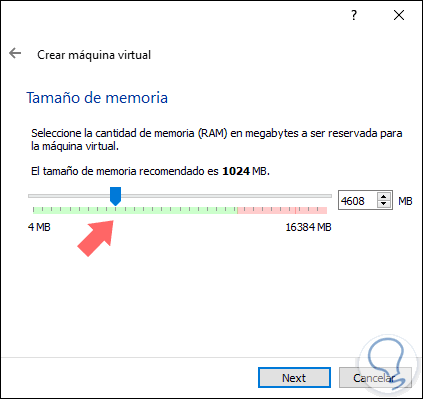
Step 3
We click on the "Next" button and the next step is to allocate the virtual memory for the Ubuntu 18.04 LTS virtual machine, the default value will be 1024 MB, but this can be edited using the slider to set a new value :
Step 4
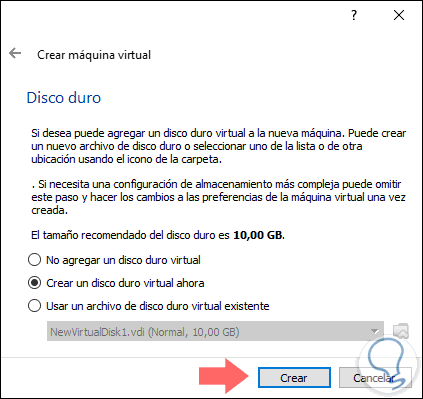
Again click on "Next", and now we find the options for the hard drive, there we have the following options:
Do not add a virtual hard disk
By selecting this option, it will be possible to add the hard disk later before the virtual machine is run.
Create a virtual hard drive now
With this option, by default, a hard disk will be created and its size will be subject to the selected operating system, in the case of Linux it will be 10 GB
Use an existing virtual hard disk file
Thanks to this option we can use a disk in VHD or VDI or VMDK format so that it is implemented in the Ubuntu Server 18.04 LTS virtual machine
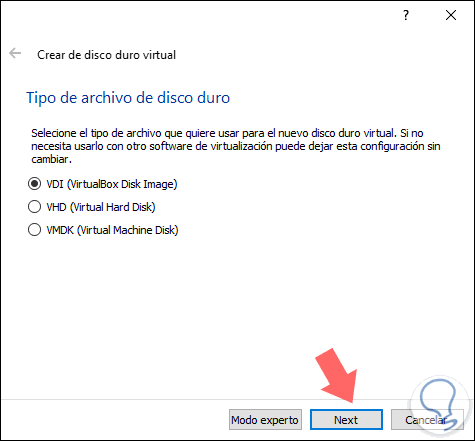
Step 5
Select the most appropriate option and again click on "Next" and now select the type of disk to create:
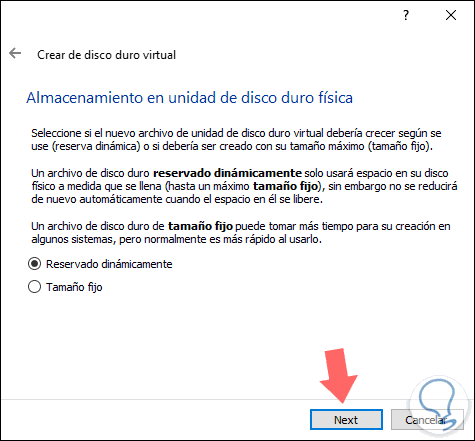
Step 6
The type of disk is related in the way the virtual machine will be used, defined that click on "Next" and then define the way in which the administration of the created disk will work:
Dynamically reserved
This option allows the space on the physical hard disk to be filled as information is hosted on it, but if we delete some of that information, the space will not be recovered.
Fixed size
This option establishes and limits the use of information to the size that we have specified during the creation process
Step 7
Click on "Next" and now we will specify the following information:
- Path where the Ubuntu Server 18.04 LTS virtual machine will be hosted
- Size of the hard disk to create, the default value is 10 GB
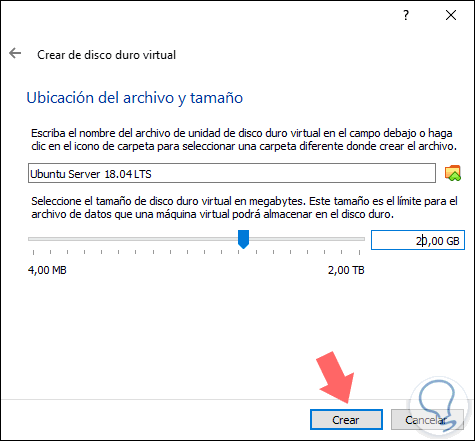
Step 8
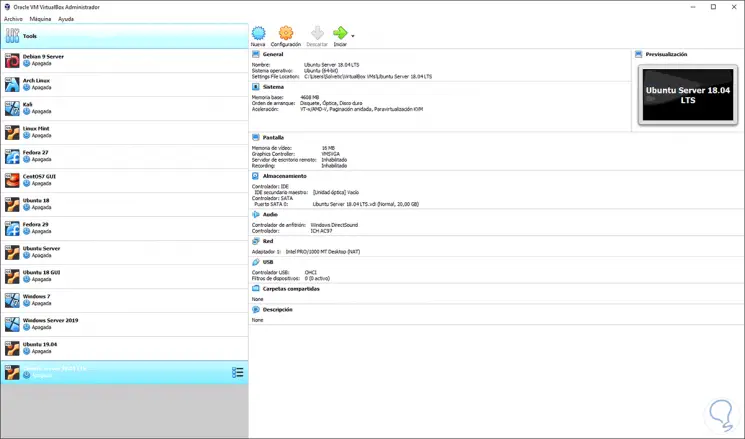
Click on the "Create" button to complete the process and we will see our machine created correctly:

Login Join up!