Multimedia files are a fundamental piece of the millions of current IT users, both videos, audio and streaming are positioned as the preferred method to share pleasant moments and enjoy our systems to the fullest ..
There are several applications that have been developed to allow all multimedia file management to be simple and today we will analyze a special one called Subsonic and see how to install it on Ubuntu 18.04 .
What is Subsonic?
Subsonic has been developed as a media server which is web based and has been written in Java language which simplifies its use in any Java compatible environment. It has multiple features that have been designed to optimize the processes of control and management of multimedia files through a clean, simple interface, but with great features.
features
Within its different characteristics we have:
- Its web interface has been optimized for restricted bandwidth environments and efficient navigation when we have multiple music collections.
- It will be possible to listen to our music from anywhere as we can access from any browser.
- It has free text search to help you find your favorite tracks faster.
- We can assign ratings and comments to albums.
- Create your own playlist and share it with other users.
- It will be possible to manage the play queue by performing tasks such as add, delete, reorganize, repeat, mix, undo, save, load and more.
- Supports MP3, OGG, AAC and any other audio or video format that is transmitted over HTTP.
- It has a transcoding engine which allows the transmission of a wide variety of formats with and without losses by converting to MP3.
- It has an analysis of labels and editing of MP3, AAC, OGG, FLAC, WMA and APE files, making the Jaudiotagger library.
- Compatible with any media player enabled for networks, such as Winamp, iTunes, XMMS, VLC, MusicMatch and Windows Media Playe, additional includes a built-in Flash player.
- Playlists can be imported and exported, M3U, PLS and XSPF formats are supported and saved playlists are available as podcasts.
- HLS video streaming is supported.
- Available in 28 languages.
- Highly configurable user interface
- It has more than 30 different themes.
- We can navigate by gender and decade.
- Create a personal avatar.
- It allows you to chat with other users.
- It will be possible to stream music directly to the phone as it has more than 25 applications available.
- We can share media through Facebook, Twitter, Google+
- Supports REST API for application developers
- Unlimited users or devices
- We can access our own server using the name address.subsonic.org
- Allows you to automatically record what you are playing in Last.fm, using the built-in Audioscrobbling support.
- It is possible to find covers and letters with the web services of Google and Chartlyrics
- Supports the use of HTTPS / SSL encryption for maximum media protection
- Supports authentication in LDAP and Active Directory.
- Users must log in with a username and password and each user is assigned a different privilege.
- Specify the limits of upload and download bandwidth
- Download Podcasts with the integrated Podcast receiver.
- Play media files on compatible DLNA / UPnP devices
- We can transmit to Chromecast and Sonos devices
- It is possible to play music directly on the server's audio hardware using jukebox mode.
- Administration of Internet radio and television stations
Now let's see how to install Subsonic on Ubuntu 18.04..
1. Install Java on Ubuntu 18.04
Step 1
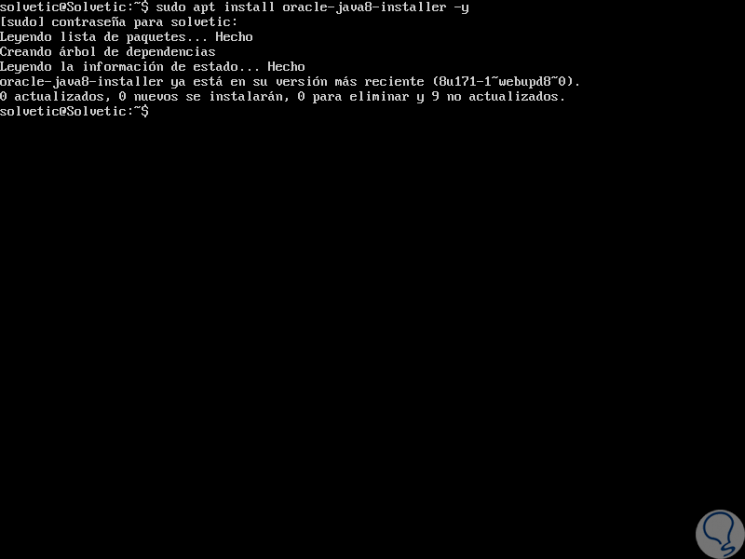
As we mentioned, the Subsonic media server is written in Java, so it will be necessary to install Java, if it is not, in Ubuntu, for this, we will execute the following command:
sudo apt install oracle-java8-installer -y
Step 2
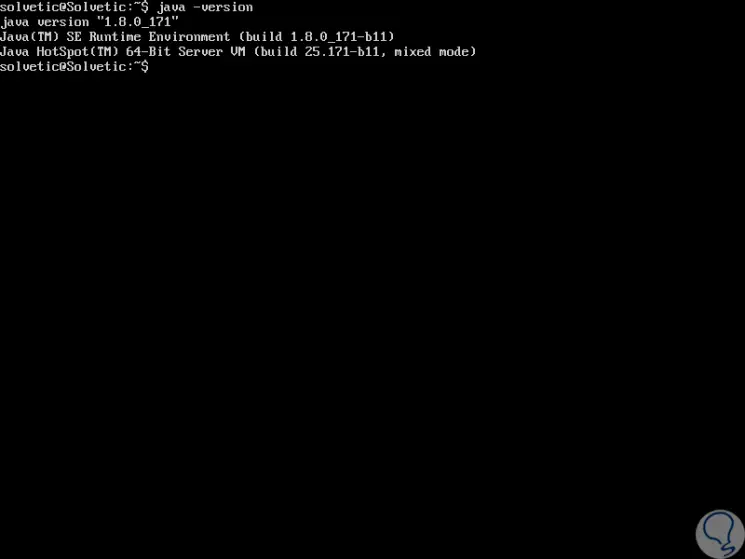
In this case it is already installed and to verify the Java version we will execute the following:
java -version
2. Install Subsonic on Ubuntu 18.04
Step 1
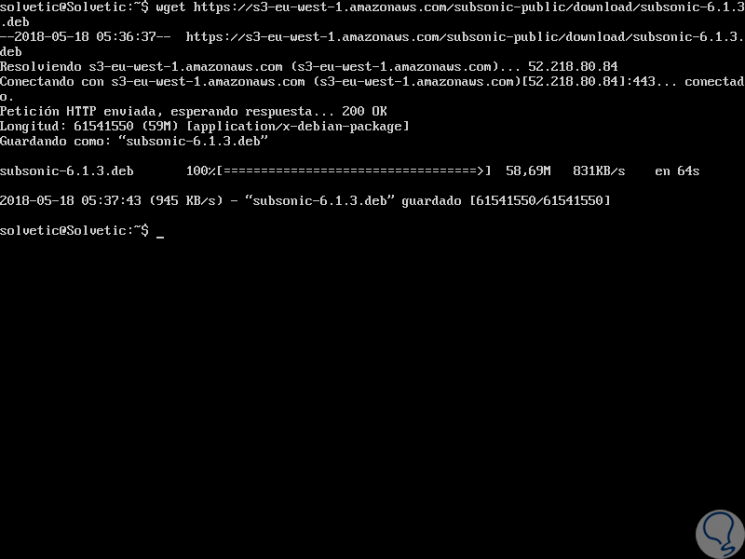
First, we are going to download the latest version of Subsonic to Ubuntu and this is achieved by running the following command:
wget https://s3-eu-west-1.amazonaws.com/subsonic-public/download/subsonic-6.1.3.deb
Step 2
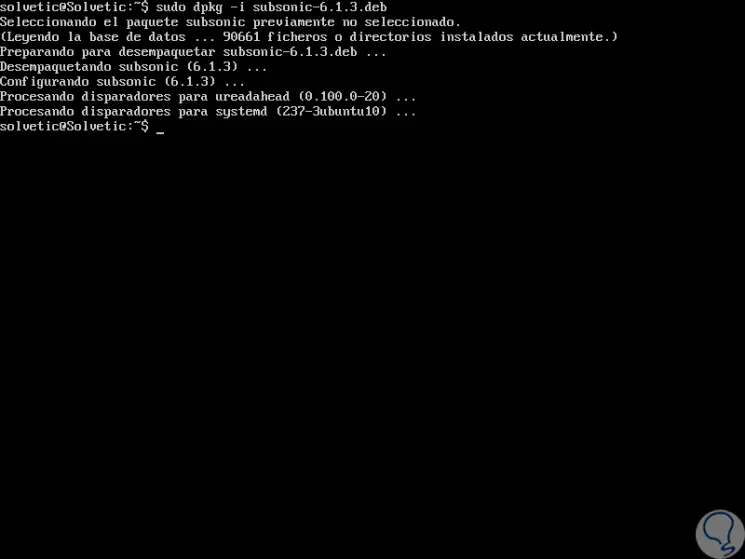
Once downloaded, we will install Subsonic by running the following line:
sudo dpkg -i subsonic-6.1.3.deb
Step 3
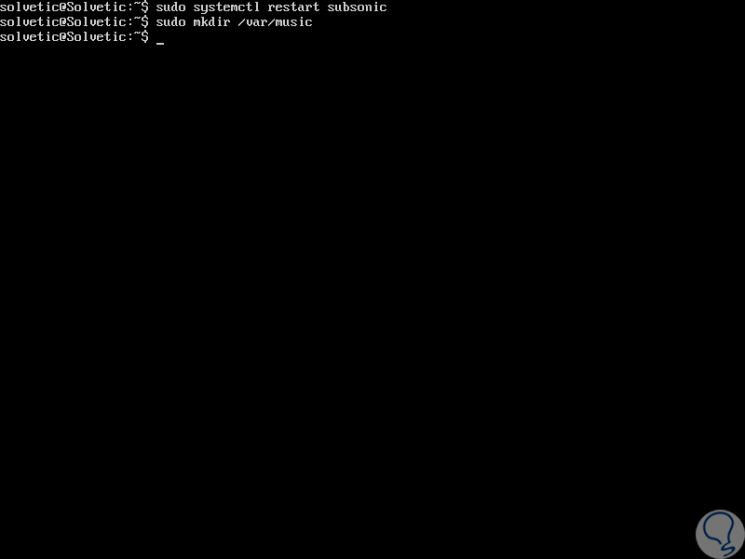
With Subsonic installed, we will restart the service:
sudo systemctl restart subsonic
Step 4
By default, Subsonic will store the music files in the / var / music directory so we will create a music directory for Subsonic with the following line:
sudo mkdir / var / music
2. Access Subsonic in Ubuntu 18.04
Step 1
Now we are going to access the Subsonic interface and for this we go to a browser and use the following syntax:
http: // Server_IP: 4040
Step 2
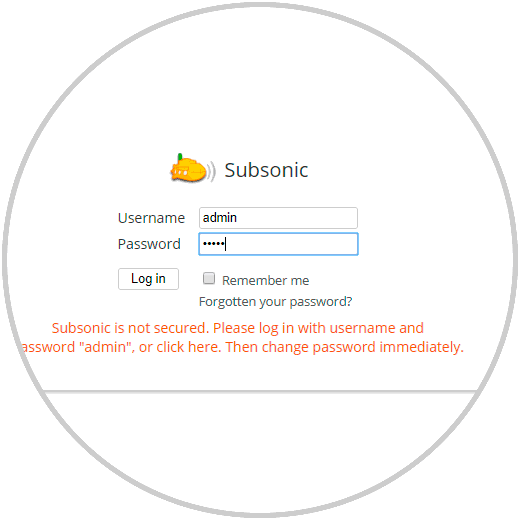
There we enter “admin†as both user and password and when clicking on the “Log In†button this will be the initial Subsonic environment:
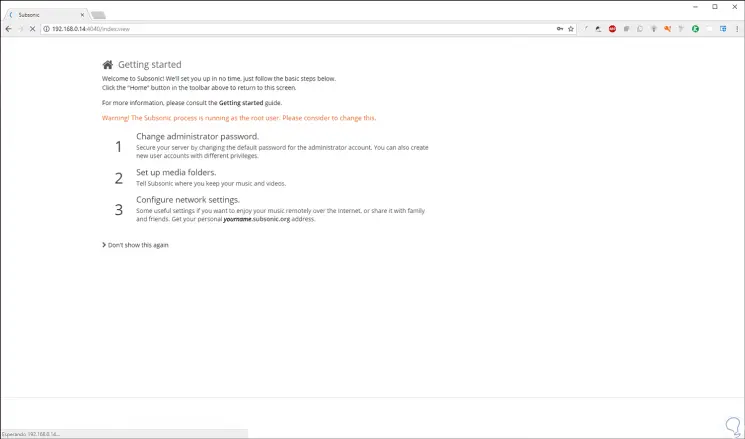
Step 3
Once all the components are loaded we will see the following:
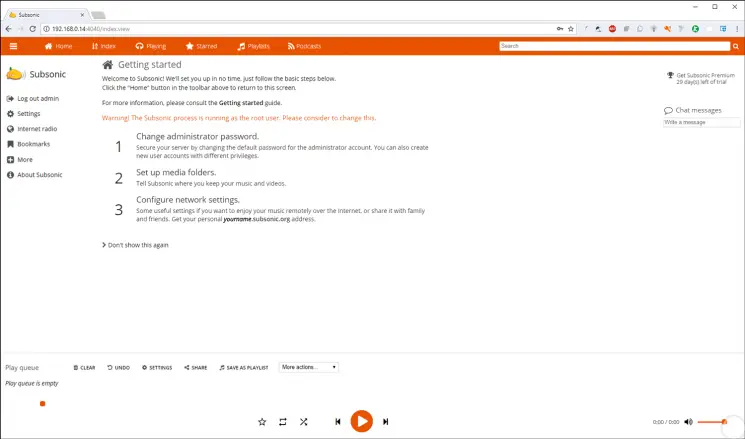
Step 4
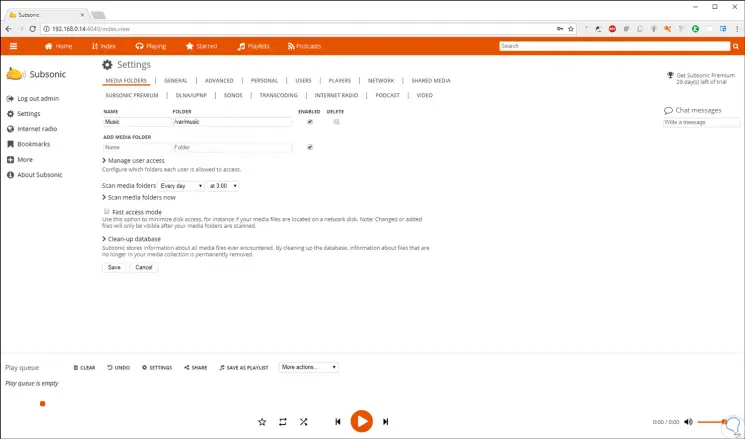
From here we can start the entire media management process, by clicking on Settings we will see this:
Step 5
There it will be possible to edit both basic and advanced Subsonic values.
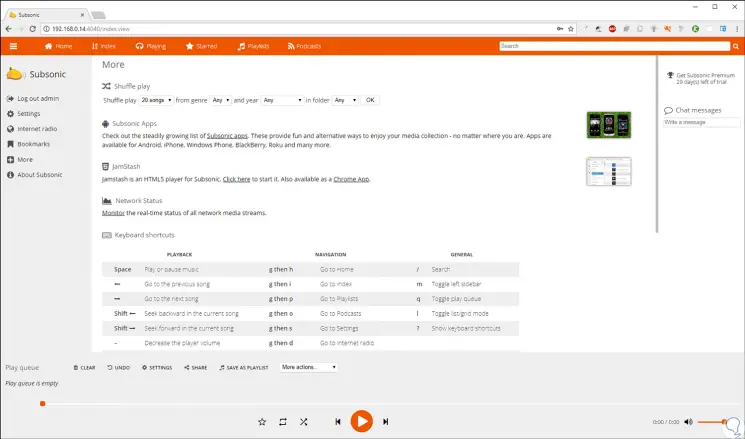
We can see how this application is useful and practical to manage and share media through the web in a secure and fully functional way.