The new Firefox Quantum browser has a feature called Firefox Sync which gives us the ability to share Bookmarks , History, Add-ons and much more information on all devices where we use the Firefox browser..
This is useful when we perform critical work that must be updated in real time and for this purpose this function automatically updates any changes as soon as it is detected.
This requires having a Firefox account and for that purpose TechnoWikis will explain how to create and configure this synchronization in a practical way..
1. Create an account in Firefox Quantum
Step 1
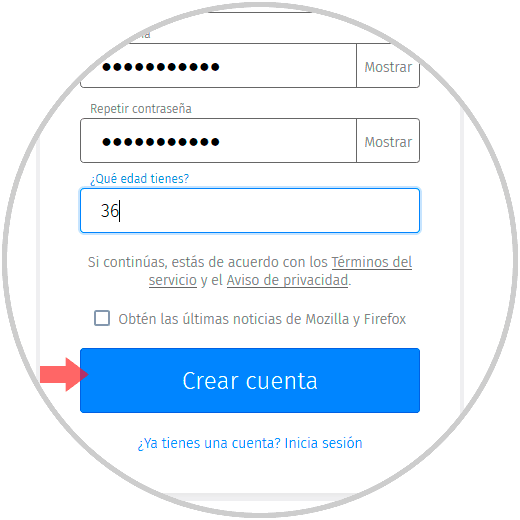
To start this process we go to the following link where we will create our account and assign the respective password:
Create Firefox account
Step 2
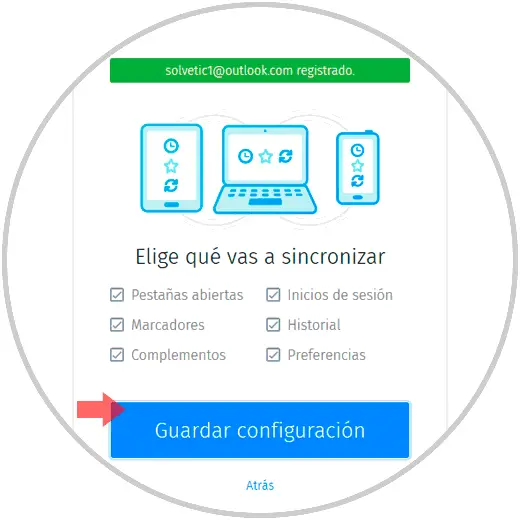
Once we define these steps, click on the “Create account†button and then we will see the following window where we will define which elements have to be synchronized, those that we do not want, just uncheck their box:
Step 3
Click on the “Save configuration†button and we will see the following:
Step 4
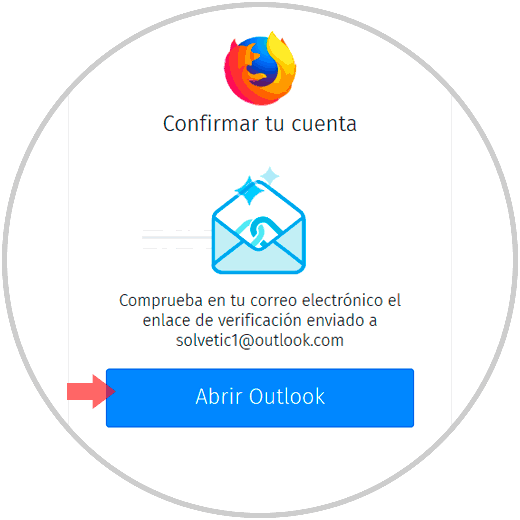
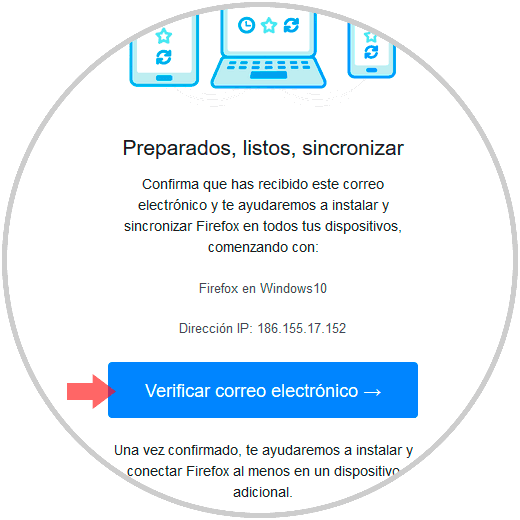
Now, we must go to our registered email account and activate the Firefox account and for this we can click on the “Open Outlook†button and we will see an email similar to this:
Step 5
There we click on the "Verify email" button to continue the process. We will automatically see the following:
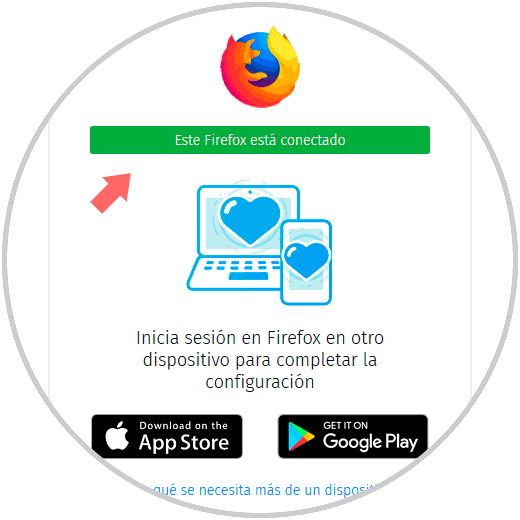
Step 6
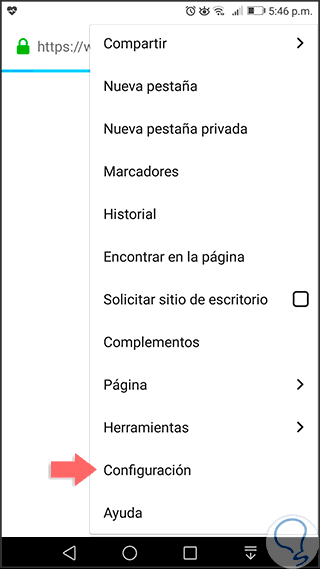
Now, we can go to any other device and make the configuration, for example, we go to Android and we will access the Firefox application and there we click on the menu icon and select the “Configuration†option:
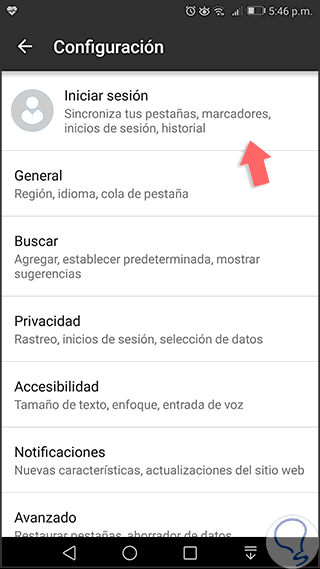
Step 7
When selecting this option, click on "Start session":
Step 8
By clicking there we will enter the credentials that we have previously registered on the website:
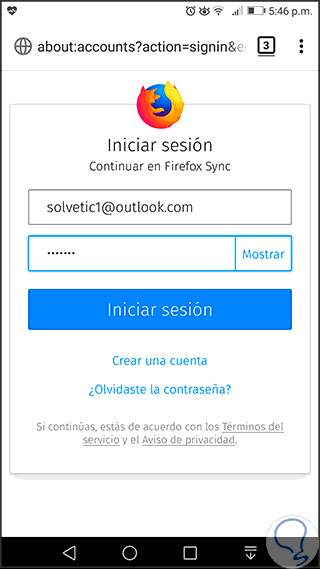
Step 9
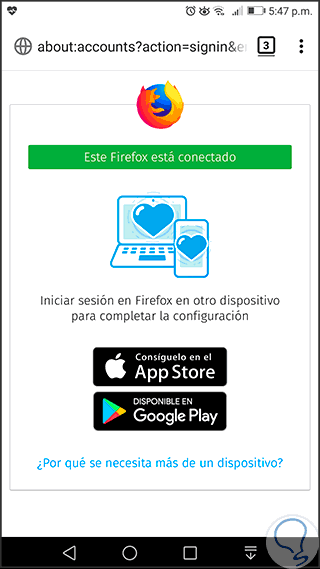
Clicking on "Log in" will display the following. In this way we can use the synchronization functionality completely.
2. Disconnect a device from Firefox Quantum sync
Step 1
To perform this process on a computer, go to Firefox Quantum and click on the menu icon and there we will select the associated email account:
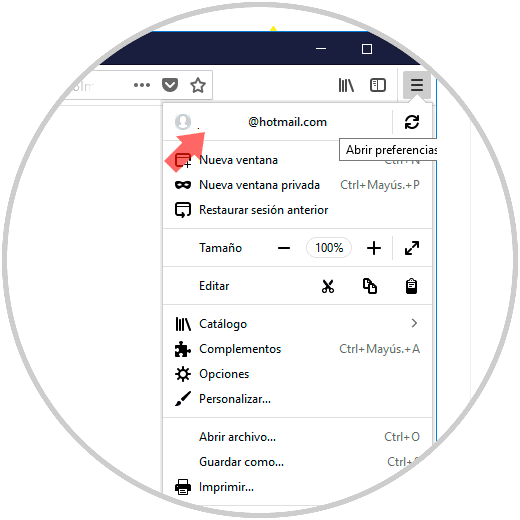
Step 2
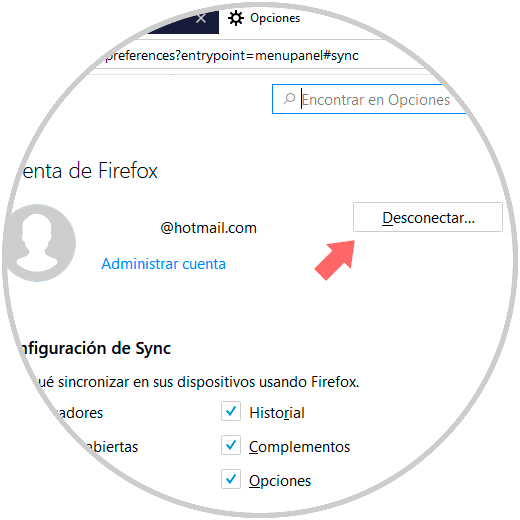
When clicking there, the following window will be displayed where we will click on the “Disconnect†button:
Step 3
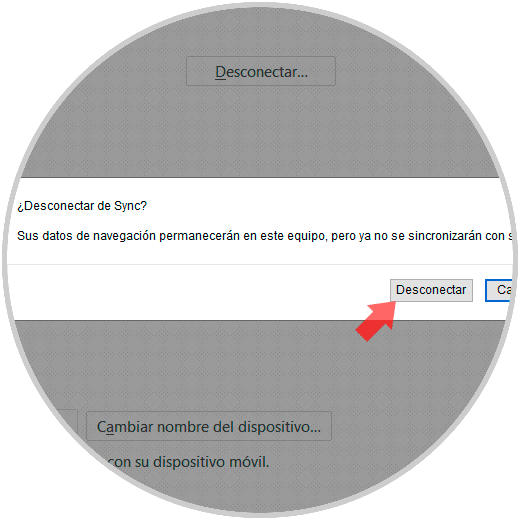
Clicking there will display the following message. Click on the "Disconnect" button to confirm the action.
Step 4
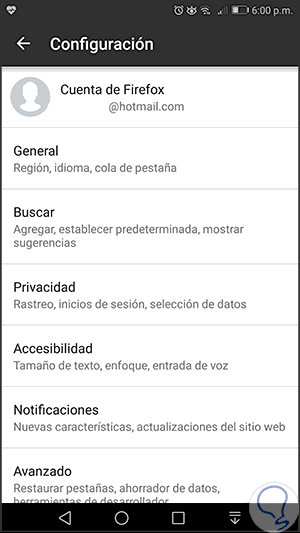
In the case of Android, we click on the menu icon and there we select the option "Settings" where we will see the following:
Step 5
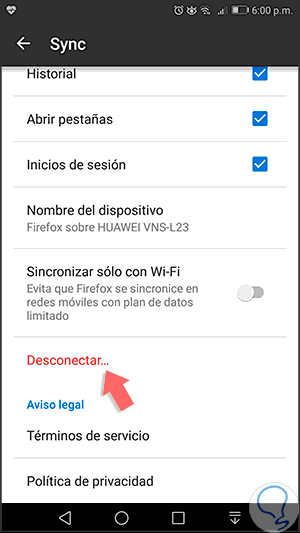
There we click on the associated email account and in the next window we go to the bottom where we will see the “Disconnect†line:
Step 6
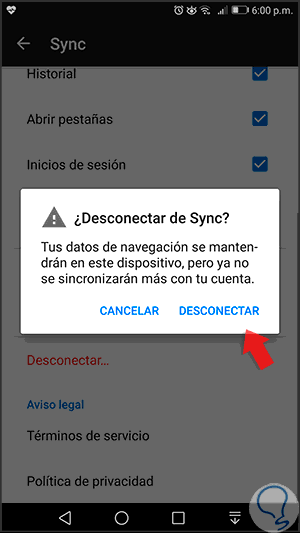
Clicking there will display the following message. Click on "Disconnect" to complete the action.
In this way we have configured the synchronization option in Firefox Quantum taking into account the importance that this has at the level of updating elements that are necessary in a world that moves online.