Kali Linux is one of the most named and used worldwide in security issues both user and business. From Microsoft they have been intelligent and have given us the ease of integration from Windows systems.
Kali Linux is a very popular distribution for Pentesting , since March 2018 it is available on Windows 10 from the Microsoft Store. With this tutorial we will learn to install it and activate the graphical interface that we can use through the "Remote Desktop" application included in Windows 10.
1. Enable WSL and install Kali Linux on Windows 10
The first thing to tell you is that if Kali Linux is already installed with WSL enabled go to step 2. If you do not follow these steps first, they are necessary to be able to execute it correctly in Windows 10.
Enable WSL Windows Subsystem Linux
It is necessary to enable WSL before installing and running Kali Linux from the Microsoft Store, but if we enable WSL, you can see that when trying to run Kali you will see the "error: 0x8007007e".
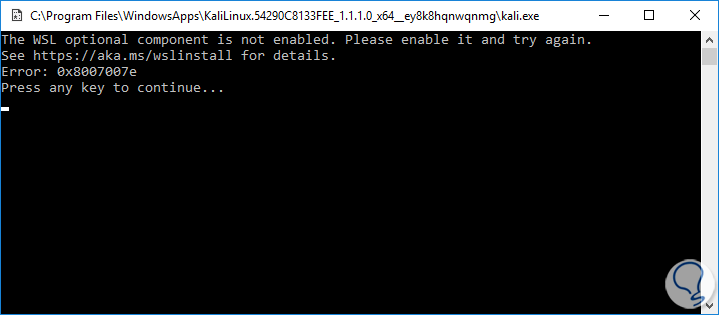
To activate WSL (Windows Subsystem for Linux) we will need to open a PowerShell with administrative rights, for that we open a folder from File Explorer (it cannot be a system folder) and go to this path:
- Archive
- Open Windows PowerShell (as Administrator)
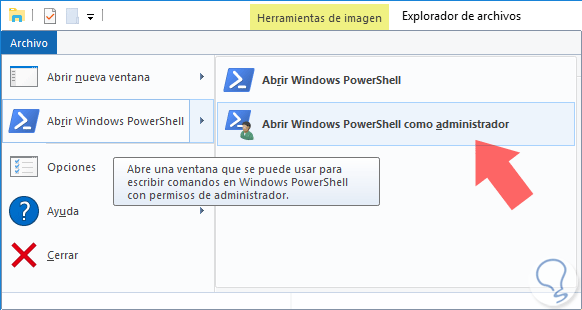
And in the new open Shell enter the following command:
Enable-WindowsOptionalFeature -Online -FeatureName Microsoft-Windows-Subsystem-Linux
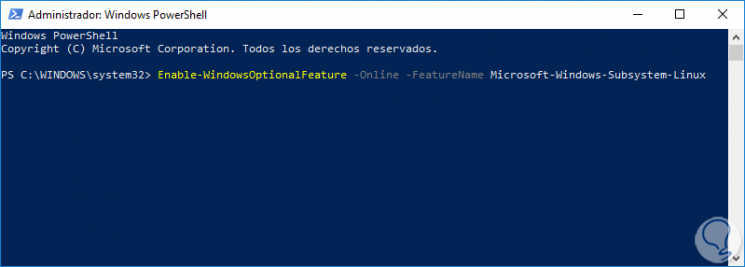
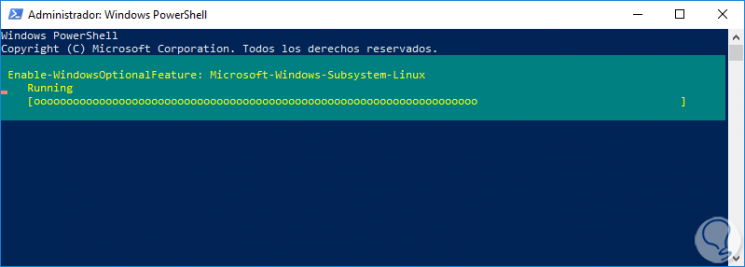
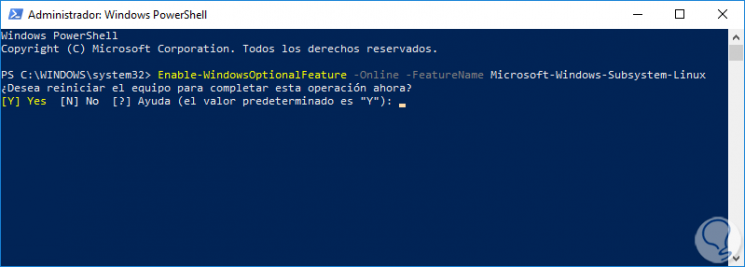
As you can see on the last screen, it will ask you to type "Y" and press "Enter" to restart and apply the WSL enabled on your Windows 10 computer. With this WSL is already activated.
Install Kali Linux from Microsoft Store
Now once WSL is enabled we proceed to install Kali Linux from the Microsoft Store. 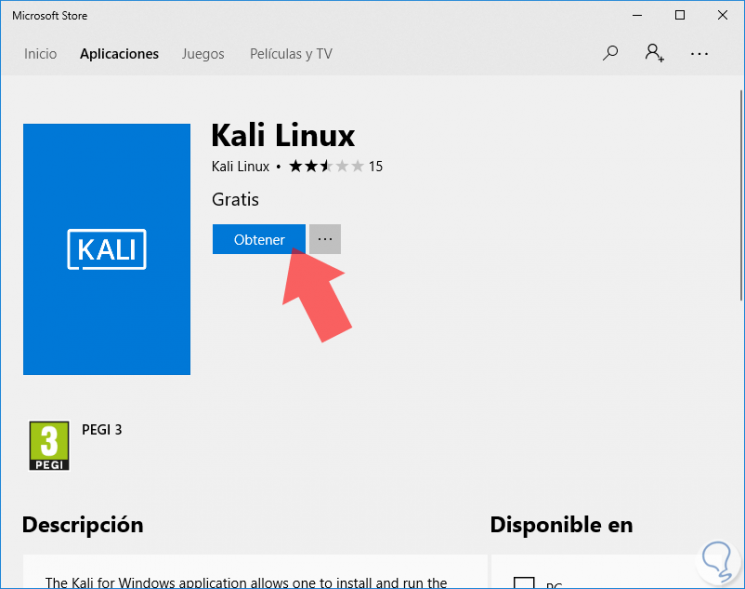
Kali Linux Microsoft
Click on "Get" and the download and installation will begin, which is around 134MB.
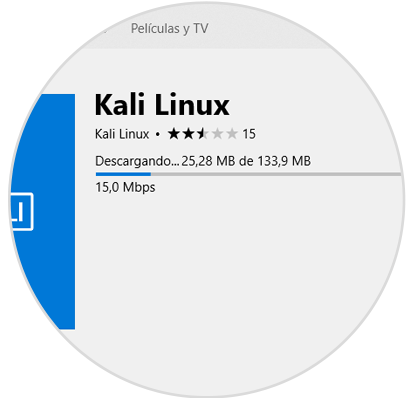
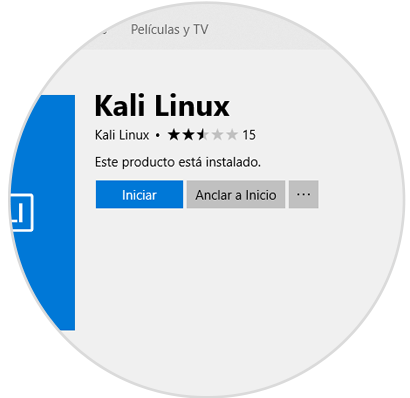
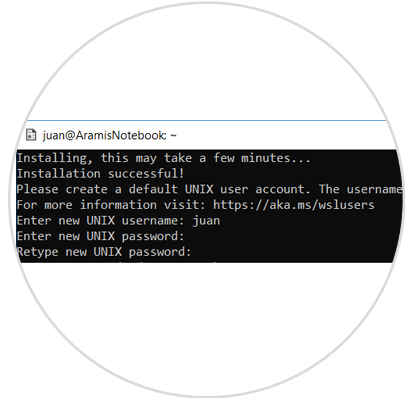
The point will appear that is installed and we can click on "Start" or "Pin to Start". Once Kali Linux is started we proceed to its basic configuration, enter the username, password twice and we will be in the promt of our Kali Linux.
2. Install Kali Linux graphical interface on Windows 10
To install a graphical interface we will need to execute the following commands, it should be noted that the process is long when you have to download a lot of packages.
To "Update" our Kali:
sudo apt update && sudo apt -y dist-upgrade
And we wait for it to complete.
To install the Kali desktop environment, patience takes a long time.
sudo apt -y install kali-desktop-xfce
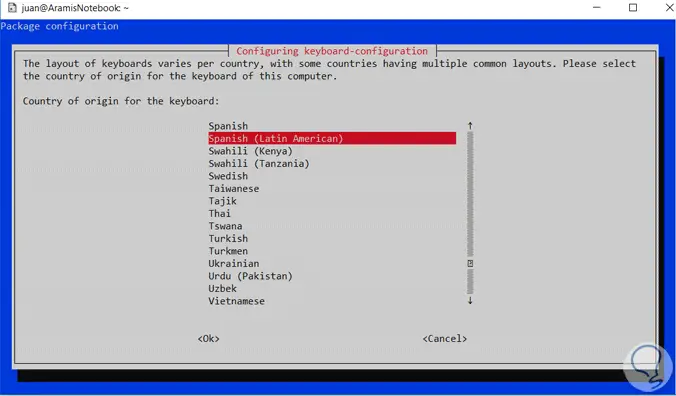
When requested we choose the corresponding keyboard and wait for it to complete.
To install X window version 11 XORG system:
sudo apt -y install xorg (if not installed)
To Install the Linux Remote Desktop by Terminal Server XRDP:
sudo apt -y install xrdp
When finished installing we configure it with this command:
sudo sed -i 's / port = 3389 / port = 3390 / g' /etc/xrdp/xrdp.ini
We launch the XRDP server:
sudo /etc/init.d/xrdp start
With this executed, we can only connect to Remote Desktop . Remember that we have to have it enabled in Windows 10. Here we leave how to do it in case you didn't have it active.
To keep up, remember to subscribe to our YouTube channel! SUBSCRIBE
We must open the remote Escriorio and write the following:
127.0.0.1:3389 or 127.0.0.1:3390
In the example we use port 3390.
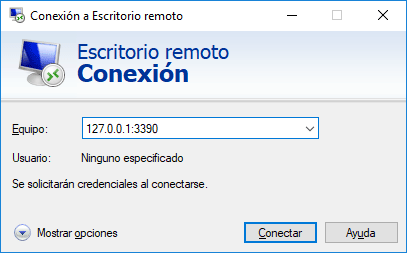
And place the credentials of our account.
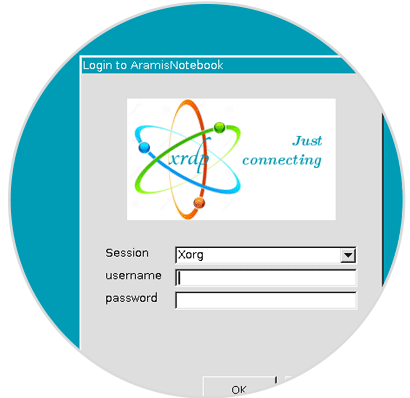
Sometimes it takes to start for the first time, it stays on black screen, just restart the connection.
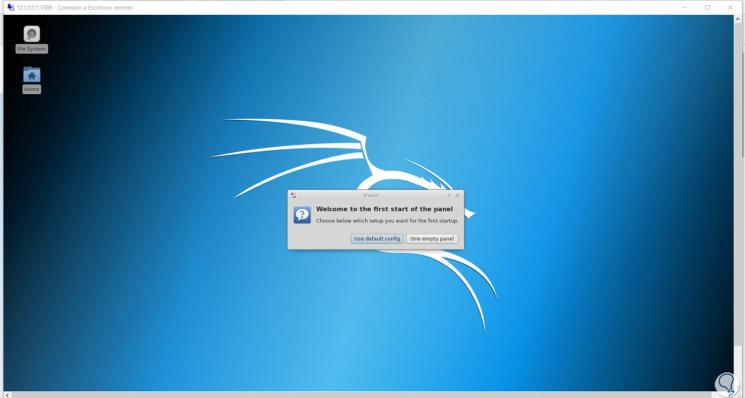
With this we will have our Kali Linux with a fully operational graphical interface and installed from Windows 10 .