The root user is the most important in any UNIX-based distribution since this user has full control over the system and its components without requiring some type of authentication to execute the task..
By default, when we use Ubuntu, this user is disabled for security reasons since, to carry out actions such as installations, removal of packages, updates and others, we can use the sudo parameter for its execution.
Today we will see how to enable or not this user in Ubuntu 17 Server, but it applies to Ubuntu in general..
To keep up, remember to subscribe to our YouTube channel! SUBSCRIBE
1. Enable root account in Ubuntu
Step 1
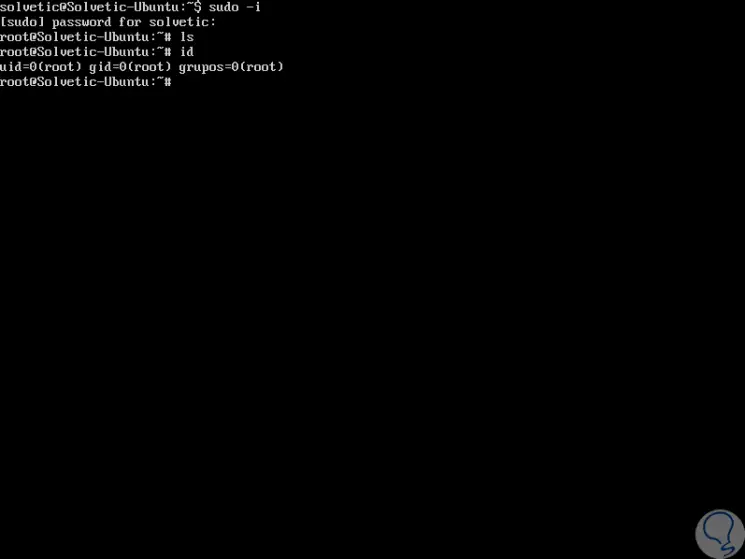
To access or enable the root user account in Ubuntu 17, we will execute the following command where it will be necessary to enter the password that we set during the installation process for this user (sudo user):
sudo -i
Step 2
We can use the “ls and id†commands to check your permissions:

2. Modify the password of the root user in Ubuntu
Step 1
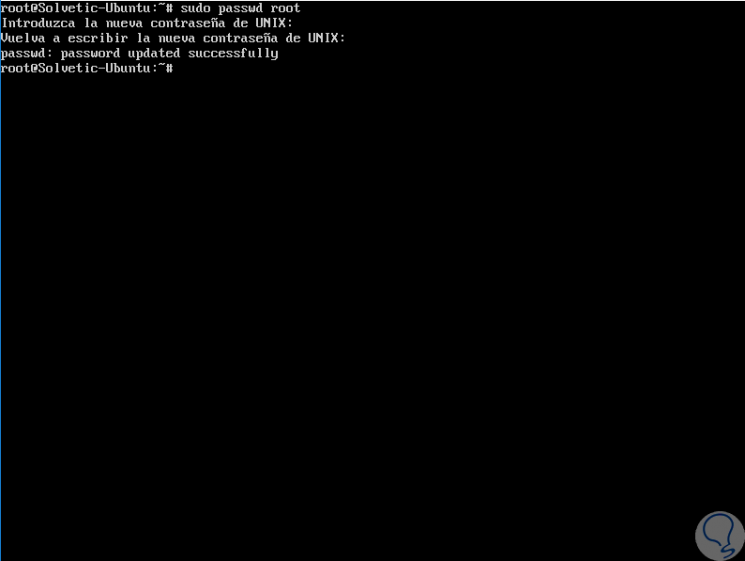
For security reasons we may want to change this user's password, for this we execute the following command:
sudo passwd root
Step 2
Then, we will enter the new password to use:

3. Disable root user in Ubuntu
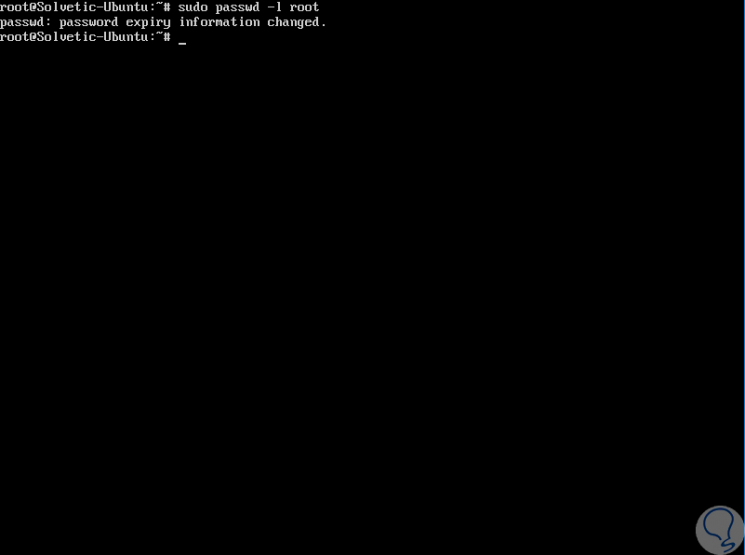
If we decide to disable this root user in Ubuntu, just run the following:
sudo passwd -l root

That simple we can manage the root user in Ubuntu.