One of the applications that we listen to the most at the web level is undoubtedly Apache Tomcat which offers us a series of useful and practical functionalities to create, implement multiple web aspects..
Apache Tomcat software has been developed as an open source implementation which covers Java Servlet, JavaServer Pages, Java Expression Language and Java WebSocket technologies, where Java Servlet, JavaServer Pages, Java Expression Language and Java WebSocket specifications are developed under Java Community Process Apache Tomcat is designed in an open environment which was published under version 2 of Apache License.
Currently, Apache Tomcat is in its version 8.5 which offers us certain advantages at the development and implementation level..
When using Apache Tomcat 8.5 we must consider the following directories:
/ bin
Refers to startup, shutdown and other Apache scripts. The * .sh files (for Unix systems) are functional duplicates of the * .bat files (for Windows systems).
/ conf
Indicates the Apache Tomcat related configuration and DTD files. The most important file here is server.xml which is the main configuration file for the container.
/ logs
They are the Apache Tomcat log files.
/ webapps
This directory is where our webapps will go.
Now we will see how to install Apache Tomcat on CentOS 7 and if we do not already have it installed, we can download it in the following link:
CentOS 7
1. Install Java (JRE and JDK) on CentOS 7
Step 1
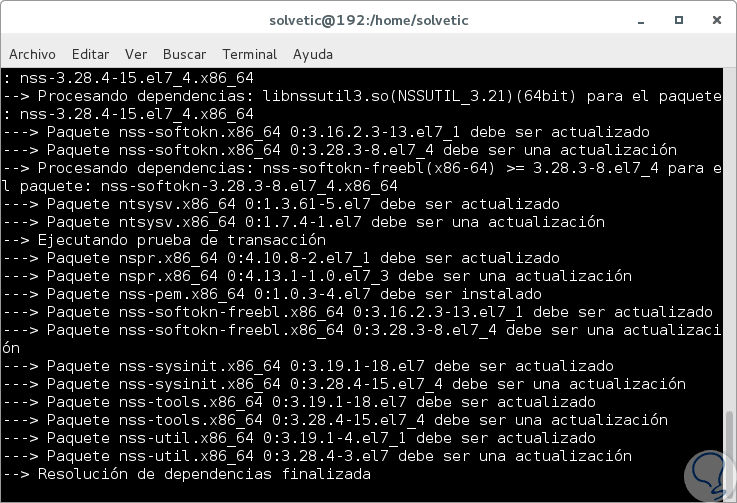
The first step to take is to install Java JRE and JDK from the CentOS 7 repository, in this case, we will install Java 1.8.11 on the server using the yum command like this:
yum -y install java-1.8.0-openjdk.x86_64 java-1.8.0-openjdk-devel.x86_64

Step 2
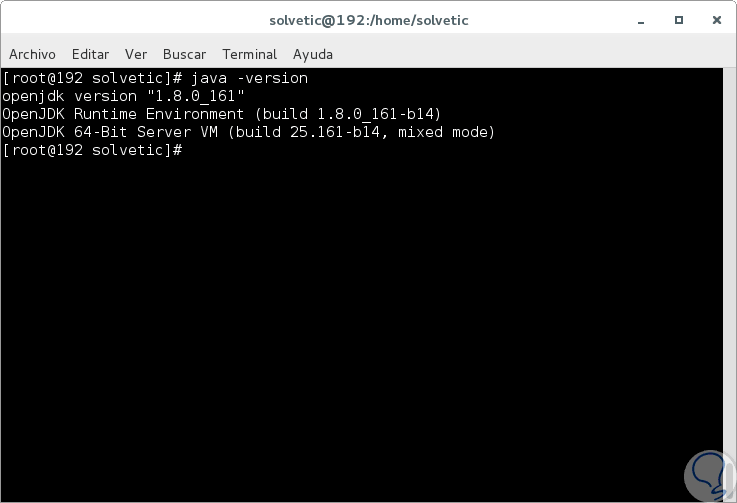
Once this installation process is finished, we will check the version of Java that we have installed by running the following command:
java -version


Login Join up!