Web services are increasingly booming in today's world for all that this entails (sites, pages, platforms, etc.) where each developer has practical and dynamic tools to perform their tasks effectively..
To provide an ideal platform to develop and manage everything related to web services, we find one of the best utilities such as Apache and for this reason TechnoWikis will explain how to install Apache on CentOS 8 and from there have a modern web platform at hand and safe.
What is Apache?
Apache, also known as Apache HTTP Server, has been developed as an open source HTTP server which is compatible with both modern UNIX and Windows operating systems . Apache has the goal of being a secure server, with high availability rates and a complete delivery of HTTP services that in turn are synchronized with the most modern HTTP standards so that each task is in the current trend.
Apache saw the light in the year of 1995 and since then it has been scaling up to become one of the most versatile utilities of today..
Main features Apache HTTP Server 2.4
We currently have the Apache HTTP Server 2.4 version and among its main features we find the following:
- Configuration sections by request.
- Better resource usage options.
- Integrate a new expression analyzer.
- LogLevel configuration by module and by directory.
- Compatible with various protocols and more.
Now we will learn to install Apache on CentOS 8.
1. How to install Apache on CentOS 8
Step 1
The first step will be to update the CentOS 8 packages by running the following command:
yum -y Update
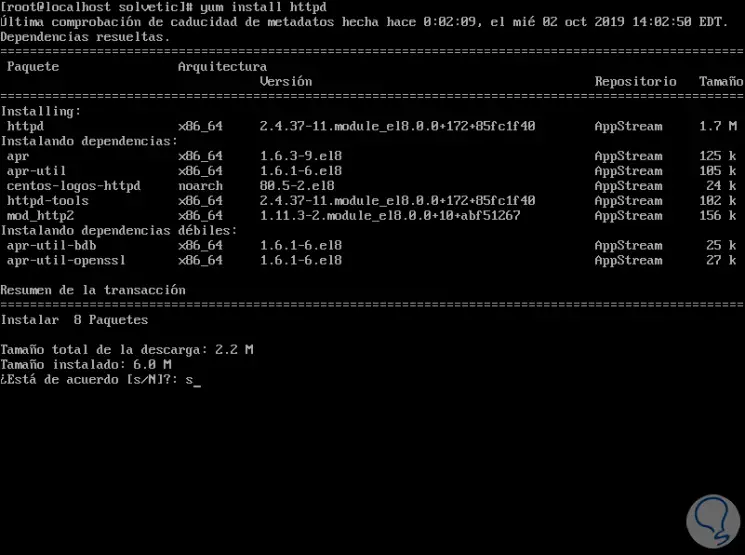
Once the system is updated, we proceed to install Apache by running:
yum install httpd
Step 2
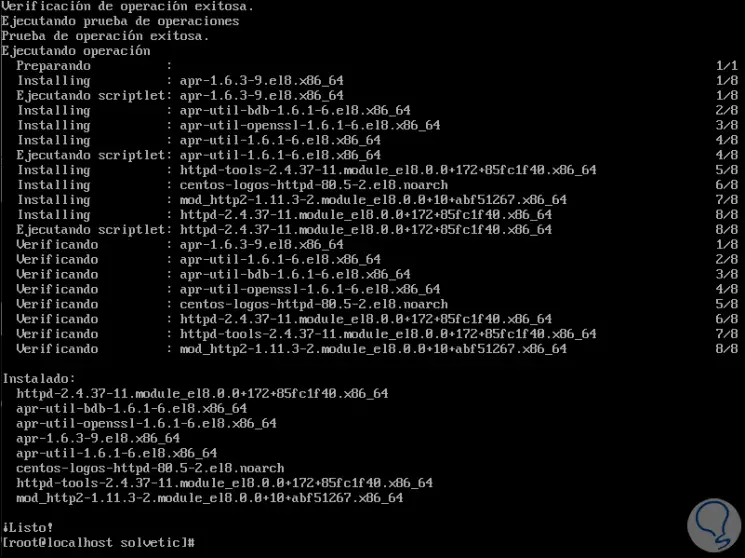
Enter the letter "s" to accept the download of Apache and its dependencies:
Step 3
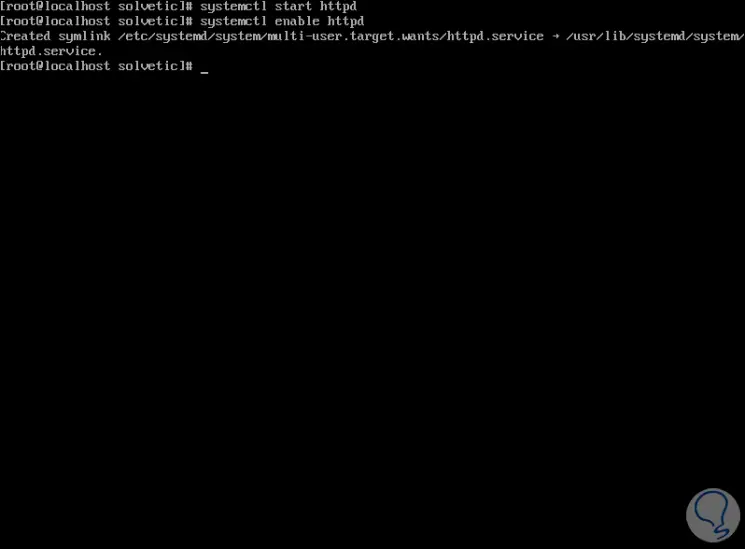
Once Apache has been installed on the CentOS 8 system, we will start the service and enable it at the startup of CentOS 8, for this we will use the following lines:
systemctl start httpd systemctl enable httpd
Step 4
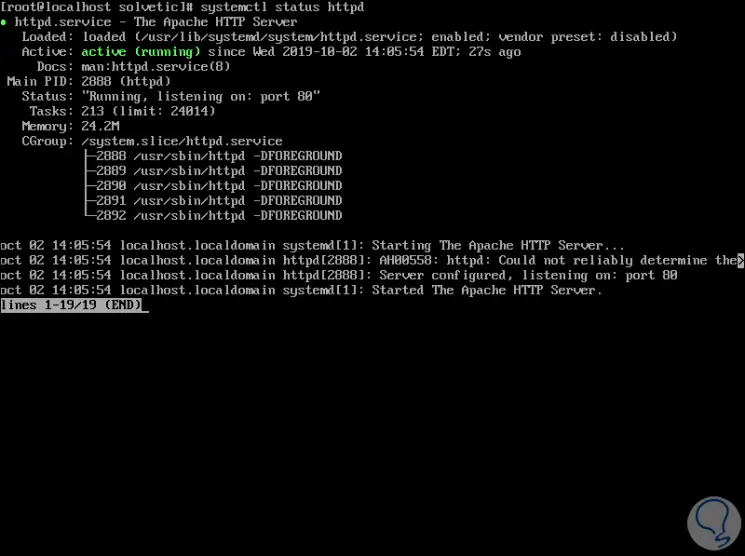
Now we check the status of Apache by running:
systemctl status httpd
Step 5
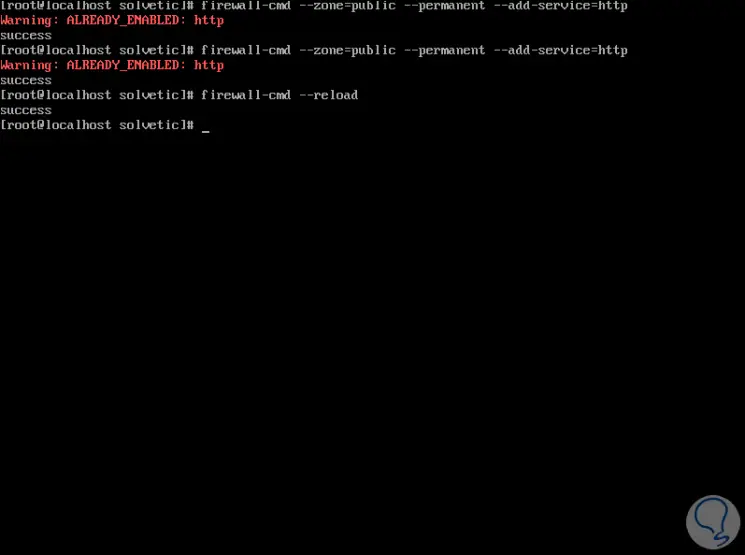
By default, the firewall integrated in CentOS 8 will block Apache traffic, for this we must add specific rules for its enablement:
firewall-cmd --zone = public --permanent --add-service = http firewall-cmd --zone = public --permanent --add-service = https firewall-cmd –reload
Step 6
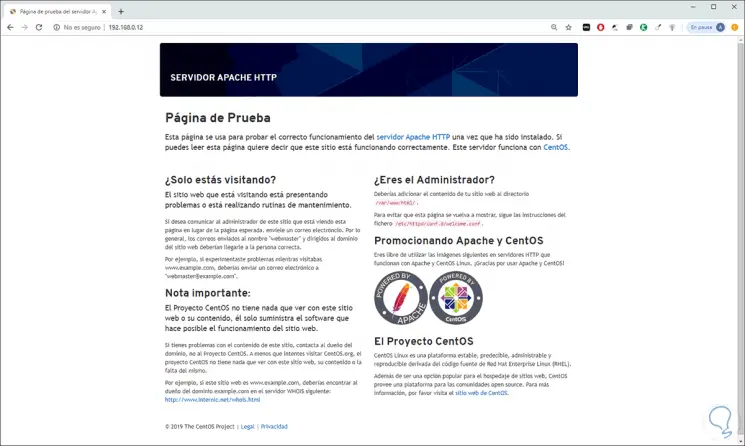
Then we can validate that Apache has been correctly installed by accessing from a browser and entering the following syntax:
http: // IP_CentOS_Address
We must see the following:
2. How to configure virtual hosts in CentOS 8
This applies when a domain (virtual host) is to be hosted on the same Apache web server. Here it will be possible to use one or more domains if this is the case.
Step 1
To do this we will create a file called vhost.conf in the /etc/httpd/conf.d/ directory:
nano /etc/httpd/conf.d/vhost.conf
There we will enter the following information:
NameVirtualHost *: 80 <VirtualHost *: 80> ServerAdmin [email protected] ServerName domain.com ServerAlias ​​www. domain.com DocumentRoot / var / www / html / domain.com/ ErrorLog / var / log / httpd / domain.com/error.log CustomLog / var / log / httpd / domain.com/access.log combined </VirtualHost>
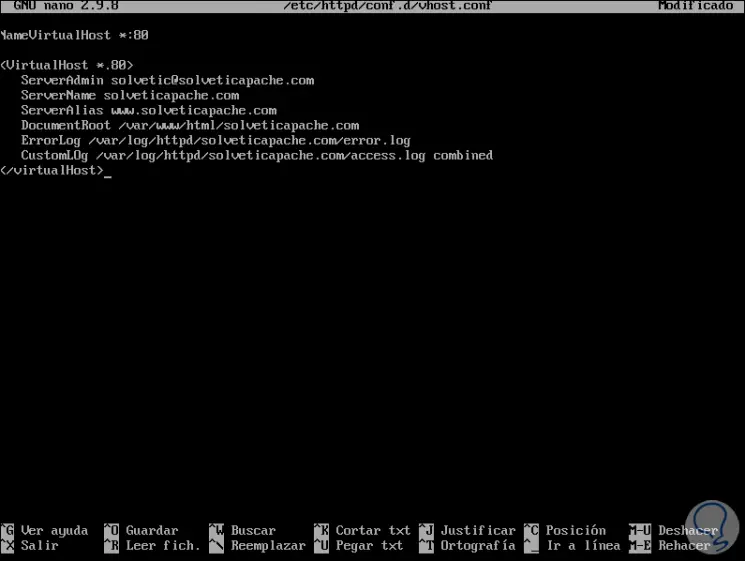
We save the changes with the Ctrl + O keys and exit the editor with the Ctrl + X keys..
Important note
For this virtual host to function properly, we must have an acquired and registered domain, otherwise we can create the virtual host and access only from the local server to localhost. With the domain we can access externally
Step 2
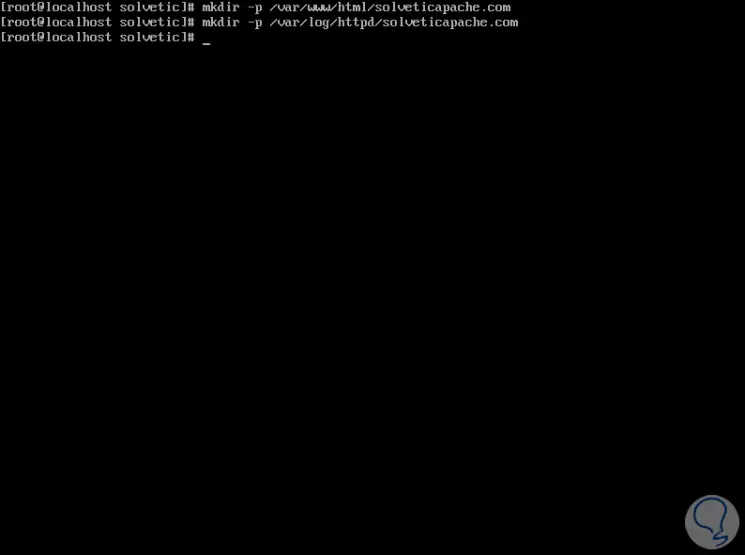
The next step will be the directories for the website registered in the vhost file, we enter the following:
mkdir -p /var/www/html/domain.com( Root Documentation) mkdir -p /var/log/httpd/domain.com( Directory files)
Step 3
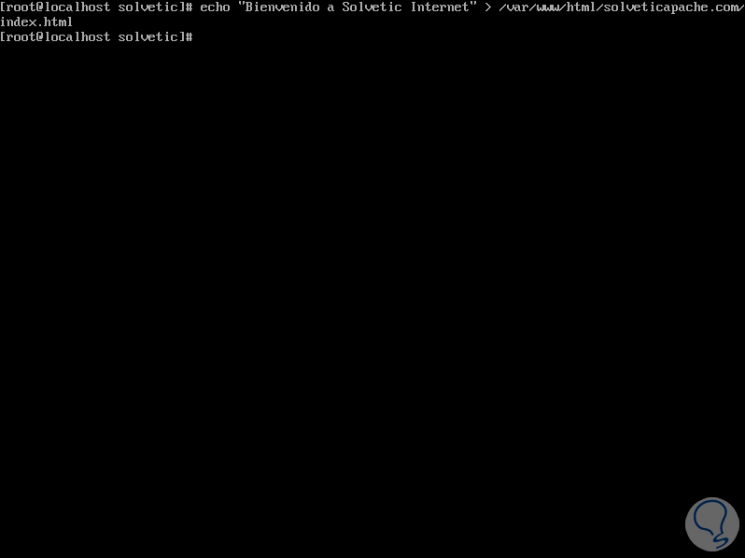
To customize the page, we can create an index.html message in the path /var/www/html/domain.com:
Step 4
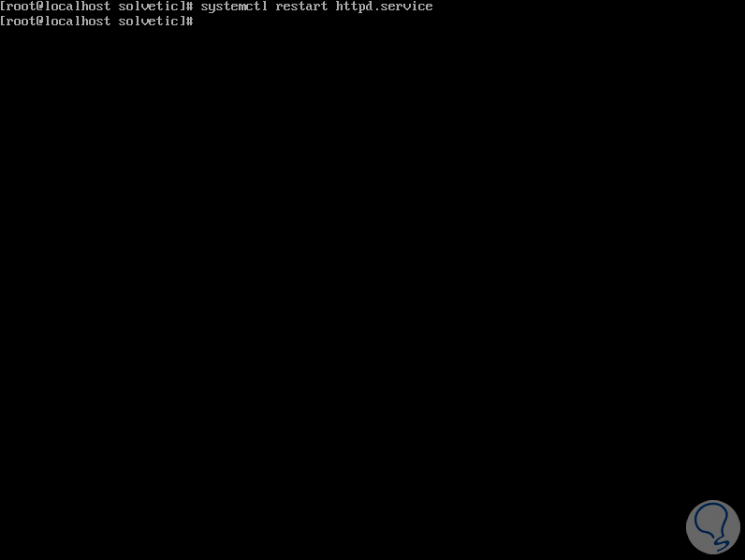
We restart the Apache service by running:
systemctl restart httpd.service
Step 5
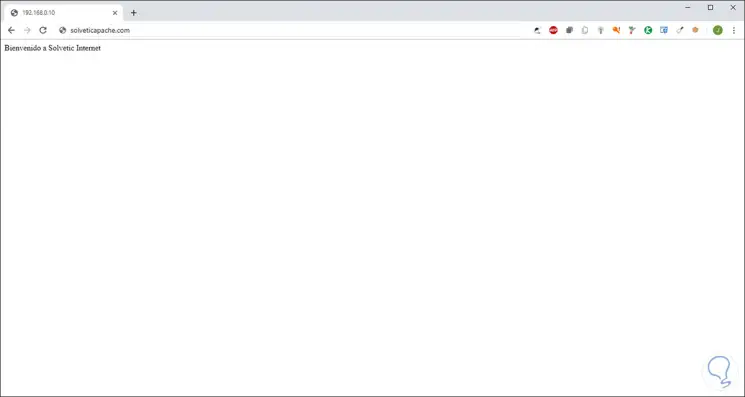
Now we can access one of the following ways:
http://domain.com (if we have an active domain) http: // localhost (if we don't have an active domain)
When accessing from a browser we will see the message from the index.html file:
As you can see, Apache is ideal for all those users involved in the world of programming and web management with practical and striking functions for this type of tasks.