Apache is one of the most used platforms for all issues related to website hosting since it has been developed as an open source web server by the Apache Foundation in order to provide and access a native Java HTTP server..
Apache Tomcat software has been created as an open source implementation of Java Servlet, JavaServer Pages, Java Expression Language and Java WebSocket technologies, thanks to this, Apache Tomcat is able to use and deploy numerous large-scale web applications to Any type of organization. A few days ago Apache Tomcat released version 9, 9.0.12, which is the first stable version of the 9.x.0 series. Within this version of Apache Tomcat 9 we will find improvements compared to the previous version of Tomcat 8.
New features
Some of the new and improved features in this new version of Apache Tomcat will be:
- Support for Java Servlet 3.1, JavaServer Pages 2.3, Java Websocket 1.0
- Possibility to implement a new web application from the contents loaded from a WAR file
- It is possible to list the values ​​of the OS and JVM properties
- Reload an existing web application to reflect changes in the contents of / WEB-INF / classes or / WEB-INF / lib
- Possibility to list the global JNDI resources available for use in <ResourceLink> deployment tools nested in a <Context> deployment description
- Option to start a stopped application
- Deploy an implemented web application and delete it from its base directory
- Option to list the currently implemented web applications and more.
Directories
The base directories of Apache Tomcat 9 are:
- / bin: Start, shutdown and other scripts, there the * .sh files (for Unix systems) are functional duplicates of the * .bat files (for Windows systems)
- / conf: are the configuration files and DTD related, one of the most important files is server.xml which is the main configuration file for the container
- / logs: They are the log files
- / webapps: Webapps stay there
Now we will see how to install Apache Tomcat 9 on CentOS 7..
1. How to install and configure Java 8 in CentOS 7
Step 1
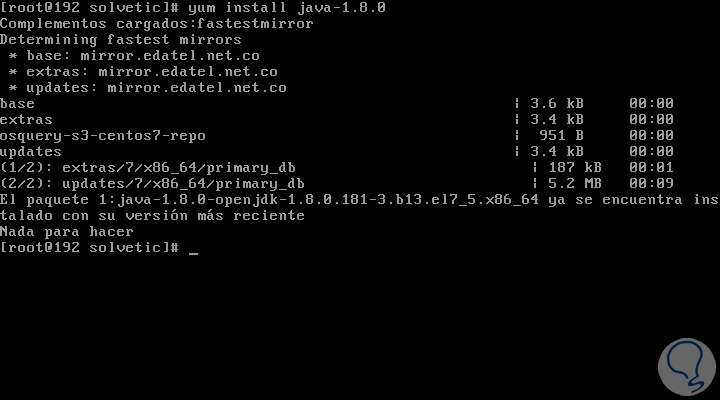
To use Apache Tomcat 9 correctly we must have JAVA installed in CentOS 7 to run it correctly, if not, we proceed to download and install the latest version of JAVA 8, with the following command:
yum install java-1.8.0
Step 2
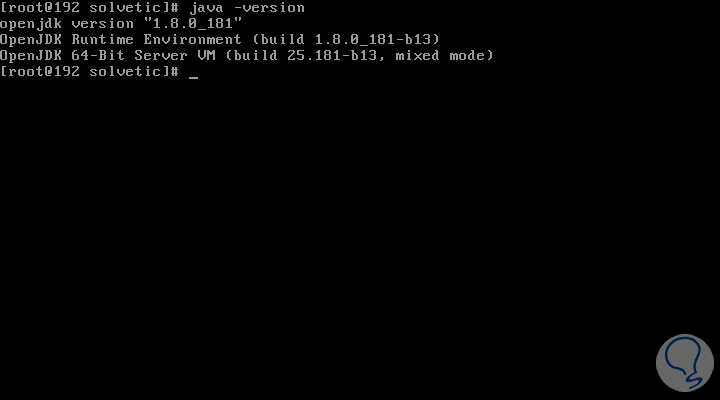
Once installed, we check the Java version with the following command:
java -version
2. How to install Apache Tomcat 9 on CentOS 7
After JAVA has been installed on the system, we will download the latest version of Apache Tomcat which is version 9.0.12. This is the stable version, but if at any other time you want to verify the new available versions of Apache Tomcat, we can go to the following link to make the query:
Apache Tomcat
Step 1
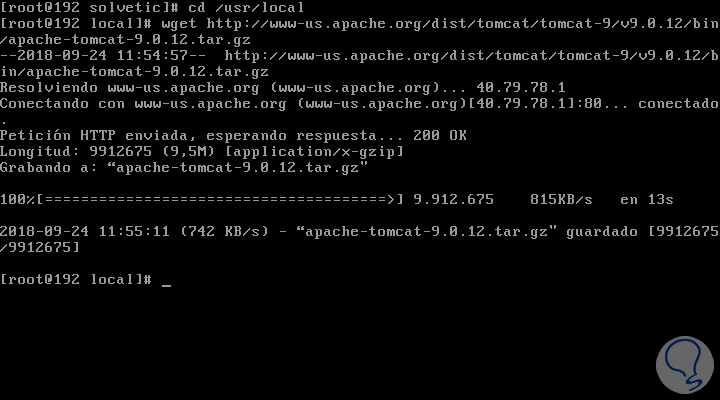
We will download the latest version of Apache Tomcat 9, using the following wget command like this:
cd / usr / local wget http://www-us.apache.org/dist/tomcat/tomcat-9/v9.0.12/bin/apache-tomcat-9.0.12.tar.gz
Step 2
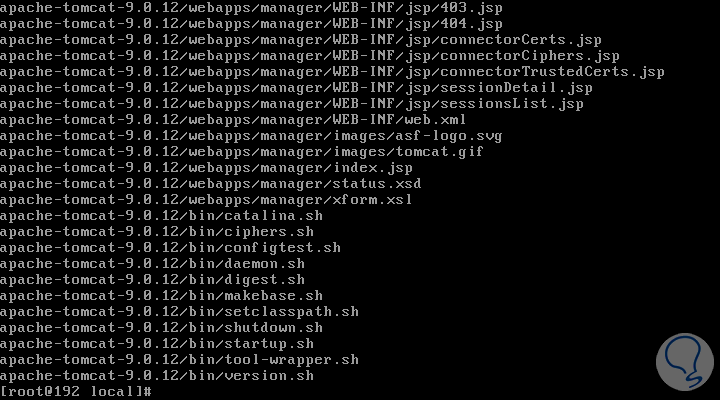
We proceed to decompress the downloaded file:
tar -xvf apache-tomcat-9.0.12.tar.gz
Step 3
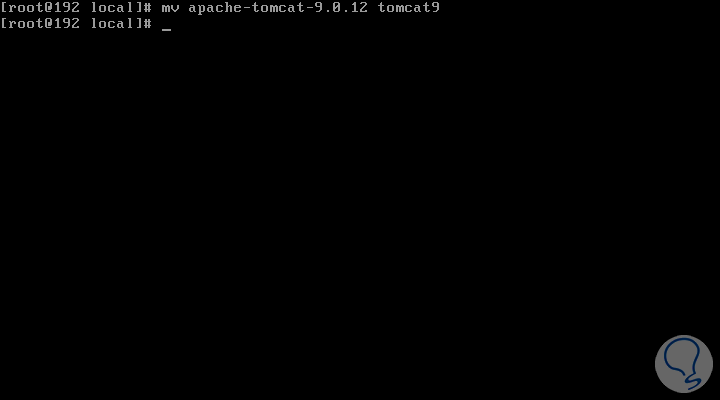
Finally, we move the file to the correct directory:
mv apache-tomcat-9.0.12 tomcat9
Step 4
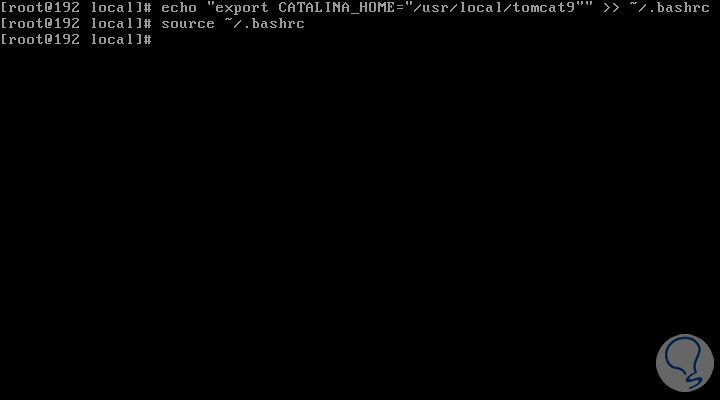
Before starting the Tomcat service, it will be necessary to configure the CATALINA_HOME environment variable on the system with the following command:
echo "export CATALINA_HOME =" / usr / local / tomcat9 "" >> ~ / .bashrc source ~ / .bashrc
Step 5
We have two CATALINA options that are:
CATALINA_HOME
It refers to the root of the Tomcat installation, for example /home/tomcat/apache-tomcat-9.0.10 or C: \ ProgramFiles \ apache-tomcat-9.0.10.
BASE CATALINA
Indicates the root of a runtime configuration of a specific Tomcat instance, if you want multiple instances of Tomcat on a computer, you will need to use the CATALINA_BASE property.
Now we are going to start the Tomcat web server using the scripts included by the Tomcat package as follows:
cd / usr / local / tomcat9 / bin ./startup.sh
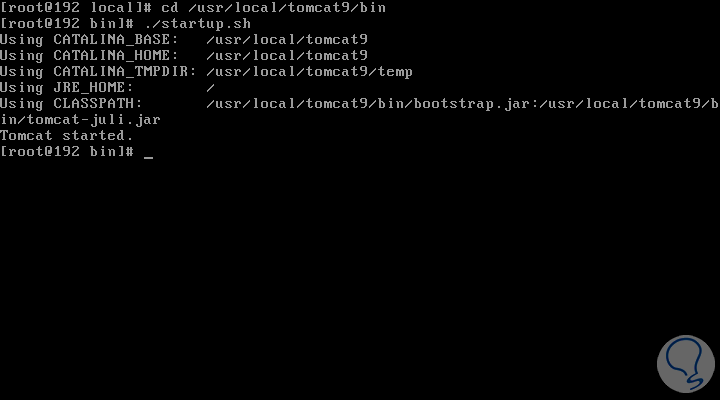
There we see that the service has been started correctly.
Step 6
From this point, we can open Tomcat from any browser, using the IP address or domain with port 8080 since Tomcat will always run on port 8080:
http: // IP_address: 8080
http://Domain.com:8080
This will be the environment we will see:
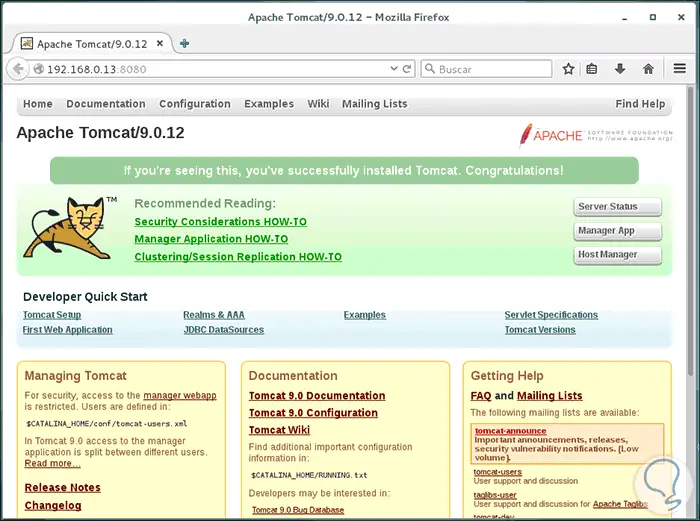
The default directory for Tomcat files will be / usr / local / tomcat9, and there we can see the configuration files inside the conf folder, the Apache Tomcat environment is located in the / usr / local / tomcat9 / webapps / ROOT directory /..
3. How to set up Tomcat user accounts in CentOS 7
By default, it will only be possible to access the default Tomcat page, access the administration and other sections, such as Server Status, Application Manager (Manager App) and Host Manager, it will be necessary to configure user accounts for administrators and other users.
Step 1
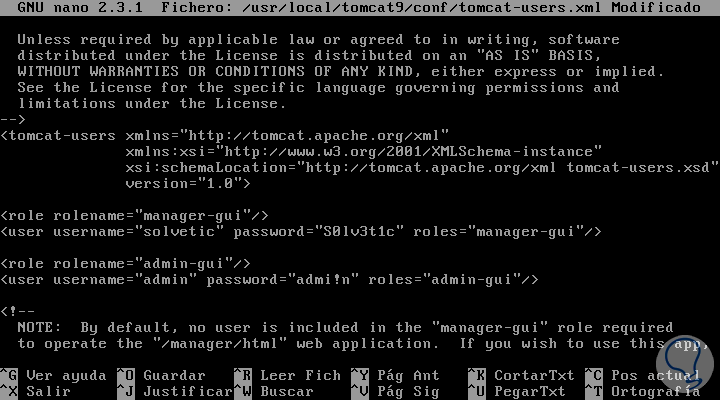
To do this, we must edit the file 'tomcat-users.xml' located in the directory / usr / local / tomcat9 / conf, we access with some text editor like this:
nano /usr/local/tomcat9/conf/tomcat-users.xml
First, we enter the user administrator of the interface by adding the following lines:
<role rolename = "manager-gui" /> <user username = "solvetic" password = "S0lv3t1c" roles = "manager-gui" />
Note
We must replace TechnoWikis and the password with the desired user.
Step 2
If we want to add an administrator we execute the following:
<role rolename = "admin-gui" /> <user username = "admin" password = "adm! n" roles = "admin-gui" />
There we can set the desired password.
Step 3
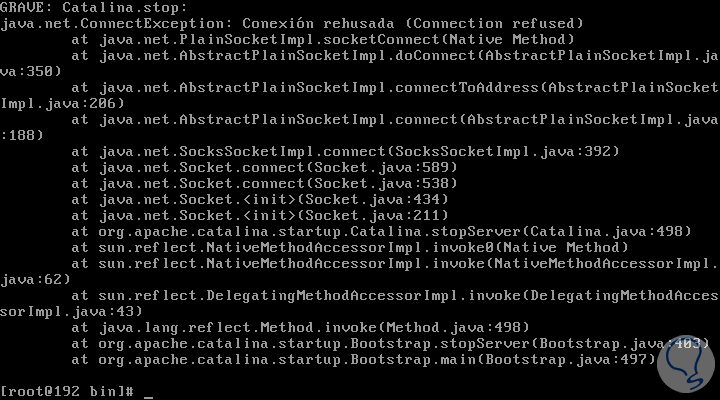
We save the changes using the key combination Ctrl + O and exit the editor using the Ctrl + X keys. After configuring these options, we must restart Tomcat:
./shutdown.sh ./startup.sh
Step 4
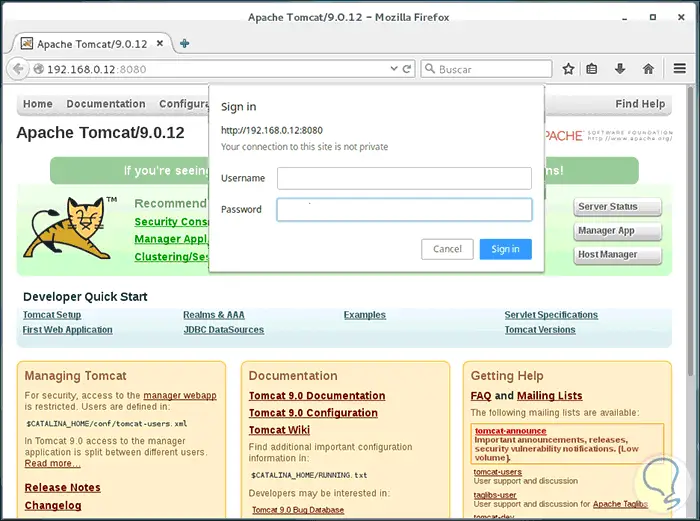
Now, when we try to access some of the functions of Apache Tomcat we must enter some of the credentials we have created:
4. How to configure Apache Tomcat ports in CentOS 7
Step 1
Another option, for security, is to edit the default port 8080 of Apache Tomcat, for this we must edit the file 'server.xml' located in the / usr / local / tomcat9 / conf directory, but first we will stop the Tomcat service by running:
/usr/local/tomcat9/bin/shutdown.sh
Now we access the file to edit the port:
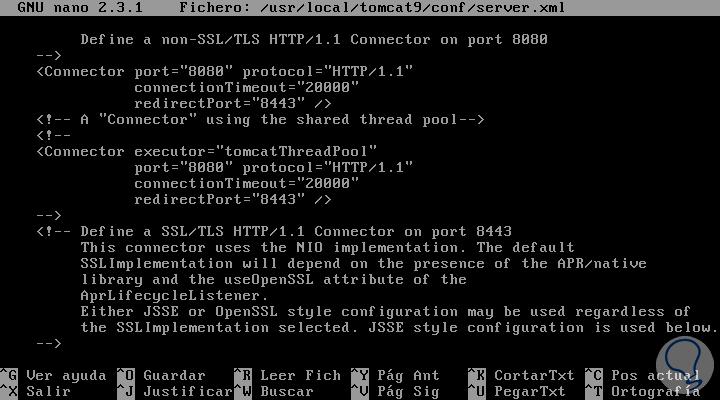
nano /usr/local/tomcat9/conf/server.xml
Step 2
There we locate the Connector port section and edit the desired port as follows:
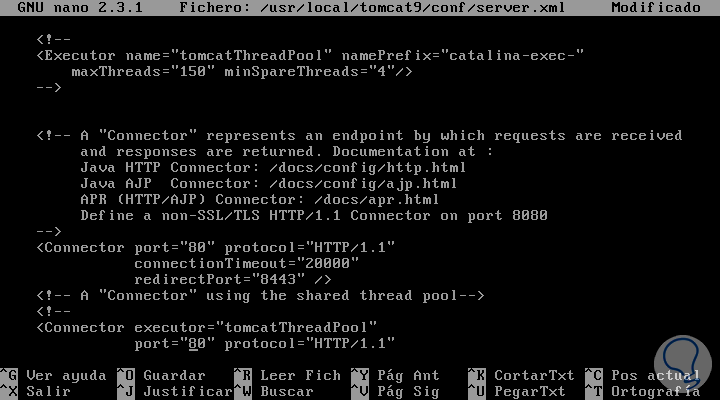
We save the changes using the Ctrl + O keys and exit the editor using Ctrl + X.
Step 3
We proceed to restart the Tomcat service by running:
/usr/local/tomcat9/bin/startup.sh
Thus, the Apache Tomcat server will run on the port that we have defined.
Step 4
If we wish to obtain more information about the running Tomcat server and the current equipment, we must execute the following command:
/usr/local/tomcat9/bin/version.sh
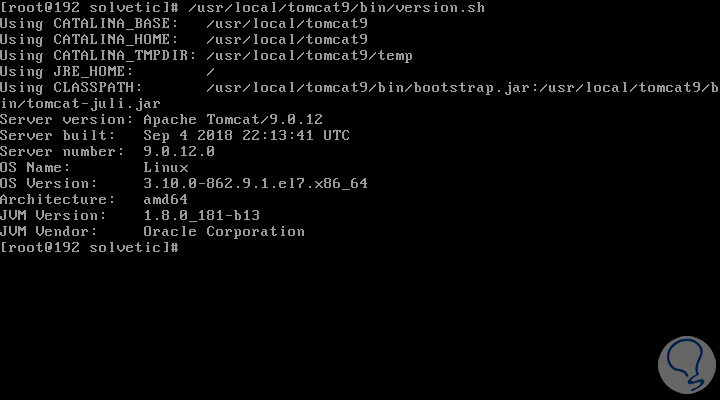
Thus we have seen how to install Apache Tomcat in its new version 9 in CentOS 7 and have a complete server with great features of use and functionality.