When managing operating systems at the organizational level, in this case Windows Server 2016, it is ideal and practical to know in depth what benefits it offers us or we can add to this system to make the administration tasks something much simpler and more centralized..
At the Windows Server 2016 level, we have a utility integrated to the system that will be very functional to control certain actions that can be applied to both users and computers and are the Group Policy Objectives or GPO (Group Policy Object).
A GPO is basically a policy that we can create and edit, obviously remove at any time, by means of which it is possible to establish the configuration on the various objects to be managed as users and equipment..
One of the advantages of GPOs is that they can be implemented in any type of scenario and we can use them for the entire domain in general or only for an organizational unit, OU, in particular.
The implementation of a GPO has been designed to be implemented in networks based on Windows Server Active Directory Domain Services (AD DS)..
Requirements to use group policies in Windows Server 2016
There are a number of basic and simple requirements to use and correctly implement group policies, these are:
- The local network must be based on AD DS, with this we indicate that at least one server must have the AD DS function installed.
- The computers we are going to manage must be attached to the domain and the users we will manage must use the domain credentials to log in to their computers directly to the domain.
- It will be necessary to have permissions to edit the Group Policy in the domain, that is, to belong to the group of Administrators or Group Policy Administrators.
Now, we may be a little confused since we well know that there are two types of GPO, domain and local, this implies:
The domain-based group policy gives us the possibility of centralizing the administration so that a single policy created can affect all the computers in the domain at the same time while the local group policy requires each machine to be configured to be done directly in which implies more administrative work.
1. Basic concepts of GPOs
Before analyzing how to create, edit or delete a policy in Windows Server 2016 it is ideal and necessary to understand the environment of the GPOs.
Step 1
The group policy environment in Windows Server 2016 is as follows:
Step 2
The GPOs in Windows Server 2016 contain various group policy settings that allow us to create, move and delete GPOs within the server.
By default, group policies in Windows Server 2016 comes with two default policies:
Default Domain Controller Policy
When we install the AD DS server role, this policy is created by default, within it we find policy settings that apply specifically to the domain controllers created.
Default Domain Policy
Like the previous one, when the AD DS server role is installed, this policy is created by default and within it we find policy settings that apply to all computers and users in the domain.
On the top level of the AD DS (Active Directory Domain Server) we find sites and domains. When a simple domain is created, they will have a single site and a single domain. And within a domain it will be possible to create organizational units (OU).
2. Create a GPO in Windows Server 2016
Let's see how to create a GPO in Windows Server 2016.
Step 1
To start this process we will use the following key combination and execute the
gpmc.msc command and press Enter.
+ R
gpmc.msc
Step 2
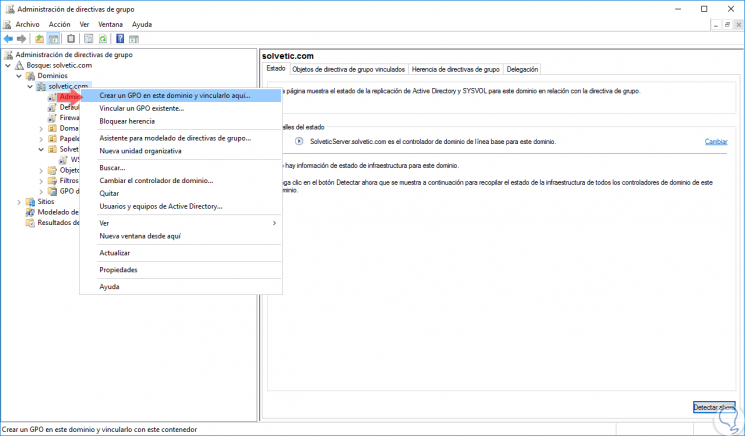
In the displayed window we will right click on our domain and select the option “Create a GPO in this domain and link it hereâ€:
Note
It is important to remember that we can create a GPO in a specific OU, for this it is enough to right click on the created OU and select “Create a GPO in this domain and link it here, this way this GPO will only affect the equipment in said OU but not to all computers or domain users.
Step 3
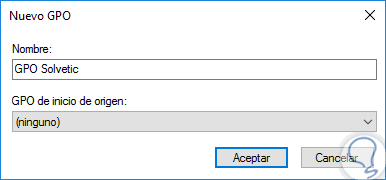
When selecting this option, the following window will be displayed where we will assign a name to said GPO:
Step 4
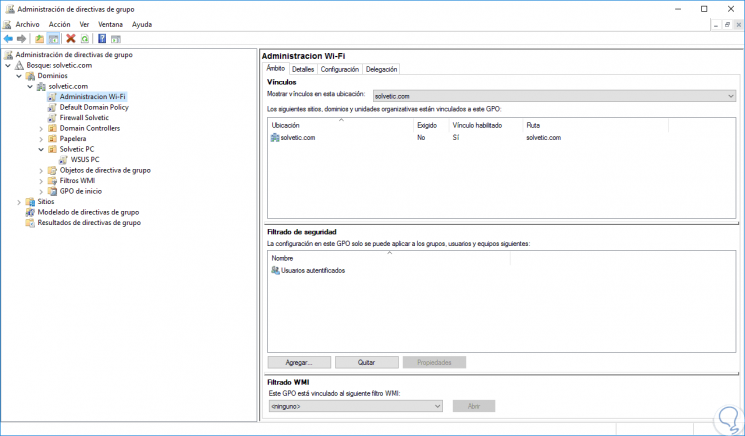
By clicking on the "Accept" button we will see that the GPO has been created according to our criteria:
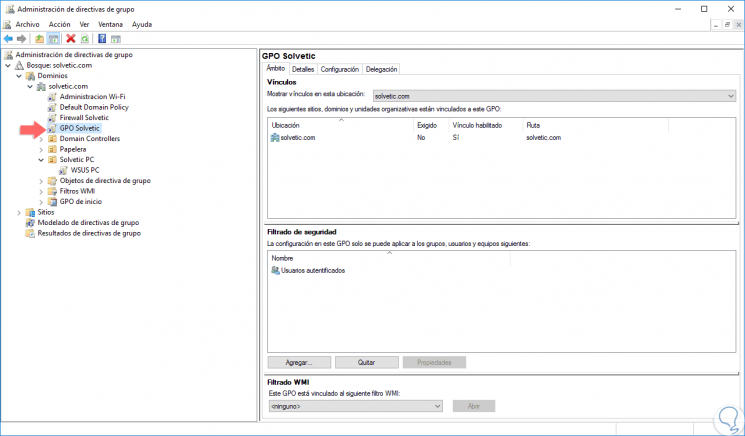
In this simple way we have created a group policy or GPO in Windows Server 2016.
3. Edit group policies in Windows Server 2016
Up to this point we have created the GPO, but this will not take any action since we have not defined the required parameters that must be applied to the users or computers of the indicated domain or OU.
Step 1
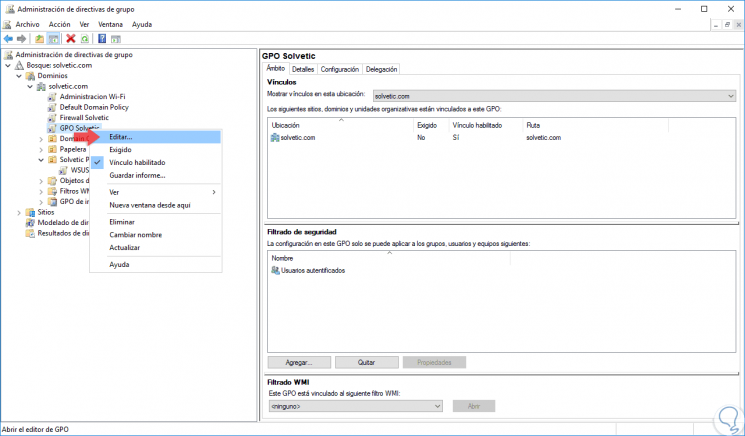
To add a task we must edit the GPO and for this we will right click on the new GPO and select the “Edit†option:
Step 2
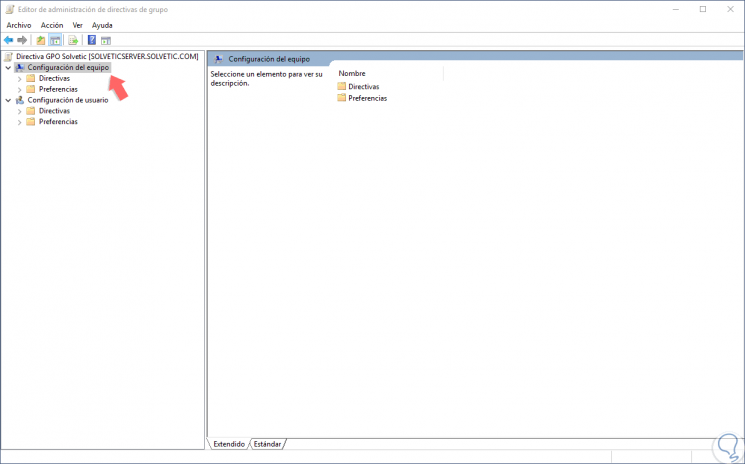
By clicking on this option we will be redirected to the following window:
Step 3
There we find two main sections that are:
Equipment configuration
Within it, we find configurations that apply exclusively to computers, regardless of which users log in to them. These are usually system and security configurations that configure and control the equipment.
User settings
In this section we find configurations that apply to users, regardless of the equipment used. These settings have to do with the user experience.
Step 4
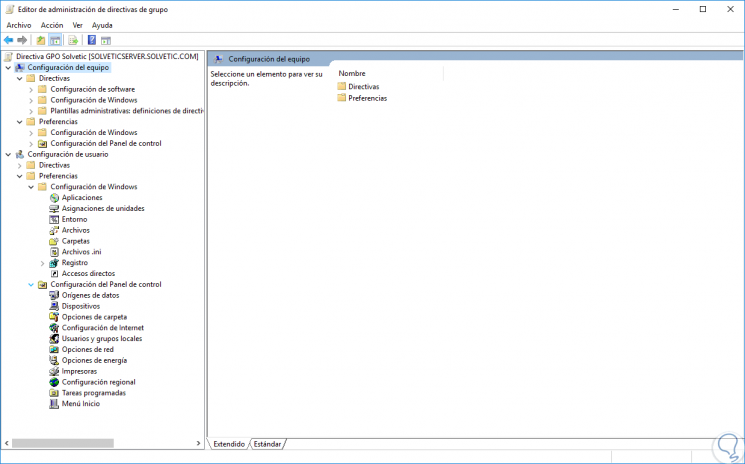
We also find two items in each of these folders that are:
Directives
It refers to the defined policies that must be imposed by the group.
preferences
This option includes preference settings that we can implement to change items such as registry, file, folder or other item settings. By using preference settings, it will be possible to configure Windows applications and functions that are not compatible with Group Policy.
Step 5
We can display the various options and see the following:
Step 6
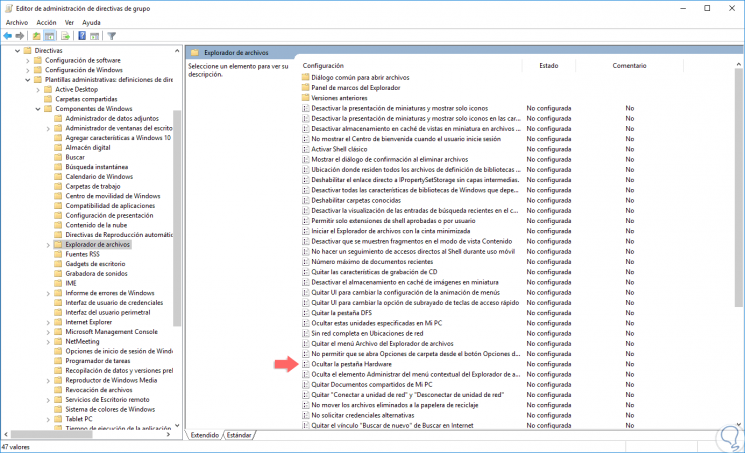
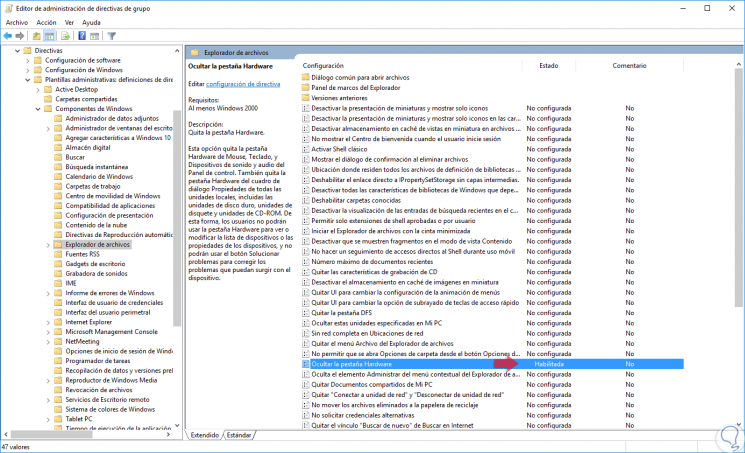
As we can see, there we have a series of categories available to edit the action that the GPO will use on the selected object, to visualize the various policies, just click on one of the options and we will see the following:
Step 7
We will have available hundreds of actions to configure and this is based on the requirements of the organization.
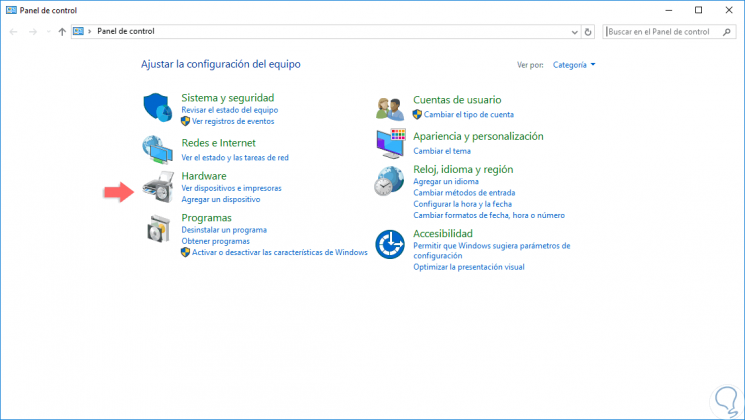
In this case, we will use the policy called “Hide the Hardware tabâ€, that is, when we access the control panel we see there the Hardware option:
Step 8
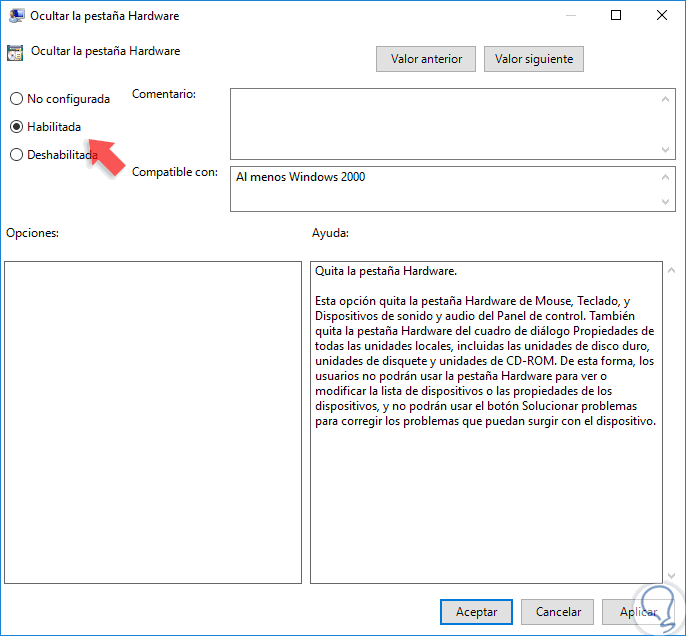
Now, we will double click on the aforementioned policy and see the following:
Step 9
Ali we have the following options:
Enabled
This option writes the policy settings to the registry with a value that enables it.
Disabled
This option writes the policy settings to the registry with a value that disables it.
Not configured
When this option is activated, the configuration of the undefined policy is left so that Group Policy does not write the policy configuration to the registry, so you will not have any action on the domain objects.
Step 10
In this case, we activate the “Enabled†box and click on Apply and Accept to save the changes. We can see that the policy has changed its status to Enabled:
Step 11
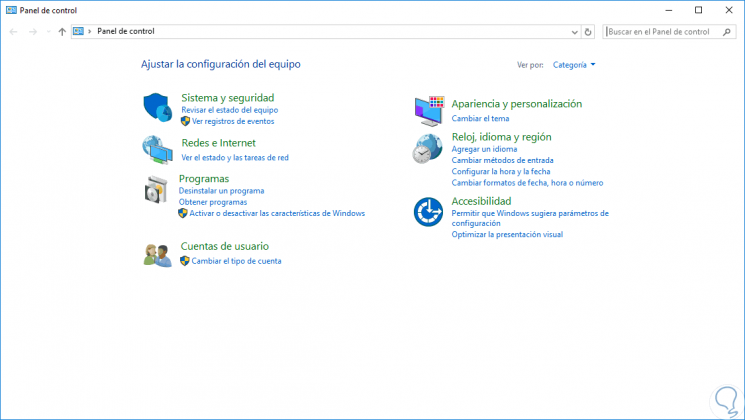
Now, if we access the control panel again we will see that the Hardware option is no longer available:
Step 12
Recall some of the types of GPO that we can implement in Windows Server 2016:
GPO at the Local Team level
These GPOs affect the device where they are applied independent of the domain to which it is linked.
GPO at Site level
This policy will directly affect the users and / or devices of a site independent of the domain to which it belongs.
Domain level GPO
With this GPO the computers and users of the current domain will be affected.
GPO at the level of OU (Organizational Unit)
This GPO applies to users and computers in a defined OU.
4. Search for a GPO in Windows Server 2016
It is possible that at some given time we have multiple GPOs created in the domain and it is difficult to locate them for editing, in this case we have the search option which helps us find the exact route of said GPO.
Step 1
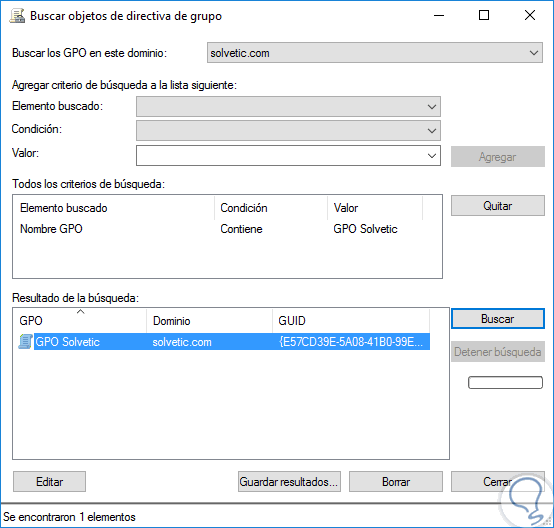
To do this, we will right click on the domain and select the "Search" option:

Step 2
In the displayed window we can filter the search by multiple filters such as:
Step 3
Then we add the value to search and click on the "Search" button where we will see the respective results:
Step 4
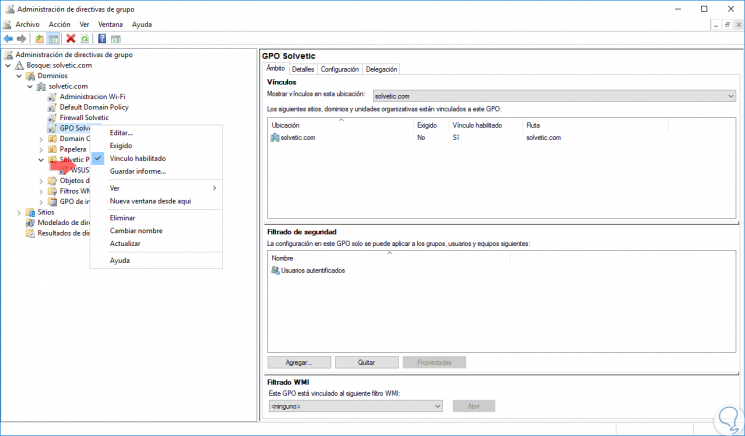
The other options available are:
- Edit: It allows us to make changes to the GPO.
- Required: Forces the value of the GPOs.
- Link enabled: This option allows us to create a link of this GPO with a domain or other GPOs.
- Save report: With this option an HTML file will be stored with details of the policy created.
- See more editing options.
- Rename the selected policy.
Step 5
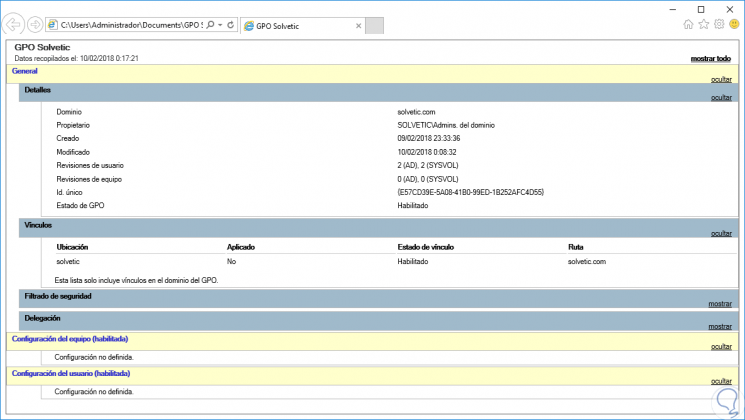
When we generate the report in HTML we will see the following:
5. Remove a GPO in Windows Server 2016
Step 1
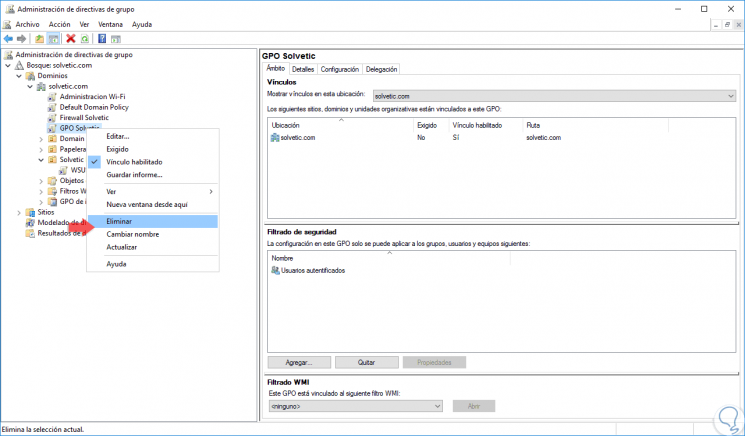
Finally, if we want to delete a GPO in Windows Server 2016, just right click on that policy and select the Delete option:
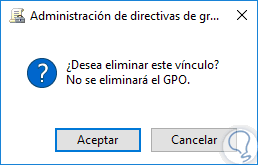
Step 2
By selecting this option we will see the following message. Click on OK and in this way this GPO will be deleted in Windows Server 2016
Thus we have seen how GPOs are one of the best tools that we have as system administrators.