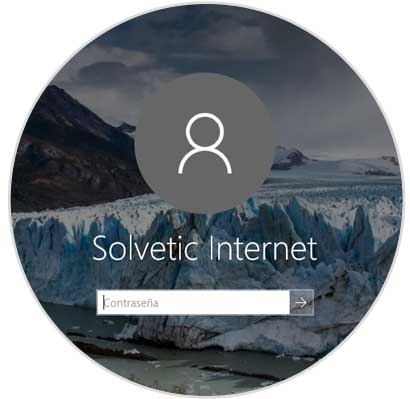
When we use Windows 10, we can see that, when creating a new user , and even ours, it has a standard format already defined by Microsoft which is a gray background with a default silhouette:

Among the different tasks that we can execute as Windows 10 users , it is to modify this image for another one and thus customize this point of the operating system. Today at TechnoWikis we will see how to achieve it in a practical way..
It is important to note that, if the account we use in Windows 10 is a Microsoft account, that is, we log in with our email, the new image that we define will be applied to all services linked to that account as cloud platforms, OneDrive, Office 365, so it will be synchronized on all devices also automatically.
To keep up, remember to subscribe to our YouTube channel! SUBSCRIBE
Step 1
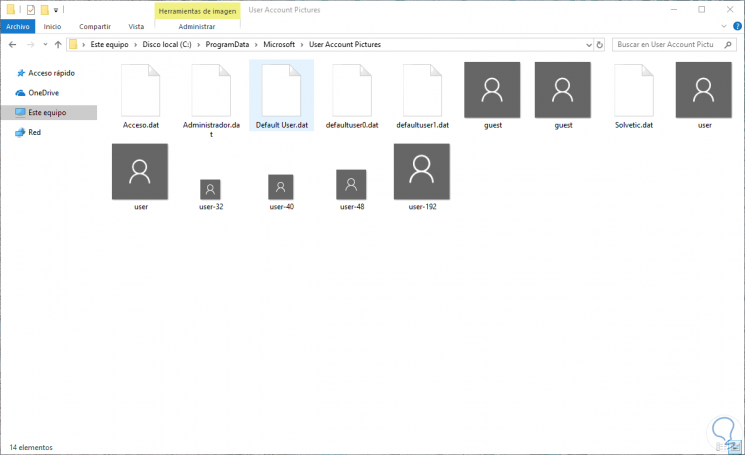
To do this, we go to the Windows 10 file explorer and go to the following path:
C: \ ProgramData \ Microsoft \ User Account Pictures
We will see the following:

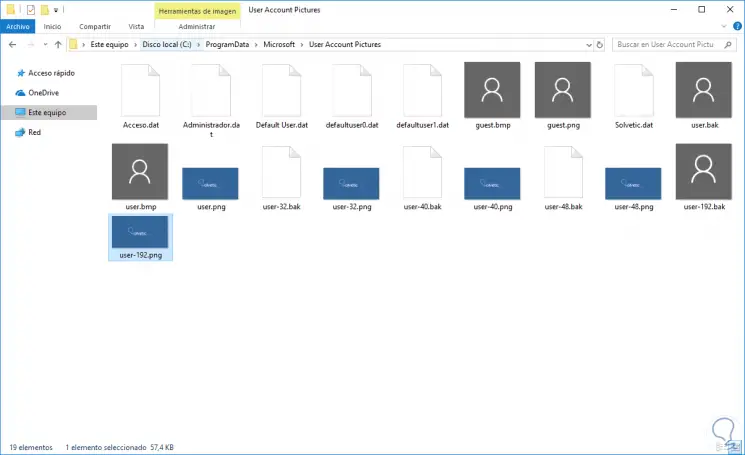
There, we must change the file extension of the files user.png, user-32.png, user-40.png, user-48.png and user-192.png from .PNG to .BAK, to see the extensions we must go to the View menu and there activate the File name extensions box..
Step 2
Once we have renamed these images, we will select the new image that we are going to set and paste them into this folder with the names user.png, user-32.png, user-40.png, user-48.png and user-192. png, respectively being like this. We proceed to restart the computer to apply the changes.

Step 3
Once the session is started, now every time we create a new user account, we can use the custom user image that we have defined. We will see the change from the same login:

Step 4
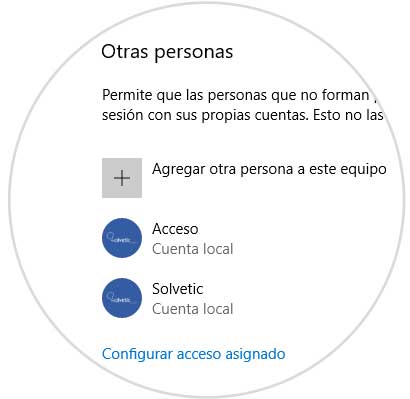
When we access Settings / Accounts we can see that the new image applies to all current and new users:

In this way we can apply a new image according to our choice. If we want to restore the default image, simply delete the image we have copied and rename the originals of .BAK to .PNG.