Instagram may have become one of our favorite social networking accounts. The amount of news that has been included in the platform in recent times, has caused followers to increase as the foam at high speed. Undoubtedly millions of accounts circulate through the network and it is possible that with the passage of time you have realized that you would like to personalize your name on it by a more original one or by one that does not identify you easily if you are one of those who like Keep your privacy safe ..
Having an Instagram account today is quite common among social network users, but also for businesses and businesses. That is why having a proper name is quite important. Whatever the reason, here are the steps you must follow to change the name of your Instagram account quickly and easily.
To keep up, remember to subscribe to our YouTube channel! SUBSCRIBE
1. How to change Instagram name
Step 1
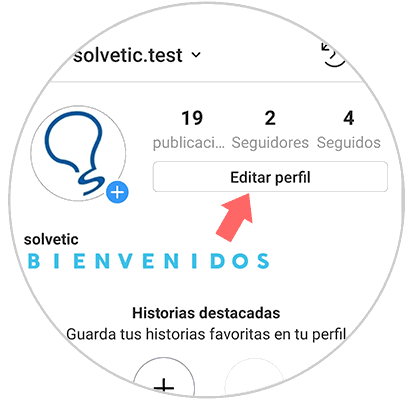
The first thing you should do is go to your Instagram account and enter the "Edit profile" section on the main screen.
Step 2
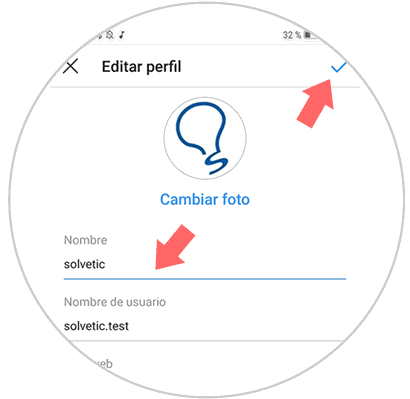
Next, you will see that you have two sections. One is for the general name of your account and the other is the username, that is, the name with which people will find you that goes behind @. Once you're done, click on the upper right corner to confirm.
Step 3
Now you can go back to the main page and see the changes you have made.

In this way we can customize our Instagram account to our liking in a more original way or simply because we want to put another name for some other reason..
2. How to see Instagram name changes
If you want to see the name changes you have made in your account, you must do the following.
Step 1
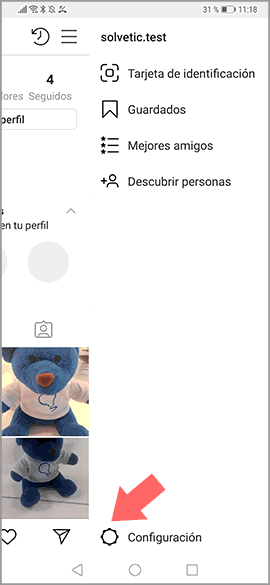
The first thing you should do is enter the "Settings" that you can find by selecting the three stripes icon located in the upper right corner.
Step 2
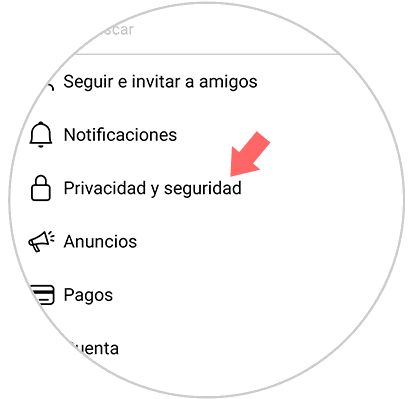
Now in the configuration you must enter “Privacy and securityâ€
Step 3
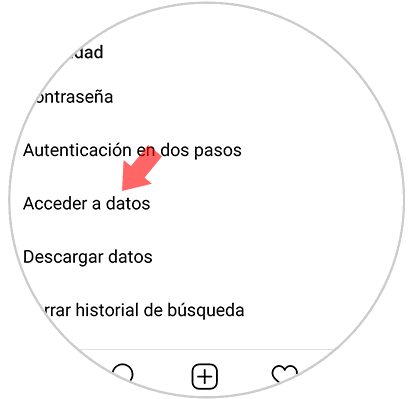
Now you will see several options. In this case, enter “Access dataâ€
Step 4
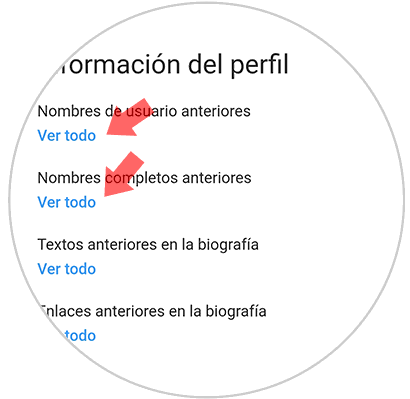
Finally you will have to go to the section "Profile information" you will see "Previous username" and "Previous full names"
Step 5
If you enter this section you will see the changes that have been made.

It is a simple process that will not take us long. Now you just have to choose your new name.