Instagram is undoubtedly the queen of social networks in terms of sharing images and videos. Its success is due to the fact that apart from sharing photography and video on Instagram we are allowed to perform lots of separate actions, such as making live videos , creating 24-hour stories to which we can add surveys or effects such as superzoom or animated GIFs or the possibility to follow hashtag related to topics that interest us..
In addition, from the application itself we are allowed to edit the images before uploading them with the more known Instagram filters, which makes it a very attractive and versatile application in the eyes of the user.
One of the most popular ways to edit our photos are the famous Instagram filters . Everyone uses them but what few people know is that it is possible to customize them depending on our tastes to make their use easier and more comfortable..
What is the "Manage Filters" feature on Instagram?
This new feature that is included in the Instagram App allows you to sort your favorite filters for ease of use and hide the ones you don't usually use. You can manage filters using two different ways within the application: From the Filter Administration panel or from the editor itself.
And this is why this time in TechnoWikis we will explain the two ways to manage filters that exist below.
To keep up, remember to subscribe to our YouTube channel! SUBSCRIBE
1. How to get Instagram filters
To do this you will have to follow these steps:
Step 1
The first thing you should do is upload the image you are going to post on Instagram.
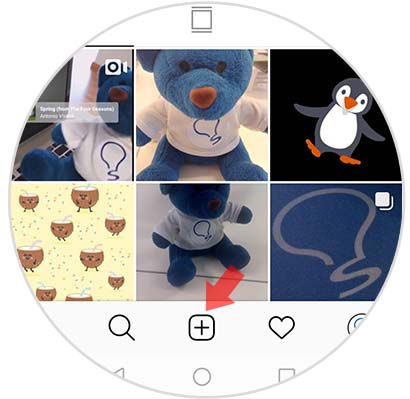
Step 2
Once it is uploaded, you can select filters. Note that the filter tab is marked at the bottom. Now swipe to the right at all and press the "Manage" option
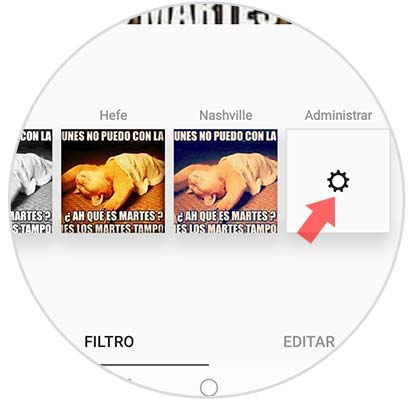
Step 2
On the next screen you can select the ones you want to appear by checking them on the right. You can also sort them in order of preference by leaving it pressed and placing it in the order of the list you prefer.
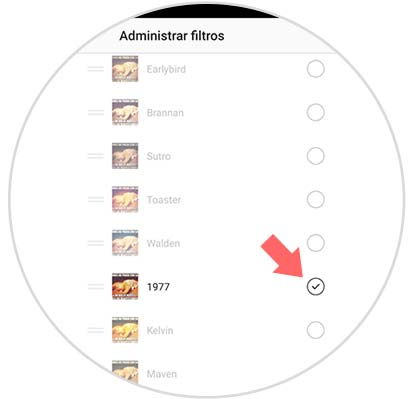
2. How to use Instagram filters
Step 1
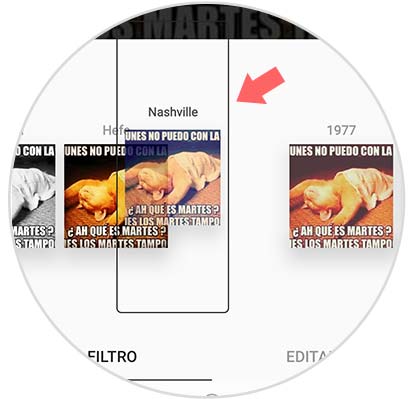
In this case it is the same process from the editor: You can place the filters in the order you prefer by clicking on them and placing them on the bar to the right or left.
Step 2
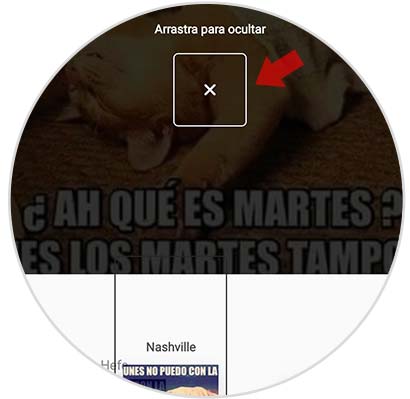
To hide a filter, simply press it and move it to the center and you will no longer see it in the filter bar when you edit a photo on Instagram.
3. How to edit Instagram
Another option that you have in addition to the filters, is the possibility of editing the photos from the Instagram editor. To do this you must follow the steps detailed below.
Step 1
The first thing you should do is upload the photo you want to edit from the "+" symbol on Instagram.

Step 2
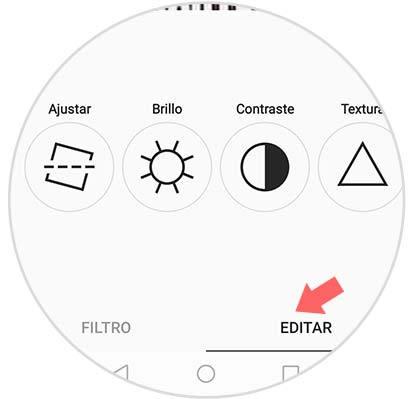
Now you must select the "Edit" section at the bottom. You will see a number of options appear. You can scroll through all of them.
Step 3
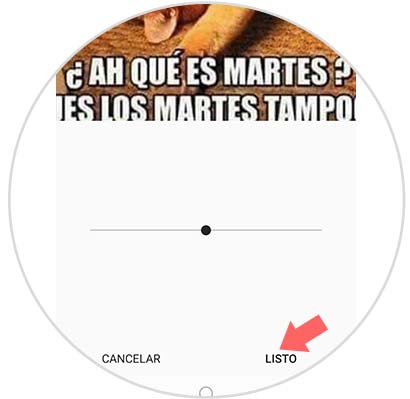
When you choose any of them, you will see that you can select to edit more advanced.
It's that simple to customize the filters on Instagram so that their use is faster and easier within the application..