When using Windows 10 operating systems, we have the possibility of administering in a much more special way the whole issue of computer power since this is a sensitive point since it is a current issue and it can affect both our pocket and the components of the equipment such as disks or memory..
By default Windows 10 has power plans that have been designed to optimize the use of the battery, of the applications and, in general, of the hibernation and suspension of the system to save the useful life of the battery and the screens.
As users of Windows 10 we have the possibility to create, edit or delete these power plans in Windows 10 but at certain times we want the same configuration of these plans to be applied on other computers, for this the most effective option is to import or export these energy plans and thus simplify the configuration task, today we will see how to achieve this action..
1. Create a power plan in Windows 10
Step 1
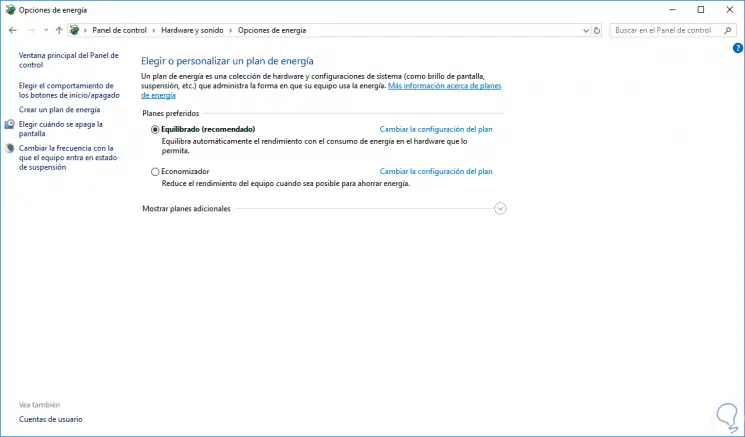
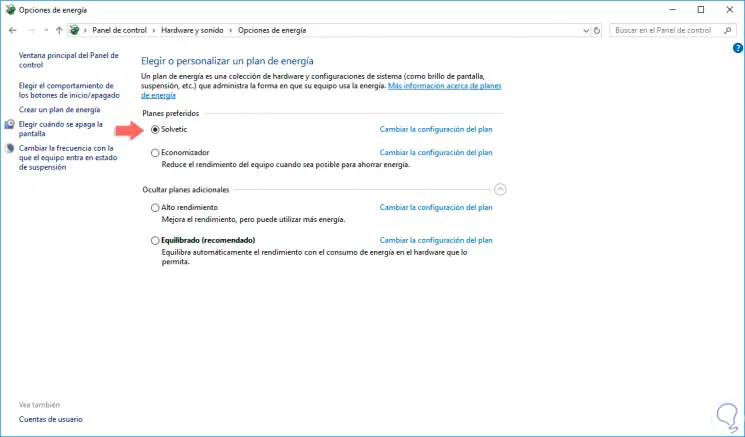
First of all we are going to create a customized plan for its subsequent export, to create this plan we will go to the following route:
Step 2
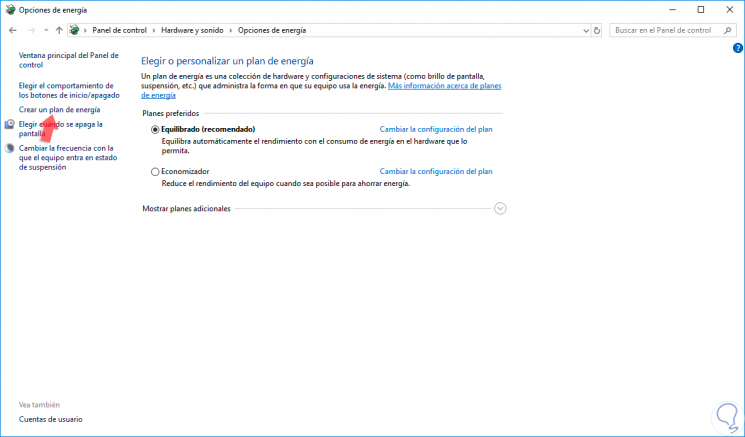
There we click on the “Create an energy plan†option located on the left side and the following will be displayed:
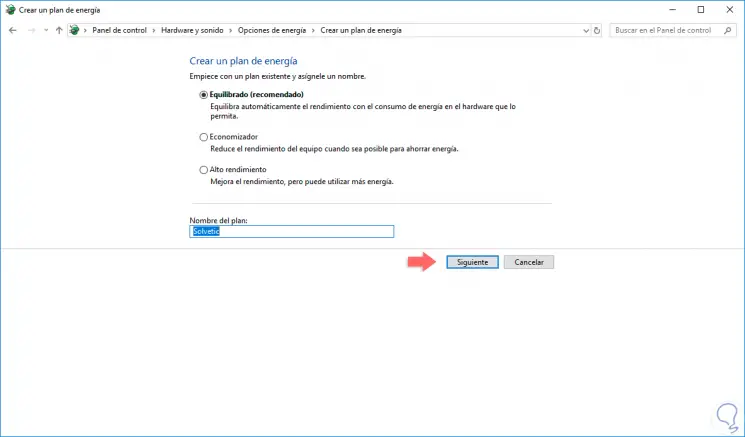
Step 3
There we will give a name to the plan and define the type of plan to use, click on “Next†and define the behavior of the plan:
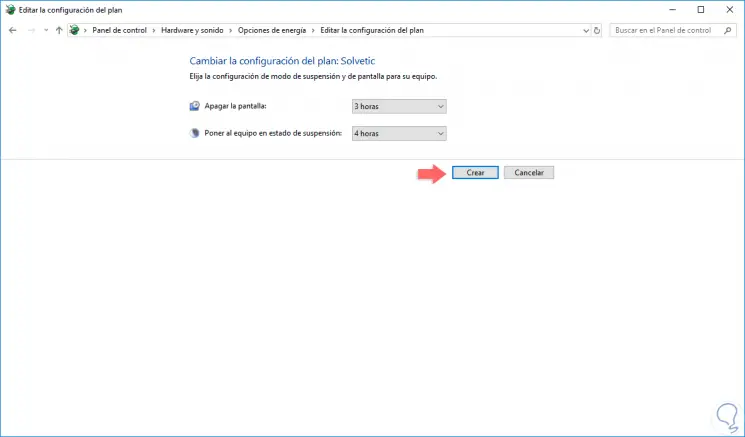
Step 4
Click on "Create" to confirm the creation of the plan.
2. Export a power plan using POWERCFG in Windows 10
Step 1
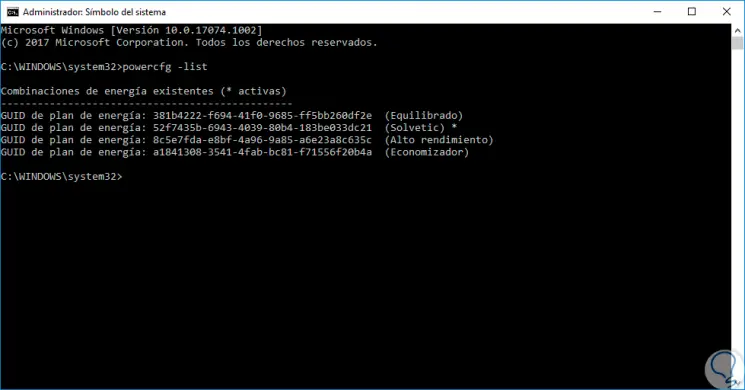
Once we have created the energy plan, we will export this configuration, for this we will access the command prompt as administrators and in the console we will execute the following command:
powercfg -list
We will see the following:
Step 2
We can see the current plans in the team and the active plan is the one that has a * sign right next to it. Now we will select with the left mouse click the GUID (Globally Unique Identifier) ​​of the plan to export:

Step 3
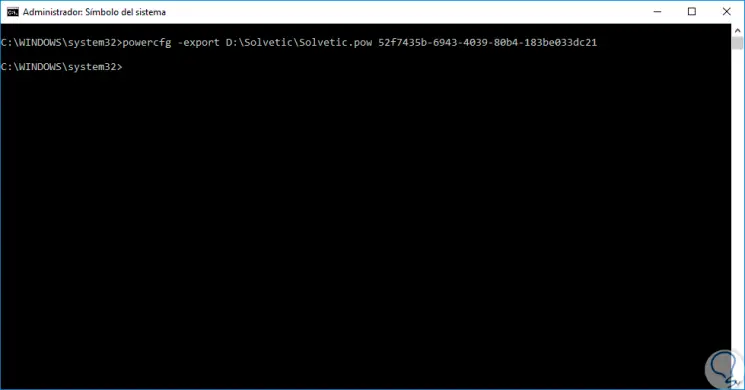
Now we will right click and automatically this selection will be copied. The next step is to execute the
powercfg command to export this plan and for this we will use the following syntax:
powercfg -export Unit: \ Path \ plan_name.pow guid_plan
Step 4
This will create a file with the extension .pow using the selected GUID:
Step 5
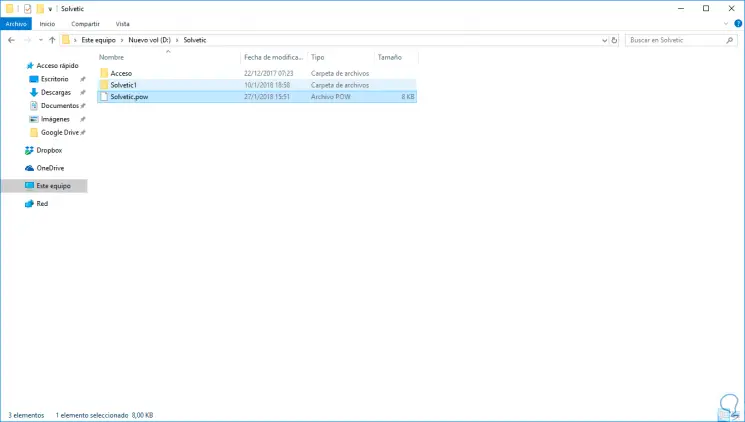
We can see that the .pow file has been created in the indicated path:
3. Import a power plan using POWERCFG in Windows 10
Step 1
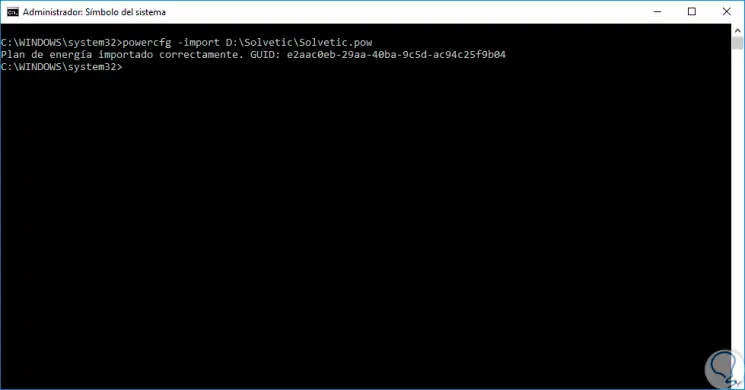
When we want to use this same plan configuration, it is enough to take the .pow file to the computer where the plan is to be configured and simply execute the following syntax from the command prompt as administrators:
powercfg -import Unit: \ Path \ Plan_Name.pow
Step 2
There we will indicate the path where the .pow file is located like this:
Step 3
To activate this plan we must execute the following:
powercfg -setactive GUID
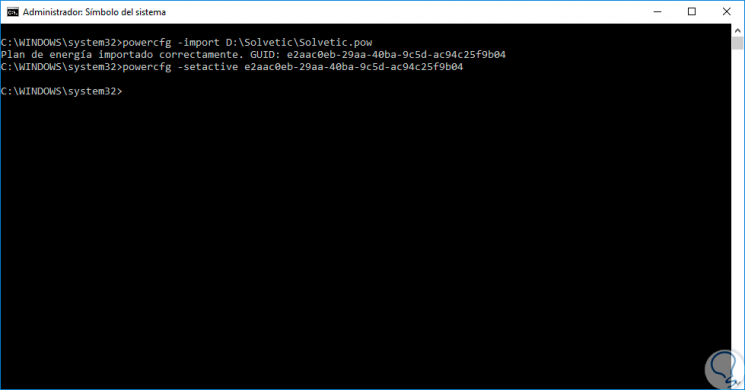
Step 4
Again we execute the powercfg -list command and we will see the new plan active there:

As we can see, it is easy to export and import power plans in Windows 10.