Outlook is one of the most popular platforms for everything related to messaging, contacts and other elements that involve contact with coworkers and more, that is why Outlook integrates many functions and one of them is the auto-complete list. This is a list that is used in the automatic checking feature of registered names in Outlook and is also used as an automatic completion method..
Autocomplete, or alias cache, is created automatically when sending email messages from our Outlook account, it stores SMTP addresses, LegacyExchangeDN entries, as well as the names of the contacts to whom we have sent emails in order to facilitate the shipping process.
Limits autocomplete
Microsoft has had a limitation in the autocomplete list, these are:
- Outlook 2016: 1000 entries
- Outlook 2013: 1000 entries
- Outlook 2010: 1000 entries
- Outlook 2007: 2000 entries
- Outlook 2003: 1000 entries
TechnoWikis will explain the process to import or export this auto-complete list and it is a process that applies equally to Outlook 2016 or 2019..
To stay up to date, remember to subscribe to our YouTube channel! SUBSCRIBE
Import or export auto-complete list in Outlook
Step 1
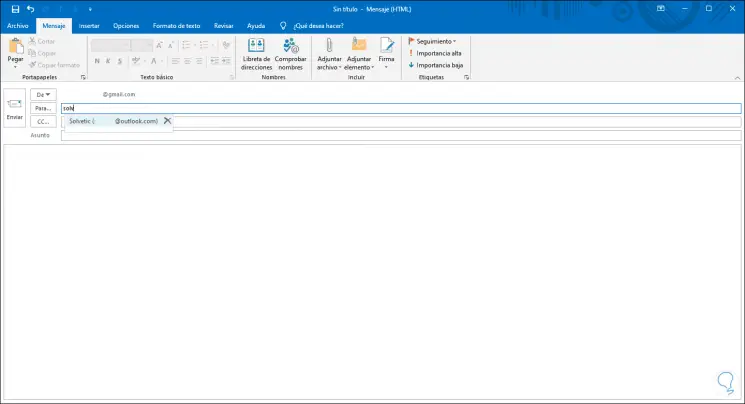
When using the autocomplete function, when we are going to write a new email and enter the first letters of the name, the associated matches are displayed:
Step 2
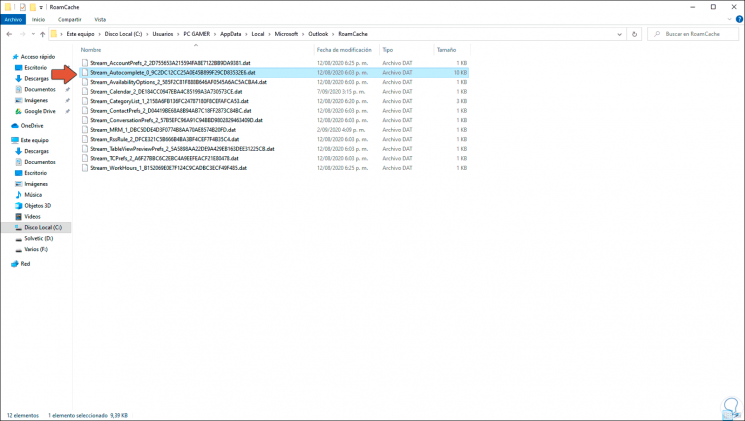
The first step to take will be to go to the following path from Windows 10 File Explorer:
C : \ Users \ USER \ AppData \ Local \ Microsoft \ Outlook \ RoamCache
Step 3
We will see a list of files with a .dat extension and we must focus on the Stream_Autocomplete file:
Step 4
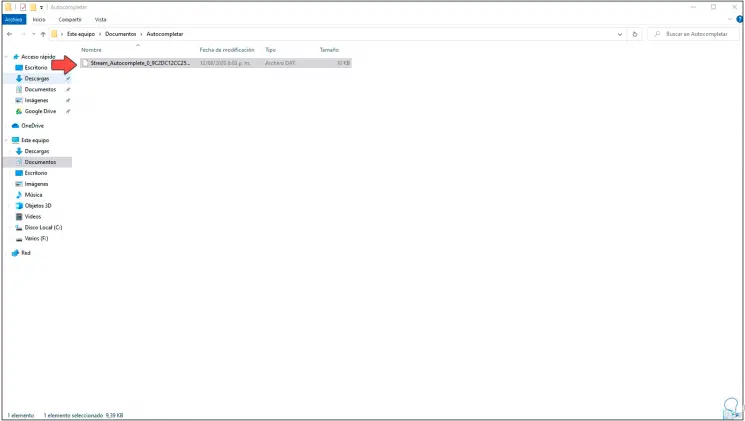
It is a light file, we copy this file and paste it in another folder created for it:
Step 5
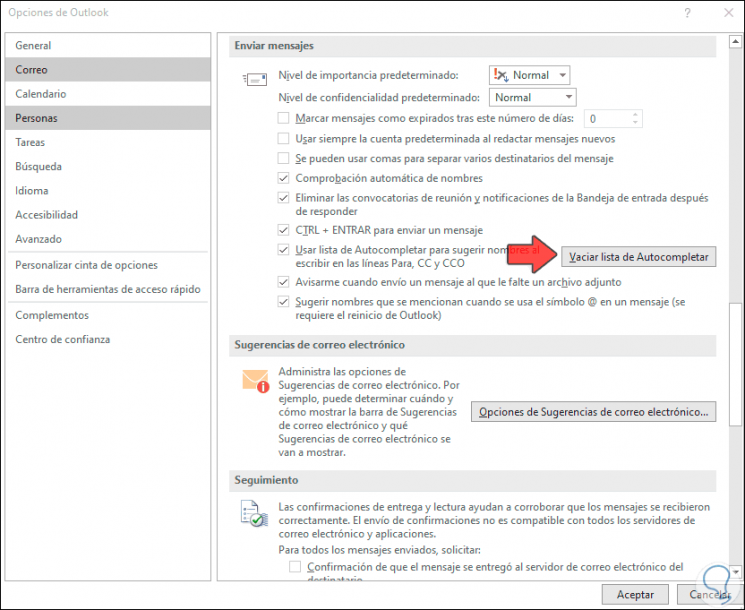
After that we open Outlook and go to "File - Options" and in the pop-up window we will go to the "Mail" section, there we go to the "Send messages" section and find the "Empty Autocomplete list" button:
Step 6
We click there and the following warning will be displayed. We confirm the action by clicking Yes. We click OK in the options window and close Outlook.

Step 7
After this we will go back to the route:
C : \ Users \ USER \ AppData \ Local \ Microsoft \ Outlook \ RoamCache
Step 8
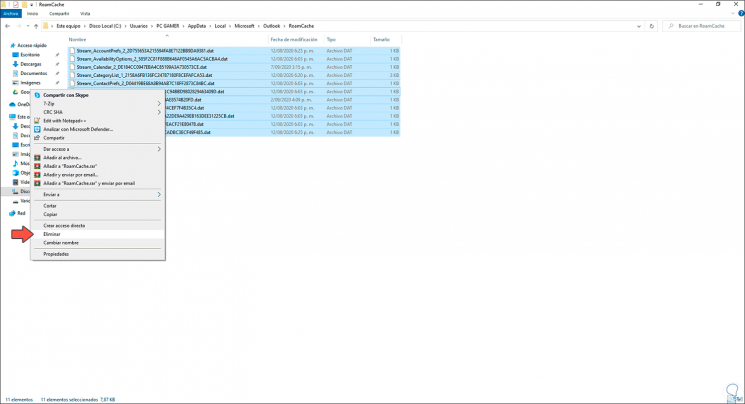
There we select all the files, right click and select Delete:
Step 9
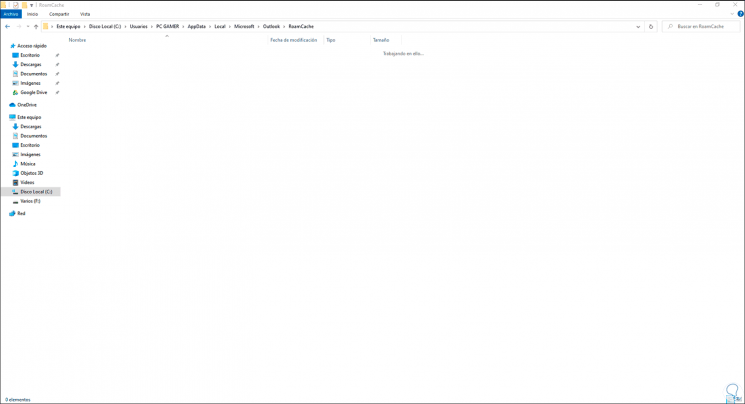
We can see the empty folder:
Step 10
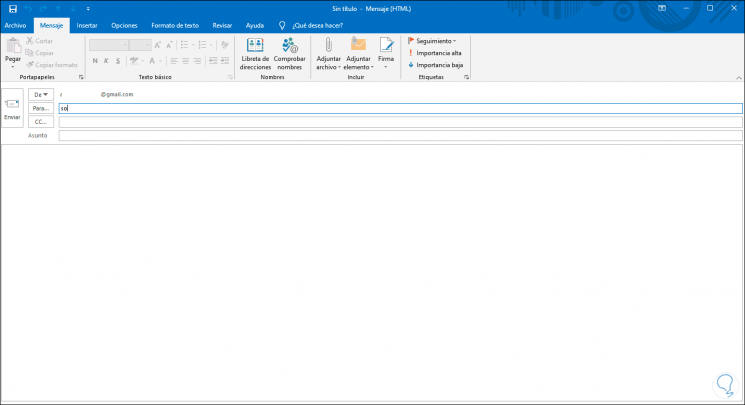
We access Outlook again and when creating a new email we can see that when entering the user's initials, suggestions will not be launched:
Step 11
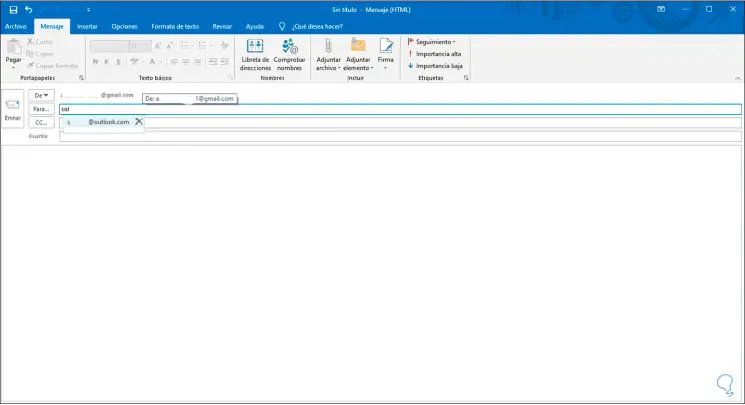
We enter the email and send the email, then if we try to send that user again we can see that it is within the suggestions:
Step 12
The reason is simple, when creating a new email, the autocomplete list is automatically created in the path mentioned above:
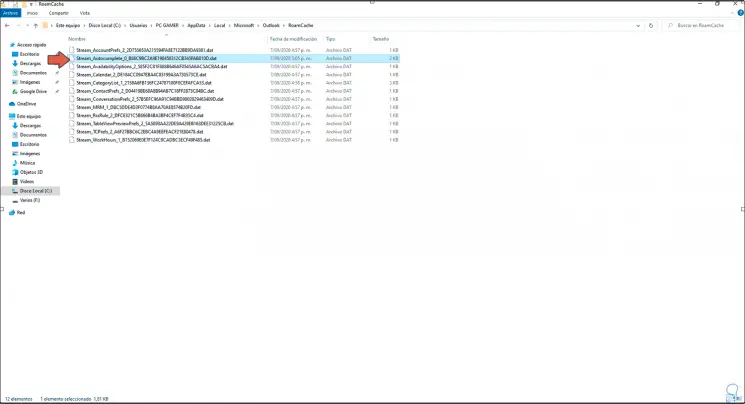
Step 13
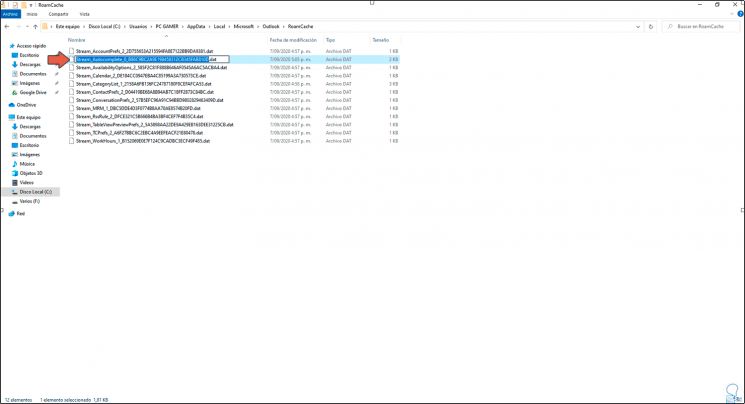
If we want to recover the list that we had previously, we must select the .dat file in the RoamCache folder with the F2 key and copy its name:
Step 14
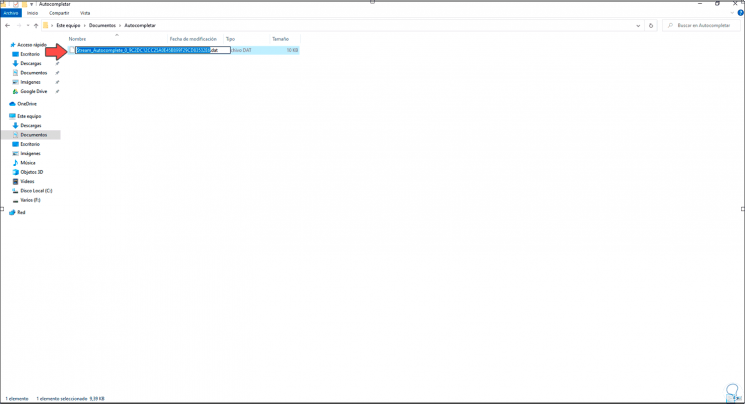
Once we have copied it, we will go to the folder where the copy has been created previously, we select its name with the F2 key:
Step 15
We paste the copied name to replace this:
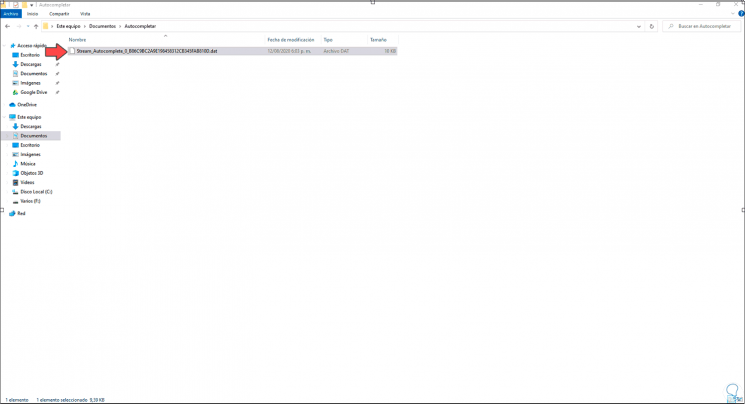
Step 16
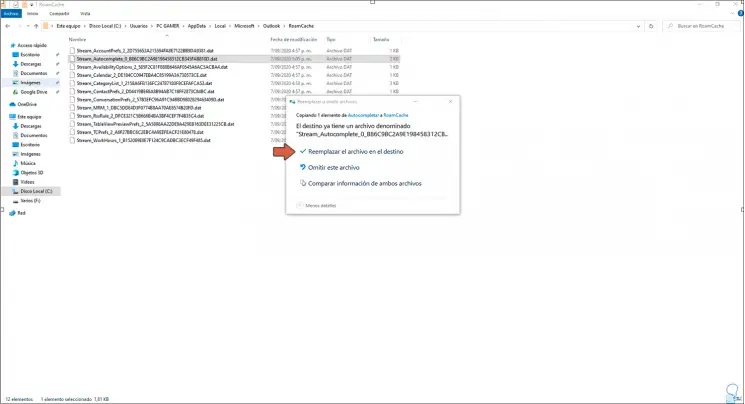
Now we copy this last file and paste it in the RoamCache folder, we will see the following. We click on "Replace the file in the destination" to finish the copying process.
Step 17
We access Outlook again and when we create the email we will have the list of previous contacts:

With these steps we have learned to import and export the auto-complete list in Outlook 2016 or 2019.