In the business world, something that grows day by day, it is ideal and advisable to have tools that help us manage, control and manage a better organization of data..
A term linked to this new business trend is Business Intelligence - Business Intelligence (BI), this term is associated with the ability to jointly analyze all the data of a company , in all areas, generating relevant information that will subsequently be used to make the best commercial decisions for the company and personal well-being, hence the basis of all types of BI solution is the correct handling of existing data since otherwise, incorrect information can be provided affecting the objectives Global
TechnoWikis thinking about this BI world, will analyze a tool called ReportServer which has the function of acting as a gateway between the end users and the data collected, allowing users to access them efficiently and have the ability to analyze the available data.
With ReportServer it will be possible to generate from evaluations ready for the board of directors to ad-hoc reports..
ReportServer Features
Some of the features we find when using ReportServer are:
- It is open source licensed by GPL.
- Versatile since with ReportServer it will be possible to generate detailed reports, ad-hoc analysis, Excel and Word reports or multidimensional OLAP analysis, all this thanks to the tools available in the utility.
- It has no restriction as to the number of users to administer.
- Available in more than 30 languages.
- Possibility of creating TeamSpaces for the correct management of the groups.
- Possibility of creating dynamic lists which can be exported to Excel, CSV, PDF or HTML.
- Compatible with Eclipse Birt.
- ReportServer is compatible with the JasperReports library which is an open source report engine that includes the Jaspersoft Studio report designer.
- It is possible to import or export the configuration that we define.
- Ability to create multiple boards in a short time.
As we see it is a powerful tool and now we will see how to install it on CentOS 7.
1. Update the system and install Java on CentOS 7
Step 1
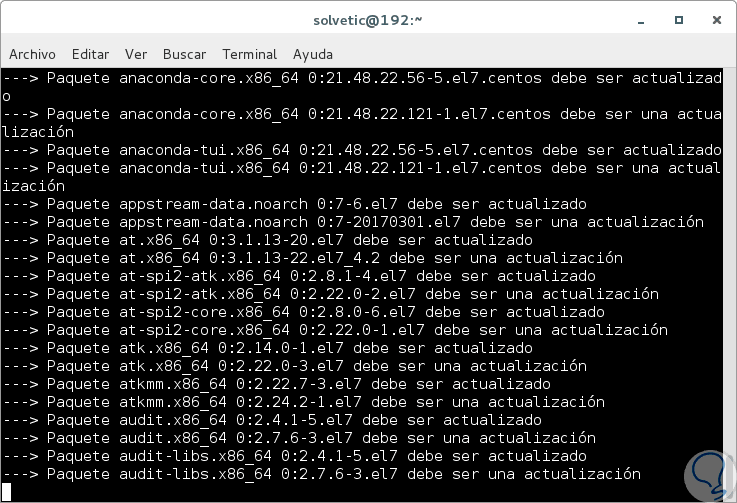
The first important step to take is to update the system packages and this is achieved by executing the following command:
yum -y update
Step 2
When the operating system is updated, we must install the latest version of Oracle Java on the server to use, for this, we can execute the following command to download the RPM package. There we wait for the process to conclude.
wget --no-cookies --no-check-certificate --header "Cookie: oraclelicense = accept-securebackup-cookie" "http://download.oracle.com/otn-pub/java/jdk/8u131-b11/ d54c1d3a095b4ff2b6607d096fa80163 / jdk-8u131-linux-x64.rpm "

Note
In case of not having the wget utility installed, we can execute the following command for its installation:
yum -y install wget
Step 3
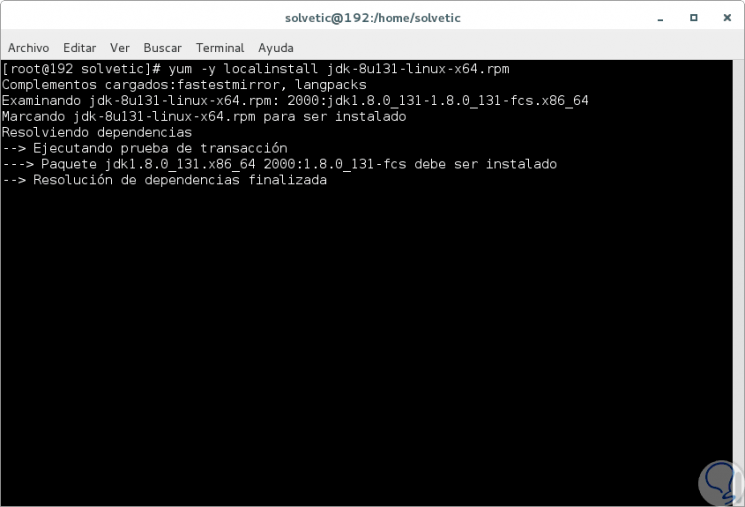
Now we proceed to install the downloaded RPM with the following command:
yum -y localinstall jdk-8u131-linux-x64.rpm
Step 4
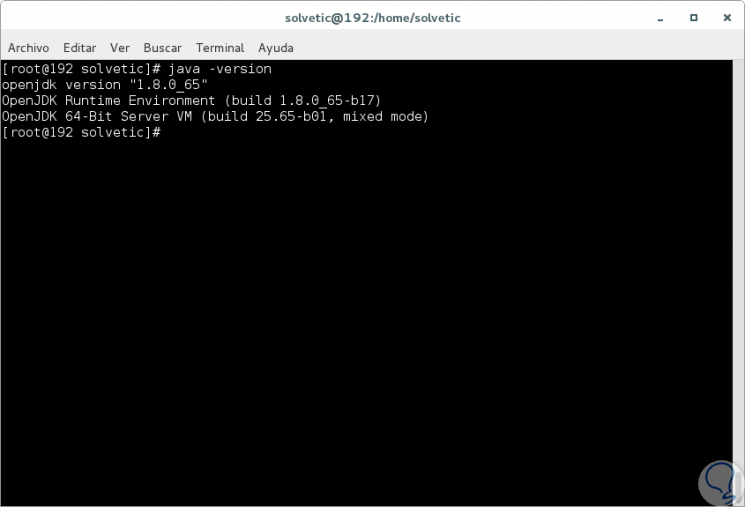
Once this process is finished we can validate the Java version with the following line:
java -version
Step 5
In addition to this, we must verify that the JAVA_HOME environment variable is set correctly, for this we will execute the following command:
echo $ JAVA_HOME
Step 6
If we do not get any value as a result, it will be necessary to manually configure the JAVA_HOME variable. To do this, we will edit the .bash_profile file with the desired editor, nano or vim:
nano ~ / .bash_profile
Step 7
There we will add the following lines:
export JAVA_HOME = / usr / java / jdk1.8.0_131 / export JRE_HOME = / usr / java / jdk1.8.0_131 / jre

Step 8
We save the changes using the following key combination:
+ O Ctrl + O
We leave the editor using:
+ X Ctrl + X
Step 9
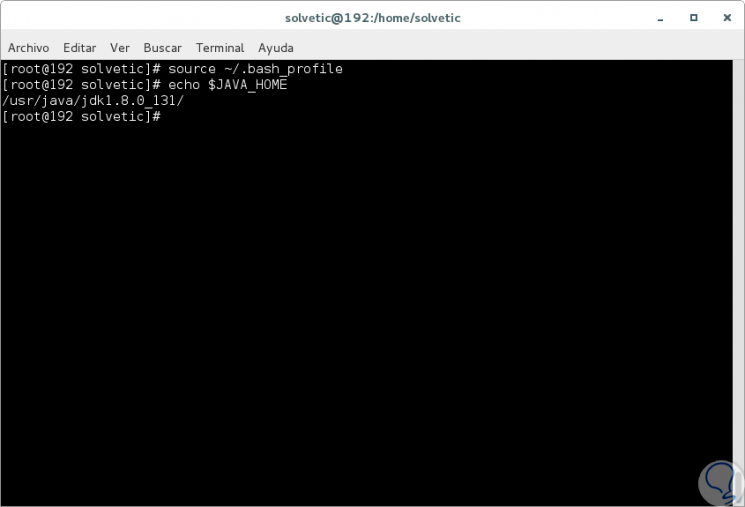
Now we execute the following command to load the changes:
source ~ / .bash_profile
Step 10
Again we execute the echo $ JAVA_HOME line and we will see the following:
2. Install the TomCat server on CentOS 7
The next step will be to install the Tomcat server, remember that Tomcat is an application server designed for Java applications.
Step 1
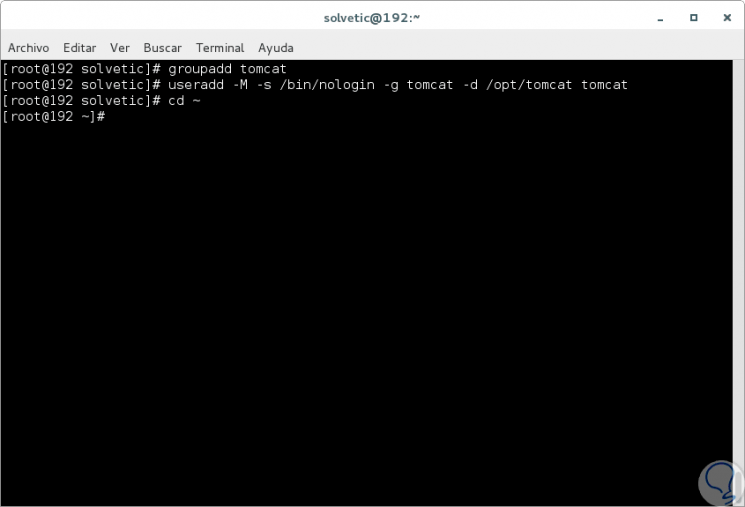
For its installation we will execute the following command in order to create the tomcat user and group:
groupadd tomcat (Group creation)
useradd -M -s / bin / nologin -g tomcat -d / opt / tomcat tomcat (Creating the tomcat user without login shell and home directory as / opt / tomcat)
Step 2
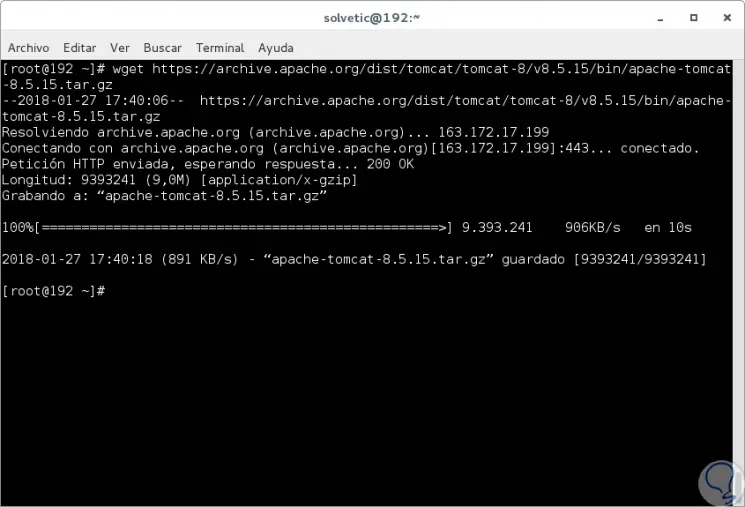
We access the Home directory by running cd ~ and there we will download TomCat with the following line:
wget https://archive.apache.org/dist/tomcat/tomcat-8/v8.5.15/bin/apache-tomcat-8.5.15.tar.gz
Step 3
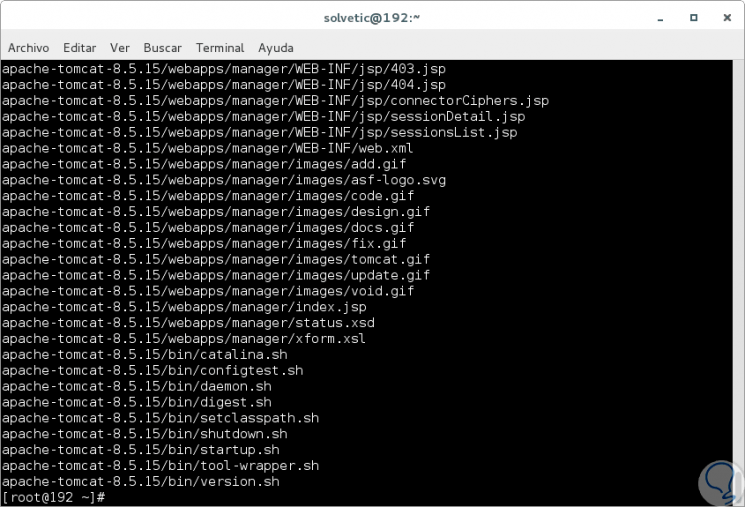
We proceed to install the TomCat server in the / opt / tomcat directory, we will create a new directory and extract the file using the following command:
mkdir / opt / tomcat tar xvf apache-tomcat-8 * tar.gz -C / opt / tomcat --strip-components = 1
Step 4
Once extracted, we will grant ownership of the files to the tomcat user and group using the following command:
chown -R tomcat: tomcat / opt / tomcat PostgreSQL installation
Step 5
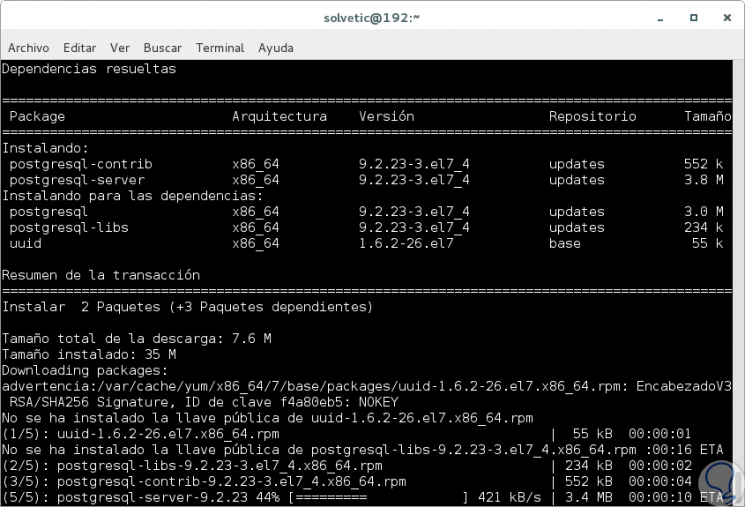
Now we are going to install the PostgreSQL database server in CentOS 7 for this we will execute the following command:
yum -y install postgresql-server postgresql-contrib
Step 6
Once the process is finished we must start the database by executing the following:
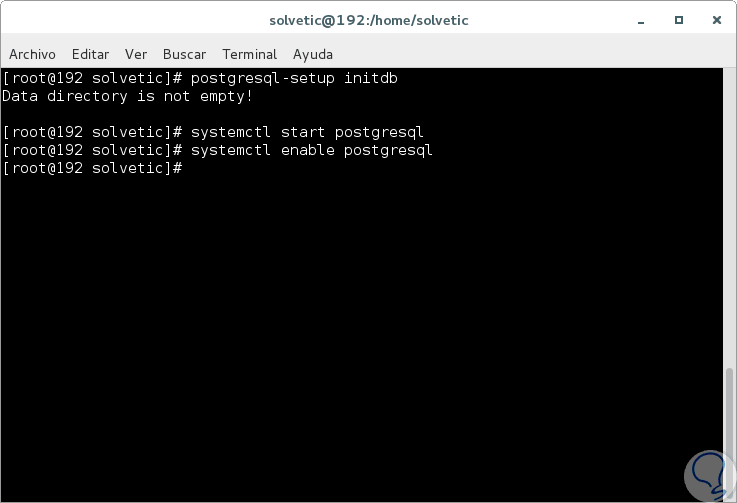
postgresql-setup initdb
Step 7
We also execute the following commands:
systemctl start postgresql (Start the PostgreSQL service) systemctl enable postgresql (Enable PostgreSQL at system startup)
Step 8
Now we are going to execute the following command to change the password of the PostgreSQL root user called postgres:
sudo -u postgres psql postgres \ password postgres
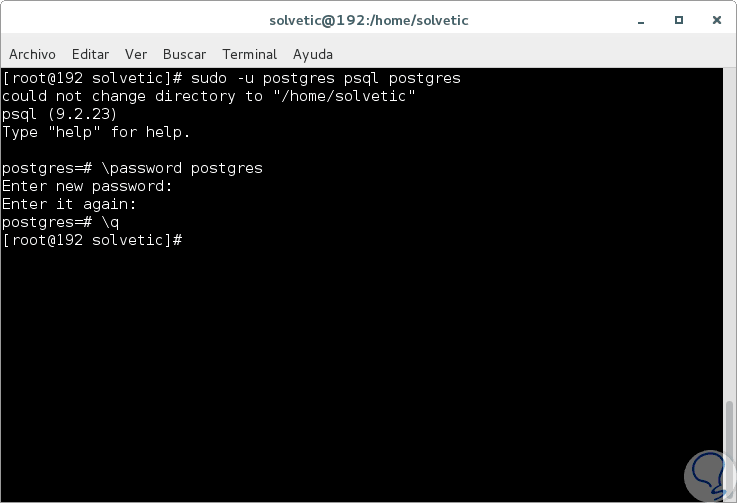
Step 9
There we enter and confirm the password and we can leave the PostgreSQL database with the line \ q. Now we will execute the following command to create a new database for ReportServer called
reportserver: sudo -u postgres createdb reportserver
Step 10
There it will be necessary to enter a password for it and with the following command we will create a new user for the database created:
sudo -u postgres createuser -P -s -e reportserver

Step 11
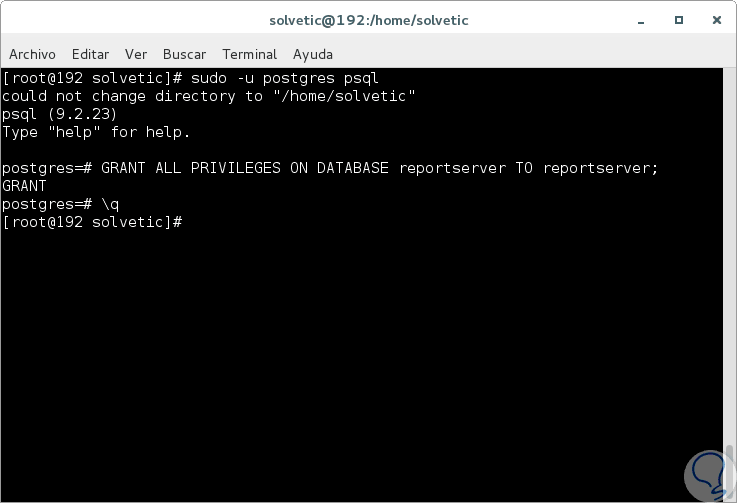
Next, we will assign the user of this database to the database using the following command:
sudo -u postgres psql GRANT ALL PRIVILEGES ON DATABASE reportserver TO reportserver;
Step 12
The next step will be to edit a PostgreSQL configuration file so that the database can connect without the postgres user, for this we will edit the pg_hba.conf file using any editor like this:
nano /var/lib/pgsql/data/pg_hba.conf
There we will locate the following lines:
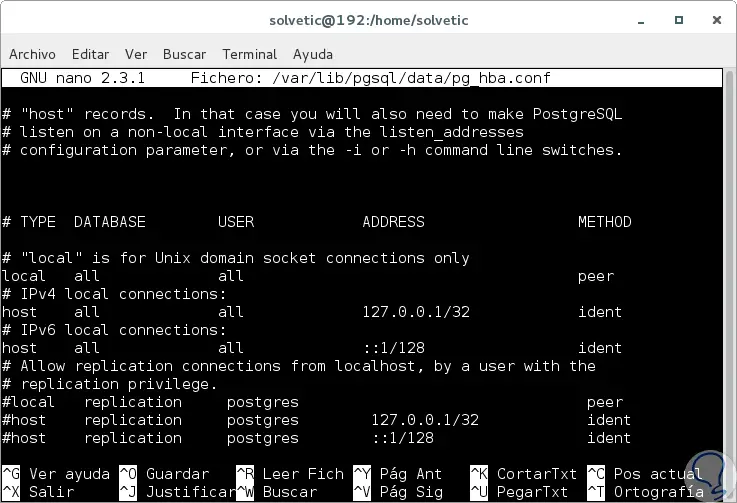
Step 13
We modify the peer values ​​by trust and the ident values ​​by md5:

Step 4
We save the changes using the following key combination:
+ O Ctrl + O
We leave the editor using:
+ X Ctrl + X
Step 15
Now we are going to restart the PostgreSQL service with the following command:
systemctl restart postgresql
3. Install ReportServer on CentOS 7
Next, we will download and configure ReportServer.
Step 1
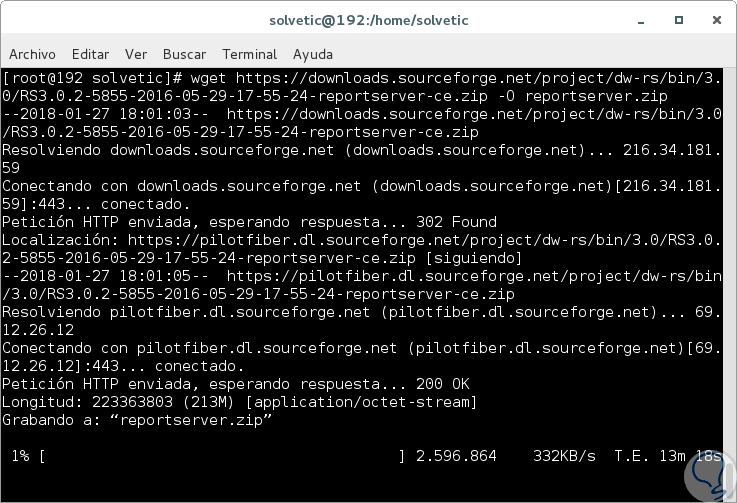
First, we run the following command to download ReportServer:
wget https://downloads.sourceforge.net/project/dw-rs/bin/3.0/RS3.0.2-5855-2016-05-29-17-55-24-reportserver-ce.zip -O reportserver.zip
Step 2
We hope that the download is complete and we will delete everything that is in the Root web folder of the Tomcat installation with the following command:
rm -rf / opt / tomcat / webapps / ROOT / *
Step 3
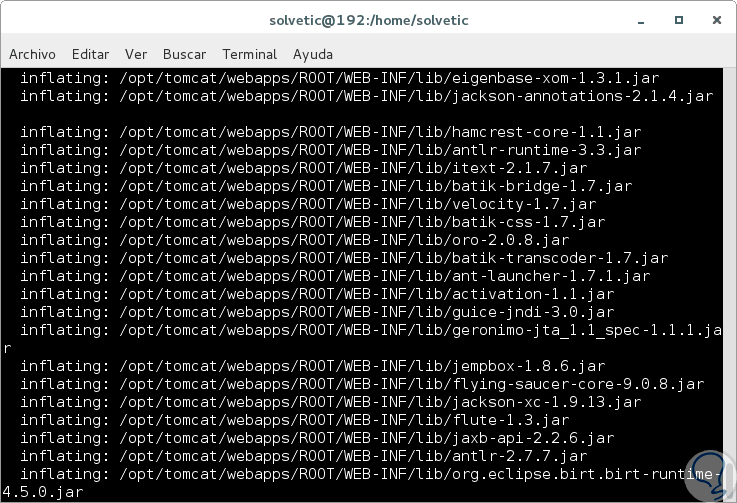
We proceed to extract the file downloaded from ReportServer with the following command:
unzip reportserver.zip -d / opt / tomcat / webapps / ROOT /
Step 4
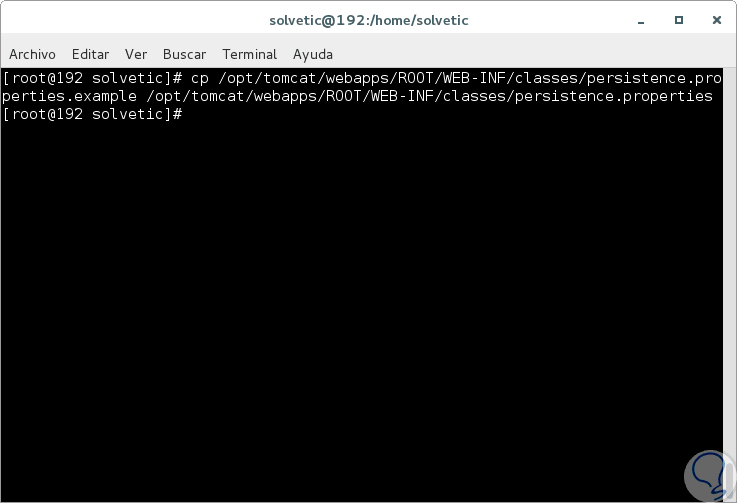
The next step will be to copy the configuration file from the example files of the utility using the following command:
cp /opt/tomcat/webapps/ROOT/WEB-INF/classes/persistence.properties.example /opt/tomcat/webapps/ROOT/WEB-INF/classes/persistence.properties
Step 5
We will access the persistence.properties file and provide you with the information in the database that we created in the previous step:
nano /opt/tomcat/webapps/ROOT/WEB-INF/classes/persistence.properties
Step 6
There we will add the following:
hibernate.connection.username = reportserver hibernate.connection.password = Password hibernate.dialect = net.datenwerke.rs.utils.hibernate.PostgreSQLDialect hibernate.connection.driver_class = org.postgresql.Driver hibernate.connection.url = jdbc: postgresql: // localhost / reportserver

Note
There we must specify the username, password and database that was created.
Step 7
We will grant the correct property:
chown -R tomcat: tomcat / opt / tomcat / webapps / ROOT /
Step 8
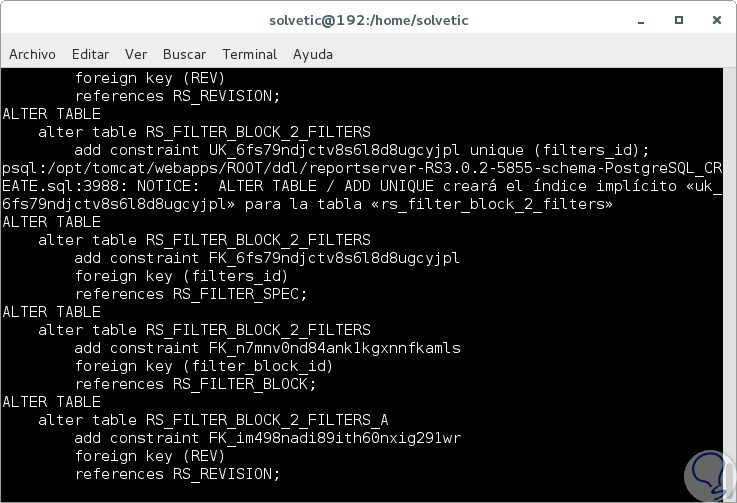
Now, let's initialize the ReportServer database with the following line:
psql -U reportserver -d reportserver -a -f /opt/tomcat/webapps/ROOT/ddl/reportserver-RS3.0.2-5855-schema-PostgreSQL_CREATE.sql
Step 9
This will execute the DDL script to initialize the database. Now, we are going to create a Systemd script to run the TomCat server, for this we will create a new Systemd file like this:
nano /etc/systemd/system/tomcat.service
Step 10
There we will paste the following:
[Unit] Description = Apache Tomcat Web Application Container After = syslog.target network.target [Service] Type = forking Environment = JRE_HOME = / usr / java / jdk1.8.0_131 / jre Environment = CATALINA_HOME = / opt / tomcat Environment = CATALINA_BASE = / opt / tomcat Environment = 'JAVA_OPTS = "- Djava.awt.headless = true -Xmx2g -XX: + UseConcMarkSweepGC -Dfile.encoding = UTF8 -Drs.configdir = / opt / reportserver"' ExecStart = / opt / tomcat / bin / startup.sh ExecStop = / opt / tomcat / bin / shutdown.sh User = tomcat Group = tomcat UMask = 0007 RestartSec = 10 Restart = always [Install] WantedBy = multi-user.target

Step 11
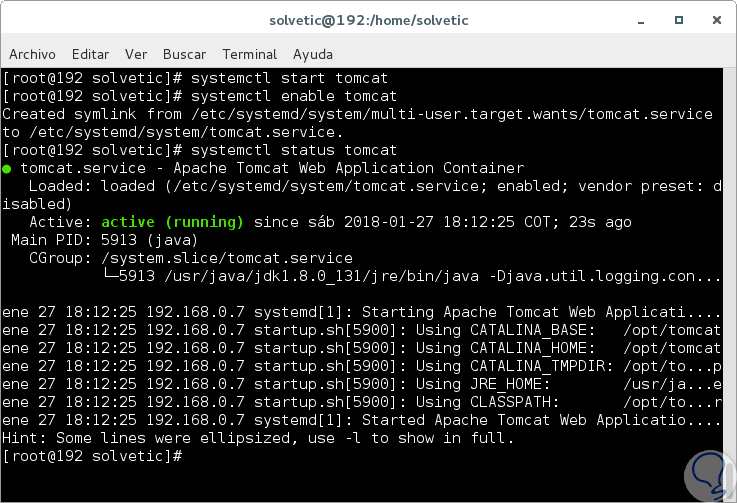
We save the changes and leave the editor. Now let's run the following:
systemctl start tomcat (Service Start) systemctl enable tomcat (Service enablement) systemctl status tomcat (Service Status)
4. Access ReportServer in CentOS 7
Step 1
Once we have these steps completed we can access the application using the following syntax:
http: // IP_address: 8080
Step 2
Once we access this will be the environment we will see:

Step 3
There we will enter the following credentials:
- Click on Login and then we will see the following:
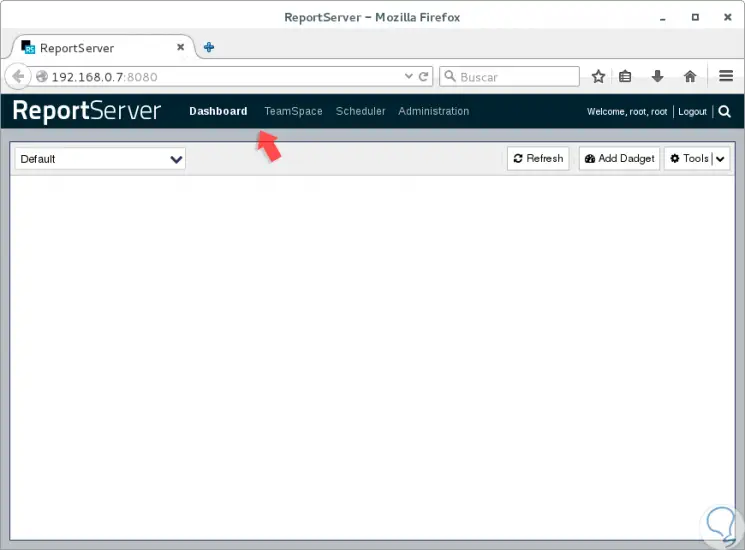
Step 4
There we have first of all the “Dashboard†tab where the boards that are created will be. In the "TeamSpace" tab we can create the spaces for the respective groups to manage:
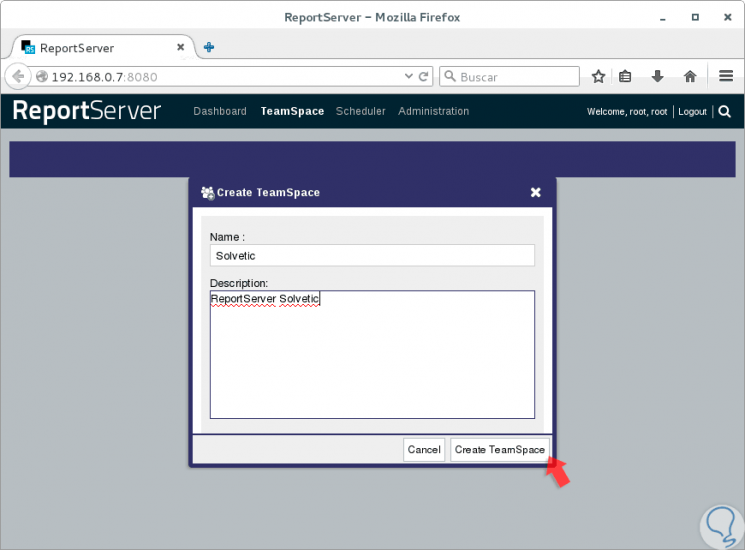
Step 5
Click on "Create TeamSpace" and now we will see the new space where we can perform the respective administration tasks.

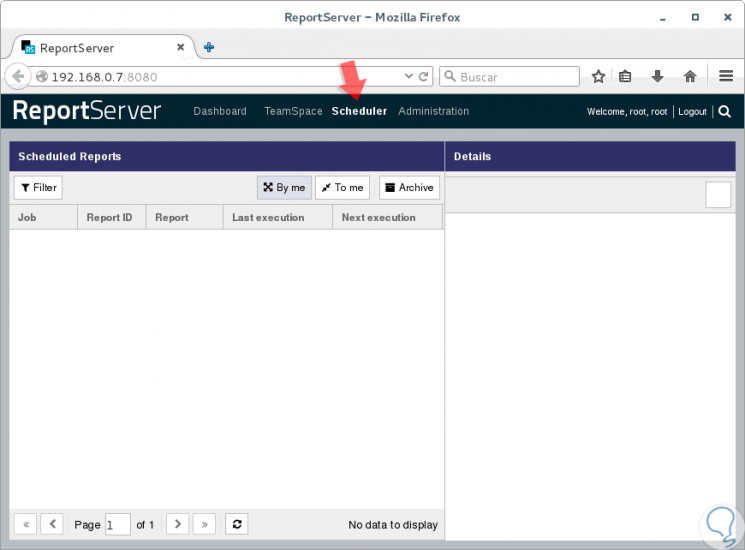
Step 6
In the "Scheduler" tab it will be possible to configure the group's scheduled reports:
Step 7
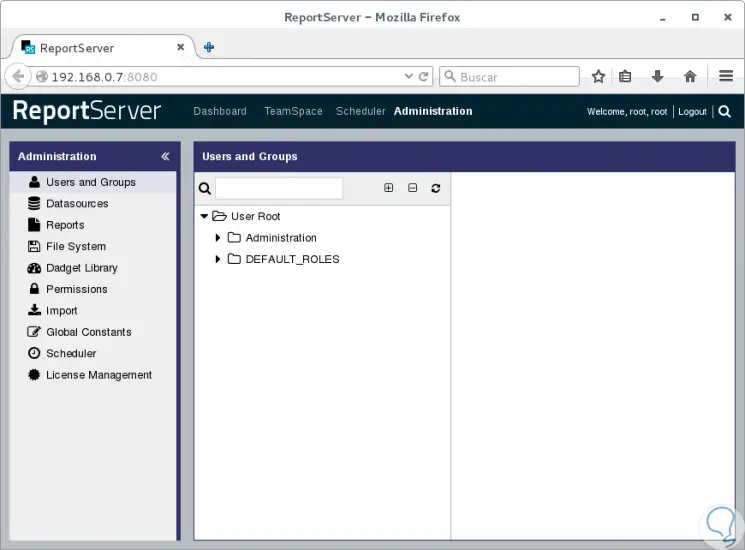
Finally, in the "Administration" tab we can carry out everything related to the platform such as password changes, reports, system files, etc.
Thus, we have seen how ReportServer becomes a practical solution for everything related to BI and in this way we will have more help to manage and control the data that is under our responsibility..