Currently there are many options with which we can protect both our equipment and the information stored in them and one of the most practical options are the integrated tools offered by the operating system itself and in this case we talk about FileVault which comes by default with macOS High Saw ..
With FileVault it will be possible to add an encryption level to the hard disk thus preventing unauthorized users from accessing our information. Today TechnoWikis will explain how we can enable or disable FileVault in macOS High Sierra.
What is FileVault?
FileVault is an encryption system implemented by Apple in its macOS operating systems which makes use of XTS-AES-128 encryption with a 256-bit key allowing our information to be safe.
FileVault is an ideal utility to add security in a world where privacy is more vulnerable every day and therefore we will see how to enable FileVault in macOS High Sierra.
1. How to activate FileVault on macOS High Sierra
Step 1
To start this process we go to System Preferences with one of the following options:
- Going to the Apple menu and there select System Preferences
- By clicking on the icon located in the macOS High Sierra Dock
- Through SpotLight entering the word Preferences and there selecting the correct option.
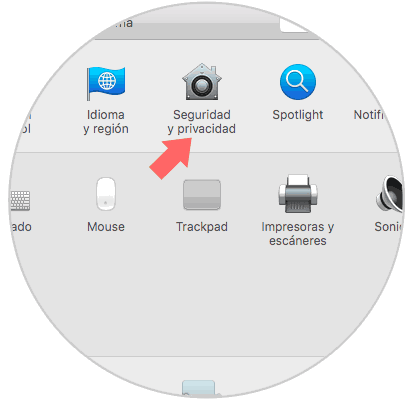
We will see the following. There we click on the Security and privacy option and in the window that will appear it will be necessary to click on the lock icon to make changes to the system.
Step 2
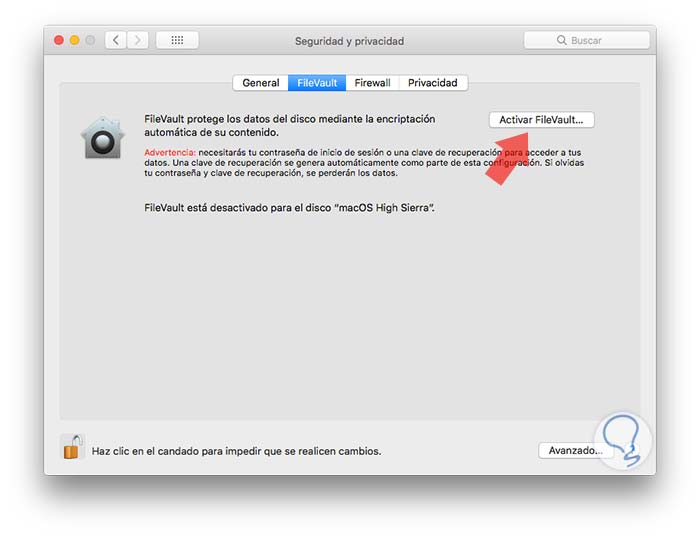
Once we access, we go to the FileVault tab where we will see the following. As we see the original state of FileVault is disabled. There we click on the Activate FileVault button and the following window will be displayed:
Step 3
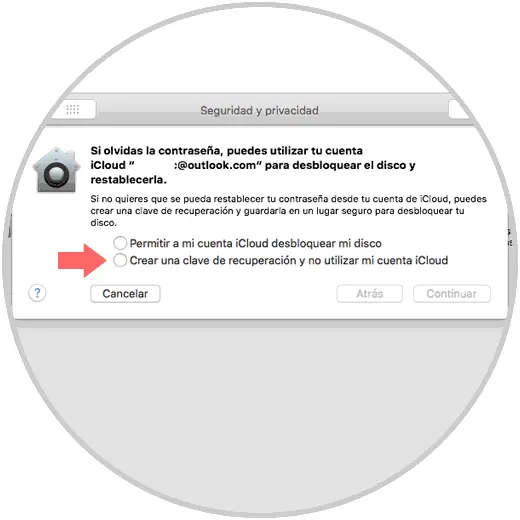
There we have the following options:
- Unlock the disc using our Apple ID
- Create your own key for unlocking without using the Apple ID
Step 4
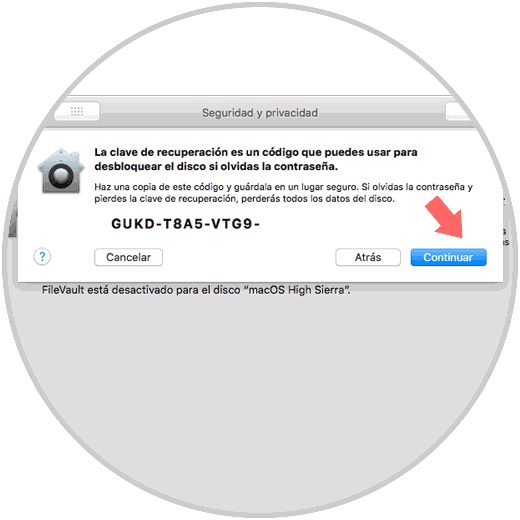
In case of selecting the recovery key option we will see the following. We must be careful to write down and not lose this key since otherwise it will not be possible to access the disk later.
Step 5
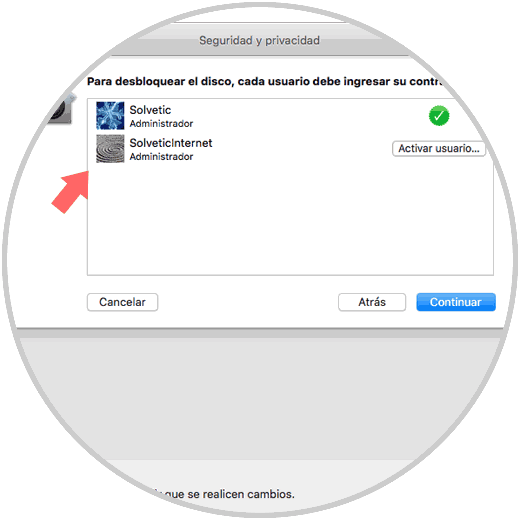
If we use the Apple ID option we will go directly to the following window where we will select the user who will have access to the disk:
Step 6
Once we define the desired method, click on Continue and we will see the following window:
Step 7
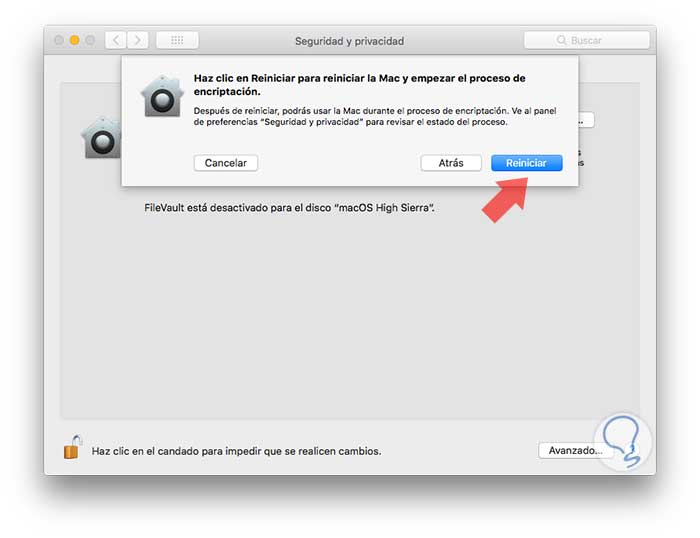
There we click on the Restart button so that the system starts the hard disk encryption process, after this it will be necessary to enter the password of the selected user:
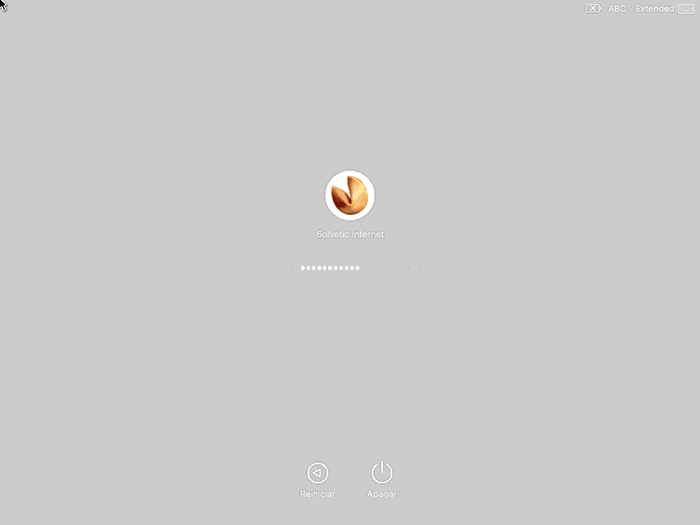
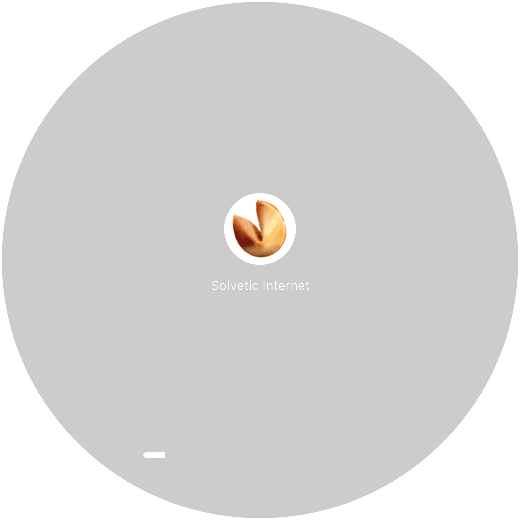
Now, the system will be restarted, to load the respective process:
Step 8
Once finished, the Security and privacy window automatically opens where we will see that the encryption process is in progress:
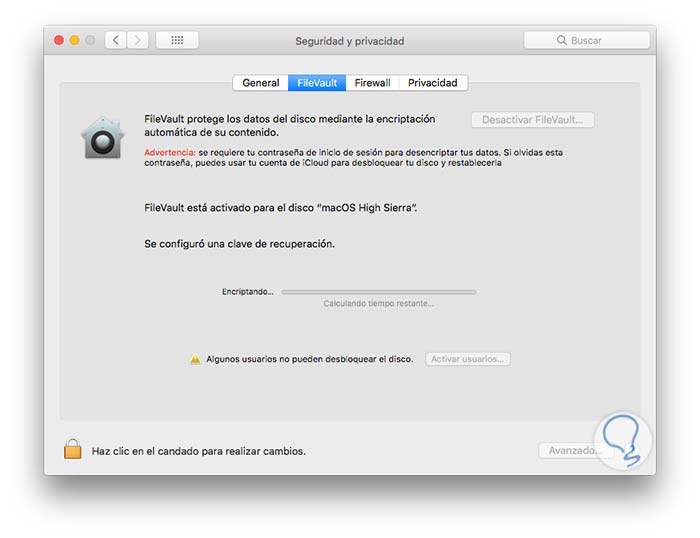
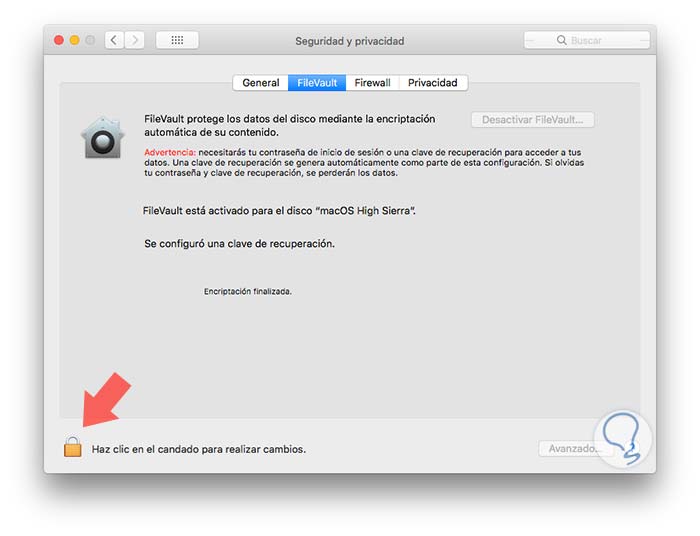
This process can take a long time depending on the capacity of the selected disk. Once the process is finished we will see the following:
Note
During the encryption process we must connect the adapter to the equipment since otherwise it will be paused.
When the FileVault configuration has been completed and we restart the computer, it will be necessary to use the account password to unlock the disk and allow the correct start of the system load. When we use FileVault, we must log in every time the computer is started and with FileVault it is not allowed that any account be automatically executed..
2. How to disable FileVault on macOS High Sierra
At the moment in which we do not want to use FileVault anymore because we consider that the data will be safe, and additionally that the use of FileVault consumes part of the system's hardware resources, we can deactivate it easily.
Step 1
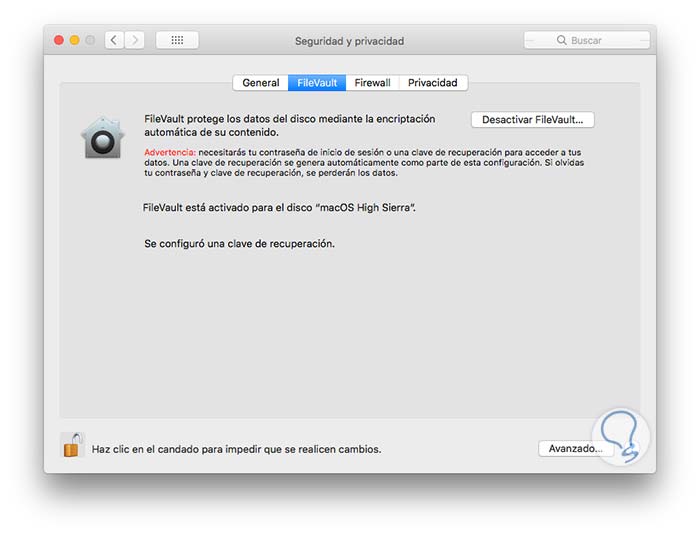
Go back to System Preferences / Security and privacy and in the FileVault tab click on the Disable FileVault button, remember that it will be necessary to click on the lock icon to make any changes:
Step 2
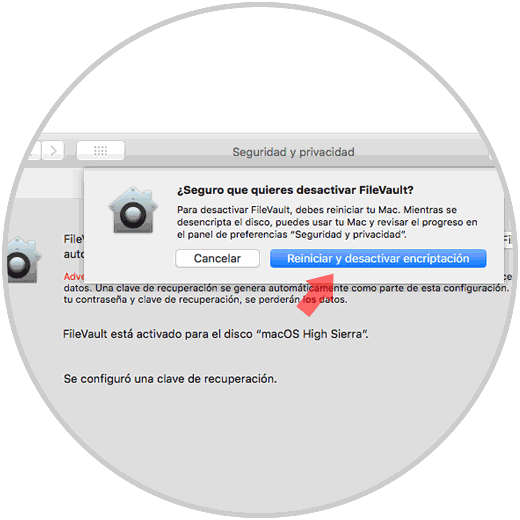
Clicking on this button will display the following message. There we click on the Restart and deactivate encryption button to complete the process.
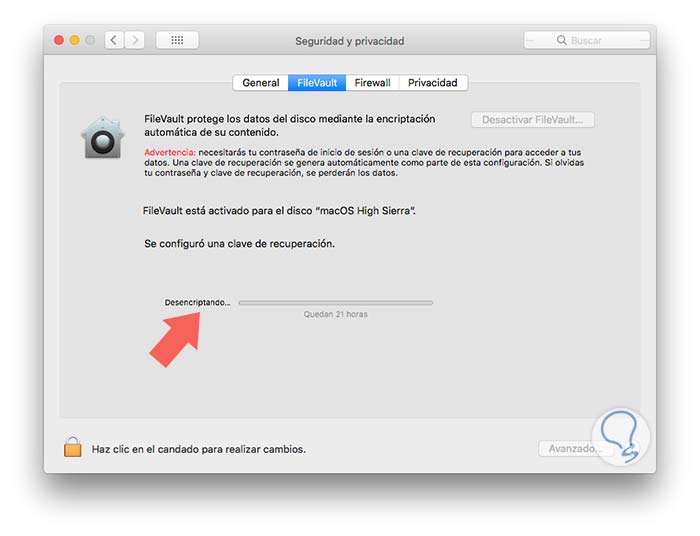
Step 3
After the system is restarted we will see that the FileVault deactivation process in macOS High Sierra is ongoing:
Thus we have seen how to activate or deactivate FileVault in macOS High Sierra in order to add a better security layer to the boot disk and all its contents.