One of the most special utilities developed by Microsoft is Windows PowerShell which is a command line shell designed especially for system administrators thanks to its multiple support features..
Windows PowerShell includes an interactive indicator and a scripting environment that can be used either independently or in combination with other scripts.
Windows PowerShell is built on the Common Language Runtime (CLR) of the .NET Framework and .NET Framework, which accepts and returns objects from the .NET Framework. In this way, we have a change in the environment that gives us tools and methods Brand new and modern for Windows administration and configuration..
Windows PowerShell is based on the concept of a cmdlet which is a simple, single-function command line tool integrated into the Shell and it will be possible to use each cmdlet separately or in conjunction with others to get the maximum benefit.
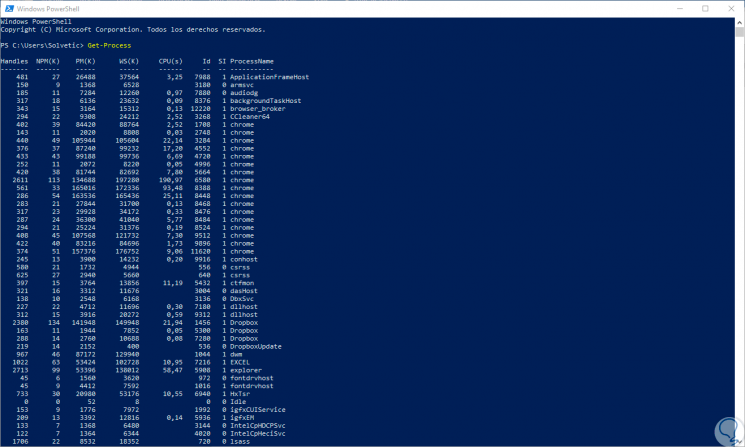
So far, in the editions of Windows 10 we have seen the use of Windows PowerShell with the graphical environment through which we exploit the use of cmdlets to the fullest:
Well, Microsoft has developed through GitHub the new PowerShell Core platform, currently in its version 6.0, which is compatible for Windows, macOS and Linux systems being open source and created for heterogeneous environments and the hybrid cloud thus increasing its levels of management and administration..
1. Differences between Windows PowerShell and PowerShell Core
At this point many may wonder what is different between these two editions, well, TechnoWikis will make a comparison of what we have in both utilities.
Windows PowerShell
It is the console known in Windows systems which has been for more than 10 years being the support of administrators next to the command prompt. Some of its features are:
- Due to its dependence on the .NET Framework, Windows PowerShell is only available on Windows operating systems.
- Windows PowerShell starts as powershell.exe
- Published versions of Windows PowerShell up to now include 1.0, 2.0, 3.0, 4.0, 5.0 and 5.1.
- Windows PowerShell is available as an integrated component in the Windows client and Windows Server.
- In Windows PowerShell 5.0 or 5.1, $ PSVersionTable.PSEdition is set to Desktop.
- Any use of .NET-based functionality, such as C # cmdlets, Add-Type and the invocation of static .NET methods, is based on the .NET Framework runtime.
- It remains compatible through critical bug fixes in the latest versions of Windows and Windows Server.
PowerShell Core
PowerShell Core is the edition of PowerShell built on .NET Core which we can also know as CoreCLR. Some of its features are:
- PowerShell Core is cross platform, it is available on Windows, macOS and Linux, due to its .NET Core design.
- In PowerShell Core, $ PSVersionTable.PSEdition is set to Core.
- PowerShell Core starts as pwsh.exe on Windows and pwsh on macOS and Linux
- Any use of .NET-based functionality, such as C # cmdlets, Add-Type and the invocation of static .NET methods, depends on the execution time of .NET Core.
Platforms that support PowerShell Core
We have indicated that PowerShell Core is a multiplatform utility which we can use with full compatibility in systems such as:
- Windows Server 2008 R2, 2012 R2, 2016
- Windows Server Semi-Annual Channel
- Ubuntu 14.04, 16.04, and 17.04
- RedHat Enterprise Linux 7
- Windows ARM32 / ARM64 (In testing state)
- Raspbian (Stretch) (In state of evidence)
Modules available in PowerShell Core 6.0
The following is the list of modules that we can use in this PowerShell Core utility.
- Microsoft.PowerShell.Archive
- Microsoft.PowerShell.Diagnostics
- Microsoft.PowerShell.Host
- Microsoft.PowerShell.Management
- Microsoft.PowerShell.Security
- Microsoft.PowerShell.Utility
- Microsoft.WSMan.Management
- PSDesiredStateConfiguration
2 . What's new in PowerShell Core 6.0
With this new edition of PowerShell Core 6.0 we will have a series of novelties designed to optimize administration, control, support and automation tasks, some of them are:
- Support was added for globbing of native commands on Unix platforms.
- The more functionality respects the $ PAGER of Linux which means that we can use wildcards with binaries or native commands.
- The backslash is automatically skipped when it comes to native command arguments.
- The man-page package was added.
- On macOS systems, PowerShell Core makes use of the native os_log APIs to log in to the Apple Unified Registration System. On Linux, PowerShell uses Syslog.
- The routes assigned to cmdlets are now slash-agnostic, both / and \ function as a directory separator.
- Support for file and folder names that contain the colon character in Unix.
- Support for full script or path names that have commas.
- Detects when the -LiteralPath parameter is used to suppress wildcard expansion for navigation cmdlets.
- Changed the first positional parameter of Command to -File.
- PowerShell Core accepts the -i (or -Interactive) switch to indicate an interactive shell.
- -Importsystemmodules and -psconsoleFile parameters were removed from pwsh.exe
- Invalid argument error messages for -File and -Command and exit codes consistent with Unix standards
- PowerShell Core adds support for Docker
- The PowerShell Remote Connection Protocol (PSRP) now works with the Secure Shell (SSH) protocol in addition to the WinRM-based PSRP
- The default encoding is UTF-8
- Get-Uptime added to Microsoft.PowerShell.Utility
- Add certificate authentication support for web cmdlets
- Added support for content headers to web cmdlets
- Type inference in tab completion was improved based on the values ​​of order runtime variables
- The use of the file system provider from a UNC path was enabled
Next, we will see how to install PowerShell Core in the different editions of compatible operating systems.
3. Install PowerShell Core on Windows 10
Step 1
To install the PowerShell Core utility on a Windows or Windows Server client such as Windows 7 SP1, Server 2008 R2 and later, it will be necessary to download the MSI package from the official GitHub page at the following link:
Github
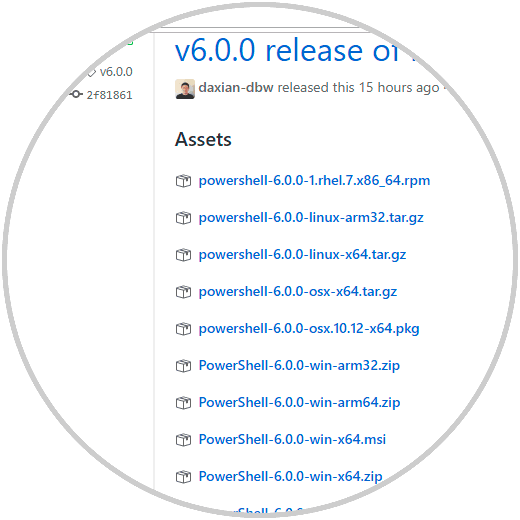
Step 2
There we will select the package that best suits our version of Windows, in this case we will download the win-x64 package. Once downloaded, we will double click on the installer and follow the instructions:
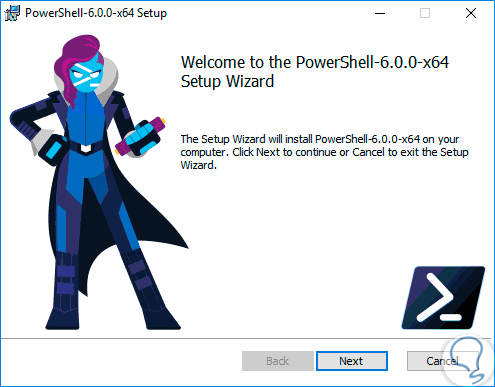
Step 3
Click on “Next†and we will accept the license terms:

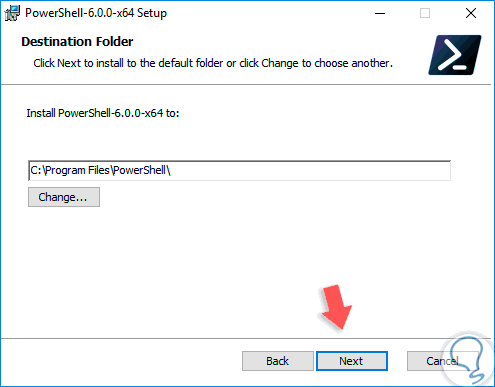
Step 4
Again click on
Next and now we define the path where PowerShell Core is to be installed on Windows 10:
Step 5
In the next window we can start the installation process of the utility:

Step 6
Once installed we will see the following:
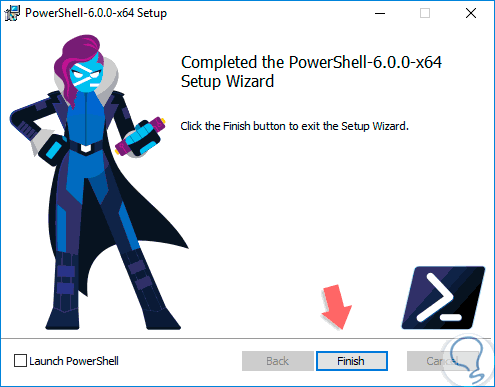
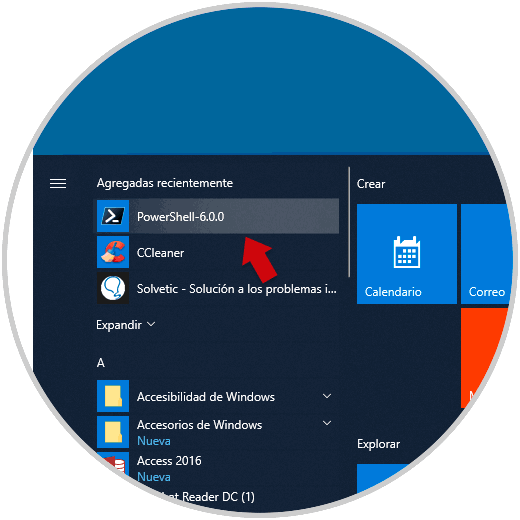
Step 7
We can close the wizard and access PowerShell Core from the Start menu:
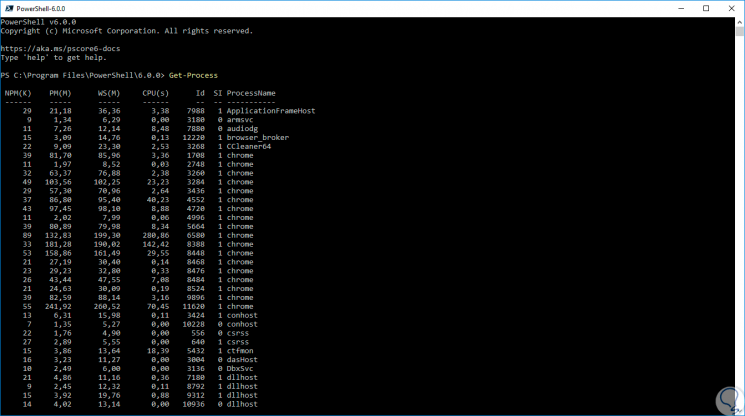
Step 8
Once we access we can work with PowerShell Core according to the management needs at the moment:
4. Install PowerShell Core on Linux
In Linux environments, PowerShell Core supports the following distributions:
- Red Hat Enterprise Linux (RHEL) 7
In this example we will use Ubuntu 17.04 but TechnoWikis will explain the process for the other Linux distributions.
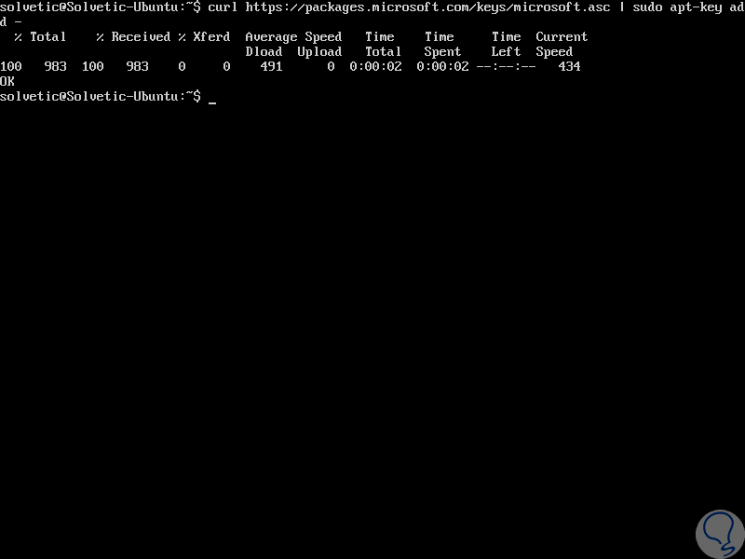
Step 1
In the case of Ubuntu 17.04 first, we will import the GPG repository keys by running the following command:
curl https://packages.microsoft.com/keys/microsoft.asc | sudo apt-key add -
Step 2
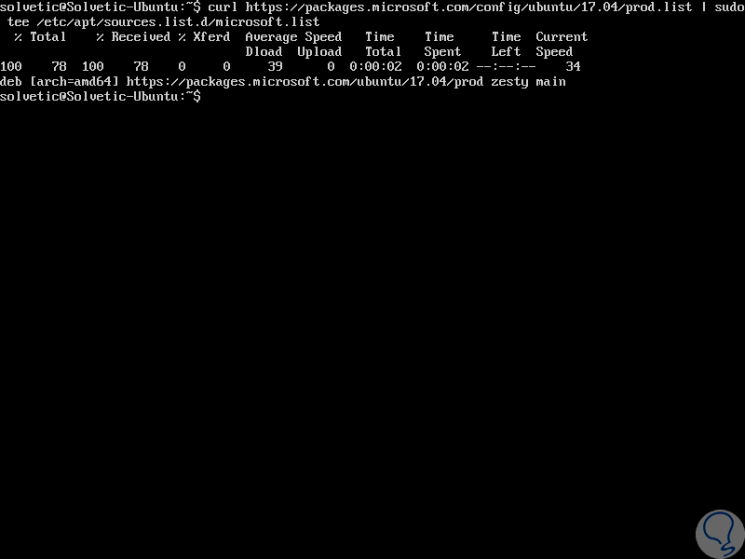
Then, we will run the following line to register the Ubuntu repository in Microsoft:
curl https://packages.microsoft.com/config/ubuntu/17.04/prod.list | sudo tee /etc/apt/sources.list.d/microsoft.list
Step 3
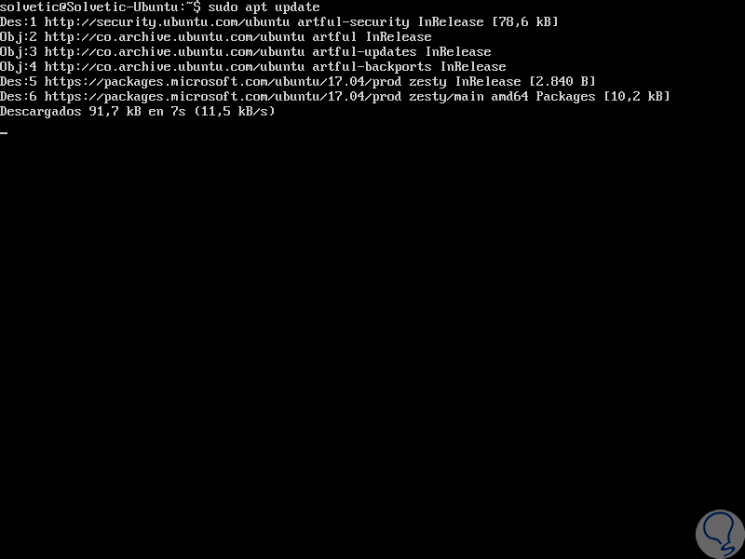
Later, we will update the list of packages:
sudo apt-get update
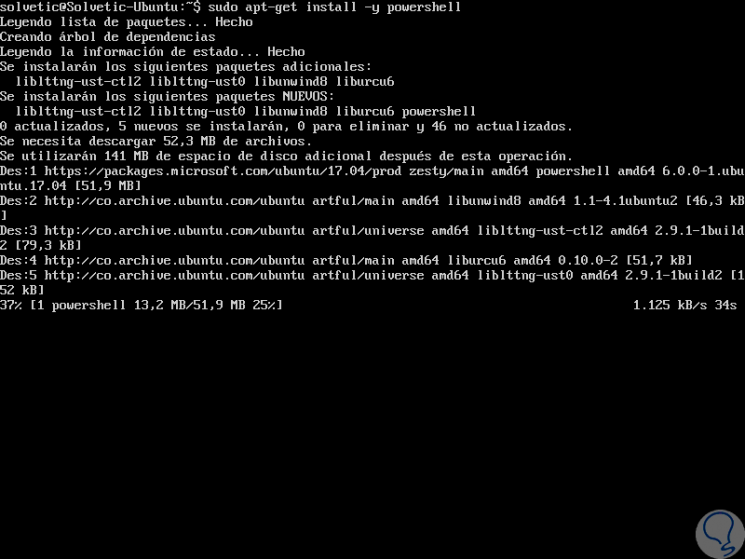
Step 4
We install PowerShell Core by running the following line:
sudo apt-get install -y powershell
Step 5
Once installed, we run PowerShell Core with the following command:
pwsh
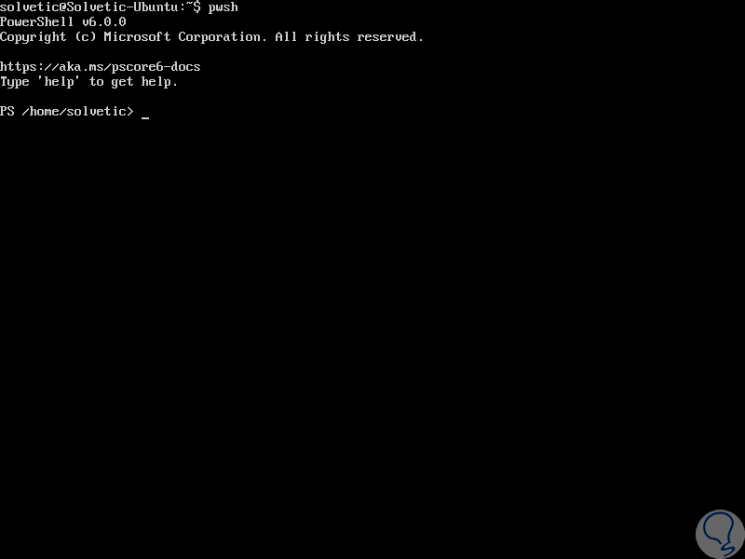
Step 6
Now we can carry out normal management actions with PowerShell:
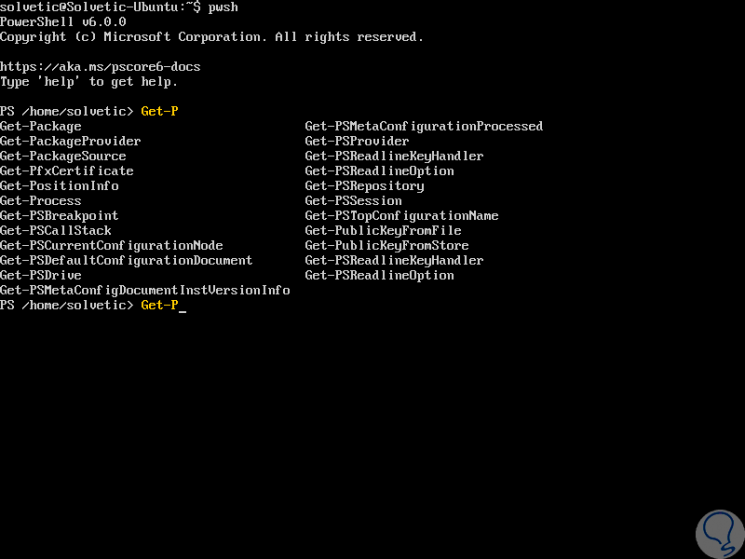
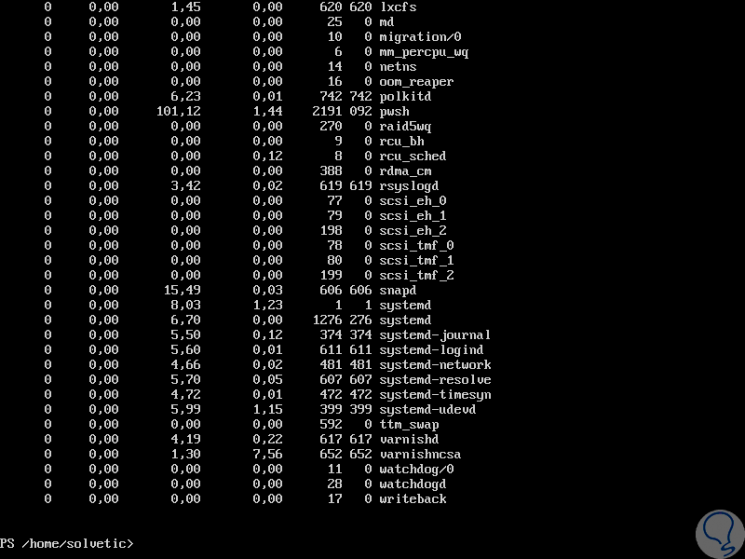
Step 7
We can see the respective results:
Step 8
In addition to this step, another way to install PowerShell on Ubuntu 17.04 is to download the package "powershell_6.0.0-rc-1.ubuntu.17.04_amd64.deb" from the GitHub page indicated at the top and then run the following lines:
sudo dpkg -i powershell_6.0.0-rc-1.ubuntu.17.04_amd64.deb sudo apt-get install -f
Step 9
To uninstall PowerShell Core on Ubuntu 17.04 we run the following command:
sudo apt-get remove powershell
Step 10
Now, we will see the commands to use in the other Linux distributions.
Ubuntu 16.04 / 16.10
curl https://packages.microsoft.com/keys/microsoft.asc | sudo apt-key add - (import GPG keys) curl https://packages.microsoft.com/config/ubuntu/16.04/prod.list | sudo tee /etc/apt/sources.list.d/microsoft.list (registration of the Ubuntu repository in Microsoft) sudo apt-get update (package update) sudo apt-get install -y powershell (PowerShell Core Installation) pwsh (Start of PowerShell Core)
Alternatively, we can download the package "powershell_6.0.0-rc-1.ubuntu.16.04_amd64.deb" from the official website and then run the following lines:
sudo dpkg -i powershell_6.0.0-rc-1.ubuntu.16.04_amd64.deb sudo apt-get install -f
To uninstall PowerShell Core we run:
sudo apt-get remove powershell
Debian 9
In this case we will execute the following commands to install system components:
sudo apt-get update sudo apt-get install curl gnupg apt-transport-https
Then we import the GPG public keys:
curl https://packages.microsoft.com/keys/microsoft.asc | sudo apt-key add -
We register the Microsoft product:
sudo sh -c 'echo "deb [arch = amd64] https://packages.microsoft.com/repos/microsoft-debian-stretch-prod stretch main"> /etc/apt/sources.list.d/microsoft.list '
We update the products:
sudo apt-get update
We install PowerShell Core:
sudo apt-get install -y powershell
We run the utility:
Pwsh
Like the previous distribution, we can download the package "powershell_6.0.0-rc-1.debian.9_amd64.deb" and then execute the following:
sudo dpkg -i powershell_6.0.0-rc-1.debian.9_amd64.deb sudo apt-get install -f
To uninstall PowerShell Core we run:
sudo apt-get remove powershell
Fedora 26
In the case of Fedora 26, the first step is to register the Microsoft signature key:
sudo rpm --import https://packages.microsoft.com/keys/microsoft.asc
Then we will register the RedHat repository:
curl https://packages.microsoft.com/config/rhel/7/prod.repo | sudo tee /etc/yum.repos.d/microsoft.repo
We update the list of products:
sudo dnf update
We install system components:
sudo dnf install compat-openssl10
We proceed to install PowerShell Core:
sudo dnf install -y powershell
We start the utility:
pwsh
The other method is to download the package "powershell-6.0.0_rc-1.rhel.7.x86_64.rpm" and then carry out the execution of the following lines:
sudo dnf update sudo dnf install compat-openssl10 sudo dnf install powershell-6.0.0_rc-1.rhel.7.x86_64.rpm
To remove PowerShell Core in Fedora 26 we will use the following line:
sudo dnf remove powershell
Thus we have the different options for Linux environments.
5. Install PowerShell Core macOS High Sierra
In the case of macOS High Sierra we have two PowerShell Core installation options.
Step 1
The first is using HomeBrew which is a package manager for macOS, in case of not having HomeBrew we can install it by running the following line in the macOS High Sierra terminal.
/ usr / bin / ruby ​​-e "$ (curl -fsSL https://raw.githubusercontent.com/Homebrew/install/master/install)"
Step 2
Once HomeBrew is installed, we will execute the following line:
brew tap caskroom / cask

Step 3
Cask is a utility that allows us to install additional packages on macOS. Once installed we will run the following line to install PowerShell Core:
brew cask install powershell
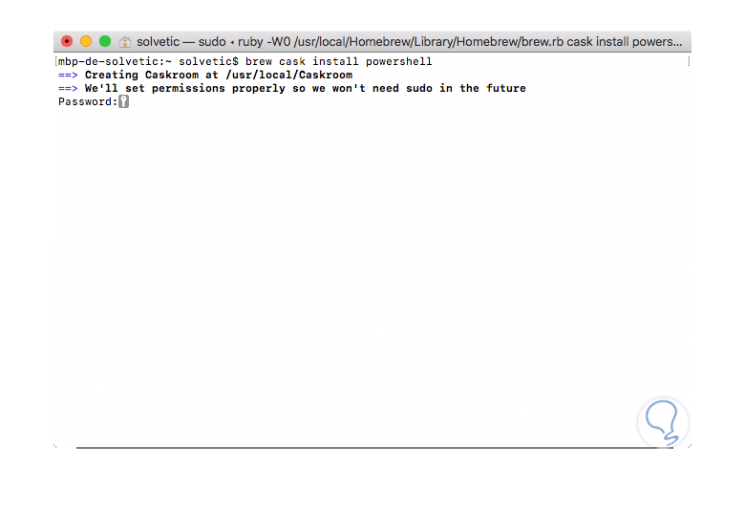
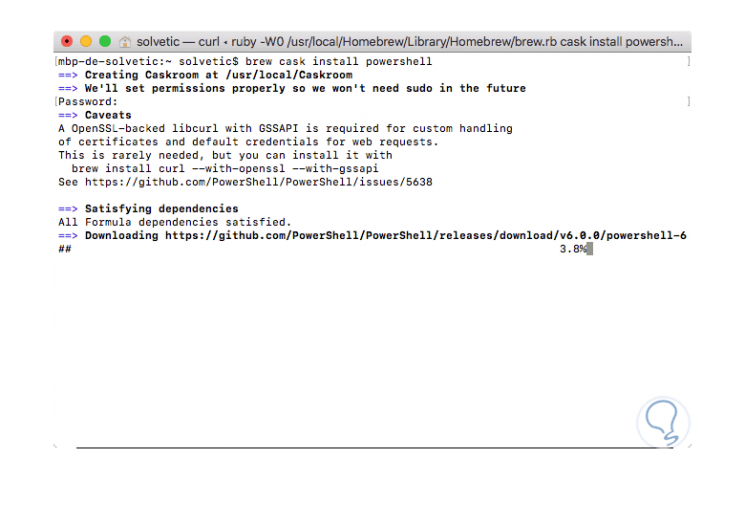
Step 4
We will enter our password and hope that the download process concludes:
Step 5
Alternatively, we can download the powershell-6.0.0-rc-osx.10.12-x64.pkg package from the official website and once downloaded, we will double click on where the following wizard will be deployed:
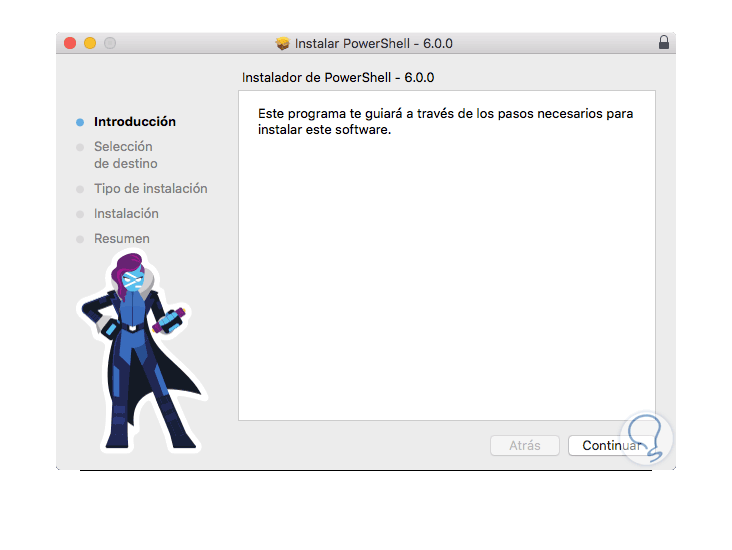
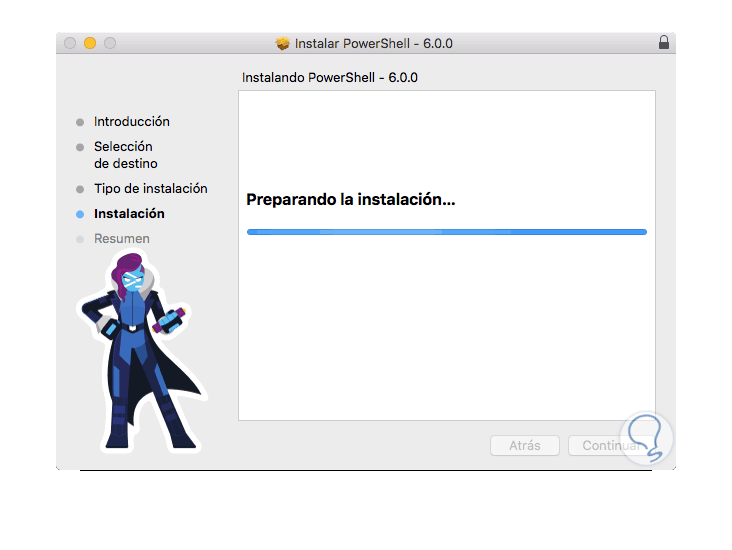
Step 6
There we click on Continue and we will follow the steps of the assistant:
Step 7
If we do not want to use the graphic assistant, we can use the terminal by executing the following command:
sudo installer -pkg powershell-6.0.0-rc-osx.10.12-x64.pkg -target /
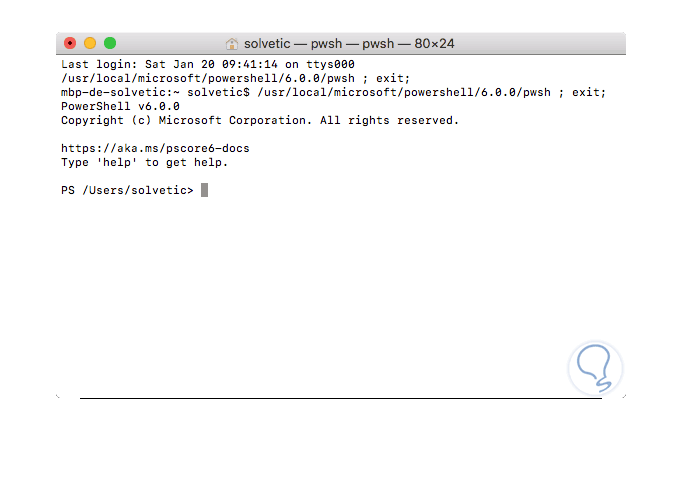
Step 8
Once installed we can execute the pwsh command to access PowerShell Core:
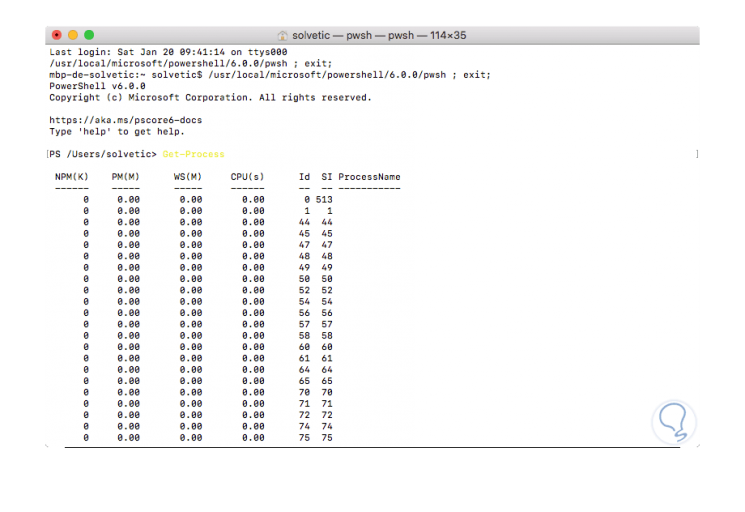
Step 9
There we will carry out the execution of the normal management commands:
Step 10
To uninstall PowerShell Core in macOS High Sierra we can use one of the following options:
brew cask uninstall powershell sudo rm -rf / usr / local / bin / pwsh / usr / local / microsoft / powershell
As we can see, PowerShell Core is a dynamic, simple and powerful utility that will help us carry out all kinds of support tasks in the most used operating systems today.