Cloud storage is one of the most practical technologies and resources we have to access, edit and configure folders and files from anywhere in the world and with the best security and confidentiality options ..
One of the most used platforms for this purpose is that offered by Microsoft and is linked directly to our email account and is OneDrive .
OneDrive offers us 5 GB of cloud storage for free, and to enjoy all its features we must log in to OneDrive with the associated Microsoft account and there configure and enjoy this storage. OneDrive gives us the ability to share files or folders that are stored in the OneDrive folder to other users by sending or publishing a link to the desired file or folder. OneDrive will synchronize data between computer equipment, phones and tablets that are configured with the same Microsoft account, and this process will be executed when connecting to a network .
Some of the features of OneDrive
- Adapt video playback to internet speed.
- Create device access rules.
- You can post on Facebook, share legends and create geotags.
- Microsoft Office integration.
- Track changes, and automatically save previous versions of these.
- Online viewing of Office documents.
- Upload multimedia from mobile devices.
- Create and share folders.
- It has search and discovery tools.
- Device specific selective synchronization.
- Document tracking and many more functions.
Naturally, if we use Windows 10 almost by nature OneDrive is synchronized with the system access account, but the same is not true with macOS and Linux operating systems. This is why TechnoWikis will explain the process to install and configure OneDrive on these two operating systems..
1. How to install and configure OneDrive on macOS Mojave
macOS Mojave is the new system launched by Apple through which we have a large number of functions and features focused on optimizing the user experience with great features.
Step 1
To use OneDrive in macOS Mojave, first, we must go to the following link in the App Store to download the application:
Onedrive
Alternatively, we can directly search the OneDrive application in the App Store to display the associated results. There we click on the "Get" button located at the bottom of OneDrive
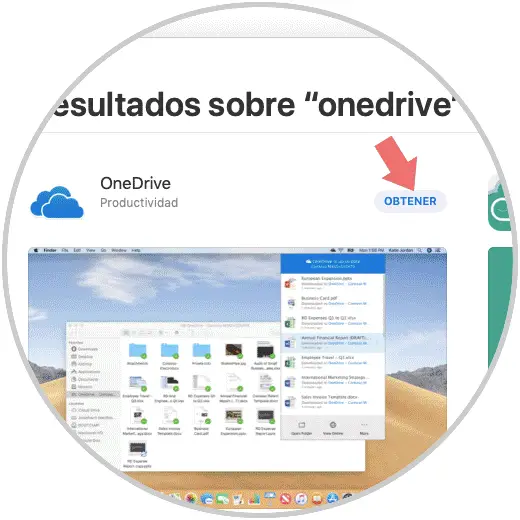
Step 2
We will see the following. Now click on "Install".
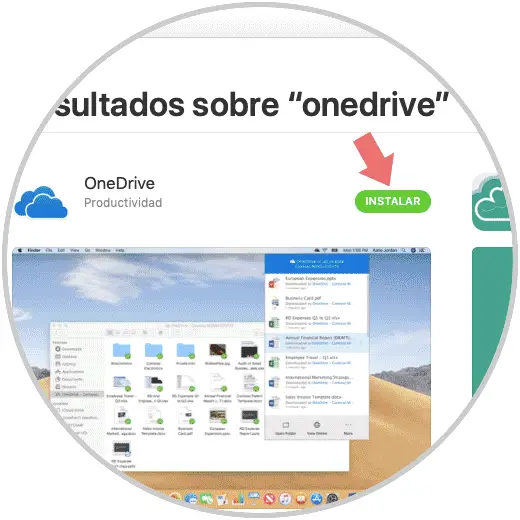
Step 3
The OneDrive download and installation process will begin in macOS Mojave, once this process is finished the following will be displayed. Click on "Open".
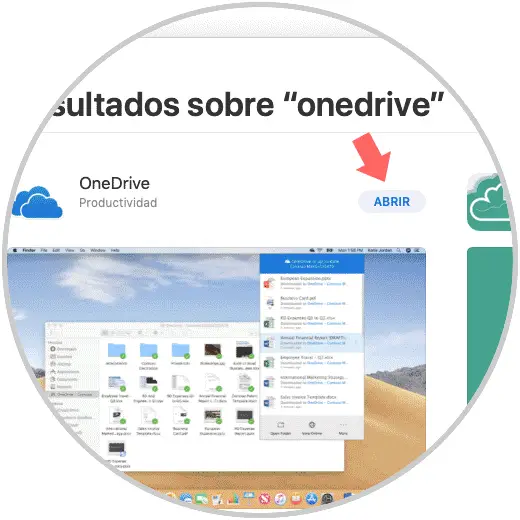
Step 4
The OneDrive wizard will be displayed where we will first enter the Microsoft account to log in at the bottom. Click on the "Login" button.
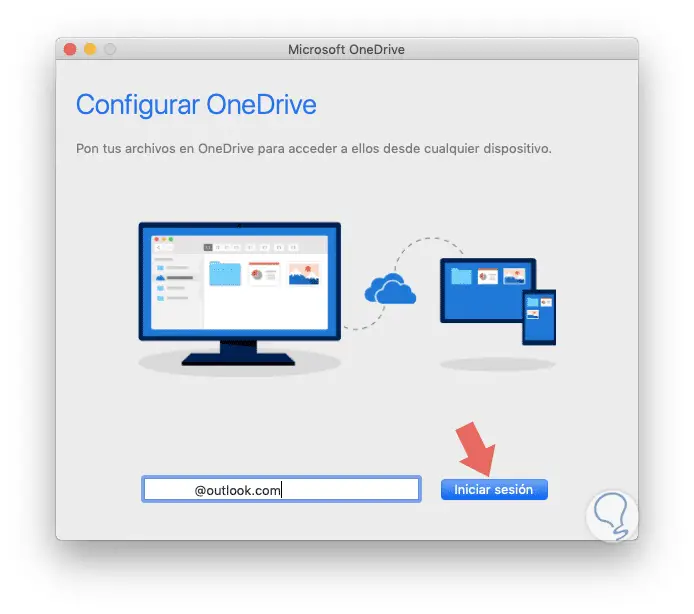
Step 5
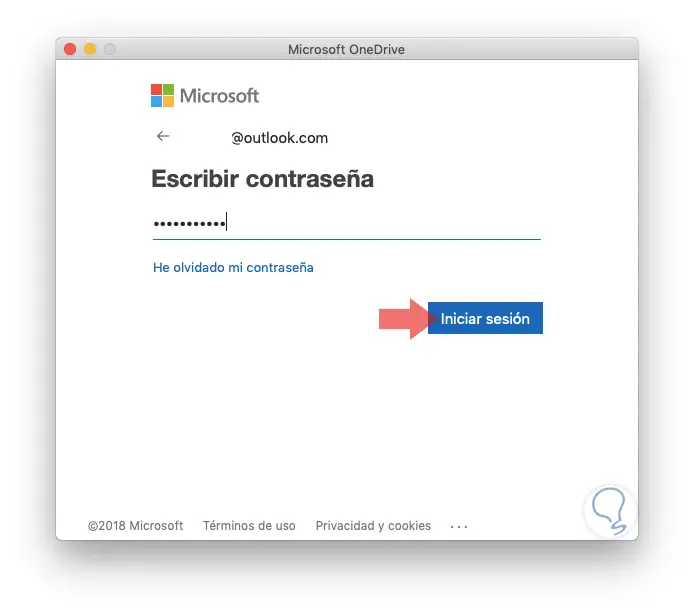
Next we will enter the account password. Click on the "Login" button now.
Step 6
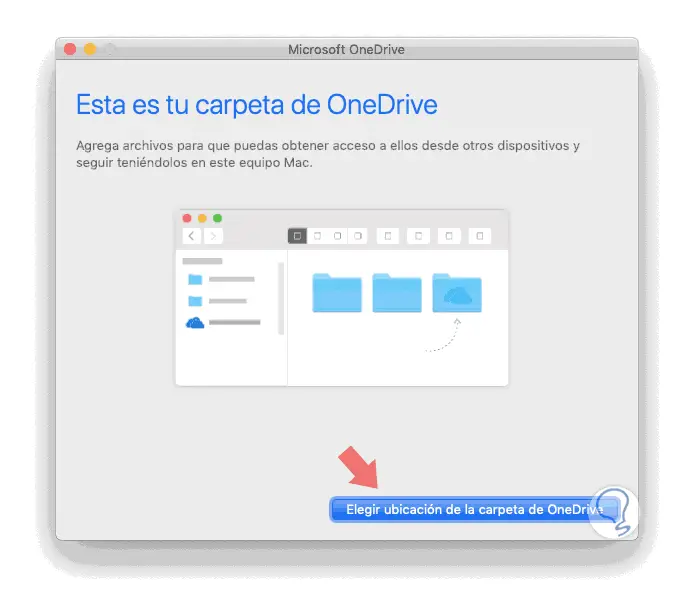
The following window will be displayed. Now, the first configuration step is to define the location where the OneDrive folder will be hosted. To do this, click on the "Choose location" button in the OneDrive folder
2. How to configure OneDrive in macOS Mojave
Step 1
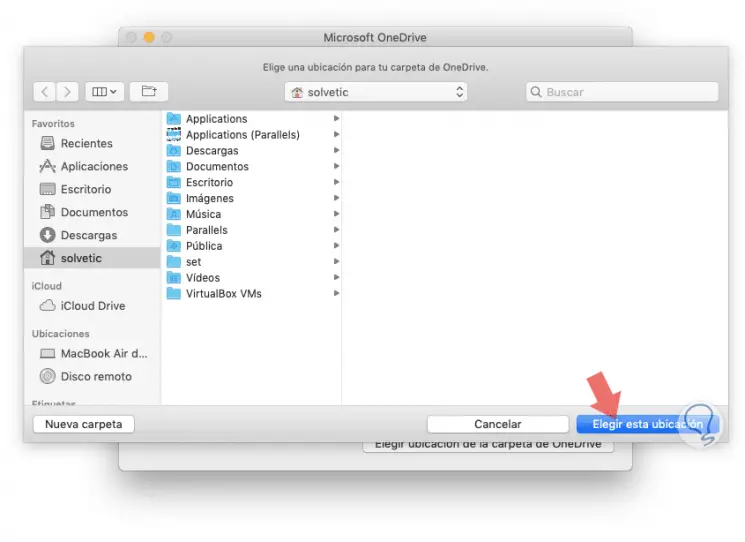
In the displayed window we select the desired route. When selecting the folder, click on the "Choose this location" button.
Step 2
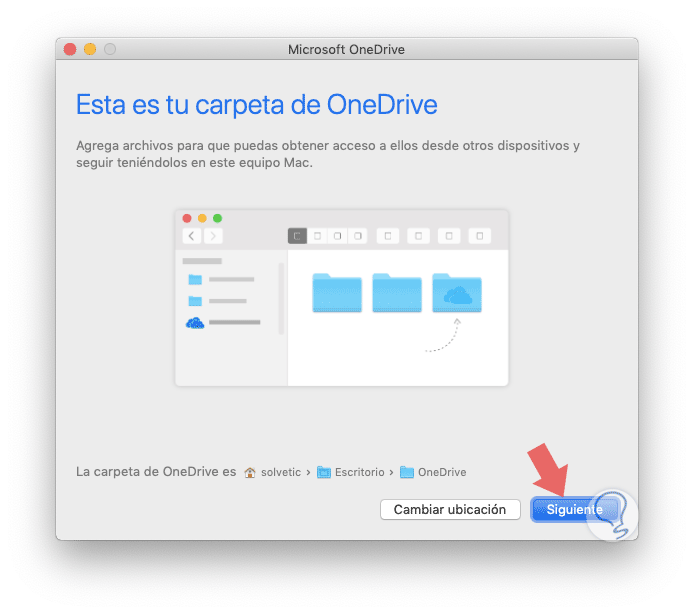
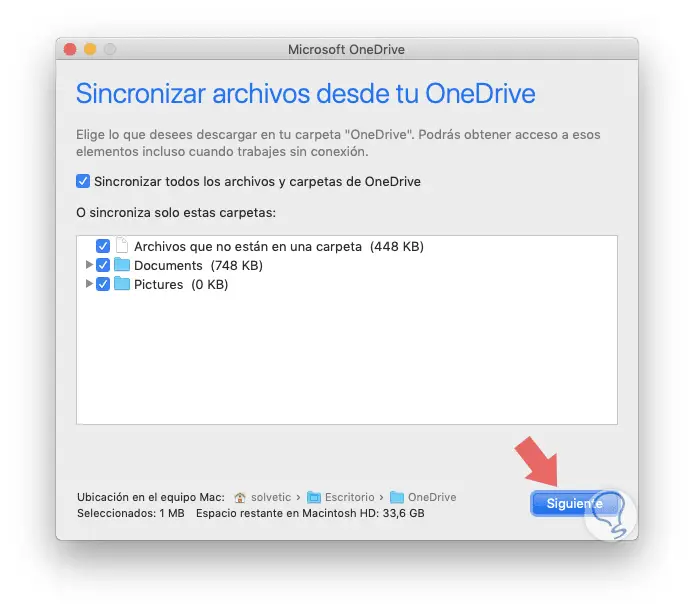
Now we will see the following. There we can edit the location of the OneDrive folder. Click on the "Next" button to determine what kind of files have to be synchronized in the OneDrive folder
Step 3
There we can activate the desired boxes and again click on "Next".
Step 4
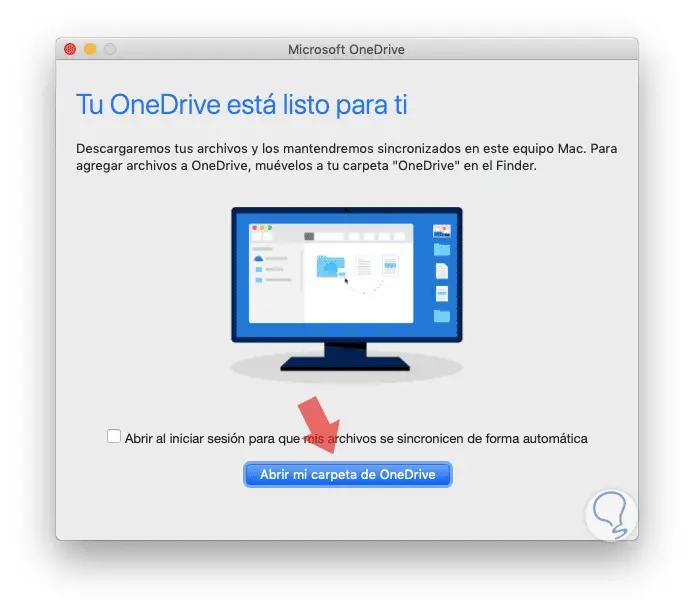
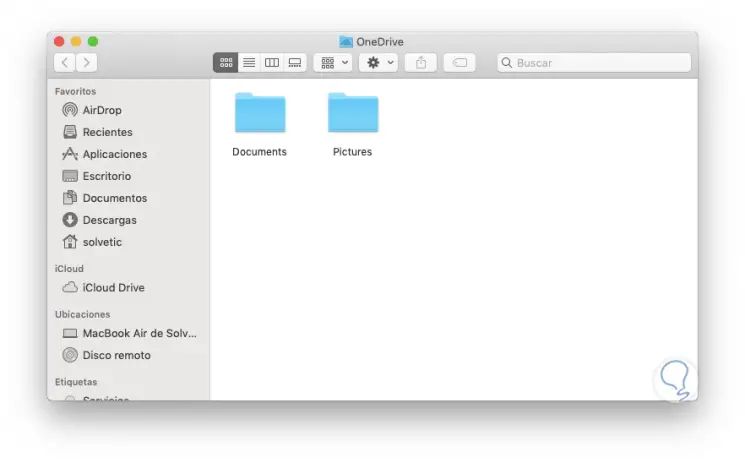
We will see this, there we can click on the "Open my OneDrive folder" button to access our local folder. This will be synchronized with Microsoft servers.
Step 5
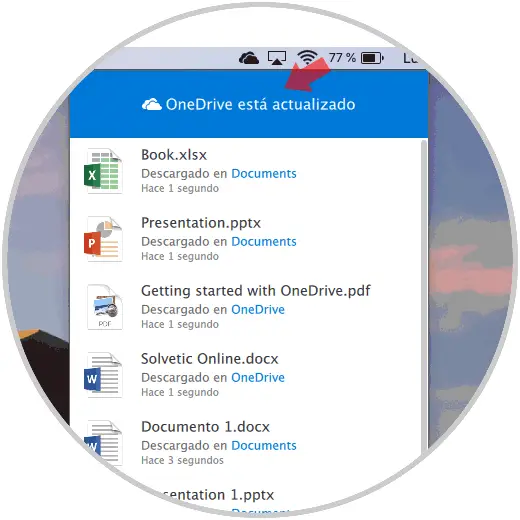
Now, by default a shortcut to OneDrive will be created in the macOS Mojave top bar.
Step 6
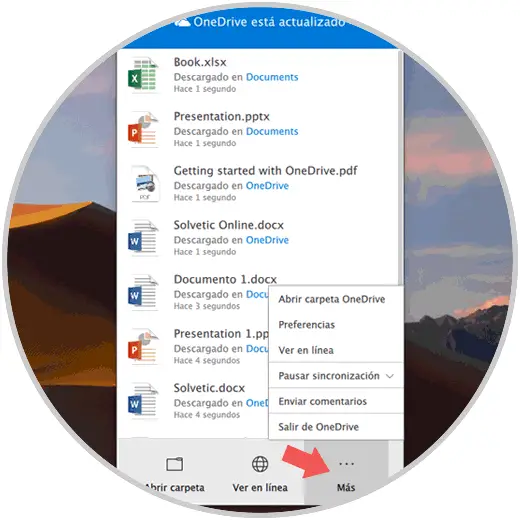
By clicking there we can see the synchronized files and access their settings.
Step 7
By clicking on the "More" section, we will see we will have options such as:
- Pause or stop synchronization.
- Access the OneDrive folder.
- Access the OneDrive configuration.
- Log out of OneDrive, etc.
Step 8
We can click on the "Preferences" line to access the various OneDrive options both at the network, account, access and more levels:
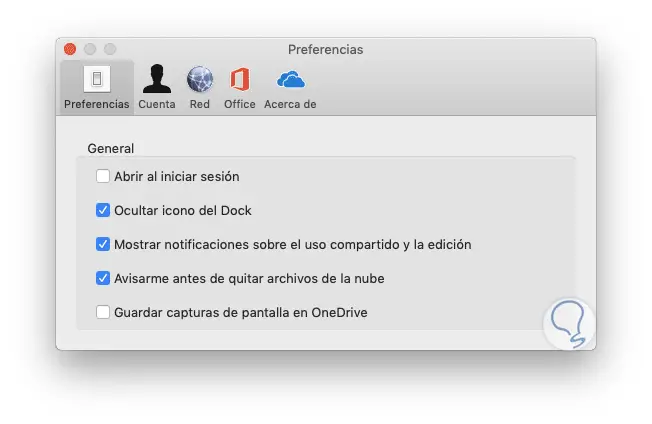
In this way we have installed and configured OneDrive in macOS Mojave.
3. How to install and configure OneDrive on Linux
Note
For this case we will use Ubuntu 18 and for Linux environments we will use an application called OneDrive-d.
OneDrive-d is a Microsoft OneDrive client program for Linux environments through which it will be possible to synchronize local directories with the OneDrive remote repositories of one or more personal OneDrive accounts since OneDrive business accounts are not yet compatible with this application.
OneDrive-d is written in Python3 and uses OneDrive Python SDK to be able to communicate with the OneDrive server, has a keychain to securely store account credentials and uses the Linux inotify API for monitoring changes in the File System..
Requirements for One Drive installation
- python3-dbus or libdbus-glib-1-dev
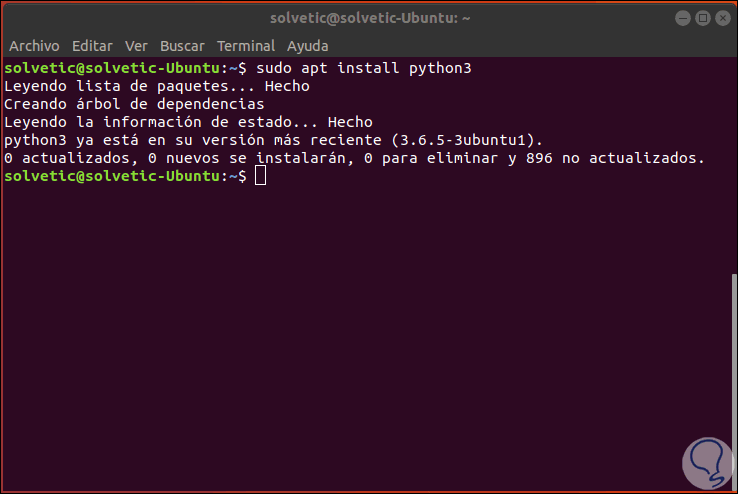
In case of not having Python 3 installed in the system, we can install it with the following command:
sudo apt install python3
4. How to install OneDrive-d on Linux
Step 1
The first step is to install git by running the following command:
sudo apt install git -y
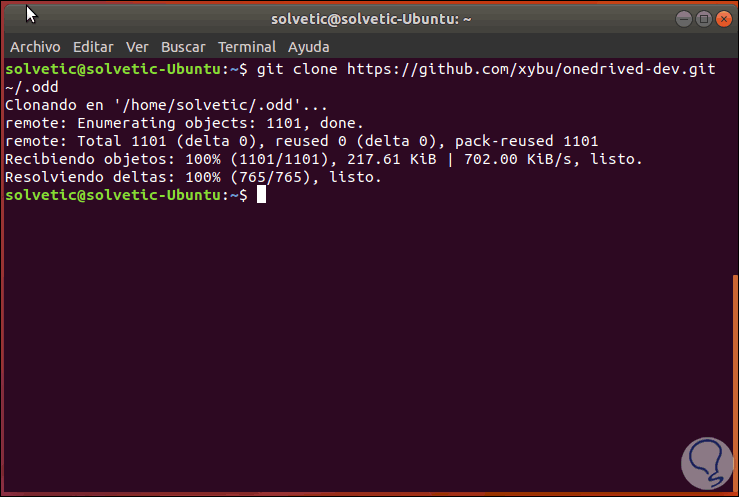
Now, let's clone the OneDrive-d files by running the following:
git clone https://github.com/xybu/onedrived-dev.git ~ / .odd
Step 2
After this we access the respective directory:
cd ~ / .odd
There we will run the OneDrive-d installer with the following command:
sudo python3 ./setup.py install
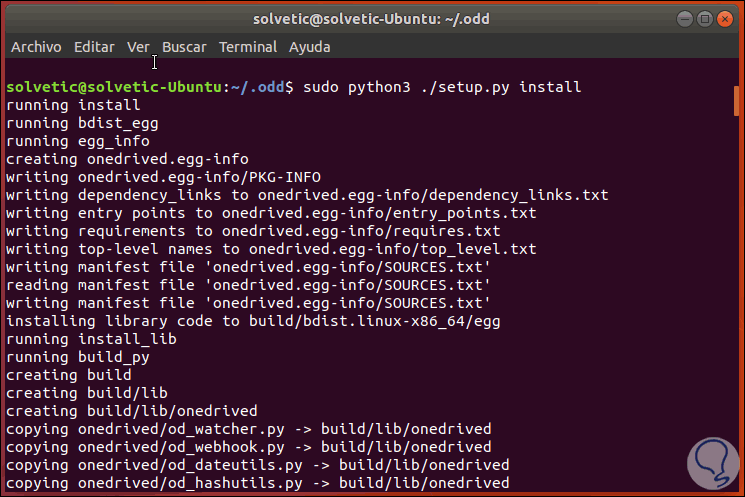
Note
In case of the error "No Module named Setuptools", we must execute the following:
sudo apt-get install python3-setuptools
Step 3
Once this process is completed, it will be necessary to use ngrok which is a third-party platform designed to retransmit webhook integration. OneDrive-d uses ngrok to allow OneDrive API webhook requests to avoid port forwarding and the like. For this we must go to the following link and download the latest version of Ngrok.
ngrok
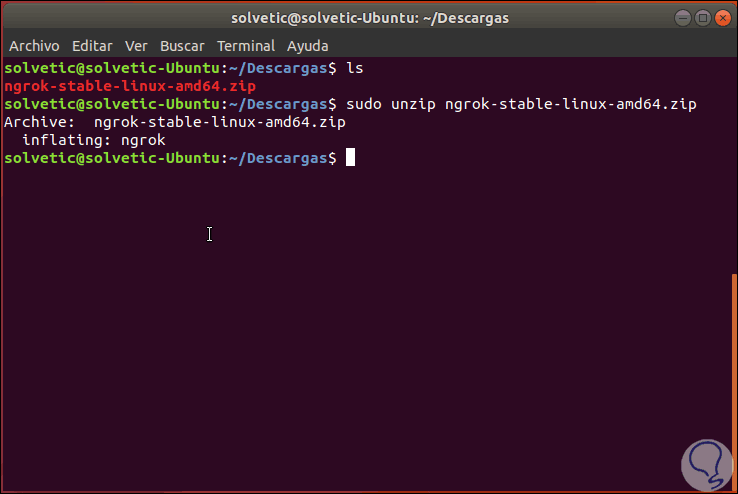
Then we proceed to its extraction by executing the following syntax:
unzip /path/ngrok.zip
Step 4
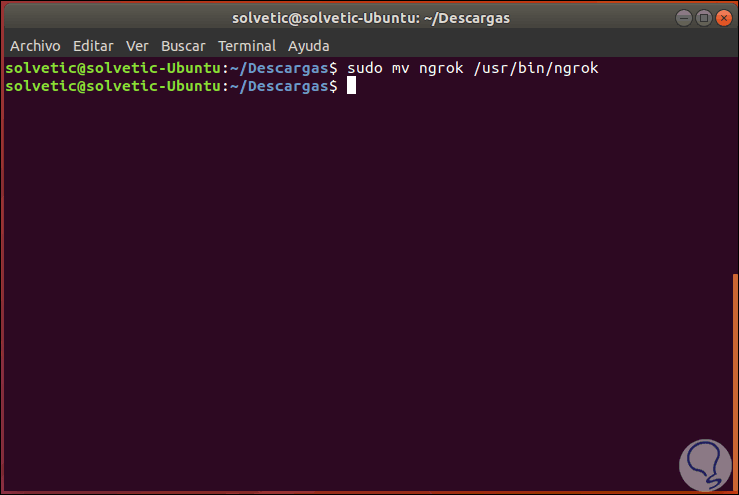
Now let's copy ngrok to the directory like this:
sudo mv ~ / extraction_path / ngrok / usr / bin / ngrok
Step 5
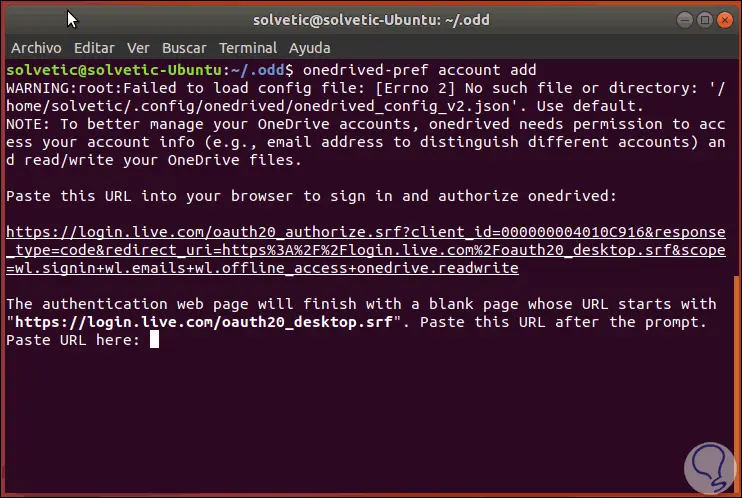
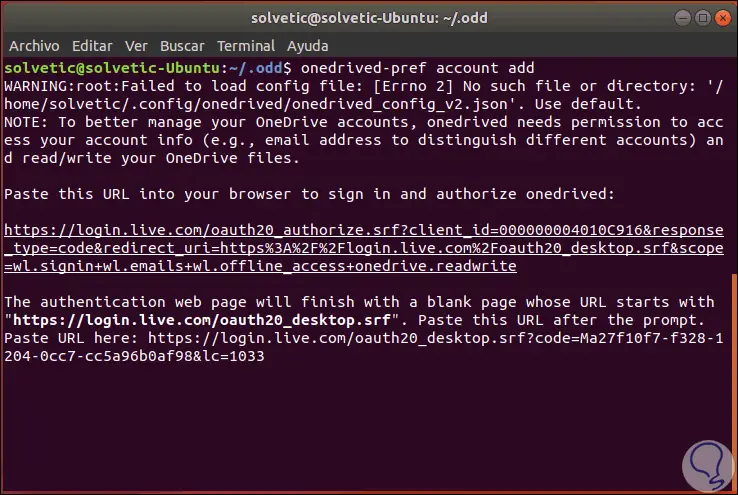
After executing this, we will authorize OneDrive-d with Microsoft in order to access the account, for this it is enough to execute the following in the terminal:
onedrived-pref account add
Step 6
There we must copy the generated URL and paste it into a browser to approve access to OneDrive. Click on "Next".
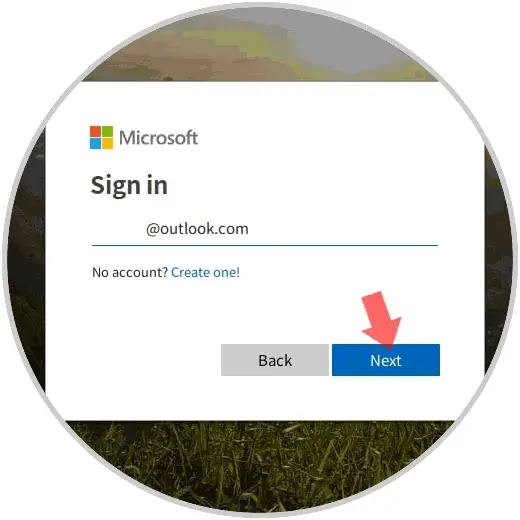
Step 7
To enter our password:
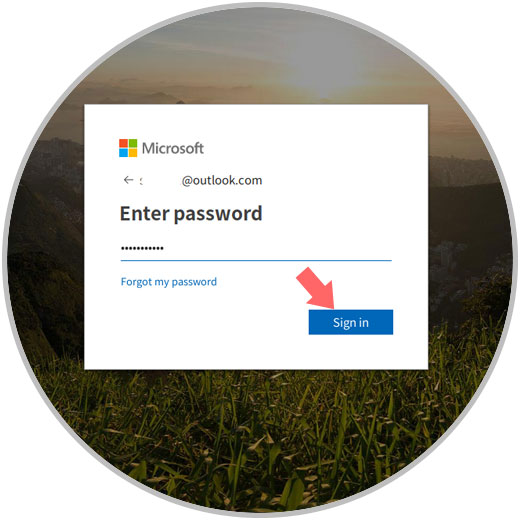
Step 8
When you log in we will see the following message to authorize the use of OneDrive-d. Click on the "Yes" button.
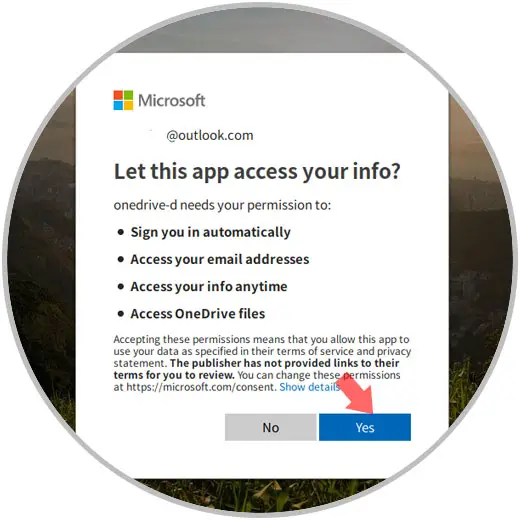
Step 9
We will be redirected to a blank page, there it will be necessary to copy the URL of that page:
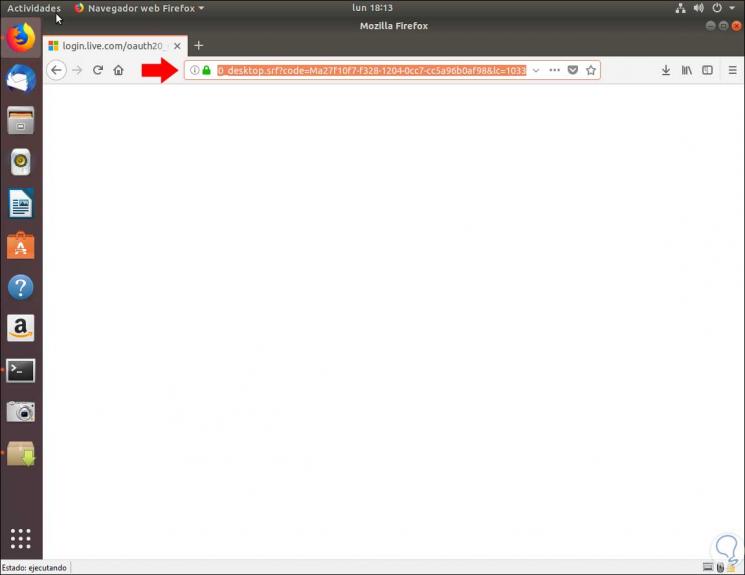
Step 10
We will paste this URL in the terminal:
Step 11
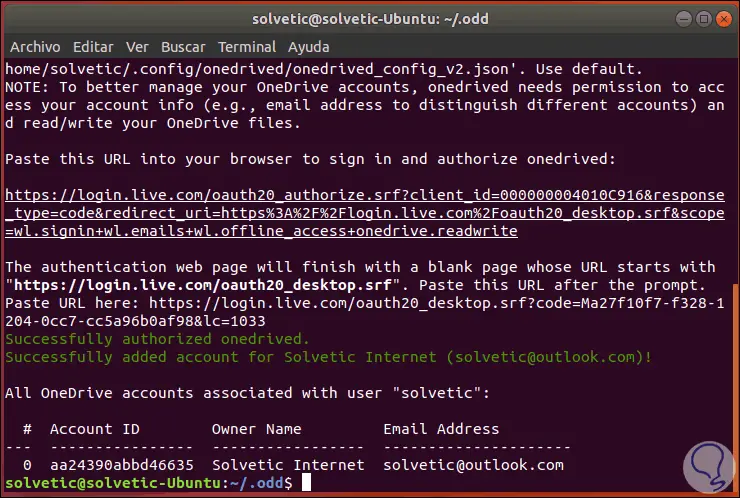
By pressing Enter we will see that the approval has been correct and details such as:
Step 12
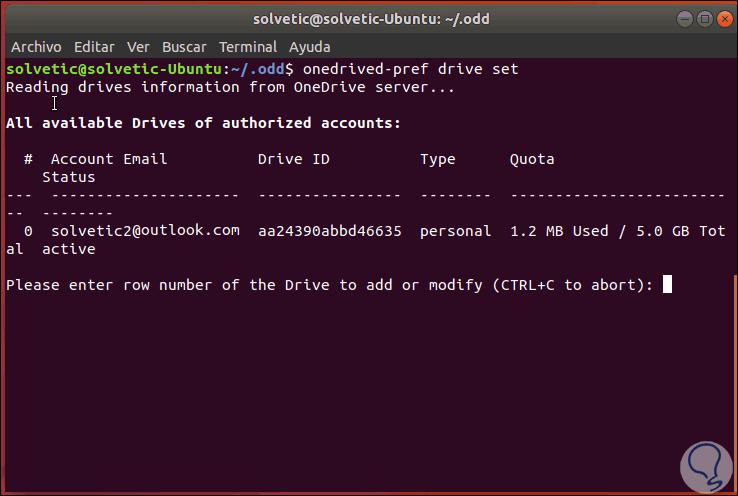
Now, let's configure the unit to be used with the following command:
onedrived-pref drive set
Step 13
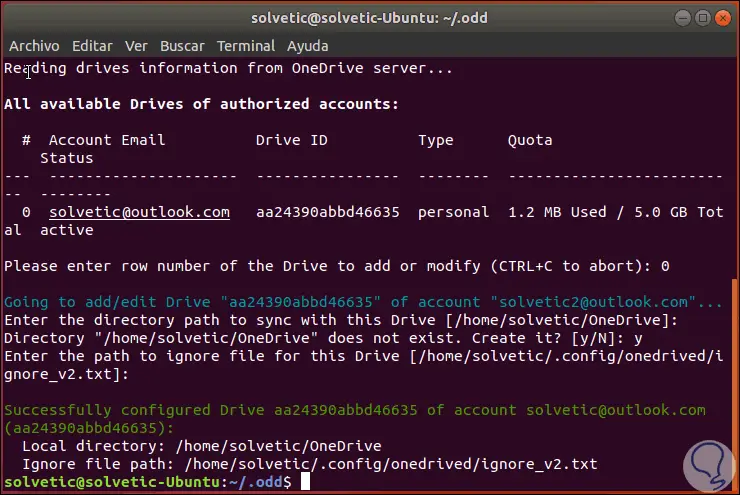
There we can configure the parameters as necessary or leave the default values:
Step 14
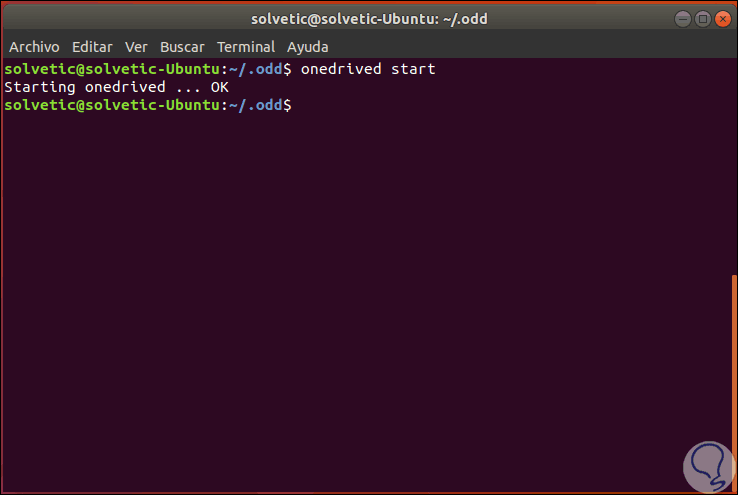
We start OneDrive-d by running:
onedrived start
Step 15
By default, OneDrive-d does not start when you log in for the first time, we can enable this utility to run at startup with the following command:
gnome-session-properties
There we will enter OneDrive-d to run at startup.
Some of the parameters to use with OneDrive-d are:
Display the utility version
Some commands to use are:
Add a new OneDrive account to onedrived, list all existing ones, or remove existing accounts
Modify the settings for the current user
List all OneDrive remote repositories (Units) of linked accounts, add new units to synchronize, edit existing unit configurations or remove a unit from the local list.
Thus we have learned to install and configure OneDrive on macOS Mojave and Linux with simple, safe and comprehensive tools.