There are certain tasks that as users we want to exploit to the fullest when we use Windows 10 and one of them is the compatibility with video, audio and other multimedia formats for the reproduction and conversion of objects. Let's be honest, when we work we like to play movies , audio or other elements to make everyday fun, but sometimes the compatibility is not the highest and in this scenario FFmpeg comes into play. Next we will talk a little about this application..
What is FFmpeg?
FFmpeg is a multimedia framework thanks to which we will be able to decode, encode, transmit, filter or reproduce a large number of files currently available with the best options for playback, compatibility and administration.
FFmpeg is a utility that can compile, execute and manage objects in operating systems such as Linux , macOS , Microsoft Windows , BSD, Solaris and more being fully compatible with the compilation environments, machine architectures and configurations that the user wishes to implement without affecting the general performance of multimedia files.
FFmpeg integrates libavcodec, libavutil, libavformat, libavfilter, libavdevice, libswscale and libswresample to be used by the applications, as well as ffmpeg, ffplay and ffprobe to be used by end users for the purpose of encoding and playing the files..
1. How to download FFmpeg in Windows 10
FFmpeg can be downloaded at the following link:
Ffmpeg
Step 1
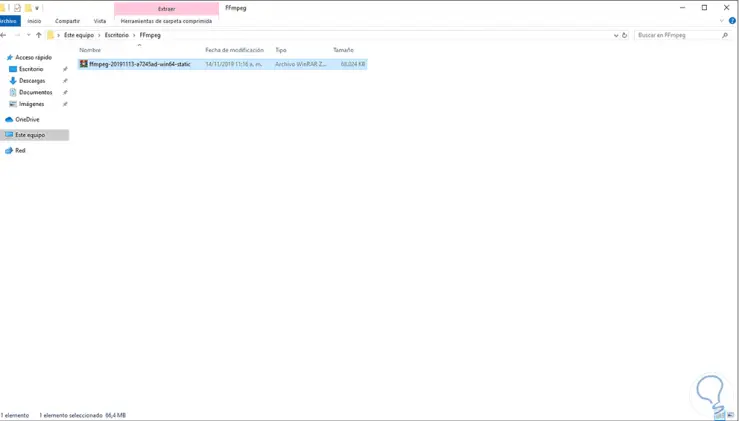
This will download a compressed file:
One of the advantages is that the installation of FFmpeg is not required since it is enough to access from the command prompt or PowerShell and go to the ffmpeg.exe file to execute the commands that we consider useful.
Step 2
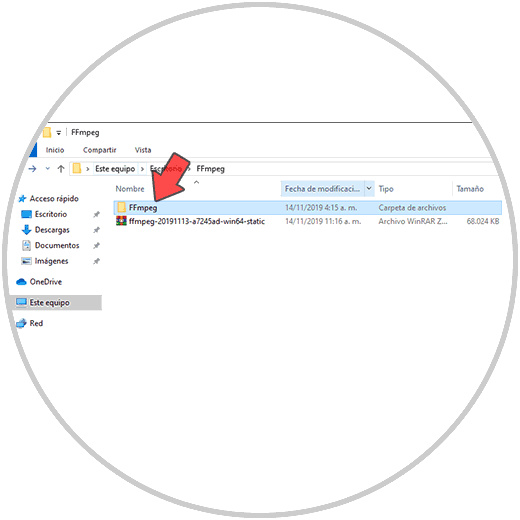
Once downloaded we proceed to extract the content and rename the folder as FFmpeg:
Step 3
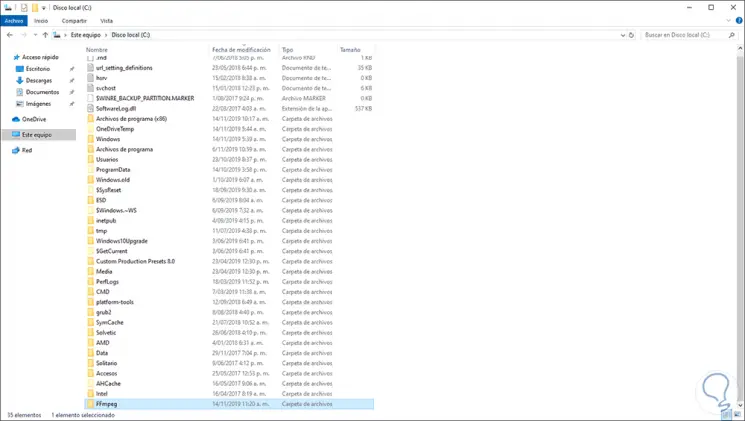
Now we copy that folder to the C drive of Windows 10:
2. How to edit the Windows 10 environment variables for FFmpeg
This is a key point since, for a correct operation of the utility from the command prompt, FFmpeg must be added with its folder which hosts the FFmpeg executable file to the Windows 10 path.
Step 1
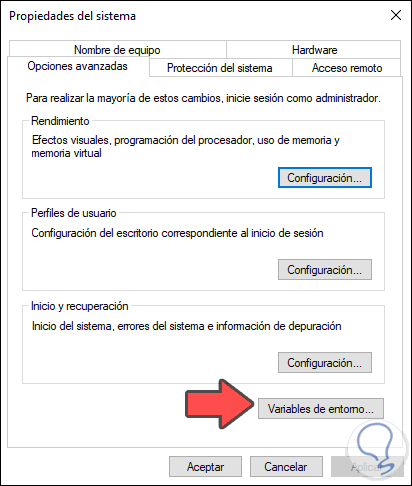
For this we will go to the Windows 10 search box and enter “variablesâ€, we will see this:

Step 2
We click on the “Edit system environment variables†option and in the pop-up window we will go to the “Advanced options†tab and there we click on the “Environment variables†button:
Step 3
In the window we will select the following variable:
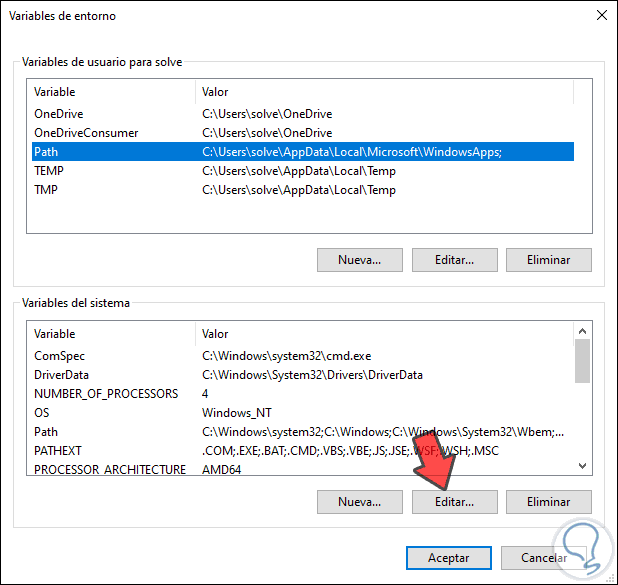
Step 4
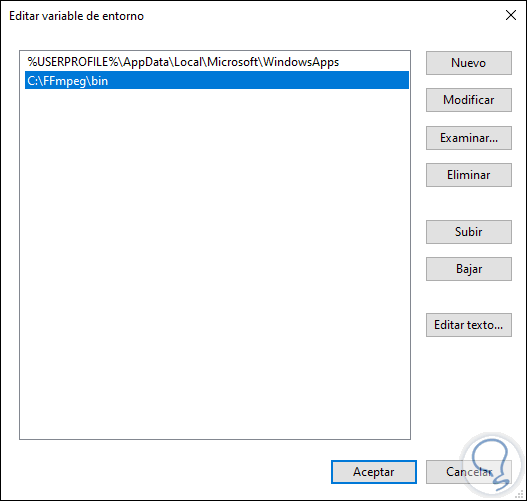
Click on the Edit button and in the next window click on New and add the path of the FFmpeg bin folder. Click OK to save the changes and we can close the wizard.
C: \ FFmpeg \ bin
3. How to check FFmpeg status through the Windows 10 command prompt
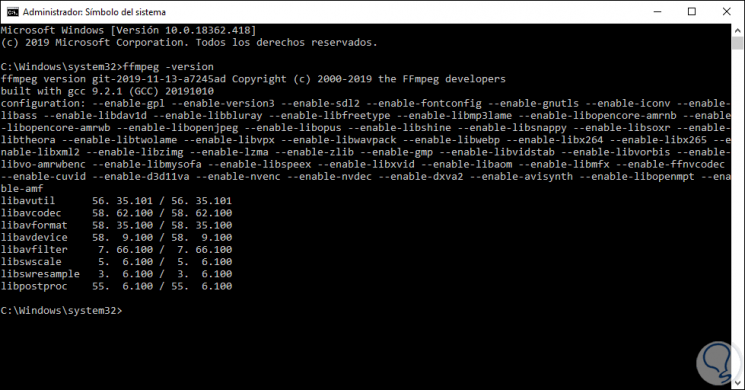
Step 1
Once this is done, it is time to prove that everything is correctly redirected. To do this we go to the command prompt as administrators and there we execute the following:
ffmpeg -version
The result will be this. There we find the different tools integrated in the utility.
Step 2
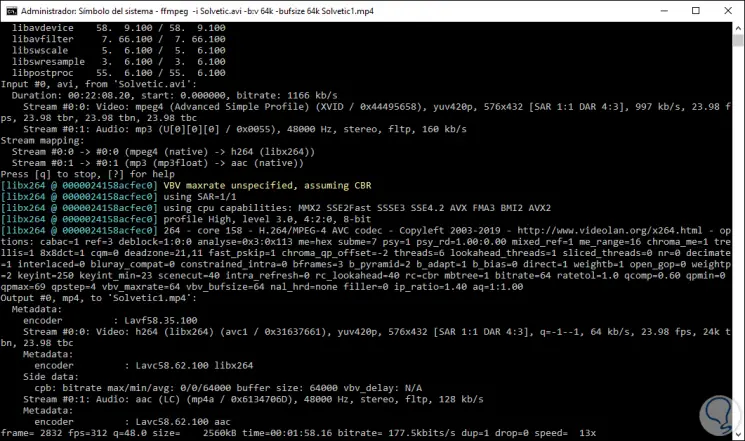
Then we can make use of the functionalities of FFmpeg, for example, we will execute the following:
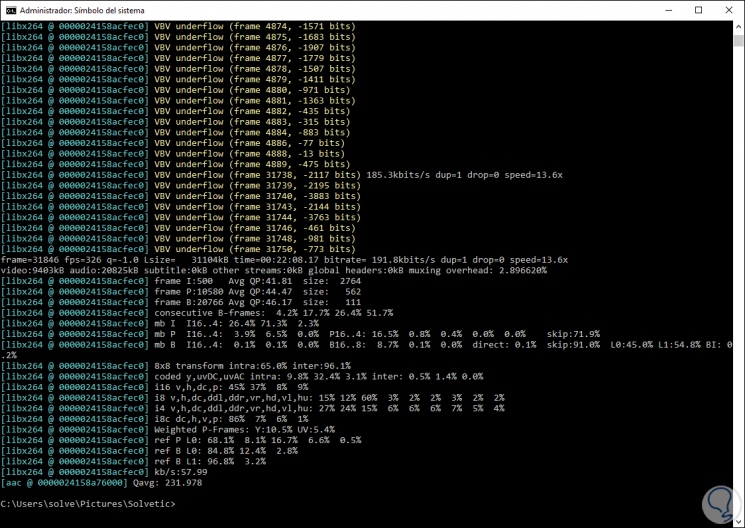
ffmpeg -i TechnoWikis.avi -b: v 64k -bufsize 64k TechnoWikis1.mp4
Step 3
This will convert the TechnoWikis.avi video in the mp4 format with the name TechnoWikis1.mp4 and we will set the video bit rate of the output file to 64 kbit / s with the -b: v 64k option. Pressing Enter will give way to the entire conversion process:
Step 4
When it finishes we will see the following:
Step 5
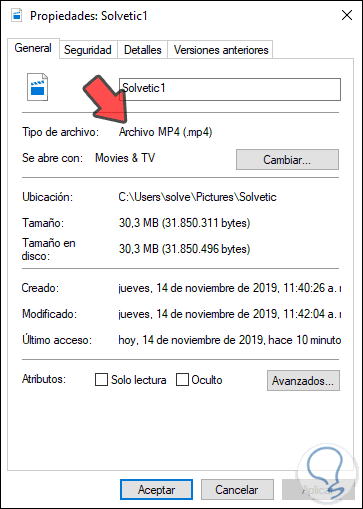
When going to the properties of the created video we verify that it is effectively MP4:
Step 6
By using the FFmpeg variable we can add parameters such as:
It allows us to assign the number of video frames to be broadcast
Define the frame rate of the video
-r [: stream_specifier] fps (input / output, per-stream)
Set the frame size for example "4: 3", "16: 9", "1.3333" or "1.7777
-s [: stream_specifier] size (input / output, per-stream)
Define the aspect ratio of the video screen
aspect [: stream_specifier] aspect (output, per-stream)
Allows you to block all video streams from a file so that they are not filtered or automatically selected or assigned for any available output
Configure the video codec
Allows you to select the pass number (1 or 2 which is used to do the two-step video coding
-pass [: stream_specifier] n (output, per-stream)
Thanks to FFmpeg, it will be possible to carry out a complete work on multimedia files while retaining maximum performance, performance and functionality. It is certainly a good option to use a reliable and robust utility that will allow us to manage these elements directly from the security of the command prompt without affecting the overall performance of the equipment..