There are several methods to establish communication between different teams, but we must always take into account the security options that are present since what is going to be transferred most of the time is associated with sensitive information from users..
One of the safest ways is using the SSH protocol and where OpenSSH becomes a practical solution for this connection.
By using OpenSSH we can be sure that all traffic will be encrypted to eliminate spying, information hijacking and other types of attacks , in addition to this, OpenSSH offers us a wide range of secure tunnel capabilities, various authentication methods and security options. custom settings
One of the main novelties that will include the new Windows 10 build, if a new build, will be the integration of OpenSSH in a beta phase..
This feature can be found in the build 17063 of Windows 10 Fall Creators which is available through the Microsoft Insider program which we can access and register, if we are not already, in the following link:
Windows Insider
Now, Windows 10 has added the OpenSSH Client and OpenSSH Server options to carry out this process in a reliable and fully functional way.
Next we will see how to install the OpenSSH Server on Windows 10 Fall Creators..
1. Access the Windows 10 system features
Step 1
To start the process we go to the Start menu and there we select the "Configuration" option, we will see the following:
Step 2
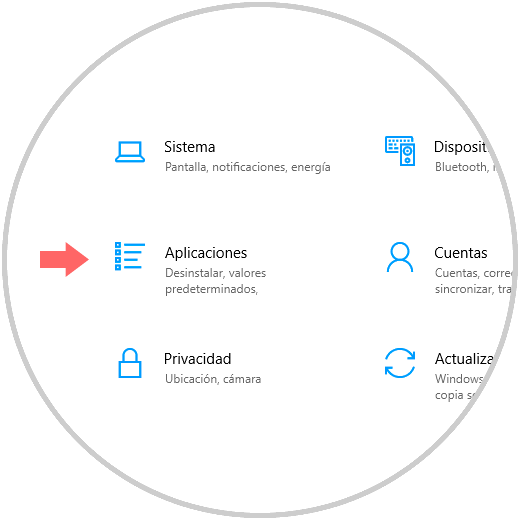
There we click on the "Applications" section and in the new window we go to the "Applications and features" section where we will see the following:

Step 3
There we click on the “Manage optional functions†line and we will see this:
2. Add OpenSSH in Windows 10
Step 1
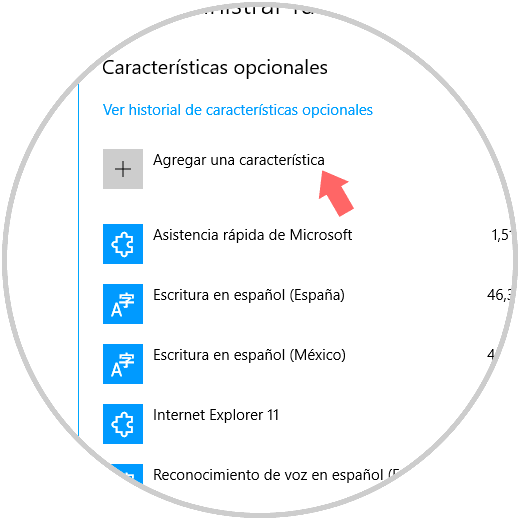
Click on the "Add a new feature" line and in the displayed window we move to the bottom where we will see OpenSSH options both at client and server level:

Step 2
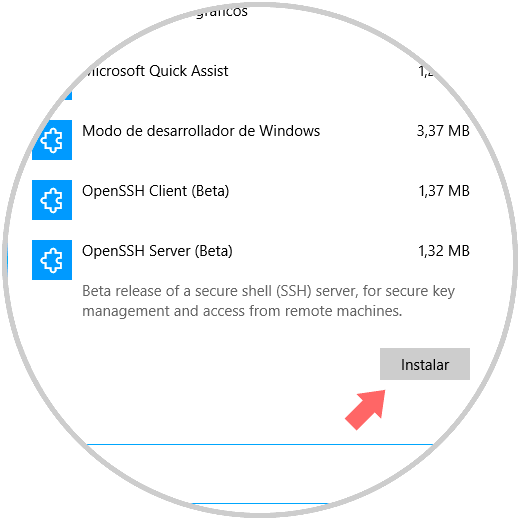
Click on the OpenSSH Server feature and we will see that the installation option is activated:
Note
Recall that this function is in beta and can cause instability in its behavior.
Step 3
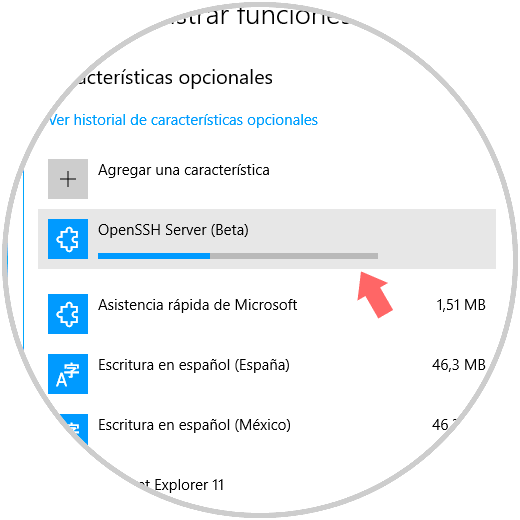
We will see that the installation process begins:
Step 4
We proceed to restart the computer to apply the changes. The OpenSSH binary files will be hosted on the following path:
C: \ Windows \ system32 \ Openssh

Step 5
There we will see tools such as:
sftp-server.exe ssh-agent.exe ssh-keygen.exe sshd.exe
As well as the configuration file sshd_config.
Step 6
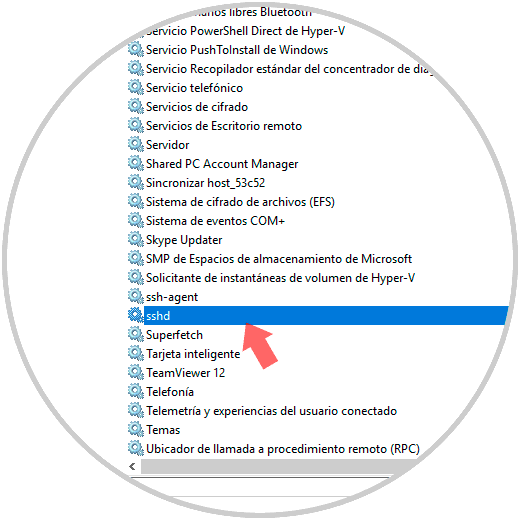
To validate the service, OpenSSH will act as a system service and we can check it using the following key combination and executing the services.msc command, press Enter and in the window we will locate the sshd service:
+ R
3. Run the SSH server in Windows 10
Step 1
To configure the OpenSSH server in Windows, we will double click on the service or right click / Properties and in the Login window we can leave the default option:

Step 2
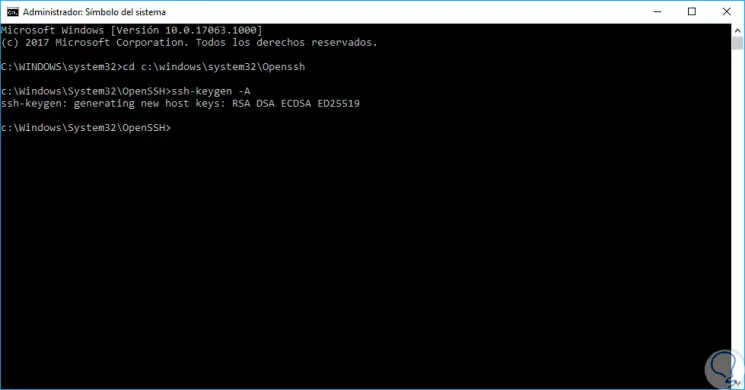
Next, we access the command prompt as administrators and execute the following line:
cd c: \ windows \ system32 \ Openssh
Step 3
Then we run the following line to generate the security key:
ssh-keygen -A
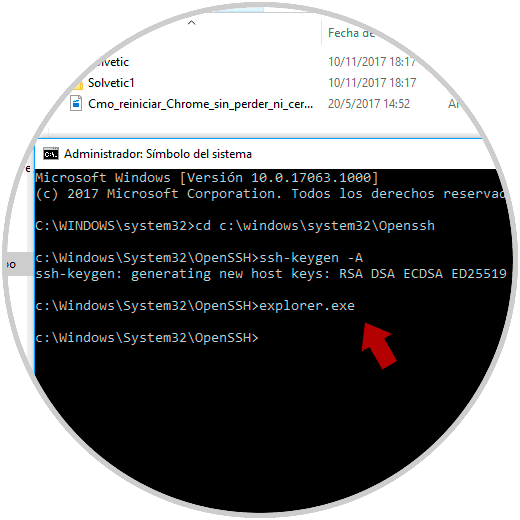
Step 4
Now, from a command prompt, enter explorer.exe in order to start the Windows Explorer from the OpenSSH folder:
Note
This process can be executed in Windows PowerShell with the following lines:
Install-Module -Force OpenSSHUtils Repair-SshdHostKeyPermission -FilePath C: \ Windows \ System32 \ OpenSSH \ ssh_host_ed25519_key
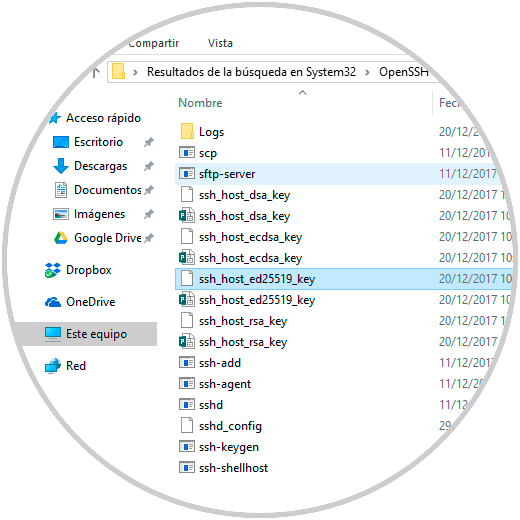
Step 5
The security key can see that it is hosted in the OpenSSH folder:
4. Enable the OpenSSH listening port in Windows 10
Step 1
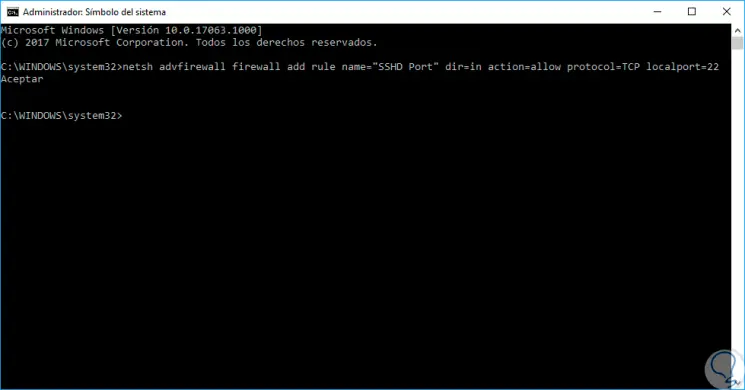
The next step is to allow port 22 to be enabled for proper OpenSSH communication, for this we execute the following line:
netsh advfirewall firewall add rule name = "SSHD Port" dir = in action = allow protocol = TCP localport = 22
Step 2
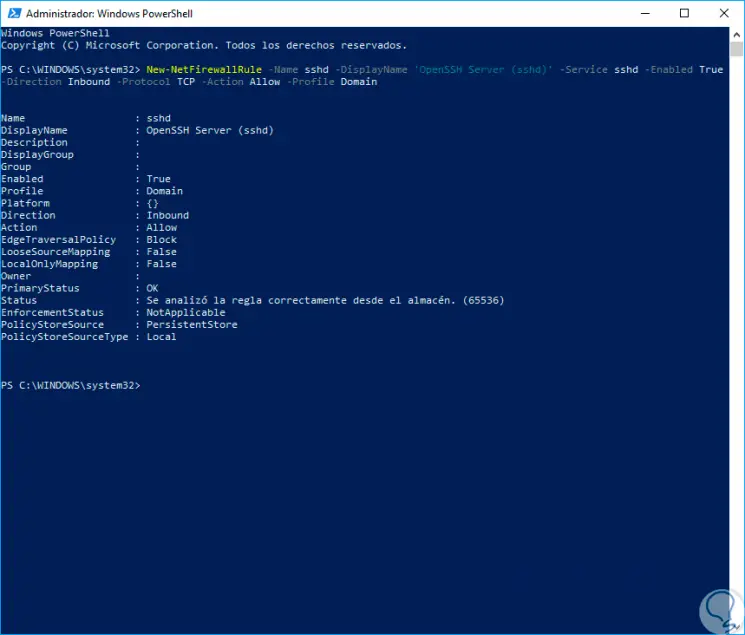
If we want to perform this process with PowerShell we will execute the following:
New-NetFirewallRule -Name sshd -DisplayName 'OpenSSH Server (sshd)' -Service sshd -Enabled True -Direction Inbound -Protocol TCP -Action Allow -Profile Domain
5. Connect through OpenSSH in Windows 10
Step 1
Finally we can access from any computer in the local network using the following syntax:
ssh user @ IP
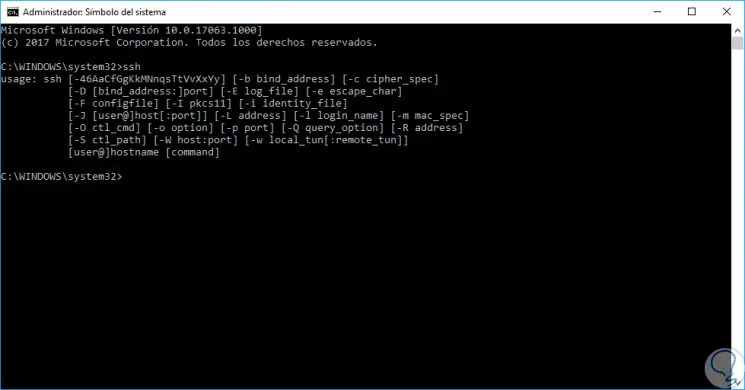
Step 2
We can see all the SSH alternatives directly in the console:
So we can install OpenSSH in the new Windows 10 build.