As users of the IT world we know very well that one of the most rebellious drivers after an installation or configuration of any operating system are the video drivers which allow our monitors to adapt in a practical way to video cards, integrated or not , to the different resolutions of the monitors, especially if they are 4K, and many other parameters that optimize the visual environment of each user..
In the case of Linux operating systems we have several tools that help us edit and configure the video values ​​but there is nothing more useful and simple than using the tools that have been developed by the manufacturer itself and we all know that in this field Intel It is one of the top of the list as one of the best suppliers of this type of segments.
Today TechnoWikis wants to explain in depth how we can install the video drivers, and update the existing ones, thanks to Intel's own video utility ..
It is ideal to use this tool because when we install an operating system such as Ubuntu, the drivers are installed automatically and are not always constantly updated so it is ideal to take this task to take full advantage of these functionalities.
1. Install the Intel tool on Ubuntu 16.04
For all Ubuntu 16.04 users, the Intel driver tool has support for LTS, but it will be necessary to download version 2.0.2 of this tool.
Step 1
To do this, we must download the .DEB file locally at the following link:
Intel tool
Step 2
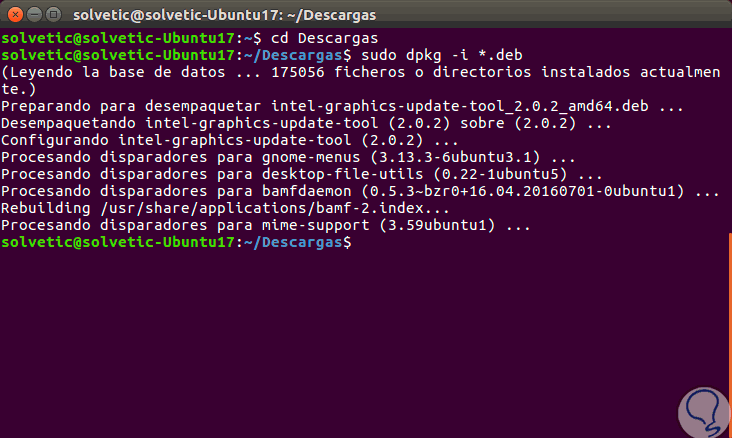
Once the tool is downloaded we will go to the downloads folder:
cd ~ / Downloads
Step 3
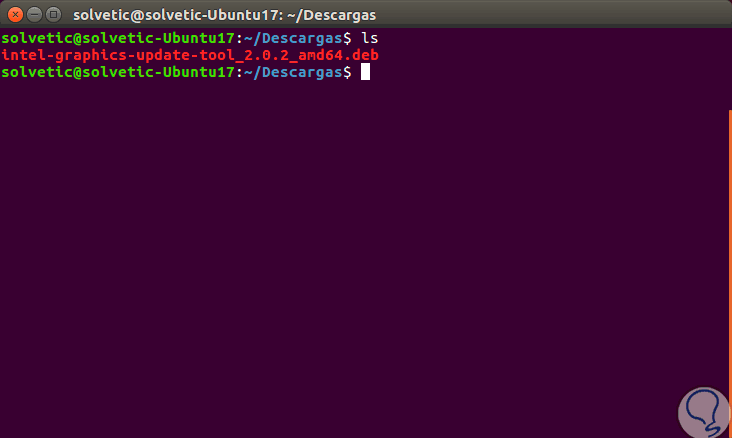
We can list the downloads using ls to verify that we have there the .DEB file of the Intel tool.
Step 4
Once there we can install the tool using the following command:
sudo dpkg -i * .deb
Step 5
In case of presenting some type of error in the dependencies, we can execute the following command:
sudo apt install -f
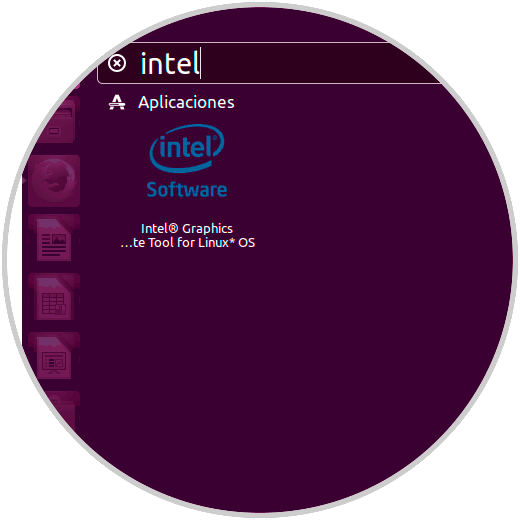
Step 6
Once the utility is installed we will have access to it from the Dashboard:
2. Install and use the Intel tool in Ubuntu 17.10
Step 1
The latest version of this Intel tool has support for Ubuntu 17, both 0.4 and 10, and can be downloaded at the following link:
Intel .DEB
Step 2
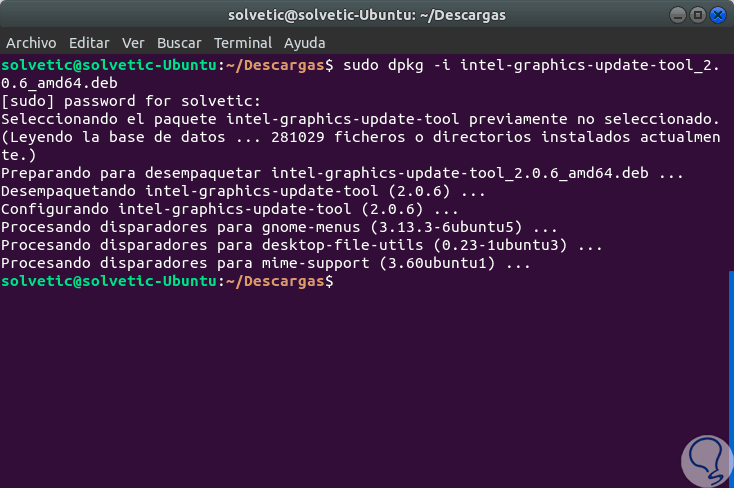
Once downloaded we will execute the following lines:
cd ~ / Downloads (Access to the directory where the download was stored) sudo dpkg -i * .deb (File execution) sudo apt install -f (Correction of failed dependencies)
Step 3
Once installed we access it from the dashboard and this will be your initial environment:
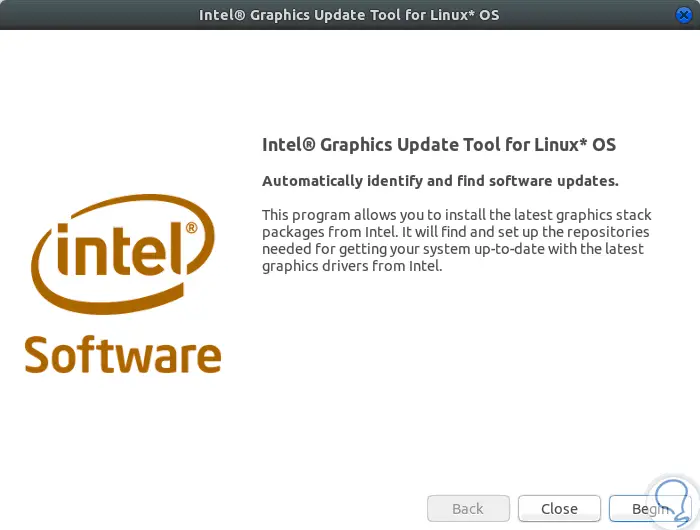
Step 4
There we click on the "Begin" button to start the program with the driver analysis process on the local computer:
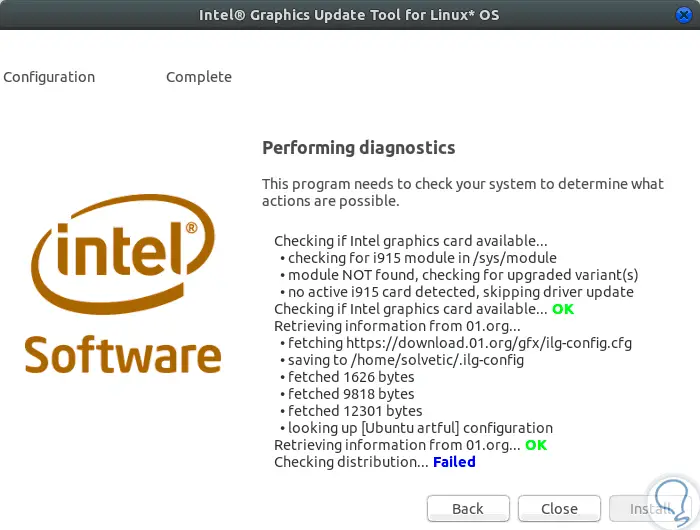
Step 5
As soon as the process is finished, we can select the missing drivers and click on the "Install" button.
After executing this task, some additional drivers may normally be missing in the system, to verify which drivers are missing we will go to “Software and updates†and there we go to the “Additional Drivers†tab:
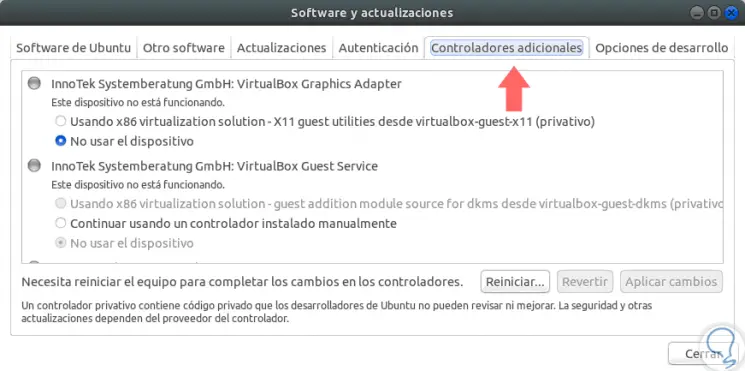
We can select the desired ones and proceed with their update. In this way we will have the controllers of the equipment in optimal condition and always updated..