Commands in Linux play an essential role to carry out hundreds of tasks in a correct and suitable way since with them you can perform administrative , informative, audit and many other tasks. But improper use of them can incur hundreds of processes and system services affecting our productivity and one of the most practical commands in Linux is the wget command..
Wget is a tool that will allow us to download content that comes from web servers under protocols such as ftp or https. For the management of these downloads we will find a command that allows you to easily download repositories, however complex they may be, in addition to other tasks.
What is wget
The wget command has been developed as a completely free software package thanks to which we can download files using protocols such as HTTP, HTTPS, FTP and FTPS. This makes wget a non-interactive command line tool, which can be implemented in scripts, cron jobs or in terminals that do not have X-Windows support.
Wget features
Wget is distributed under the GNU General Public License and offers us features such as:
- It is compatible with HTTP cookies.
- Wget can convert absolute links into relative documents, this will allow downloaded documents to be able to create links to each other locally.
- Supports persistent HTTP connections.
- It is able to resume canceled downloads thanks to the REST and RANGE variables.
- Wget makes use of local file timestamps in order to define whether documents have to be downloaded again.
- Integrates the unattended operation function in the background.
- Supports the use of file name wildcards and mirror directories recursively.
Now you will see how to install wget on some of the most popular Linux distributions.
1. How to install wget on Ubuntu on Linux
Step 1
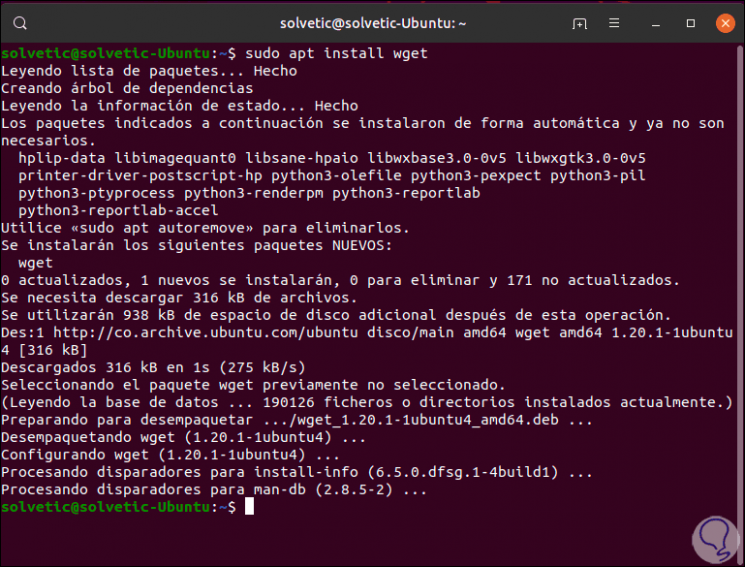
To install wget on Ubuntu, in this case 19, just execute the following command in the terminal:
sudo apt-get install wget
Step 2
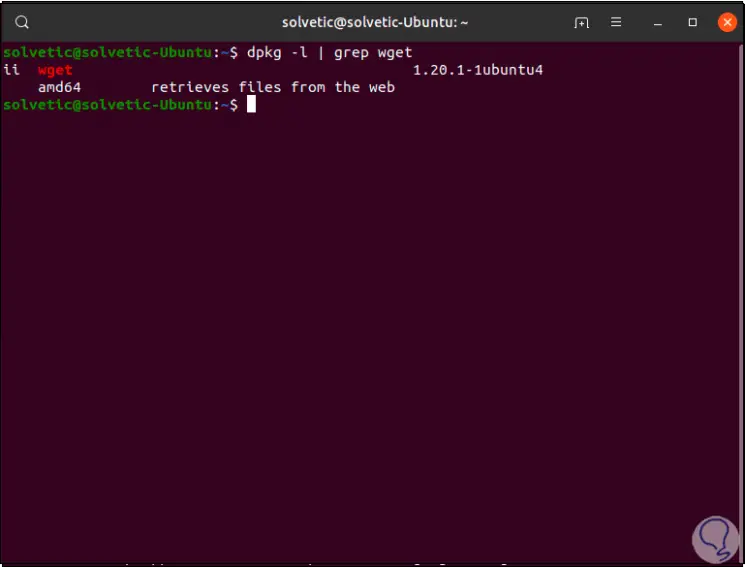
To check the wget version we will execute the following:
dpkg -l | grep wget
Step 3
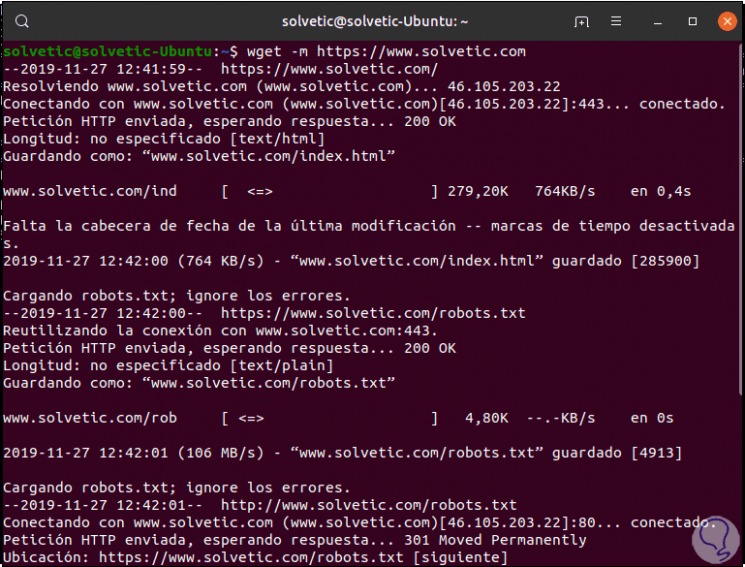
We can use one of the many options that wget offers us in Ubuntu:
2. How to install wget on Ubuntu on CentOS
Step 1
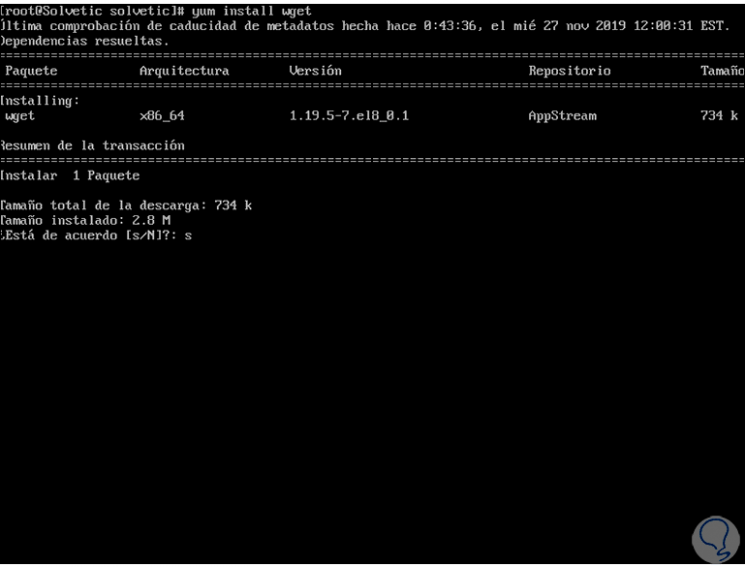
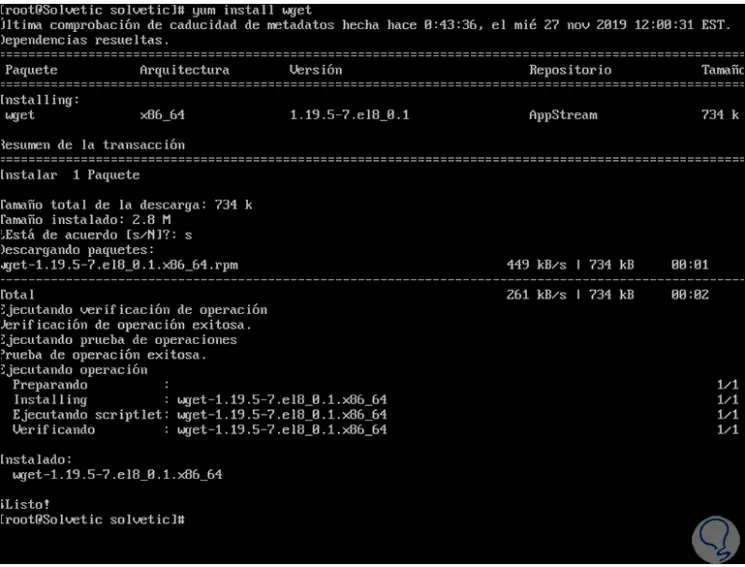
For this case we will use CentOS 8 which is the last edition full of practical functions, in the case of CentOS we will execute the following command to install wget:
yum install wget
Step 2
Enter the letter s to confirm the download and installation of wget:
Step 3
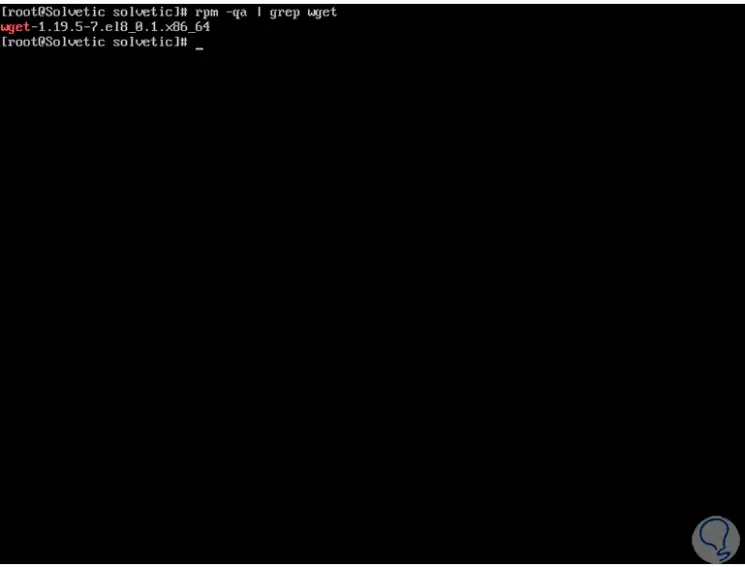
We can confirm the installation by running:
rpm -qa | grep wget
Step 4
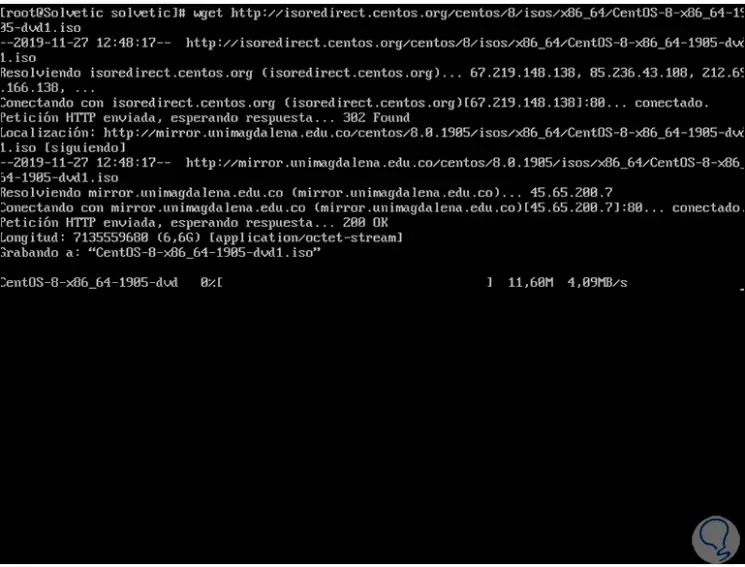
There we can now download or use wget for various tasks:
3. How to install wget on Ubuntu on Debian
Step 1
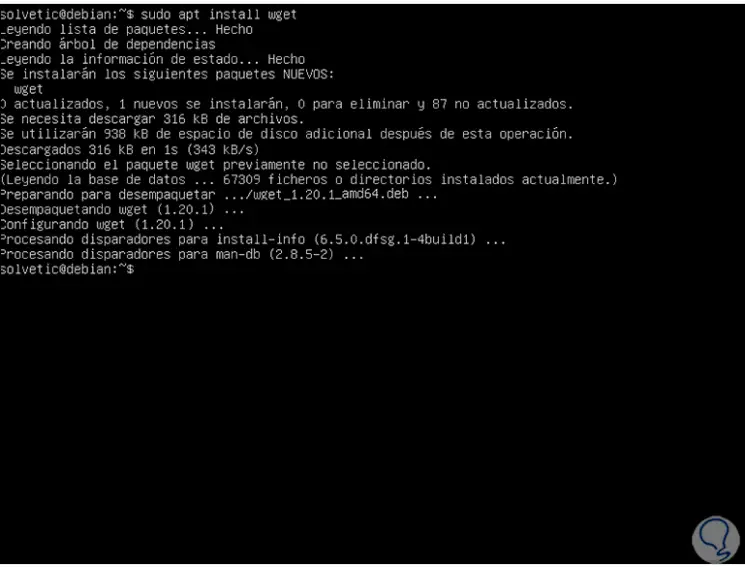
Debian is a dynamic distro where wget will help increase its performance capabilities, there we must execute the following for wget installation:
apt-get install wget
Step 2
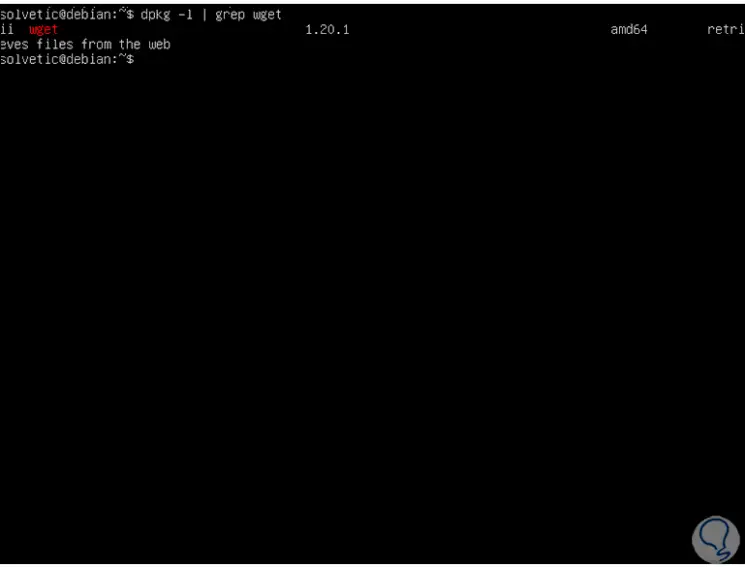
We can validate the installation by running:
dpkg -l | grep wget
Step 3
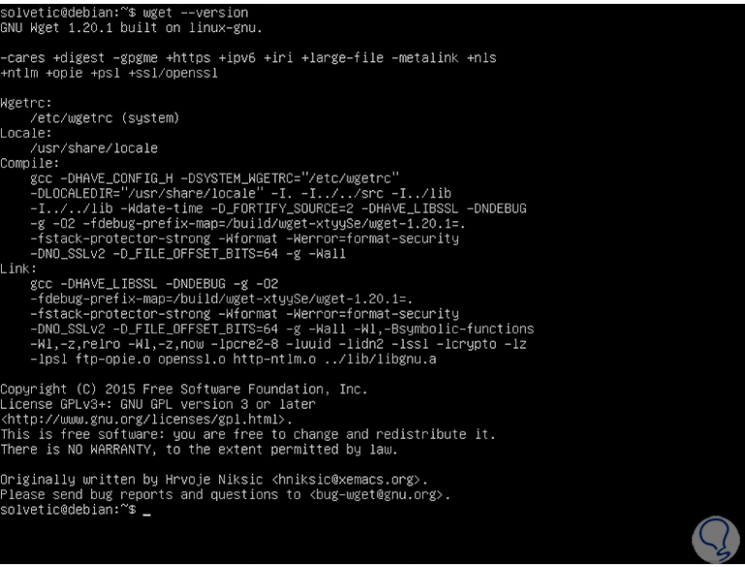
Finally, we can validate the version using:
wget –version
4 . How to install wget on Ubuntu on Fedora
Step 1
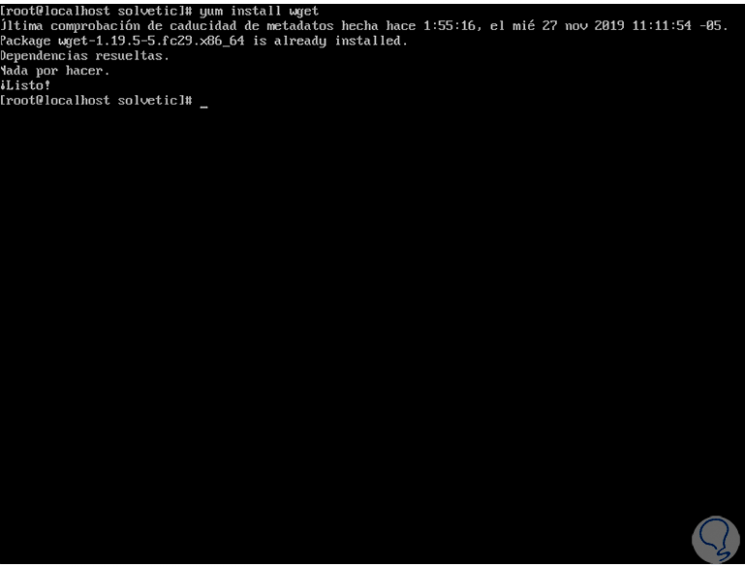
If you want to install wget on fedora, just use the following command. In Fedora wget it is already installed by default
yum install wget
Step 2
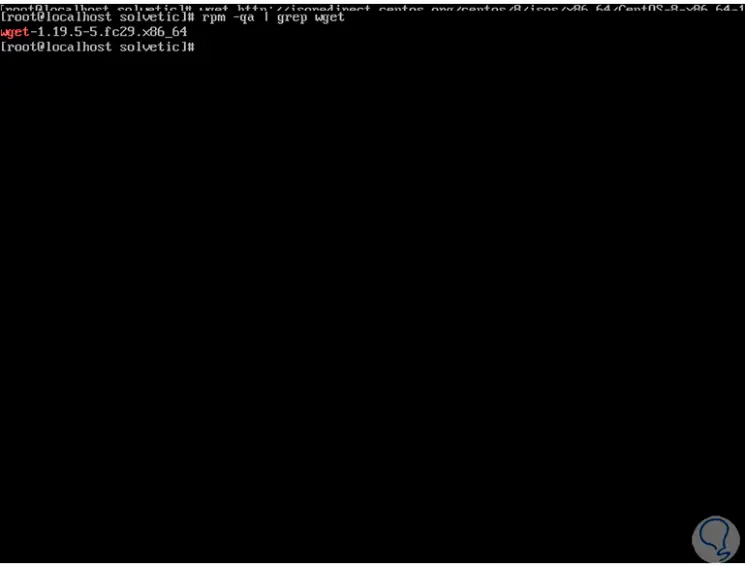
You can confirm the installation by running:
rpm -qa | grep wget
Step 3
With this wget is ready to be used in Fedora:
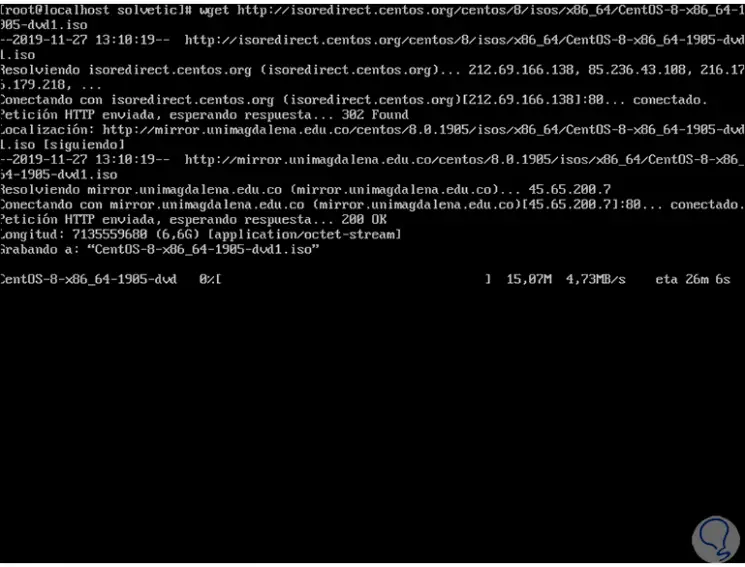
With wget it will be possible to obtain files from the network in a simple, secure and fully functional way..