Internet connectivity encompasses a complex process in which multiple elements of both hardware and software interact and if any of them fails, the connection would undoubtedly be wrong or with problems, so it is key that as Windows 10 users Let us be clear about some ideal concepts to better manage network errors associated with a key factor such as the IP address..
We know that the NIC Identifier of the network card) is connected to the router or modem using the Ethernet cable or by wireless means if we use a Wi-Fi connection, but if for some reason we find a message indicating that the IP address has a configuration Invalid we must act immediately as this will prevent us from using the network services correctly, there are some associated causes such as:
Common mistakes
- Errors in the modem or router
- Faults at the ISP provider level
- Bad configuration in the network DNS
- Network card failures and some others
TechnoWikis will explain in detail some Internet or network solutions to correctly configure the IP in Windows 10 and in turn allow the navigation to be correct.
To keep up, remember to subscribe to our YouTube channel! SUBSCRIBE
1. Turn off the PC to solve Ethernet error in Windows 10
It is the first step to take before going to a technician or making manual adjustments to the network configuration, for this it is enough to turn off the equipment and disconnect it from the power for 5 or 10 minutes, then connect it and turn it on again to see if The error has disappeared. This process allows services to be updated and restarted.
2 . Connect the equipment directly to the network device to solve Ethernet error in Windows 10
It is a process that applies if we use more than one router or modem, we may connect the equipment directly to the main router to see if the invalid IP address error is still there or not, in case the error is no longer active, we must go to look in the local settings of the equipment where the error lies.
3. Restart the modem or router and check the network cable to fix Ethernet error in Windows 10
It is a simple process with which we seek to restart the network services of the modem or router, for this we turn off the modem for 5 minutes and then turn it on. In addition to this, it is worth checking the network cable to verify that it has no damage or anything that affects its proper functioning.
4. Use solver and restart DHCP to fix Ethernet error in Windows 10
DHCP (Dynamic Host Configuration Protocol) is the process that allows IP addresses to be delivered dynamically to the device, but if DHCP is failing, we can receive the error message in the IP configuration, to enable DHCP or check its status
Step 1
For this we are going to:
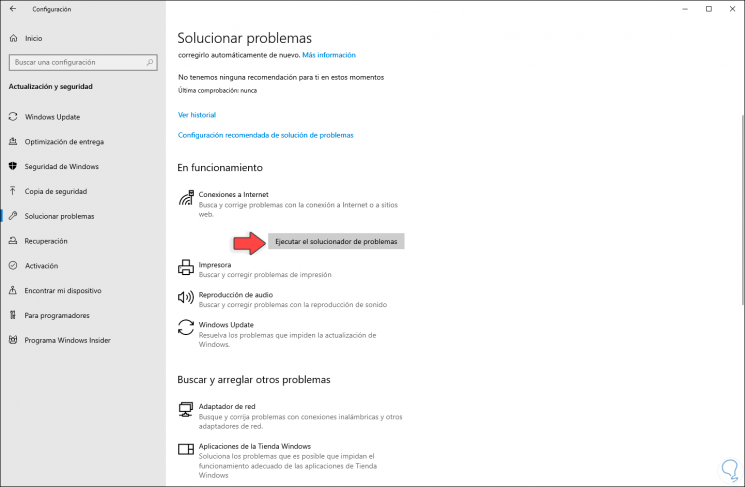
Step 2
There we must locate the "Internet Connections" option, click on it and the button "Run the troubleshooter" will be activated;
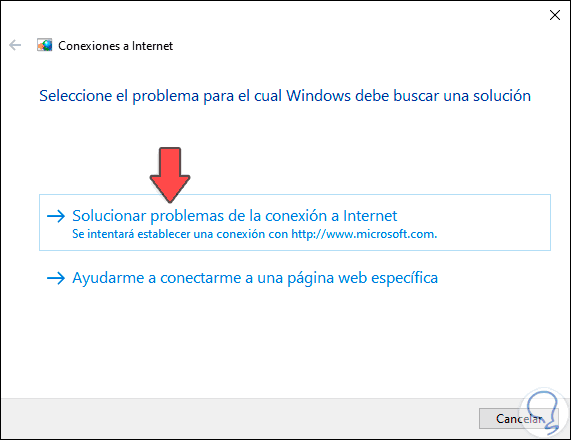
Step 3
There the analysis of network errors will begin. If we present this error the solver will try to correct it.
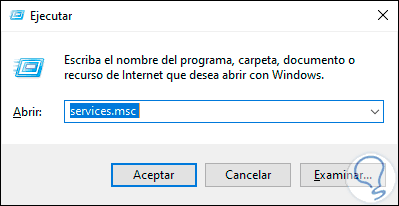
Step 4
If this does not solve the error, we must restart the DHCP service, for this we combine the following keys and execute the “services.msc†command:
+ R
services.msc
Step 5
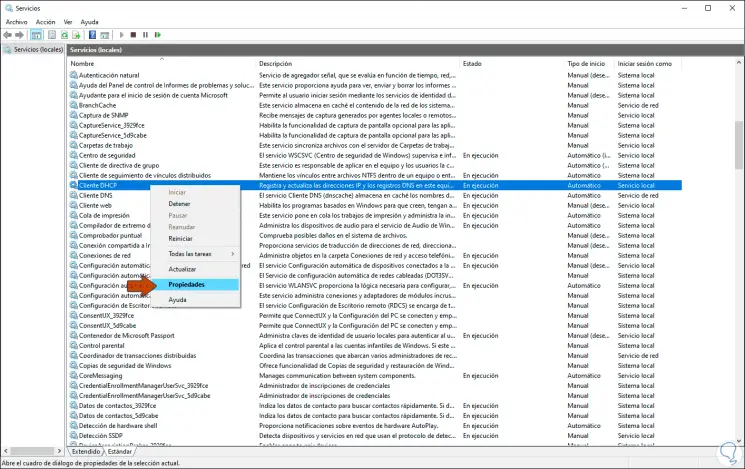
Press Enter or Accept and in the pop-up window we will locate the service called “DHCP Clientâ€, double click on it or right click / Properties:
Step 6
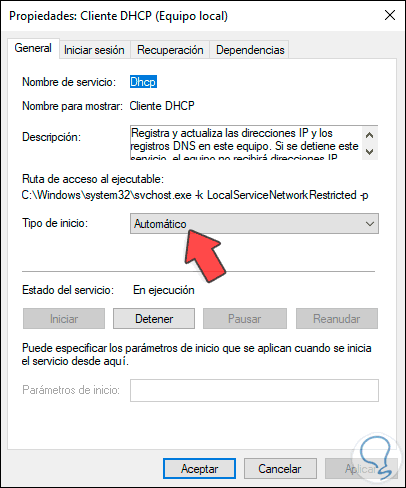
In the window that will be displayed, we define the "Automatic" option in the "Startup type" field:
Step 7
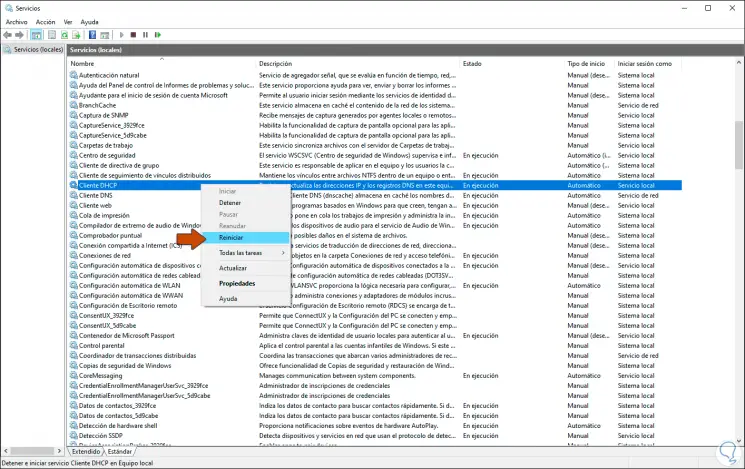
Click on Apply and Accept to save the changes and finally right click again on the service and select "Restart":
5. Disable the network adapter from Command Prompt to fix Ethernet error in Windows 10
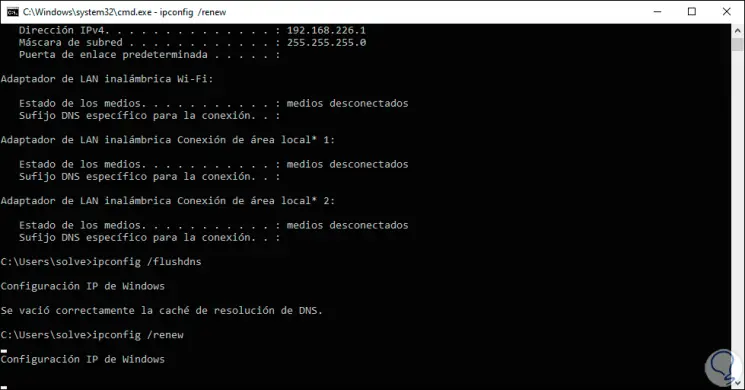
This is a process that involves renewing the IP of the device through the command prompt, for this we access the terminal and execute the following commands:
ipconfig / release ipconfig / flushdns ipconfig / renew
6. Renew network sockets from Command Prompt to fix Ethernet error in Windows 10
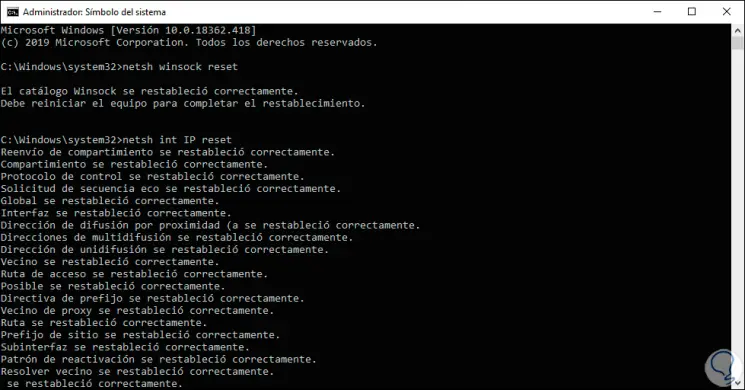
Another step will be to try to renew the network sockets from the terminal, for this we access the command prompt as administrators and there execute the following:
netsh winsock reset netsh int IP reset
7. Restart the operating system to fix Ethernet error in Windows 10
Step 1
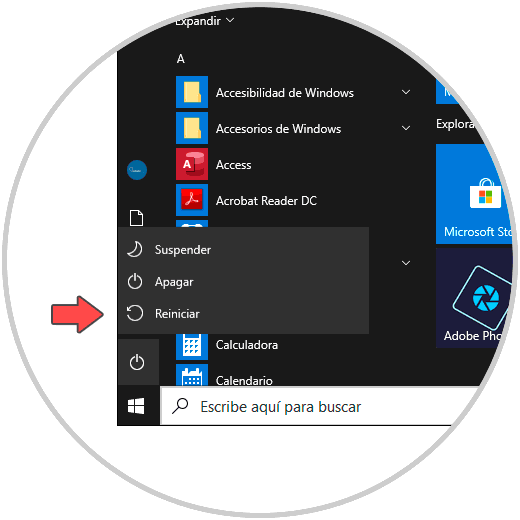
If the error is persistent, we can execute a system reboot so that all services are updated, for this we click on the Start menu and there we select Restart from the shutdown option:
Step 2
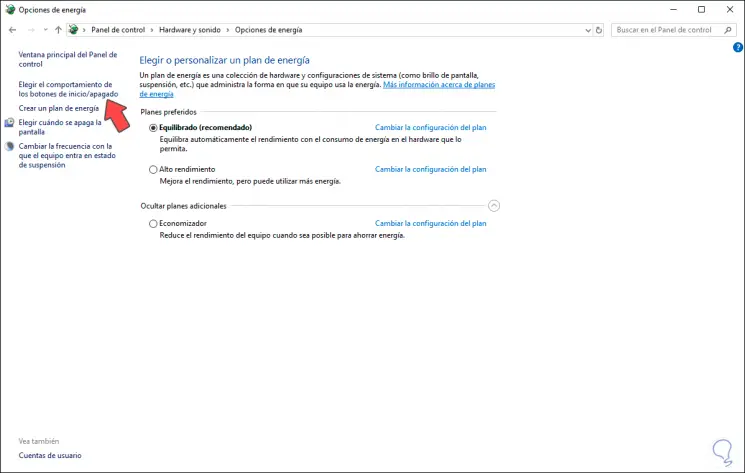
In addition to this, we can define an energy plan before that, for this we will go to the following route:
Step 3
We click on the line “Choose the behavior of the start / shutdown buttons†in the side panel and we will see the following:
Step 4
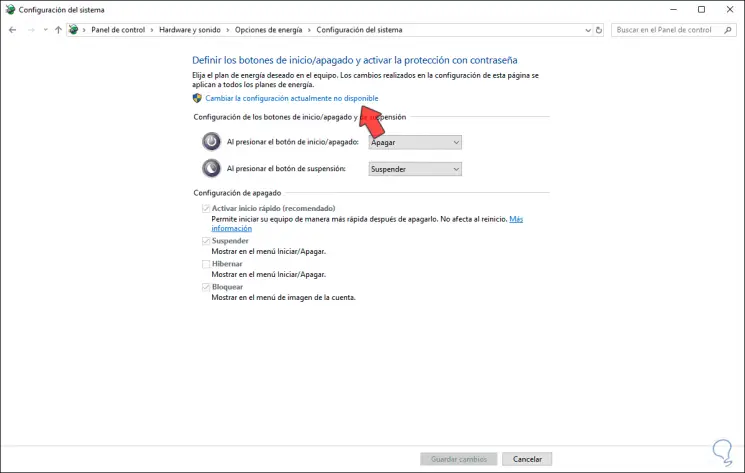
We click on the “Change currently unavailable settings†line and then uncheck the “Enable quick start†box. We click on Save changes to complete the process and restart the computer.

8. Check the operating network settings to solve Ethernet error in Windows 10
Step 1
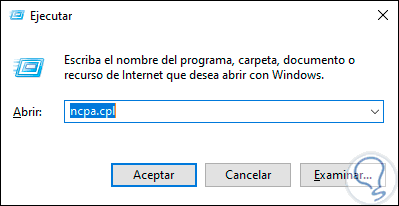
For this method we must use the following keys and execute the ncpa.cpl command:
+ R
ncpa.cpl
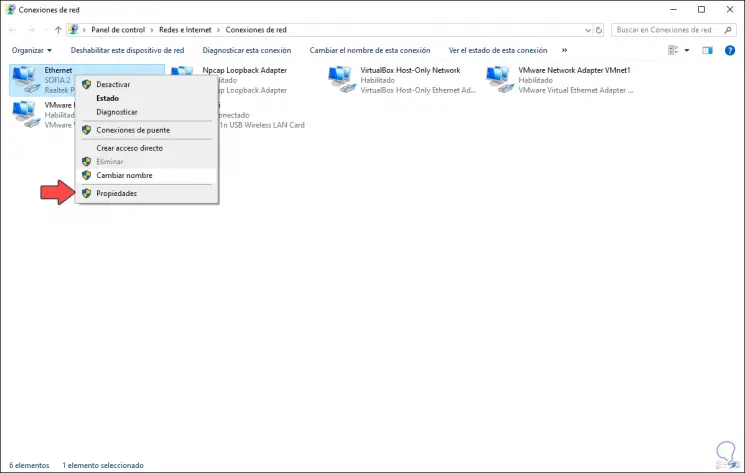
Step 2
Pressing Enter we must right click on the current network adapter and select Properties:
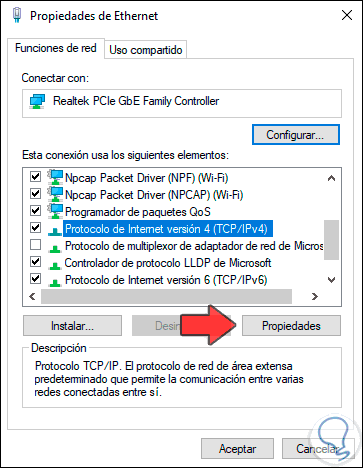
Step 3
In the displayed window we locate the line "Internet Protocol version 4":
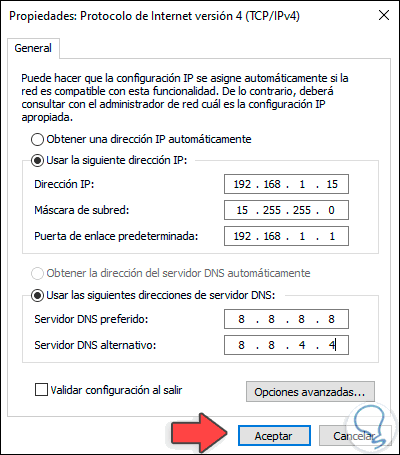
Step 4
We click on Properties and in the displayed window we activate the “Use the following IP address†box and enter the following. In the DNS section we have used Google DNS. Click on OK to save the changes.
9. Reinstall TCP / IP to fix Ethernet error in Windows 10
Step 1
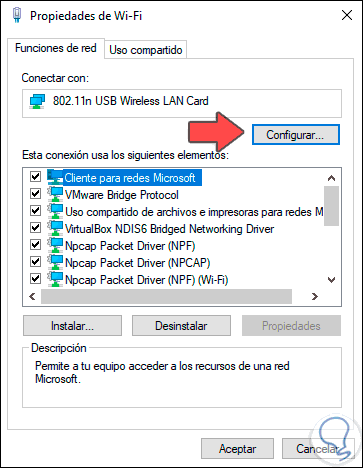
This protocol allows communication with the network, for its reinstallation we go back to the properties of the adapter and this time we select the option “Client for Microsoft networksâ€:

Step 2
We click on the Install button and in the next window select "Protocol":
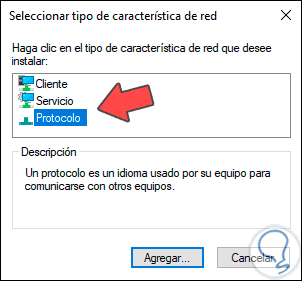
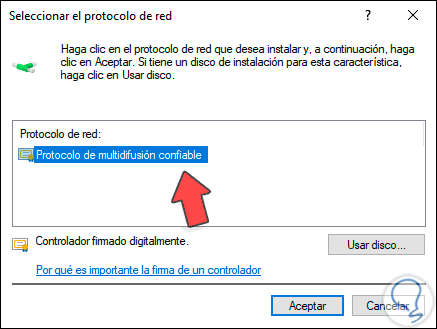
Step 3
We click on Add and now select “Trusted multicast protocolâ€. We click OK to save the changes.
10. Disable and configure the network adapter to fix Ethernet error in Windows 10
Step 1
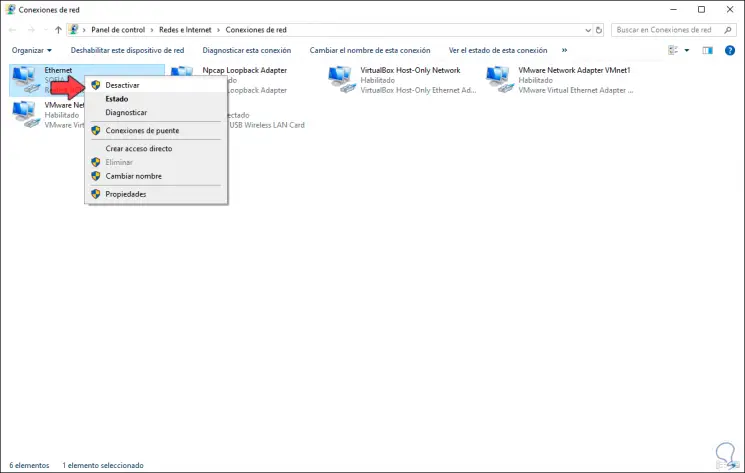
To do this we go to the center of networks and shared resources, right click on our adapter and select "Disable":
Step 2
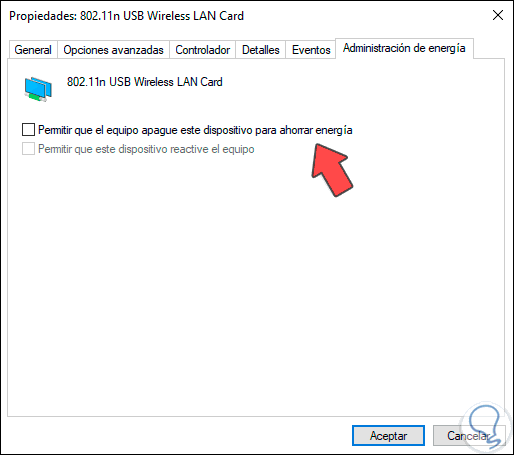
Now we right click / Properties and in the pop-up window select “Configureâ€:
Step 3
After this we will go to the tab "Power Management" and there we deactivate the box "Allow the device to turn off this device to save energy". Click on OK to save the changes.
With any of the options described it is possible to correct this error and thus allow the IP configuration to be correct in Windows 10..