Windows 10 is a system based on hundreds of processes and services which allow the entire system to work like a clock allowing us to be productive and thus get the maximum benefit from each application, but in many cases some processes can use a high system resource level affecting the general behavior of everything else, one of these is the MsMpEng.exe process which acts in the background and is typical of the protection integrated in Windows 10 with Windows Defender..
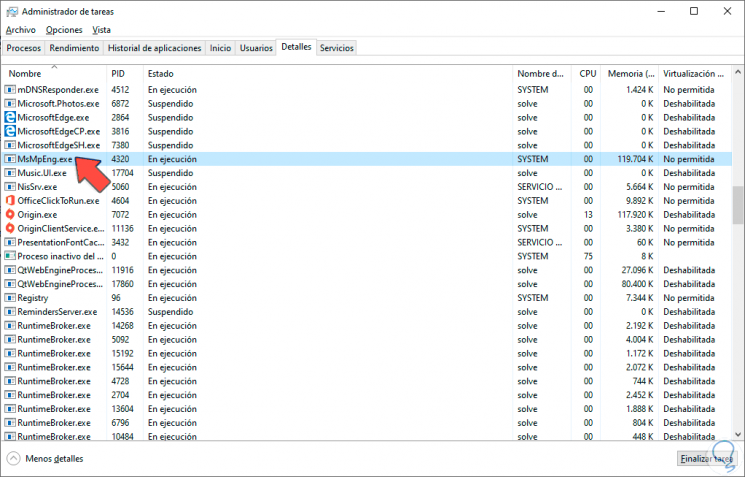
Sometimes the system processes themselves can cause relative collapse in the equipment and that make us unable to work normally. The slowness or freezing of application and processes is one of the most common consequences we experience. If we consult the Task Manager , we will see that there is an excessive consumption of resources that causes all the subsequent problems.
Basically this process should not consume resources such as CPU , memory or disk in excess, but if this happens, TechnoWikis will give you a series of recommendations for correction..
To keep up, remember to subscribe to our YouTube channel! SUBSCRIBE
1. Prevent Windows Defender from scanning your own folder in Windows 10
This is a process that occurs frequently and when you reach the point of scanning the folder, which is hosted in the path C: \ Program Files \ Windows Defender, it causes high use of system resources.
Step 1
For this we will access Windows Security with one of the following options:
Enter Windows 10 Security
To avoid this, we can create an exclusion from that folder by entering Security like this:
- Using the Start search box
- From the applications in the Start menu
- From the Start path / Settings / Update and security / Windows Security
Step 2
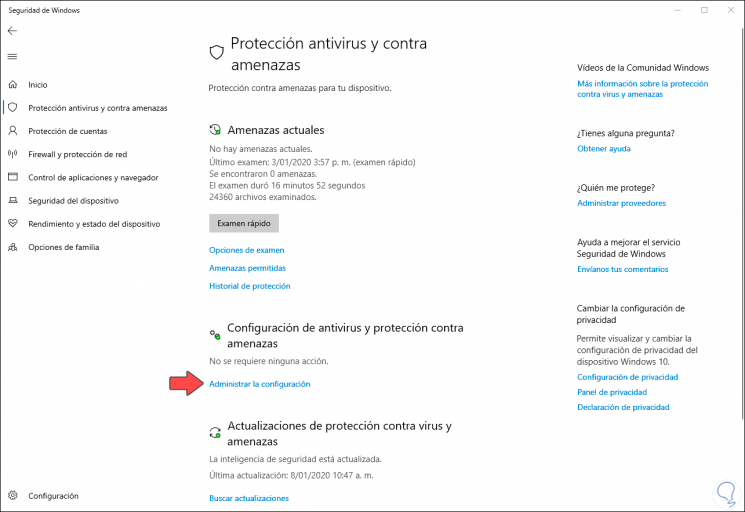
In the open window we go to the "Anti-virus and threat protection" section where we will see the following:
Step 3
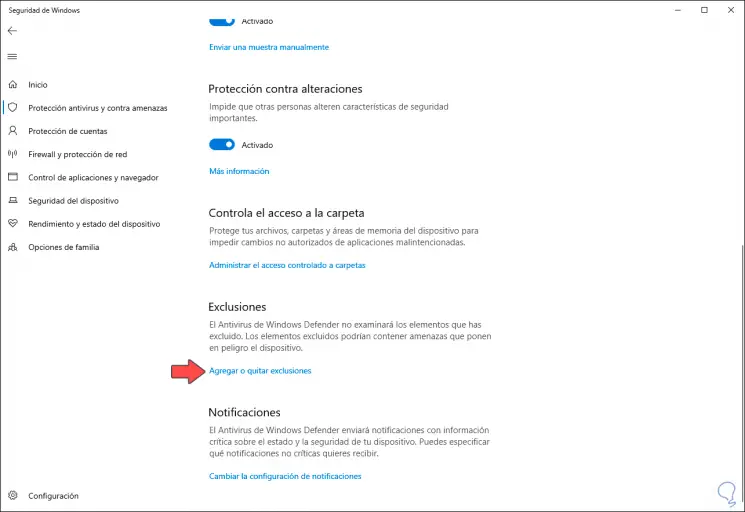
We click on the “Manage settings†line and in the next window we go to the “Exclusions†section and there we click on the “Add or remove exclusions†line:
Step 4
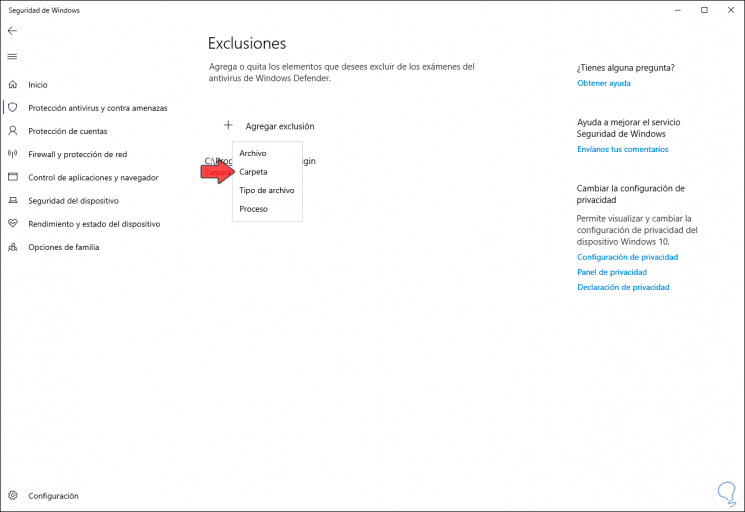
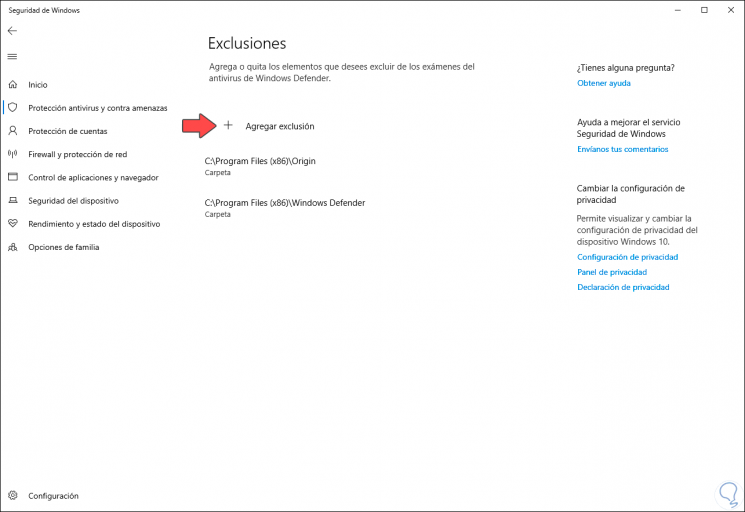
Next, we click on the “Add exclusion†button and a series of options will be displayed:
step 5
First, we select “Folder†and we will go to the route mentioned above:
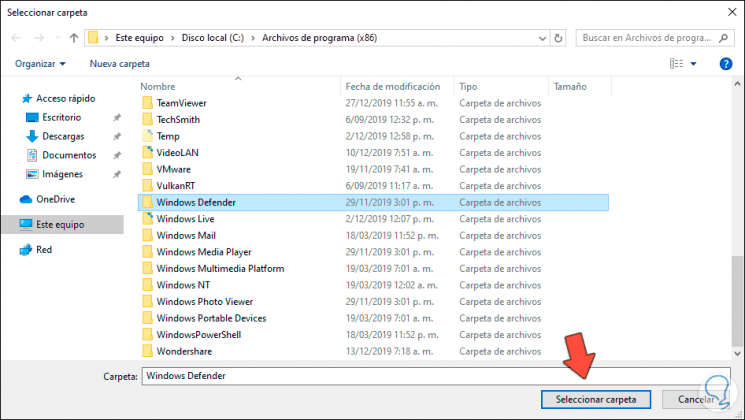
step 6
We click on “Select folder†and we will see the folder as an exclusion from Windows Defender:
step 7
Now we click on “Add exclusion†again and this time we select “Fileâ€, in the same path we will locate the MsMpEng file:
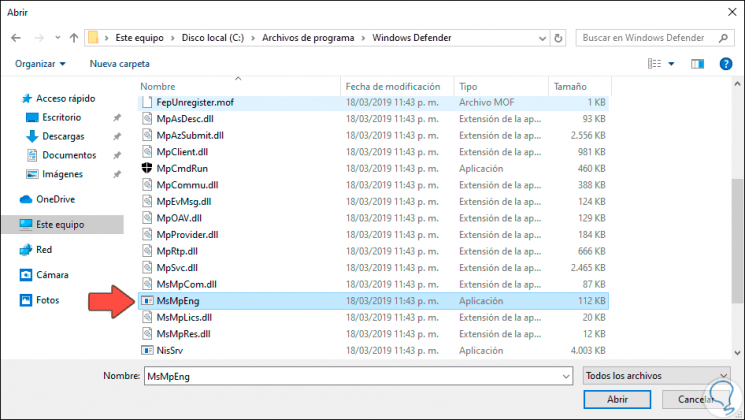
step 8
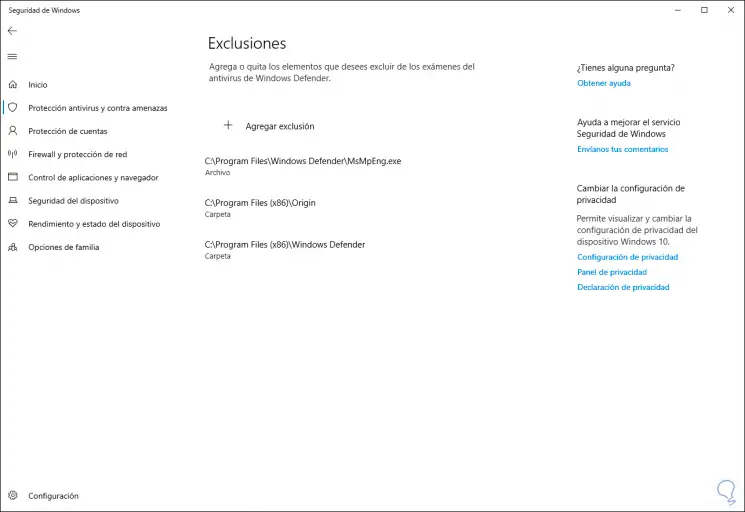
We click Open for this to be added:
2. Manage Windows Defender from the Local Policy Editor in Windows 10
This is an option that applies to the Pro and Enterprise editions of Windows 10
Step 1
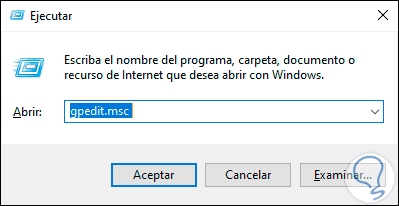
For this method we will combine the following keys and execute the “gpedit.msc†command:
+ R
Step 2
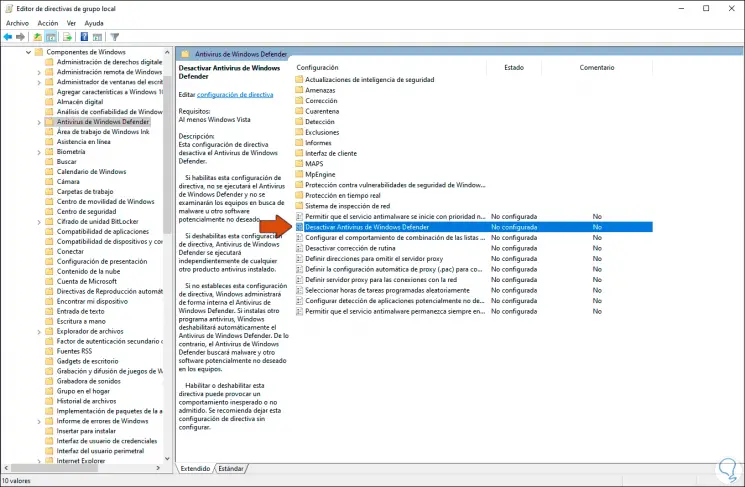
In the deployed editor we will go to the following route:
- Windows Defender Antivirus
Step 3
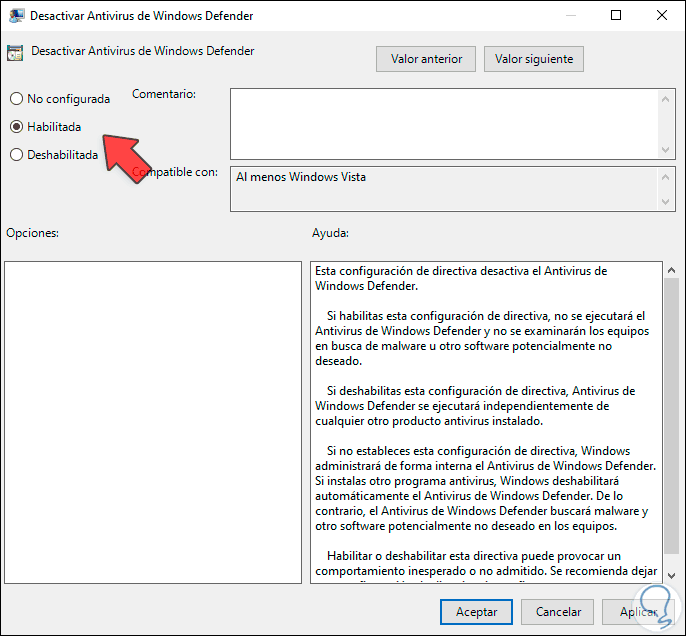
In the central policies we locate a flame “Disable Windows Defender antivirusâ€. Double click on it and in the pop-up window we activate the “Enabled†box:
Step 4
We click on Apply and Accept to save the changes and thus avoid the use of resources by Windows Defender.
3. Disable real-time protection and reschedule its task in Windows 10
We have the opportunity to access the task scheduler to configure the associated tasks of Windows Defender
Step 1
For this, we use the following keys and execute the following:
+ R
taskschd.msc
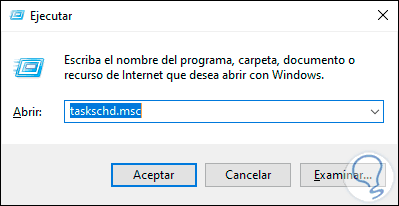
Step 2
We click on Accept and in the programmer we will go to the following route:
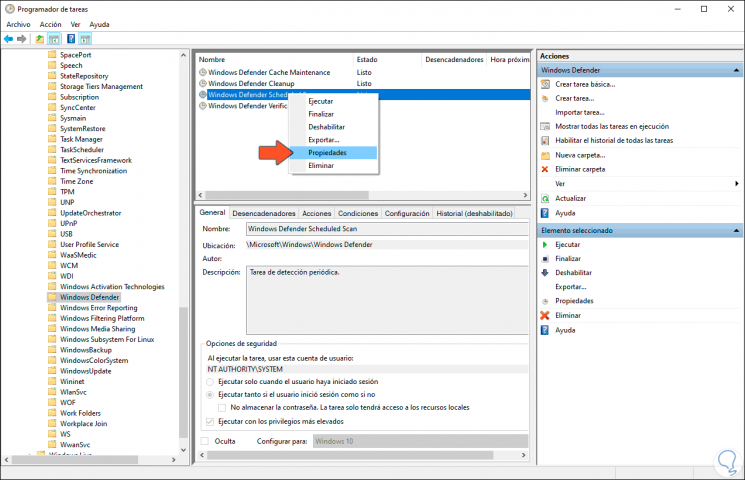
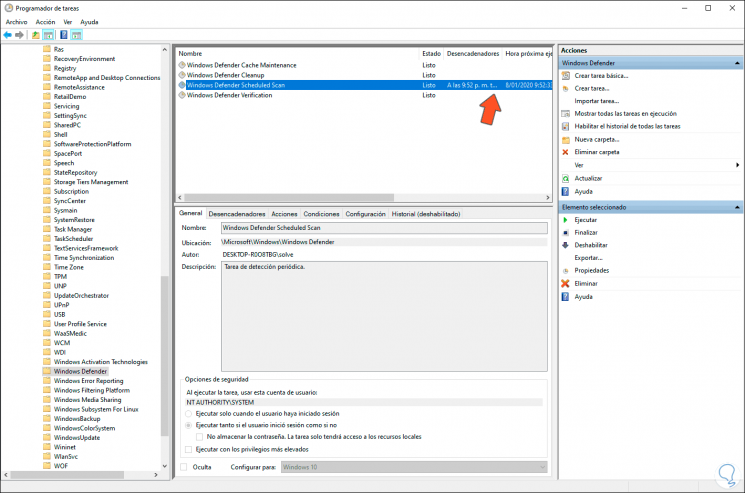
Step 3
At the bottom we find the option "Windows Defender" and in the central panel we right click on the line "Windows Defender Scheduled Scan" and select "Properties":
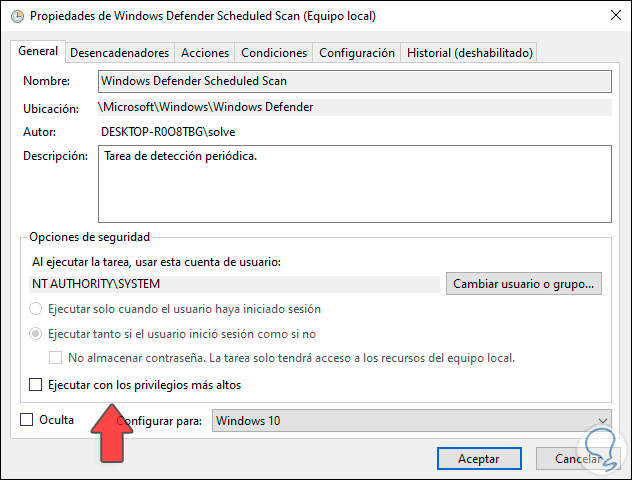
Step 4
In the “General†tab we deactivate the “Execute with the highest privileges†box:
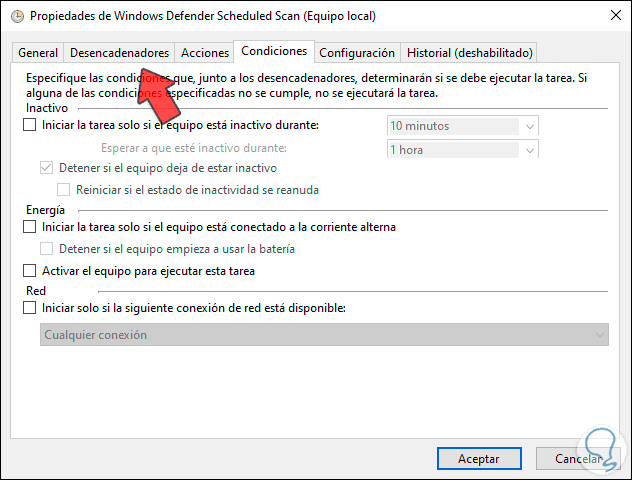
step 5
In the "Conditions" tab we validate that none of the available boxes are active:
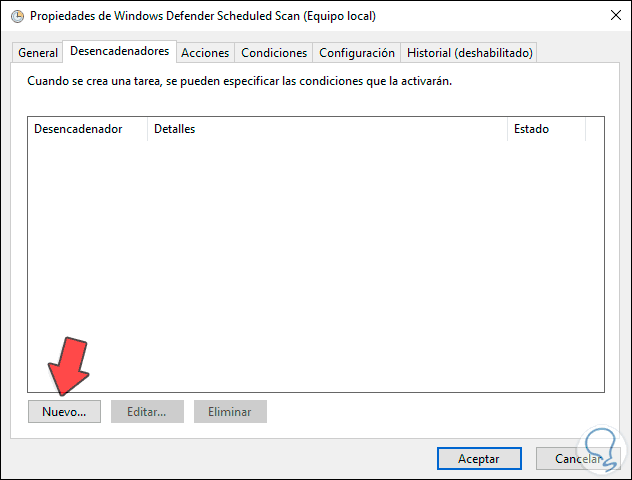
step 6
Now we go to the “Triggers†tab and at the bottom we click on “Newâ€:
step 7
In the displayed window we will assign the scanning frequency of Windows Defender as necessary:
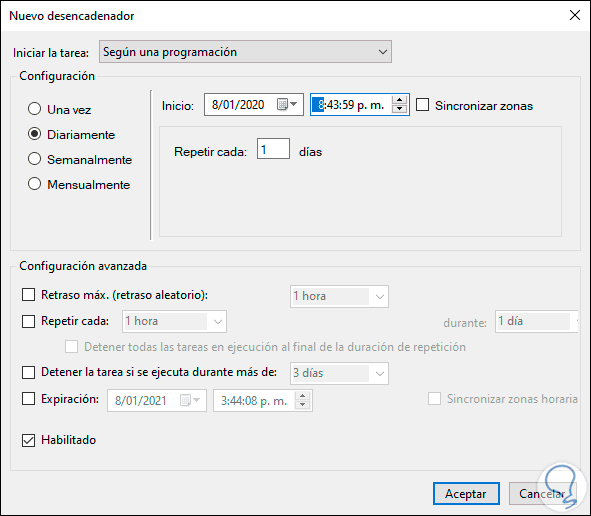
step 8
Once this is defined, click on OK to configure the changes. Now we restart the computer and so, Windows Defender will only work according to the programming we have defined.
As you can see, the solutions to avoid the high consumption of resources by the MsMpEng process are ideal and functional so that our team distributes the resources as it should be based on the importance of each process.