Every day we use Windows 10 to execute various tasks, both personal and work-related, and because of this type of activity it is normal for the team to gradually fill in files and elements that are considered garbage. Therefore, these elements will cause effects on the disk space , which can be essential for many other more important things, therefore, as advice from TechnoWikis, we recommend cleaning the equipment and with TechnoWikis you will learn how to do it and thus free up space and remove all those things that are not really useful..
We are not aware of all the information so much that we store consciously as well as those data that are stored in the equipment in a camouflaged way without our knowledge. Most are temporary files of programs that store information that can help with their execution in future sessions. The problem is when this information gets to occupy a considerable part of our disk, it is best to clean our equipment periodically.
Next, we leave you different ways to clean our computer of junk files that we do not need in Windows 10..
To keep up, remember to subscribe to our YouTube channel! SUBSCRIBE
1. Clean Windows 10 temporary files
Temporary files are files created by the different URLs and websites visited, which can be hundreds, these files are formed as a set of objects that allow the next time we access that place the process is much faster (load of titles, images or cookies), but logically you will understand that having temporary files in excess results in a high use of space and system resources, but this type of temporary files are also created by the applications installed in Windows 10.
Step 1
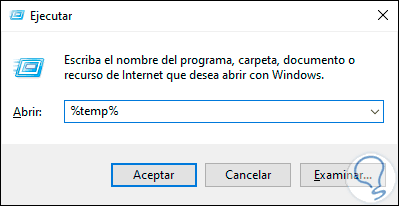
To delete these files, we will use the following key combination and execute the following:
+ R
% temp%
Step 2
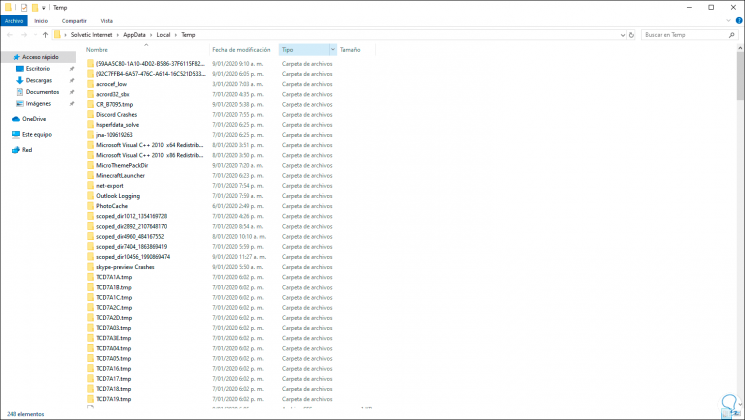
Press Enter or Accept and we will access the following window:
Step 3
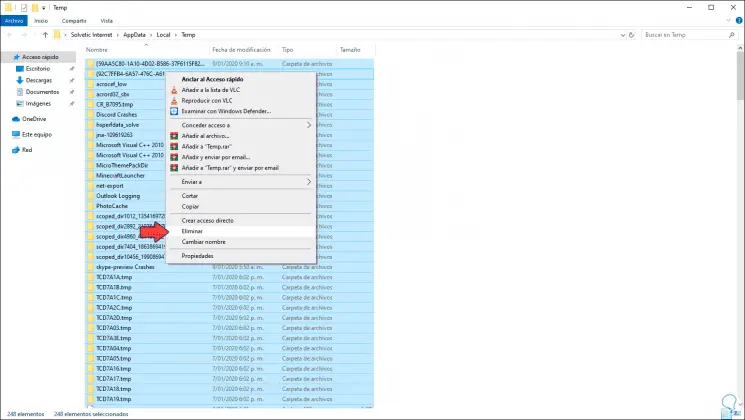
As we can see, there we find all the temporary files of the system, something that we must keep in mind is that, as the name implies, these files should be temporary (only active in the current session) so that when we close the browser or application they should be deleted automatically but this does not always happen, so they accumulate more and more, to avoid this we will delete these files by selecting them and right clicking on them to choose the “Delete†option:
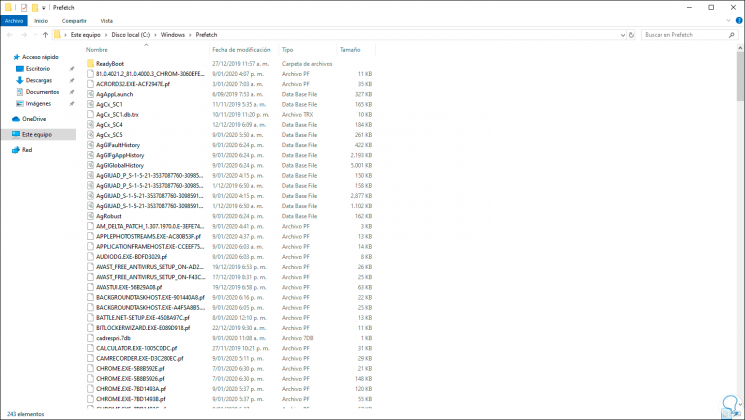
2. Clean the Windows 10 Prefetch folder
Prefetch is a folder defined by Microsoft itself that “maintains and improves system performance over time,†which is what the system seeks to activate a cache of files in a folder on the system itself where the system will be hosted. data from applications that are used more frequently, this will increase and improve access to them, but like the previous step, excessive use of applications can have the opposite effect.
Step 1
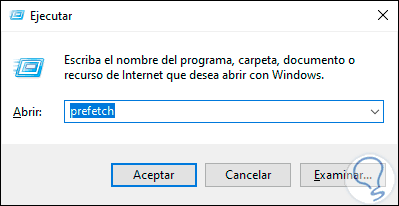
To display the contents of this folder we will use the following keys and execute the “prefetch†command:
+ R
Step 2
Click on OK and we will see the following:
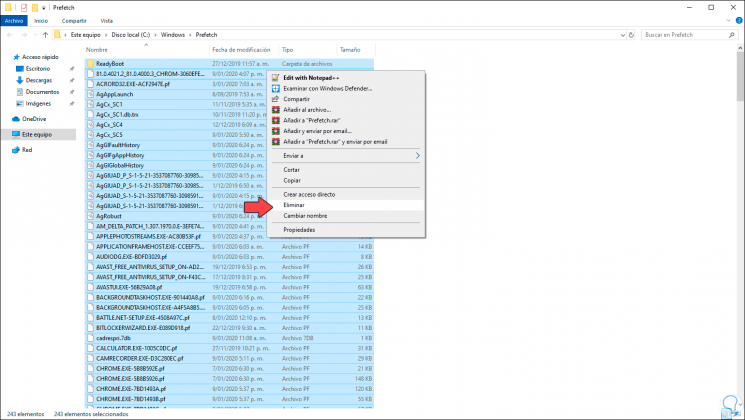
Step 3
There we will delete all these files created by the system by selecting them, right clicking on them and using the "Delete" option:
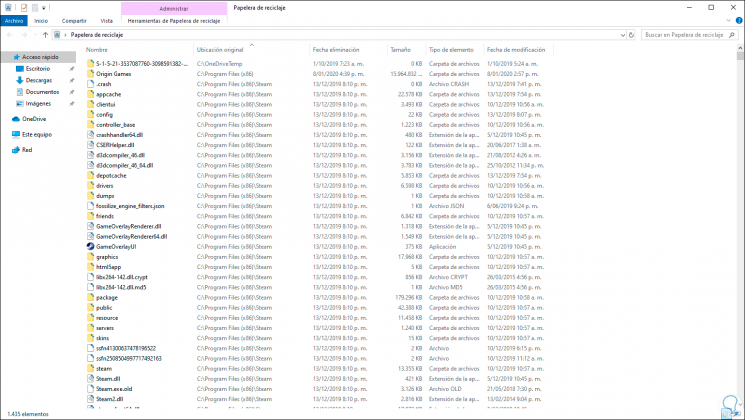
3. Clear the Windows 10 Recycle Bin
Step 1
The elements that we delete from the system in a simple way with the Delete key, are housed in the recycle bin until we go to it and empty it, but normally many of us do not do this process allowing it to be filled and filled with objects:
Step 2
The main problem of this is that many of these files can weigh GB affecting the space and performance of the equipment, to empty all these objects we will go to the “Manage†menu and click on the “Recycle Bin Tools†option and in the options deployed select "Empty Recycle Bin":

4. Clean PC with the Windows 10 storage sensor
This is a function that has been integrated into Windows 10 which has the mission to help us in the tasks we forget such as removing junk files from the computer, this applies to temporary files, Downloads folder, wastebasket and much more
Step 1
To use this functionality in Windows 10 we will go to the following route:
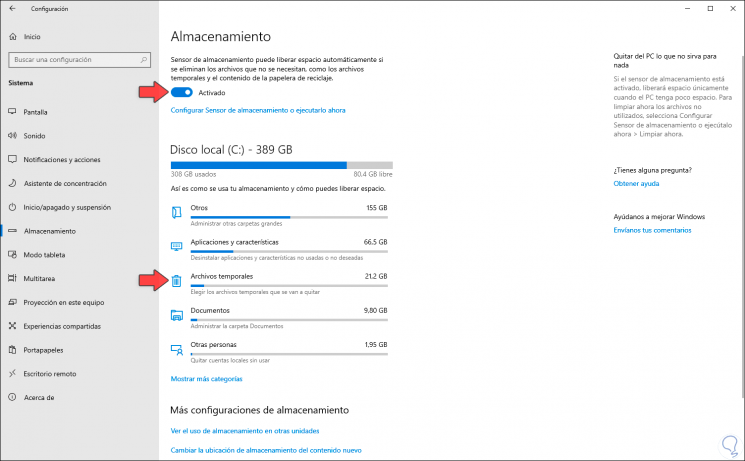
Step 2
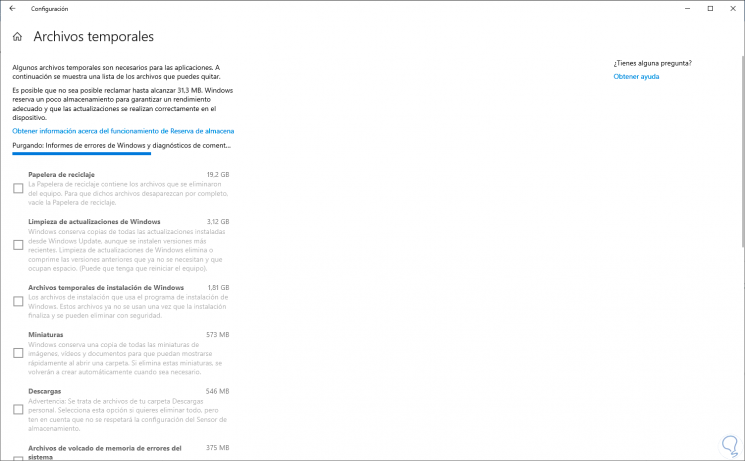
The first step to take will be to activate the sensor switch and we can see that for each hard disk drive or partition a summary with the size of the libraries or folders is displayed, there we can access any of these categories to see how the space is distributed and who is using it:

Step 3
Select the necessary boxes and click on "Remove files" to proceed with the deletion of these:
Step 4
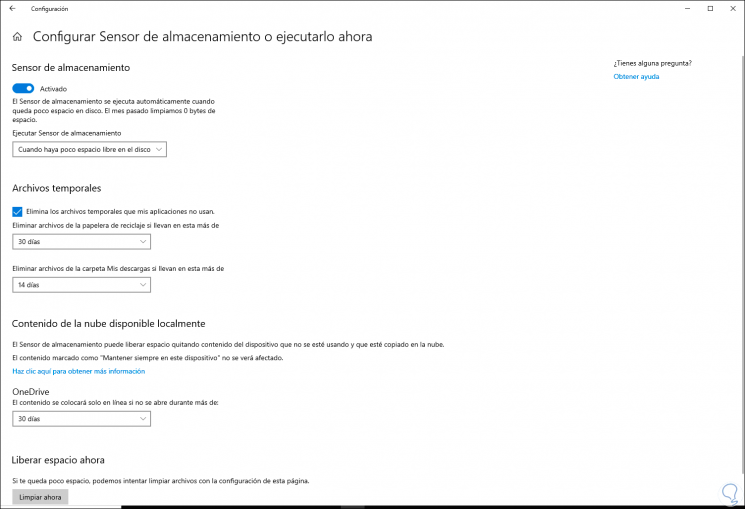
By clicking on the line “Configure Storage Sensor or run it now†we will be able to:
- Delete all junk files from Windows 10.
- Define how often the Download and Temporary Files folders will be deleted.
- Specify when the sensor will run.
- Manage the content of OneDrive.
5. Clean PC with space freeing tool Windows 10
Step 1
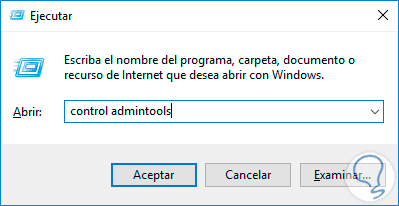
The first thing will be to press the following key combination to enter the Execute command.
+ R
Step 2
Now we type the following command and press Enter.
admintools control
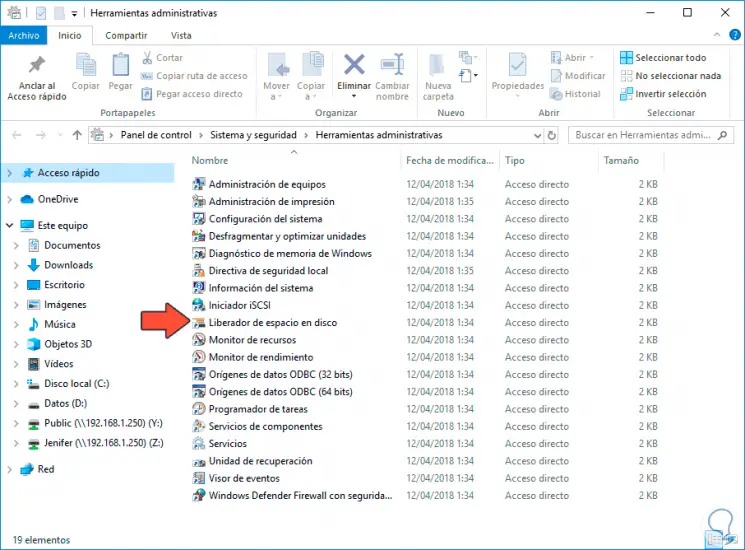
Step 3
Here we click on the "Disk Cleanup".
Step 4
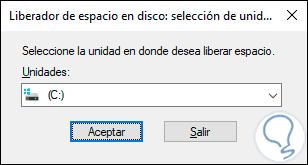
We choose our disk to delete the files.
Step 5
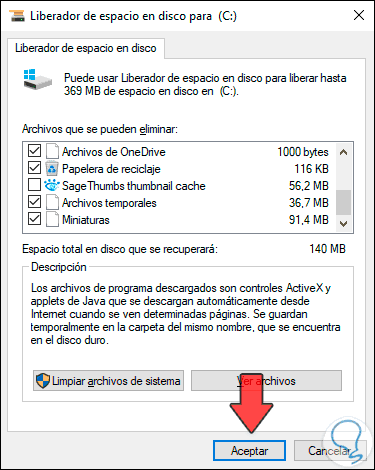
Here we select all the temporary files that we want to delete, the ideal is to be able to delete the entire list. Select what you want to delete and press OK and then confirm.
Note
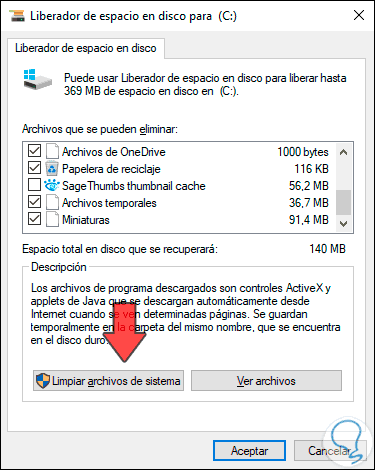
You can delete system files directly by clicking on the option "Clean system files" and choosing the disk to analyze.
6. Delete temporary files from Windows 10
Step 1
Press the following key combination to open the Run panel:
+ R
Step 2
Inside we write the command "temp" and press Enter.

Step 3
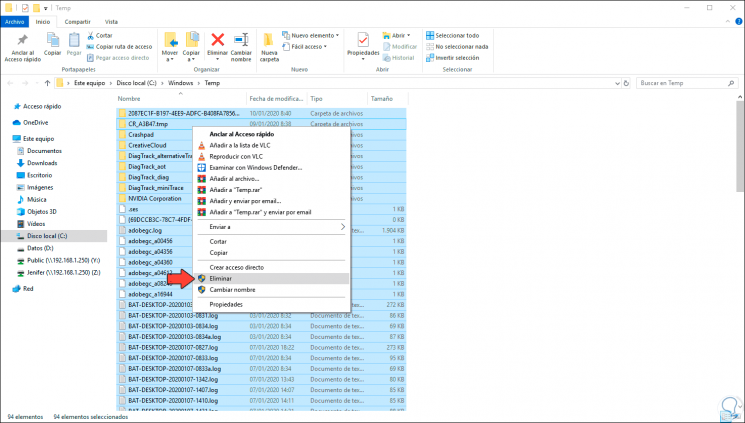
It will ask you to confirm that you have access permission. Now we will select all the contents of this folder and press delete to delete all the content.
With any of the options that TechnoWikis has given you it will be possible to free up space in Windows 10 and thereby optimize the performance of the disk and the system in general..