Minecraft is one of the most popular games and perhaps we have heard very frequently for its millions of users and features, this is a construction game based on the type "open world" or sandbox where the keys are exploration and constructions to advance and thus be one of the best..
Although the purpose of Minecraft is to offer the end user a safe, compatible and functional gaming environment to the fullest, there is a segment that has been designed for those players who go beyond the simple game. We talk about developers and programmers who integrate functional programming tools in Minecraft. Remember that Minecraft is an open platform where we can add more and more features.
Minecraft Realms features
Minecraft integrates Minecraft Realms with which it will be possible to create our own server with which it will be possible:
- Apply and create new game rules.
- Define the different parameters of the game.
TechnoWikis will explain the step by step to create your own Minecraft server in Windows 10 and thereby establish a game world according to your preferences..
To keep up, remember to subscribe to our YouTube channel! SUBSCRIBE
1. Check the version of Java in Windows 10
Java is the essential component for Minecraft execution, so the first step is to check which java version is available
Step 1
For this we will use the following keys and in the command prompt console we execute:
+ R
java –version
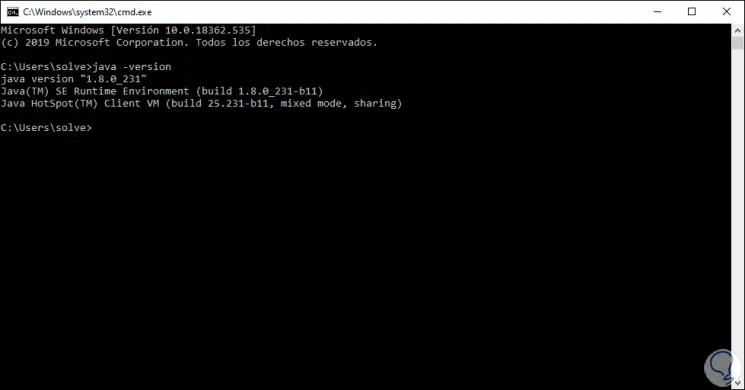
Step 2
In this case we have Java version 1.8, we can go to the official java link to check if this is the latest available version:
Java
2. Assign the location of Minecraft server files in Windows 10
The next step that we must take will be to define in which path the server will run, this is important since when the server is run for the first time it will be responsible for creating some configuration files and it is ideal to know where we will have them
In this example we will use the following route:
D: \ Minecraft
3 . Download the Minecraft server software and run it on the system in Windows 10 or macOS
Step 1
Once the route is created, we will download the Minecraft server software at the following link:
Minecraft Server
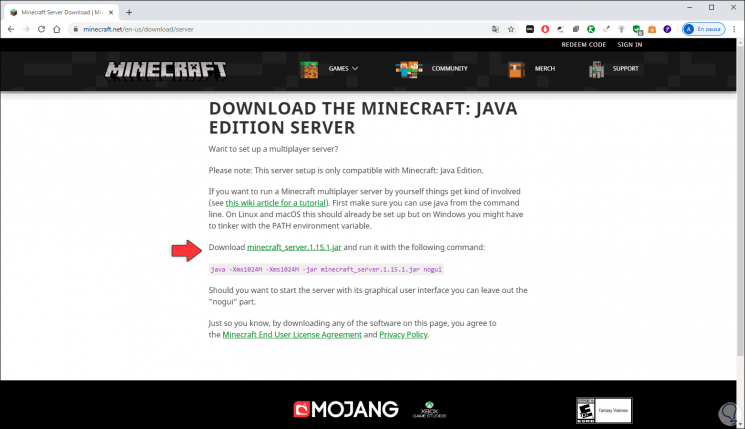
Step 2
There we find a .jar file which is a Java package (hence the importance of Java), we proceed to download it and we will move this file to the folder we have previously defined:
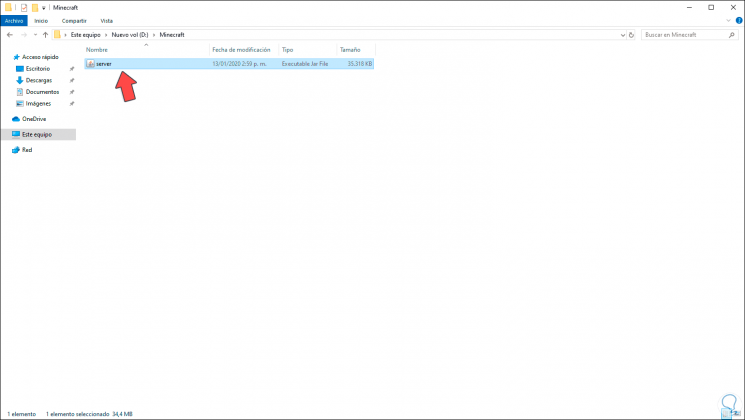
Step 3
We double click on this file and we will see that the configuration files we have mentioned are created:
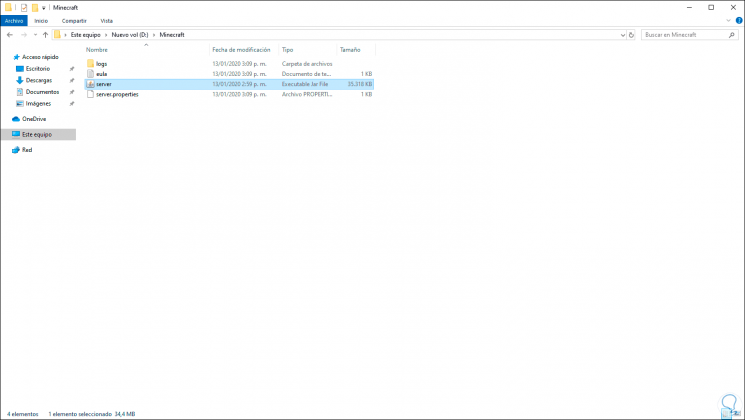
Note
If the error "Cannot save server properties" is displayed, we must run the Minecraft server as administrator.
in macOS
In case of using macOS, we must access the text editor and configure the format as plain text and after that enter the following:
#! / bin / bash cd "$ (dirname" $ ​​0 ")" exec java -Xms1G -Xmx1G -jar {server} nogui Once saved we execute the “start.command†command in the terminal but we must add the necessary permissions by executing chmod a + x.
Step 4
In the created files we will open the eula.txt file and see the following:
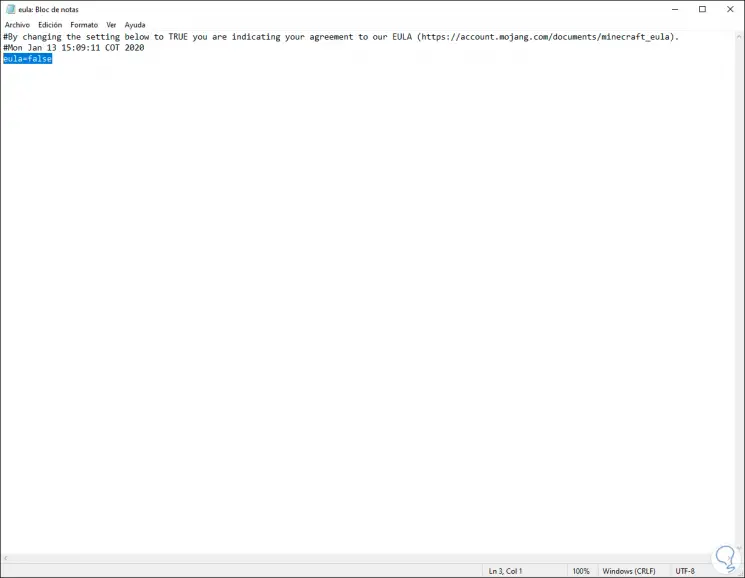
Step 5
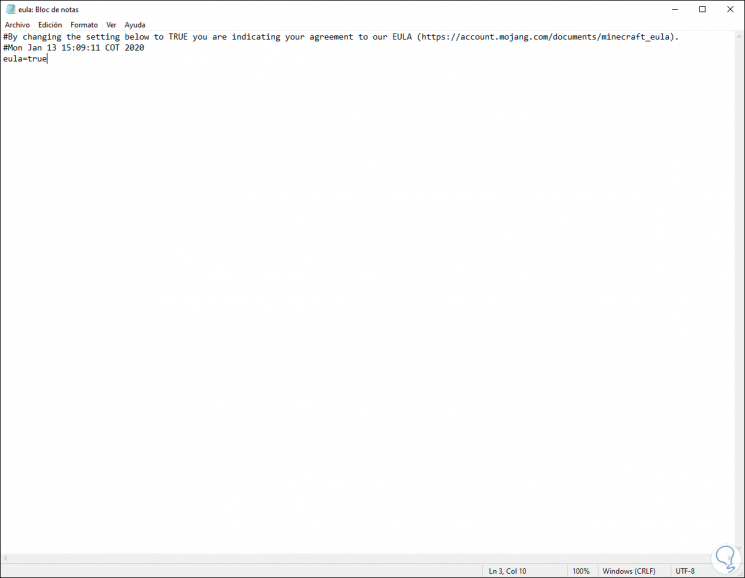
The value "false" on the eula line must be set to "true" to accept the license terms of the Minecraft server. We save the changes.
4. Access the Minecraft server in Windows 10
With these changes, we open the command prompt and with the CD command we will go to the folder where we have copied the server's .jar file. If you don't know how to change directories from the command console, here's how to do it:
Step 1
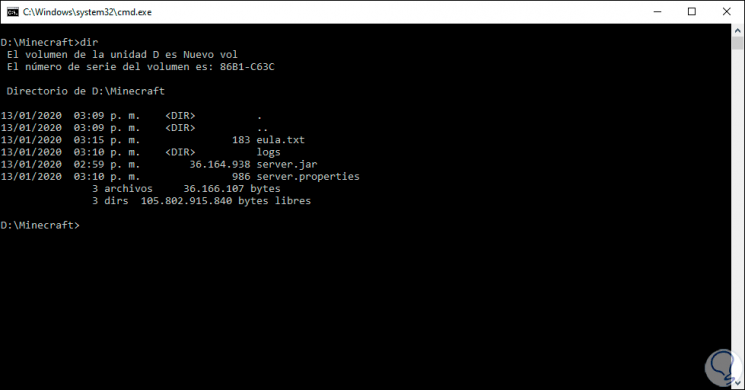
We can use the DIR command to display it there:
Step 2
Before this we will go back to the folder where we have the .jar file and double click on it, the following will be displayed:
Step 3
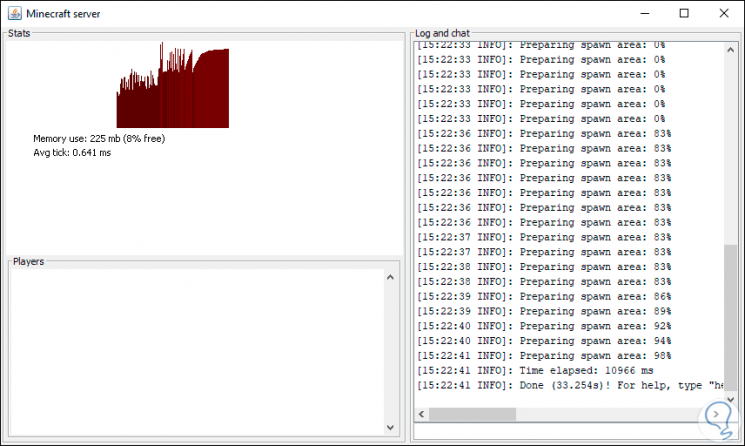
There the server configuration process will be completed and we hope it finishes:
Step 4
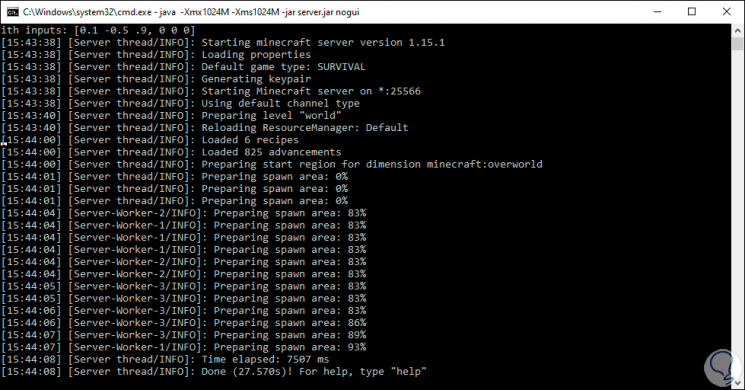
Now from the command prompt console we execute the following:
java -Xmx1024M -Xms1024M -jar server.jar nogui
Step 5
We can see the following error:
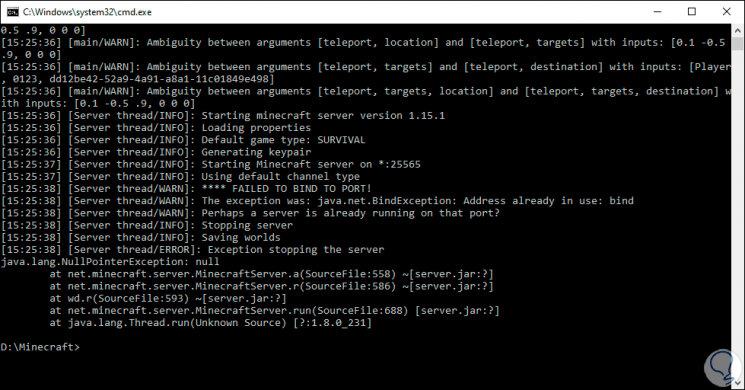
Step 6
In this case we must assign the TCP option 25565 on the router or, if this port is being used by another process, we can change the port in the server configuration file, for this we open the “server.properties†file with some editor of text:
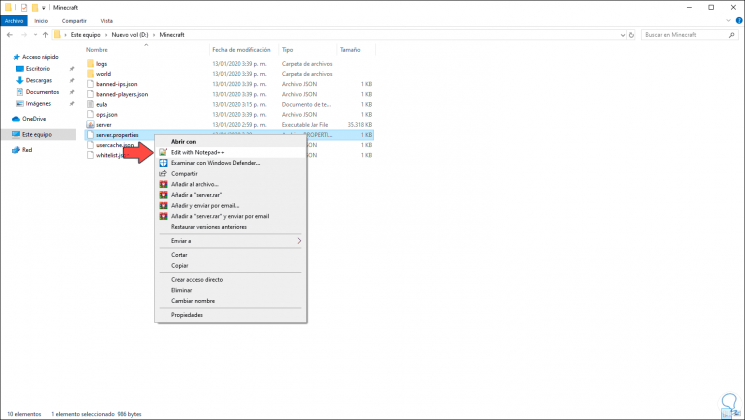
Step 7
In the deployed file we locate the “server-port†line and change port 25565 to the desired one:
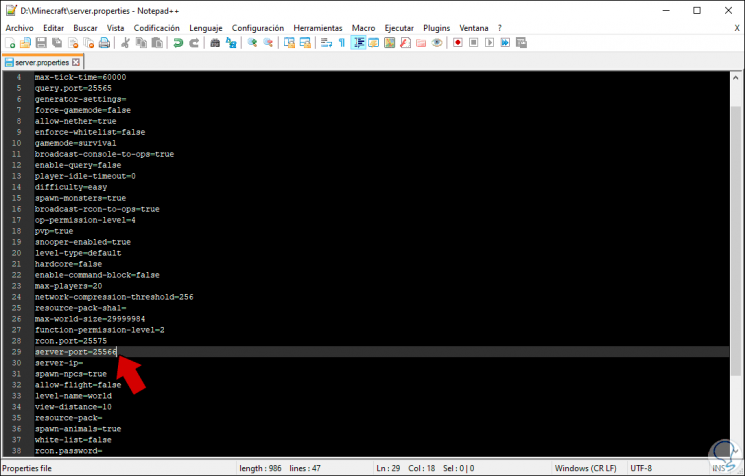
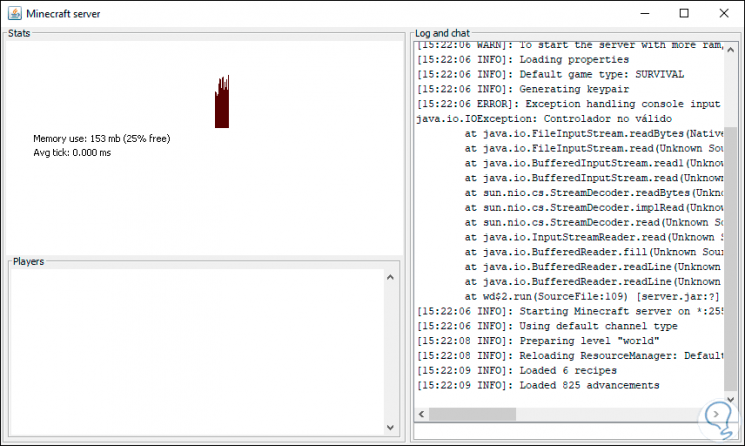
Step 8
We save the changes and again we try to execute the line at the command prompt and we will see that the server configuration is loaded:
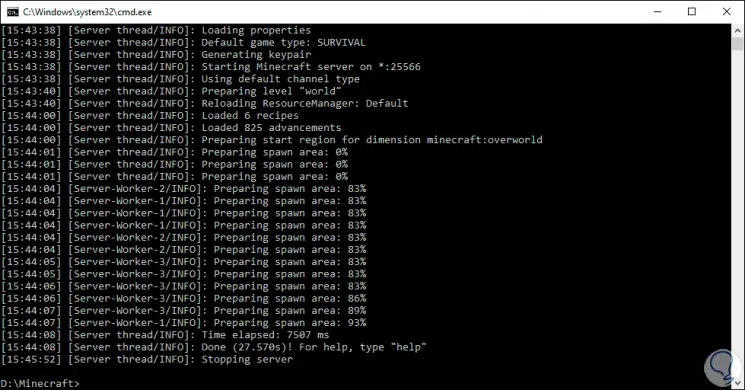
Step 9
We can stop the server with the following keys:
+ C Ctrl + C
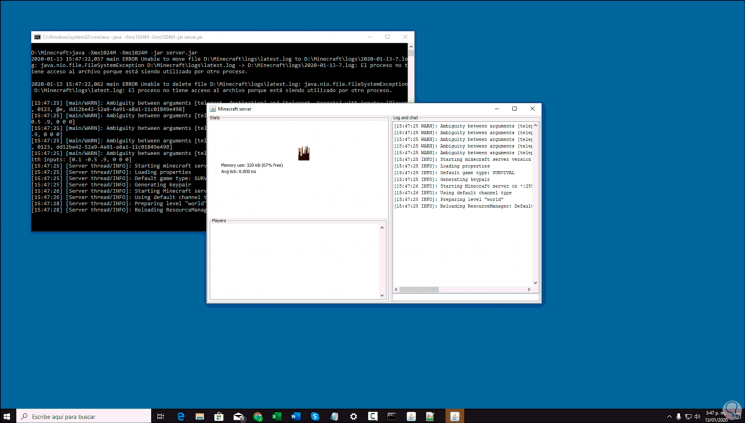
Step 10
If you wish to use the server's user interface (UI), simply delete the final word "nogui":
java -Xmx1024M -Xms1024M -jar server.jar
You can see how simple it is to create your own Minecraft server and in the way increase the possibilities that this game has for you.