It is not a secret for any of us that TeamViewer is one of the most ideal options for the entire remote connectivity process thanks to its different functions and security that has been present for several years providing the user with the best alternatives for remote tasks..
TeamViewer Features
Among the different characteristics that we find in TeamViewer we have:
- Cross-platform connectivity either on PCs or mobile devices
- Option to share screen on iOS
- Allows remote control of devices
- We can activate the ignition or reinstallation of a remote computer
- Various file sharing options
- Supports 4K display access
- Allows you to create groups to manage the machines created
- Centralized user and device configuration management
- User multisession support
- Automatic deployment capability on different equipment
- Integrated management console
Let's see how to install TeamViewer on macOS.
To stay up to date, remember to subscribe to our YouTube channel! SUBSCRIBE
1. Install TeamViewer on Mac
Step 1
The first thing to do is download TeamViewer at the following link:
TeamViewer
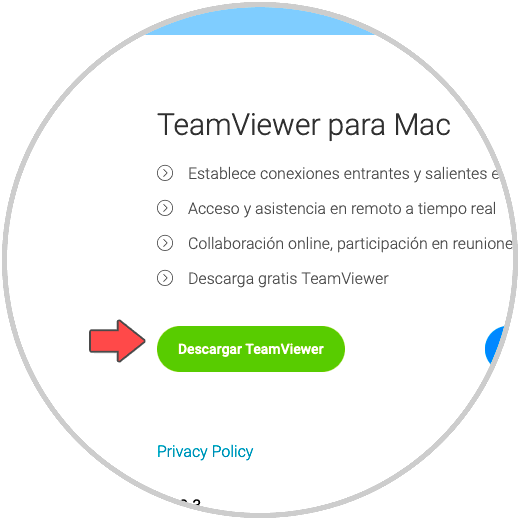
Step 2
We click on "Download TeamViewer" and the download will start:

Step 3
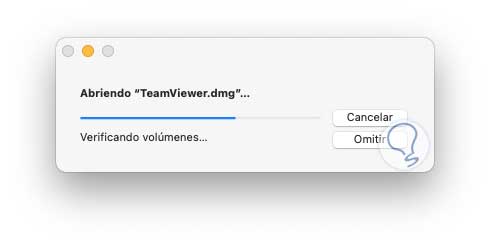
Once the download is finished, click on it and the built-in macOS analyzer will open:
Step 4
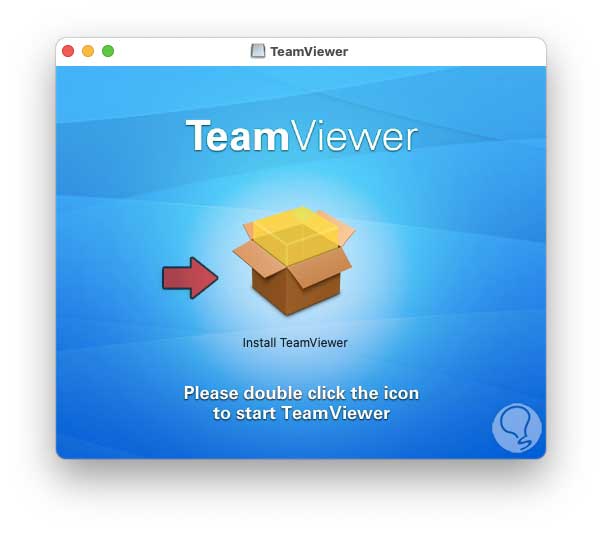
After this we will see the following:
Step 5
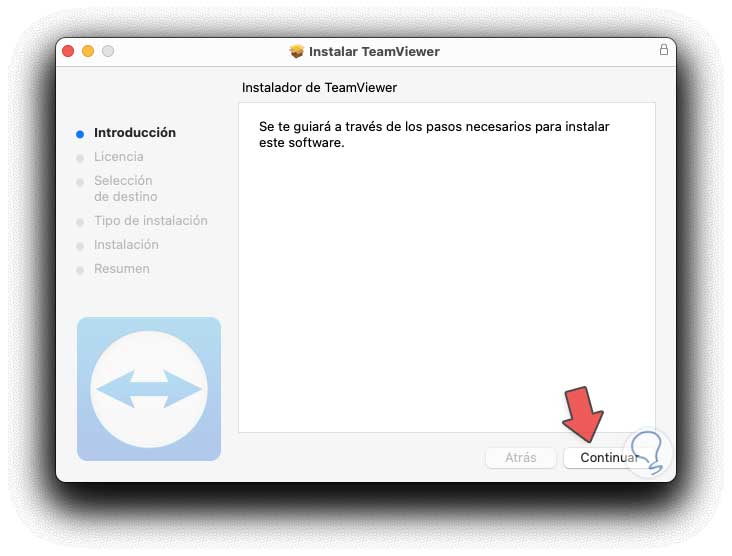
Double-click on the installer to open the TeamViewer installation wizard:
Step 6
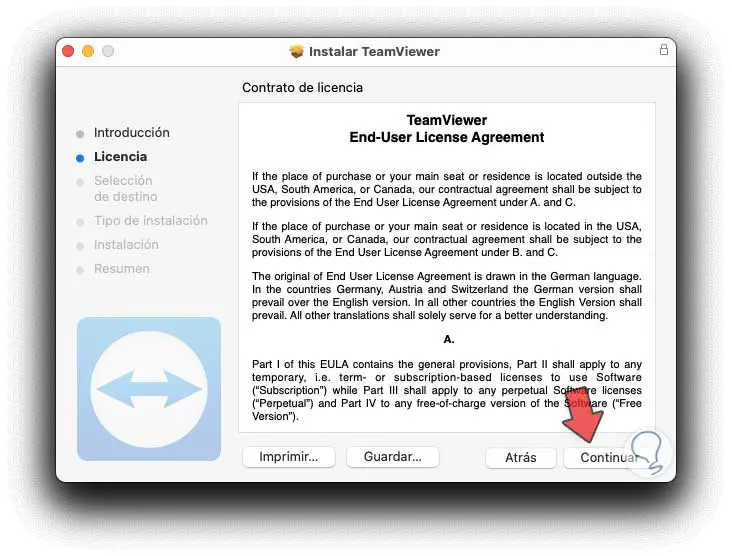
We click on "Continue" to see the terms of the license for use:
Step 7
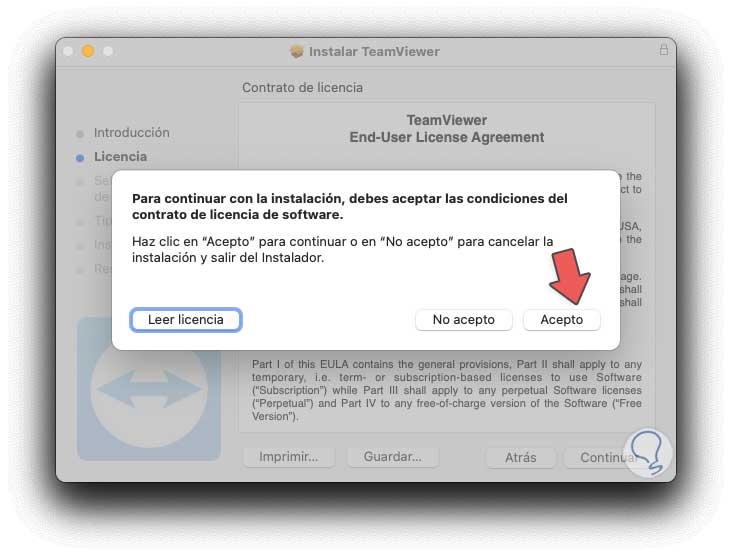
We click Continue and we must accept the terms:
Step 8
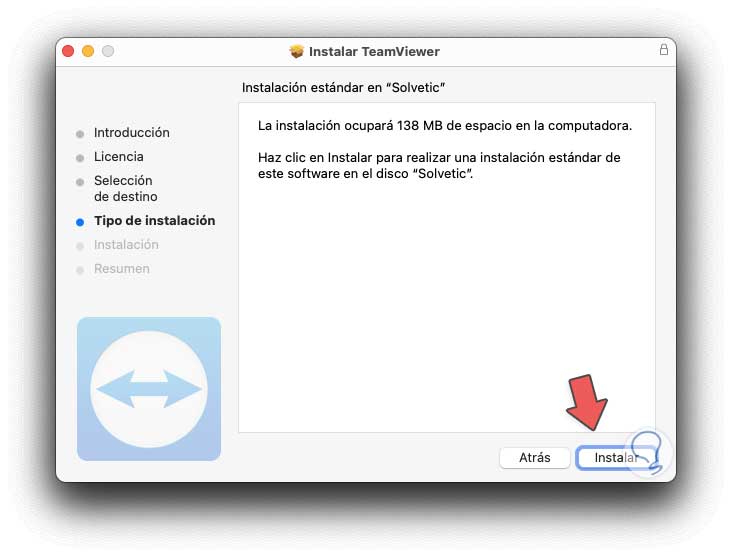
We click I accept and we will see the size of the installation:
Step 9
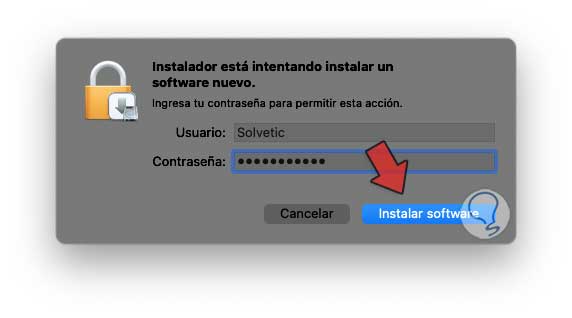
We click on "Install" and we must enter the macOS administration password:
Step 10
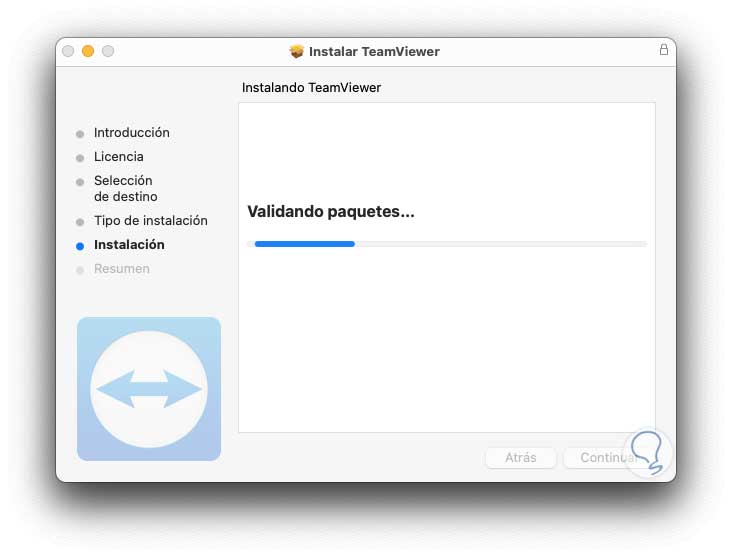
We click on "Install software" to continue with the process:
.
Step 11
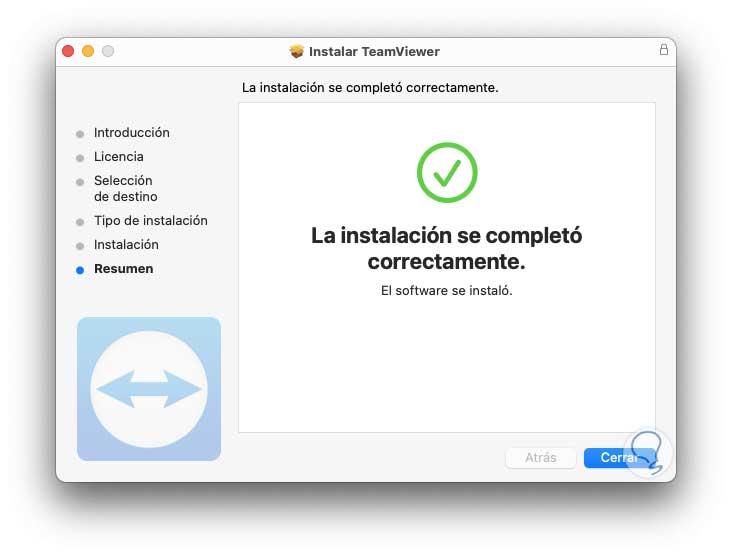
When this ends we will see the following. We click on "Close" to exit the wizard.
2. Start TeamViewer on macOS
Step 1
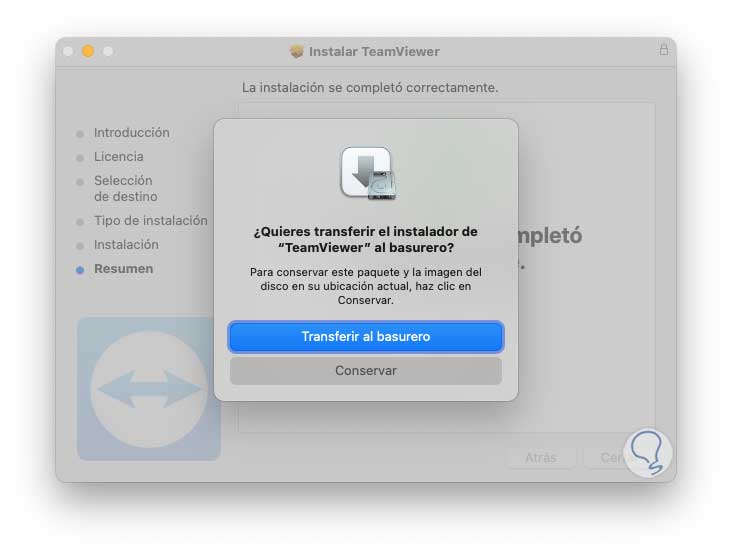
The following window will automatically be launched where you can move the installer to the trash can or leave it in its current location:
Step 2
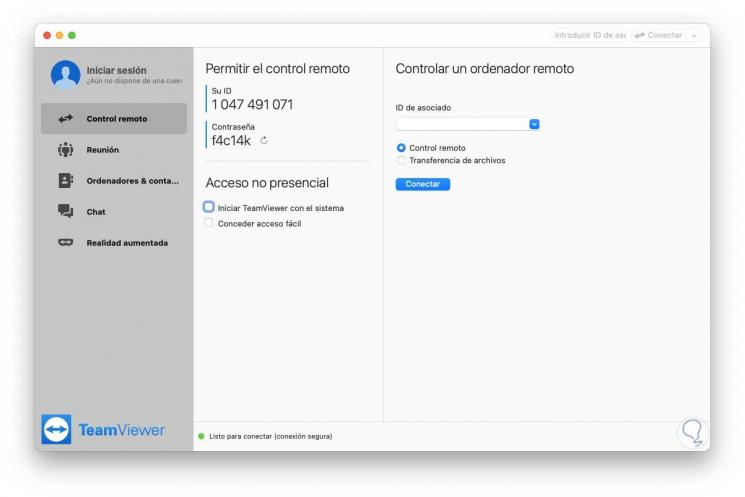
TeamViewer will automatically open on macOS which looks like the following. There we find the local ID and password for other users to connect.
Step 3
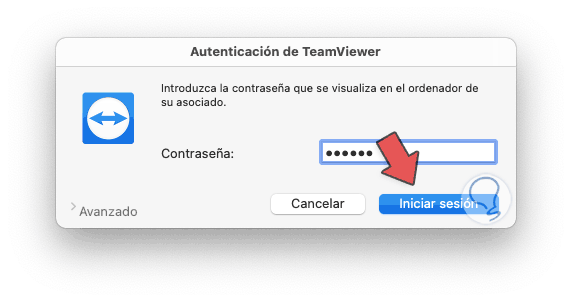
We can remotely connect with a team by entering its ID in the "Associate ID" field and then entering the remote password:
Step 4
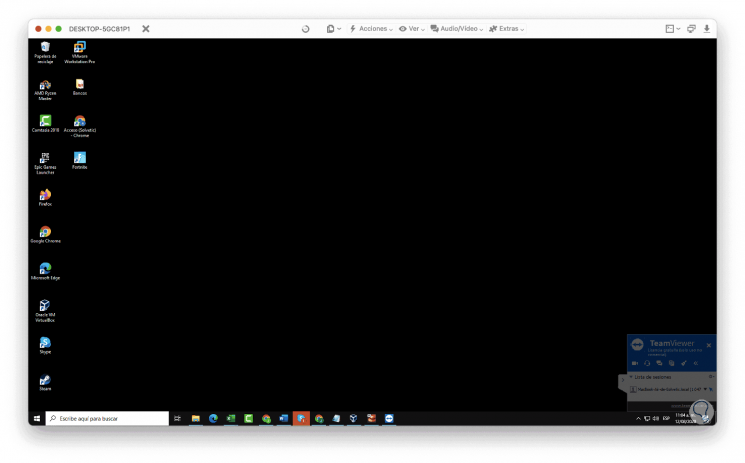
We click on "Start session", and access the remote computer:
Step 5
TeamViewer offers us different alternatives for use:
TeamViewer options
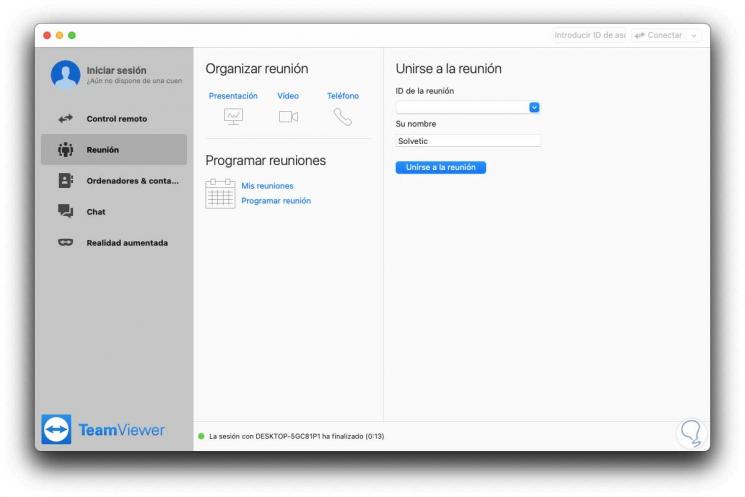
In the “Meeting” section it is possible to create and edit meetings to be with other colleagues or friends and the use of video, audio or presentations is allowed.
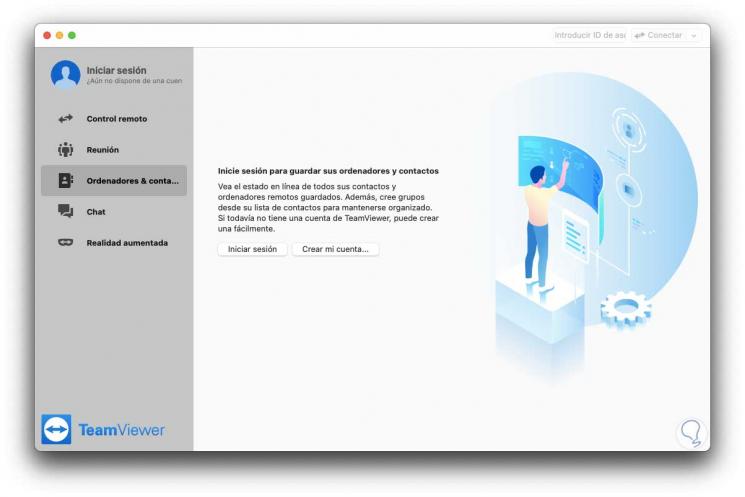
In the "Computers" field we can manage associated computers in the TeamViewer account to access them much easier:
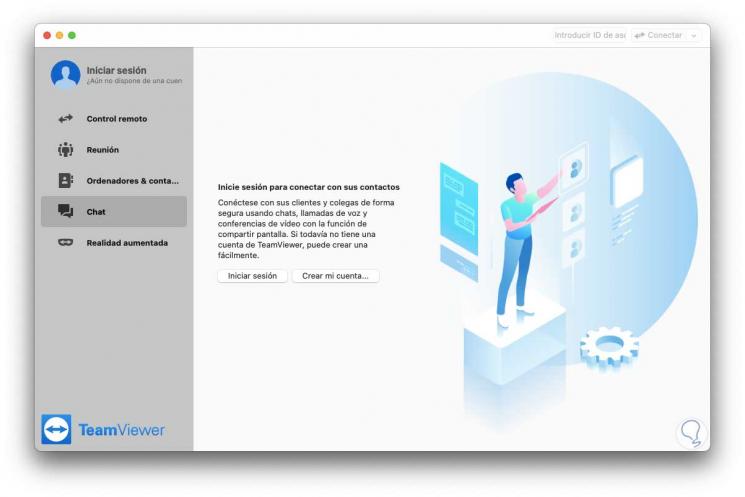
In "Chat" it is possible to create chat channels for more active support:
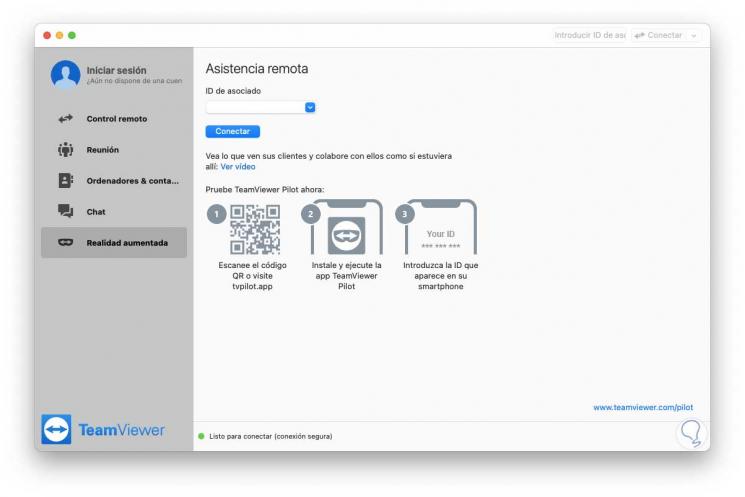
In "Augmented reality" it is one of the novelties of TeamViewer and from there we will be able to feel within the remote connection if we have the compatible equipment for it:
TeamViewer is and will always be one of the best solutions for everything related to support or remote connections..