Today the world of video games has become one more sport for many, since the number of options it offers are increasing. It is no longer just an entertainment, but a way to compete virtually for many users. That is why having the game we want to play well configured on the computer can be very important..
Minecraft is undoubtedly one of the sandbox games that has had a high influence on millions of users around the world for its entire strategy in managing the tasks of building, exploring, creating and surviving with its thousands of 3D blocks. Within everything we can do in Minecraft is to create our own server where it will be possible to establish the desired variables regarding worlds, difficulty and many more parameters.
To achieve this we must take into account the following:
- We must have Java installed on the system
- Download the Minecraft .jar server which we will explain later
In addition to this, we must have Minecraft Java Edition on the client computer , it can be downloaded at the following link:
Minecraft Java Edition
TechnoWikis will explain how to create your Minecraft server in Ubuntu 20.04 and be a leader in your group. Below you will see all the necessary settings for it..
1. How to update the system and install OpenJDK in Ubuntu
Step 1
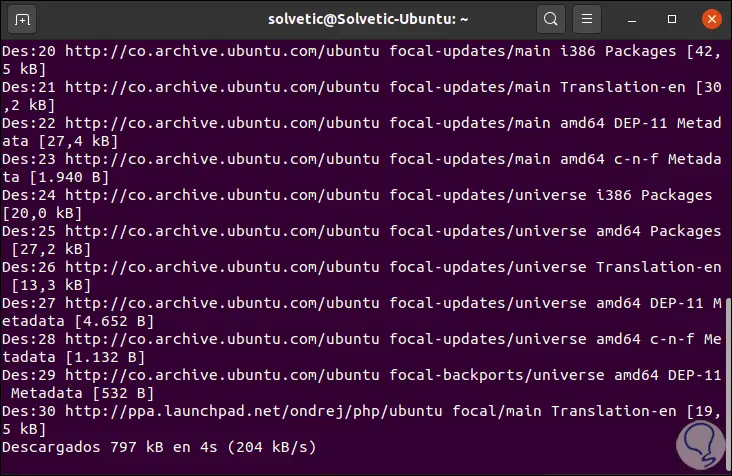
The first step will be to update the system packages by executing:
sudo apt update
Step 2
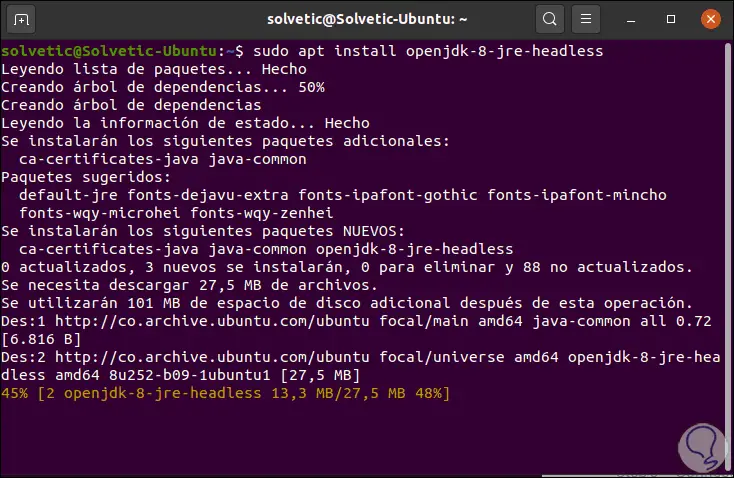
Once the system is updated, we will install OpenJDK in its version 8. This version that we will install is a minimum version of Java which is responsible for removing support for GUI applications, improving the performance of the server, we execute the following:
sudo apt install openjdk -8 -jre-headless
2. How to install Screen in Ubuntu
Screen is a utility that allows us to create different server sessions independently. This allows a session to be created in the terminal and we can disconnect from it, but leaving the started process running without being affected. This prevents us from accidentally closing the session and the Minecraft server from being affected.
Step 1
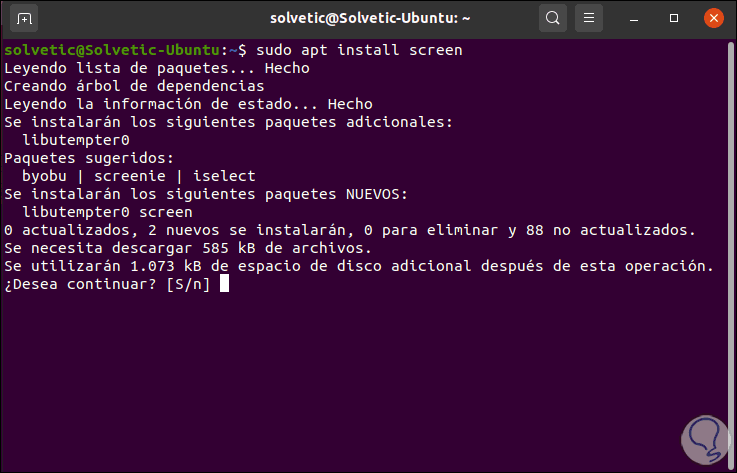
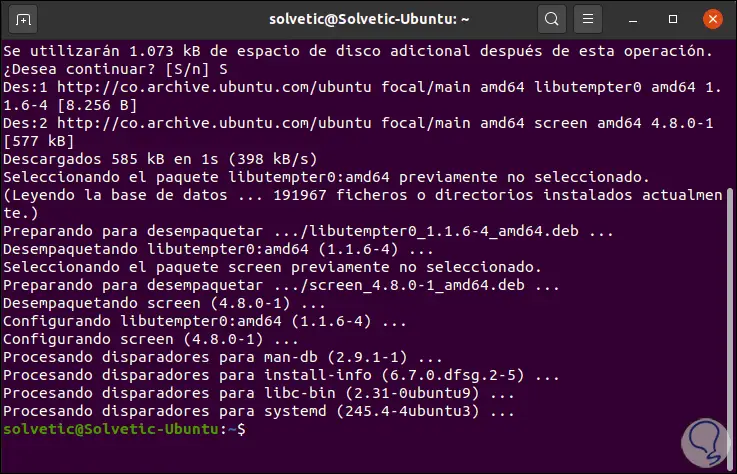
For its installation we execute:
sudo apt install screen
Step 2
We enter the letter S to confirm the download and installation of Screen:
Step 3
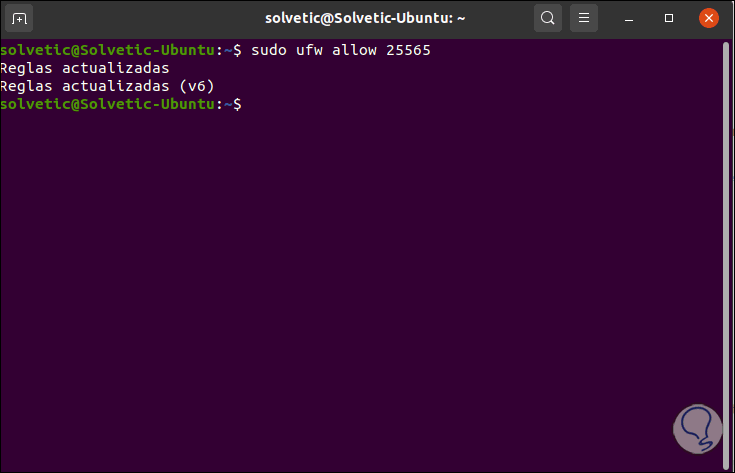
The next step will be to enable the firewall in order to grant authorization to the traffic that must access the Minecraft server, we do this with the following command:
sudo ufw allow 25565
3. How to download the latest version of the Minecraft server
Step 1
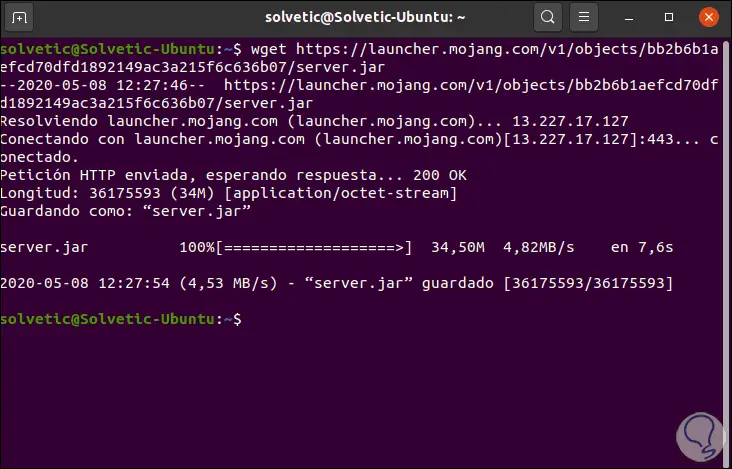
It is time to download the most recent version of the available Minecraft server, for this we are going to execute the following:
wget https: //launcher.mojang.com/v1/objects/bb2b6b1aefcd70dfd1892149ac3a215f6c636b07/server.jar
Step 2
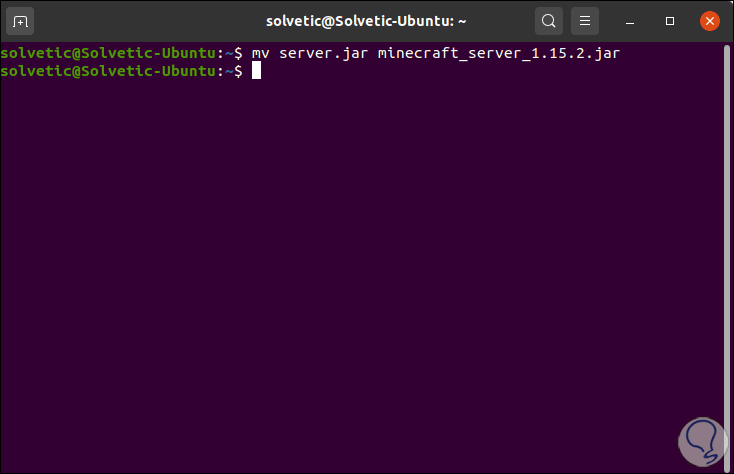
Now we move that download:
mv server .jar minecraft_server_1 .15 .2 .jar
4. How to configure and start Minecraft server in Ubuntu 20.04
Step 1
The first step to take will be to create a session with screen:
screen
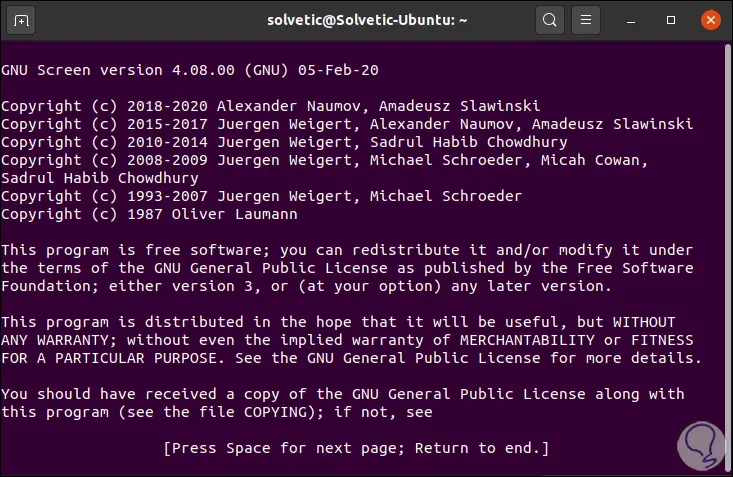
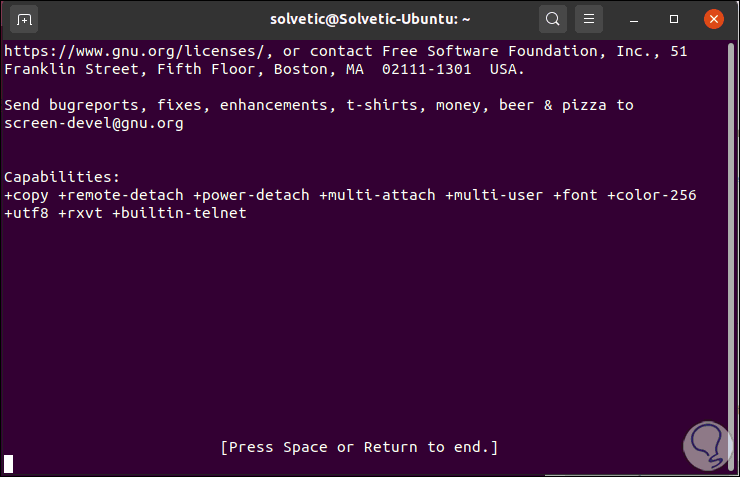
Step 2
Press the space bar and we will see the following:
Step 3
There it will be possible to leave a command running and log in to another terminal without the process ending, to configure the Minecraft server we will execute the following:
java -Xms1024M -Xmx1024M -jar minecraft_server_1 .15 .2 .jar nogui
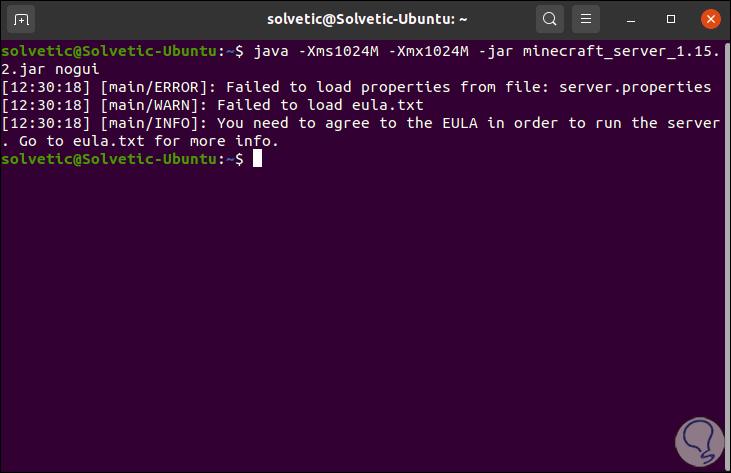
It is normal that we see this error due to the EULA license agreements, the variables that we have specified in this command are:
- Xms1024M: it is the default value which configures the server to run with 1024 MB or 1 GB of RAM during its execution, this value can be increased based on the RAMA of the equipment
- Xmx1024M: is a value that tells the server to use a maximum of 1024M of RAM. This value can be edited based on the Minecraft server features
- jar: is a value that indicates which server jar file to run
- nogui: makes the server not start a GUI because it will be a server that does not have to have a graphical user interface since it will not be played there.
The mentioned error occurs due to two situations, which are that the server could not find two files necessary for execution, which are:
- The EULA (End User License Agreement), which is in the file eula.txt
- The server.properties configuration file
Step 4
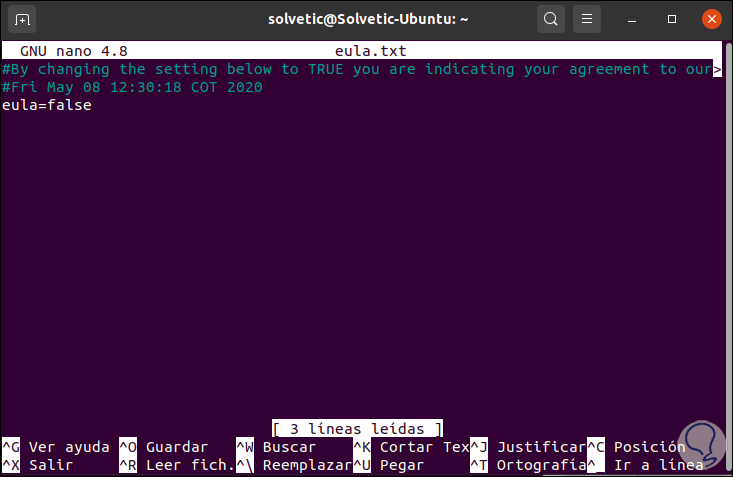
First, we are going to access the EULA file by executing:
sudo nano eula .txt
We will see the following:
Step 5
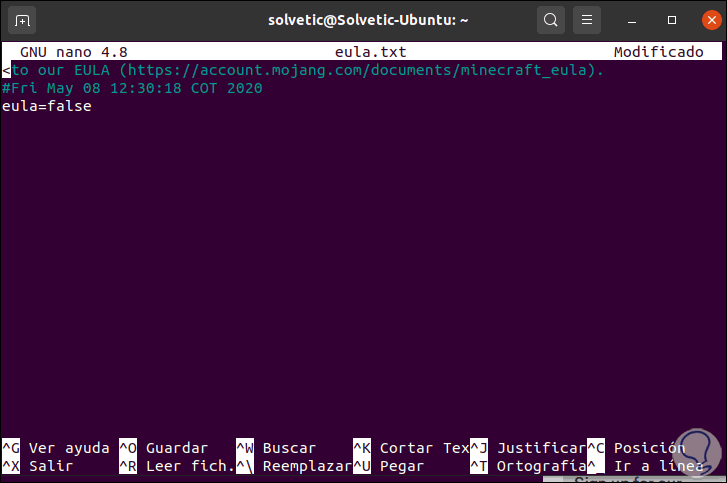
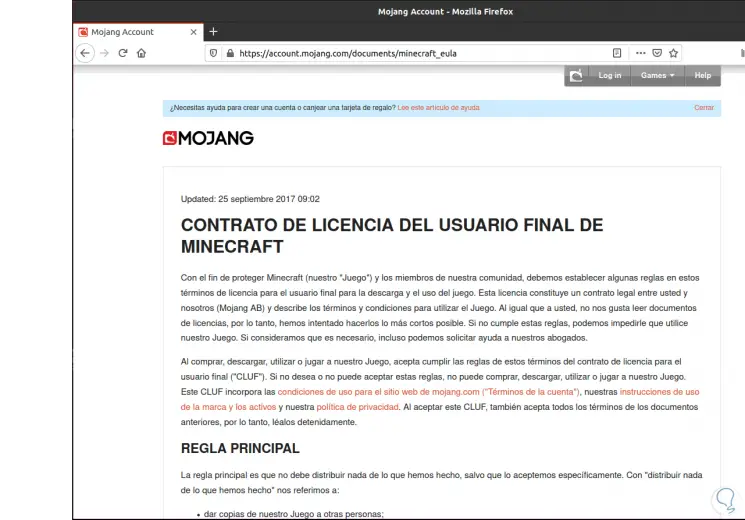
There we go to the top line and enter the Minecraft EULA URL:
( https://account.mojang.com/documents/minecraft_eula )
Step 6
If we wish, we can access this URL to view the license terms:
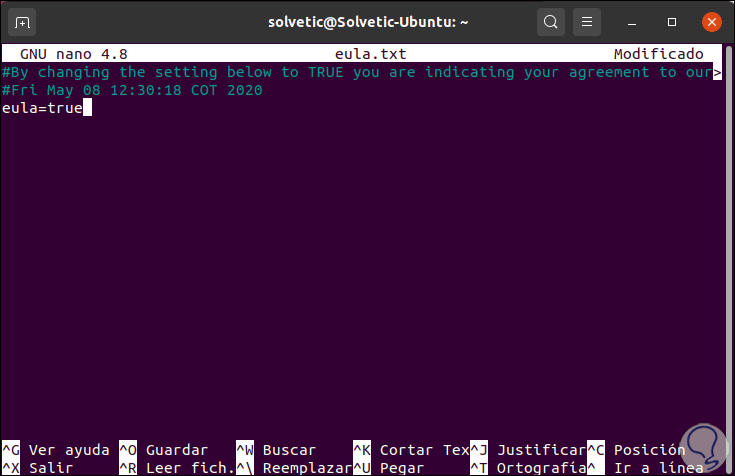
Step 7
If we agree, we return to the terminal and change the value "false" to "true". We save the changes with the Ctrl + O keys and exit with the Ctrl + X keys.
Step 8
Now we access the server properties:
sudo nano server .properties
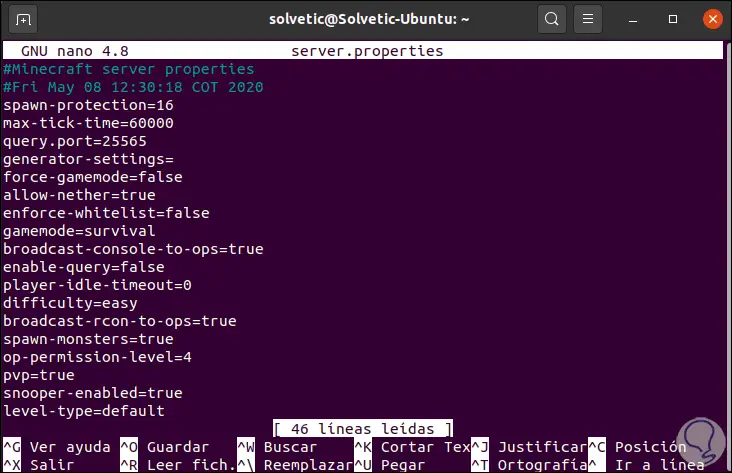
Step 9
There are listed all the properties that we can implement on the server, for a more comprehensive knowledge of these we can visit the Minecraft wiki:
Minecraft server properties
Values
Basically we configure the following values:
- motd = A Minecraft Server
Variables
These variables are:
- difficulty (default easy): this value determines the difficulty of the game, easy, normal and hard values are offered
- gamemode (default survival): it is a value that determines the game mode, the available values are survival, creative, adventure and spectator
- level-name (default world): defines the name of the server on the client
- motd (default A Minecraft Server): is the message displayed in the Minecraft client server list
- pvp (default true): enable Player vs. Player combat, with this value active, players will be able to participate in combat in the selected game
Step 10
We save the changes and again run the Minecraft configuration command:
java -Xms1024M -Xmx4G -jar minecraft_server_1 .15 .2 .jar nogui
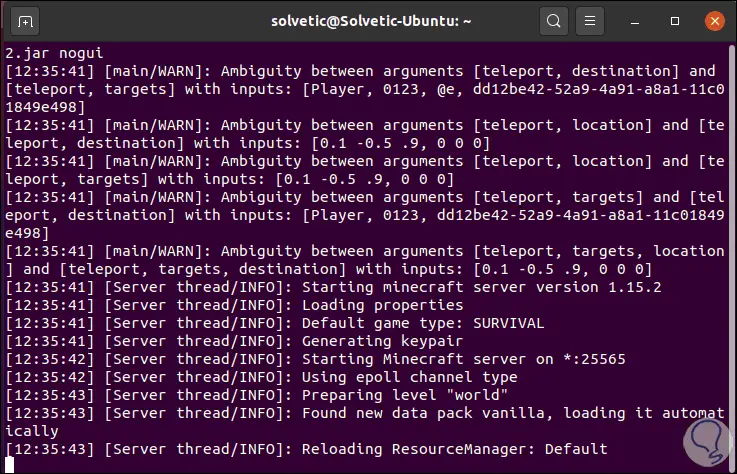
Step11
There, all the necessary server parameters will be loaded, when this ends we will see the following:
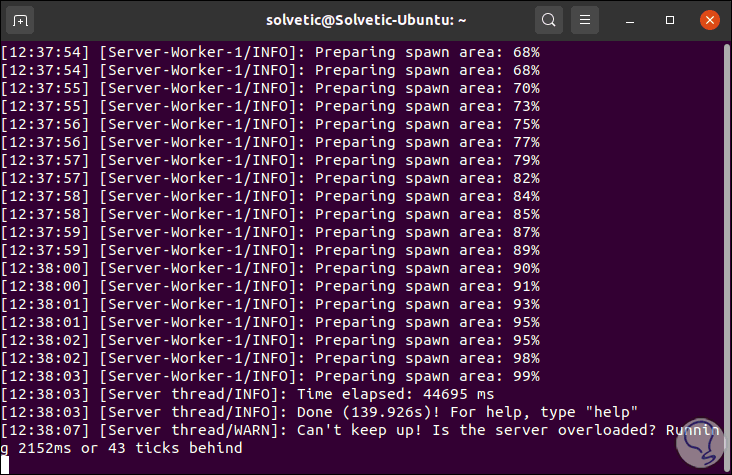
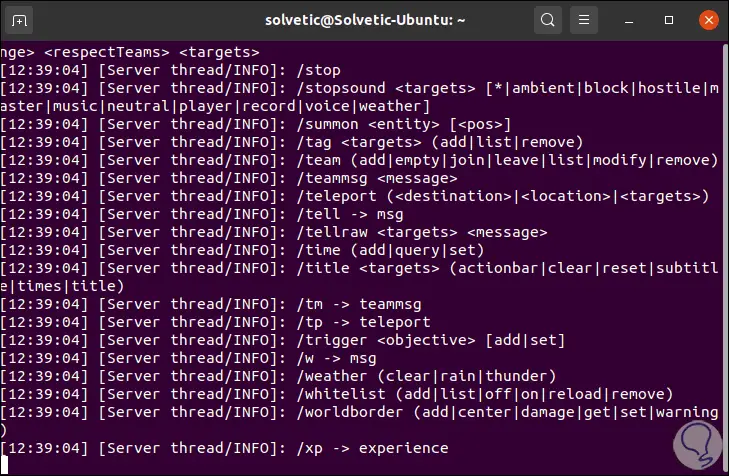
Step 12
There we can run "help" to access a complete list of the different options:
5. Secure Minecraft server service
Step 1
Since the Minecraft server has been started, we can use the Ctrl + A + D keys to disconnect from the current session, open another console and execute the following:
screen - list
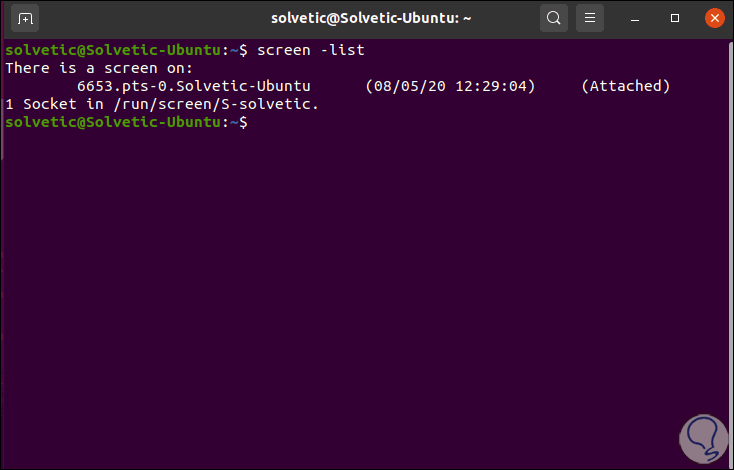
Step 2
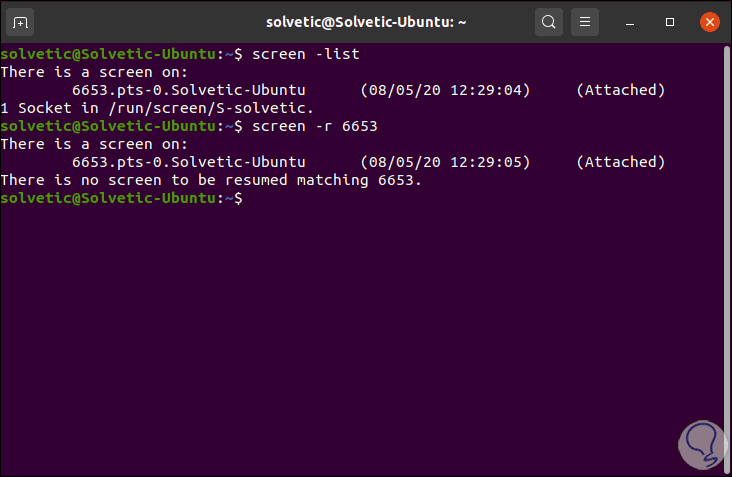
There we see the ID of the current session, we can resume it using that ID in the following way:
screen -r "ID"
6. Connection of Minecraft client to Ubuntu server
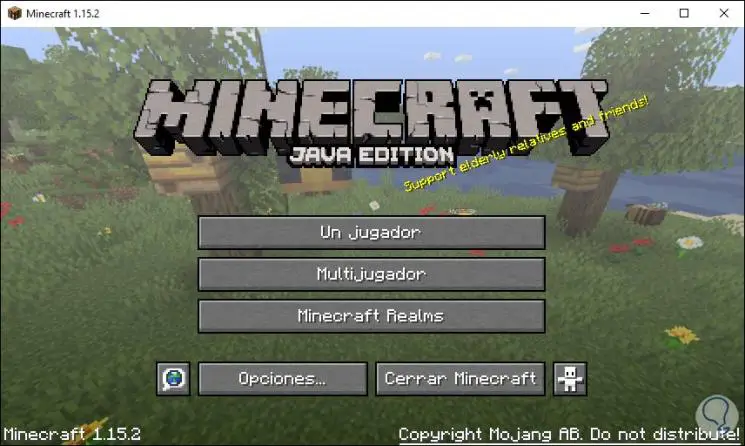
Step 1
Finally, we go to the Minecraft client and in the initial window select "Multiplayer":
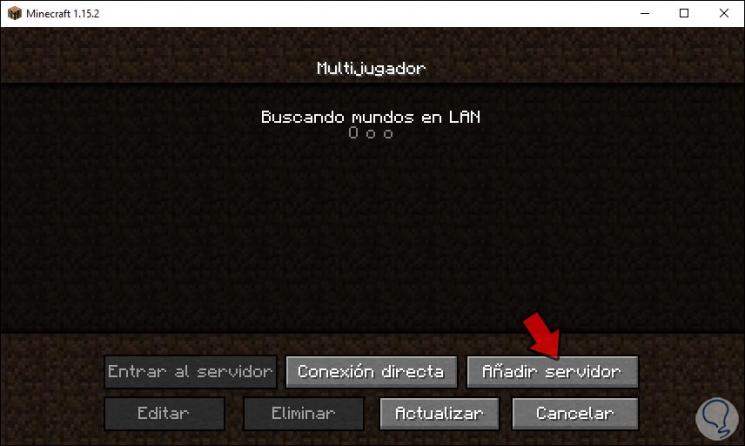
Step 2
In the following window we click on the option "Add server":
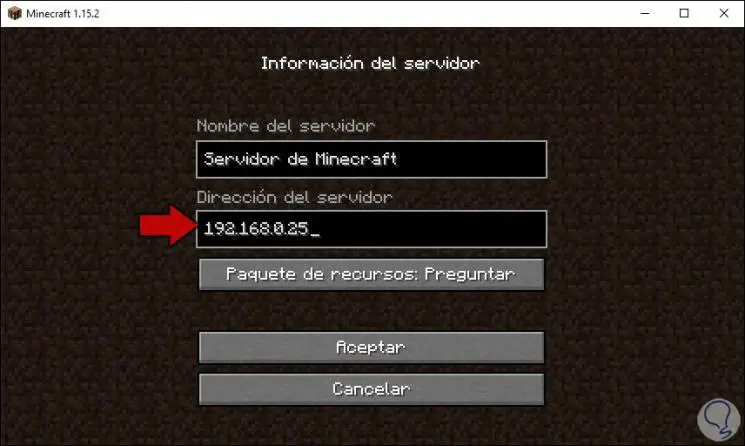
Step 3
Now we enter the IP address of the Minecraft server in Ubuntu 20.04:
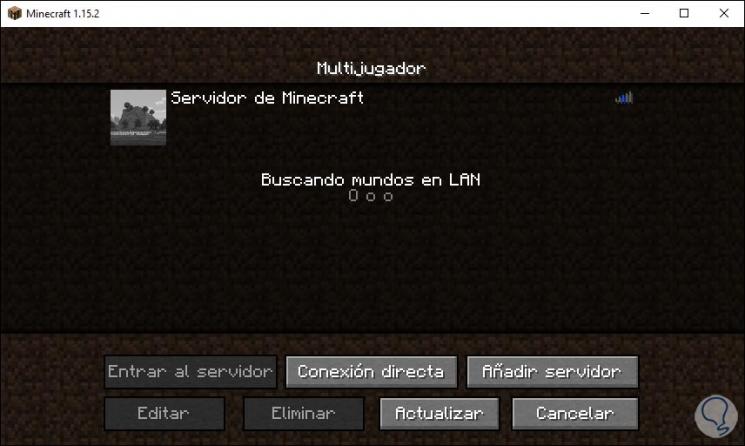
Step 4
We click OK to start connectivity:
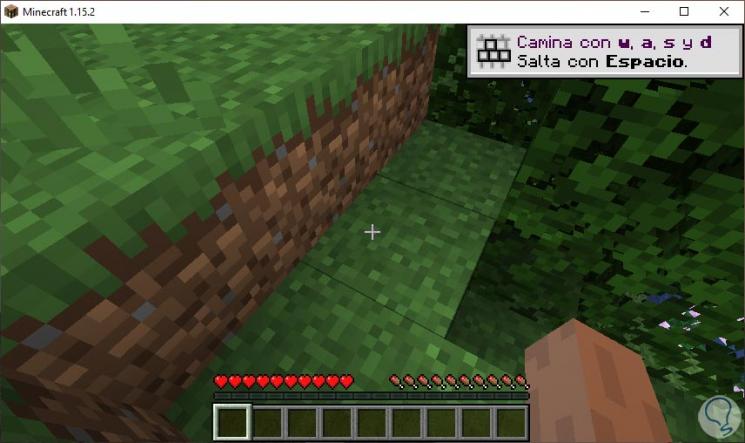
Step 5
Now it will be possible to play in Minecraft thanks to the server that we have configured:
You are now ready to set up your Minecraft server and challenge your friends thanks to TechnoWikis.
In case you want to see how to do this process in Windows 10, here you can see all the steps you should follow..
To stay up to date, remember to subscribe to our YouTube channel! SUBSCRIBE