VNC is one of the current ways that allows us to connect remotely with other computers (Windows, macOS, Linux, etc.) to perform various jobs there, support or administrative, with VNC you can access a shared Linux screen and control everything that is in that equipment, this helps to reduce travel times and to offer a job in real time and with speed..
VNC Advantages
The advantages of using VNC are:
- Attended and unattended access options
- Real-time file transfer, printing and chat possible
- Has 256-bit AES session encryption
- It is possible to make use of multifactor authentication
We will learn to install VNC in Ubuntu 20.04 and with this method have an alternative to receive or provide remote support.
To stay up to date, remember to subscribe to our YouTube channel! SUBSCRIBE
1. Install VNC on Ubuntu 20.04
Step 1
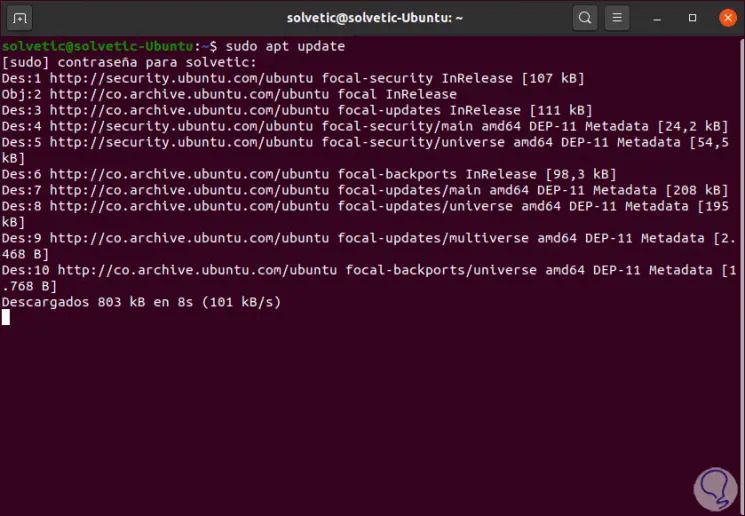
The first step to take will be to update the system:
sudo apt update
Step 2
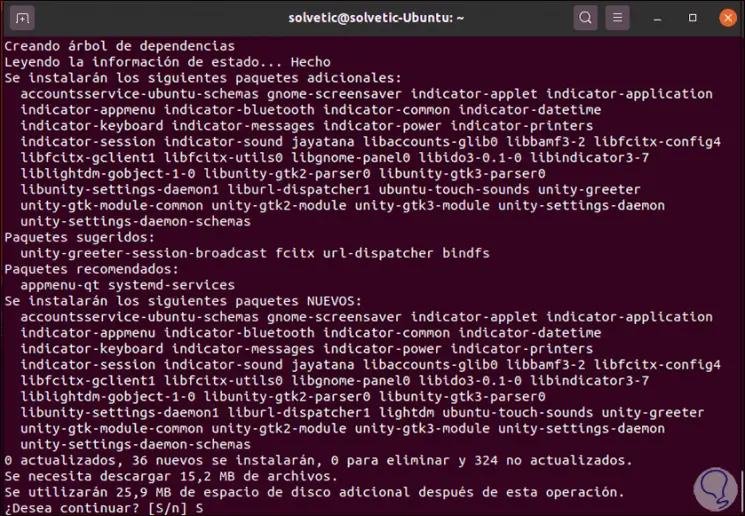
Once the system has been updated, we are going to install the Lightdm screen manager with the following command:
sudo apt install lightdm
Step 3
We enter the letter S to continue with the download and installation, then the following will be displayed:
Step 4
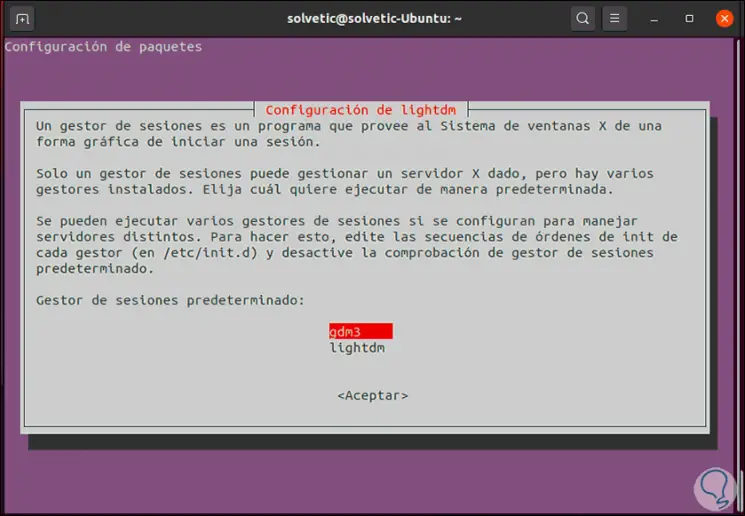
There we select "lightdm" and continue the installation. Lightdm's goal is to be the standard for the X11 window system and for Wayland.
Step 5
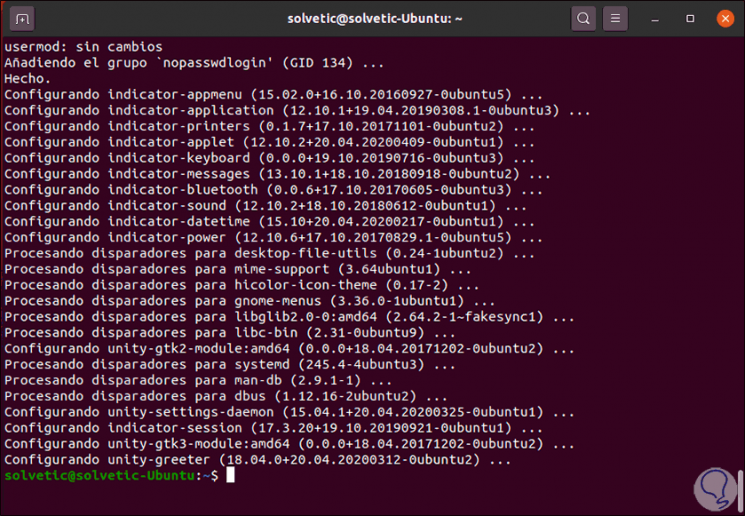
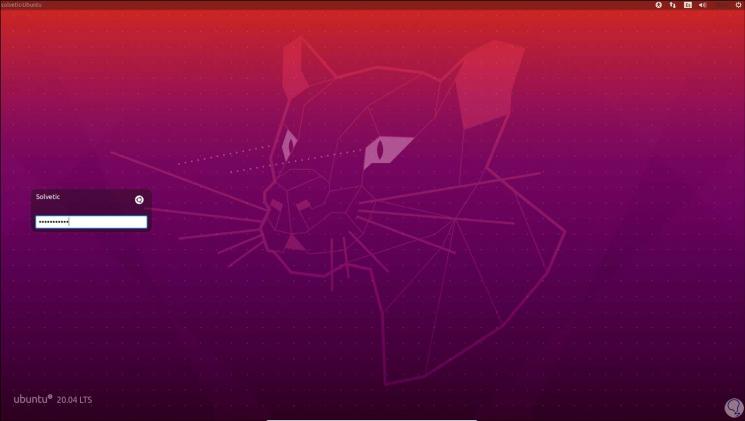
After this we restart the system to complete the process, we access the login screen where we see the new structure with lightdm:
Step 6
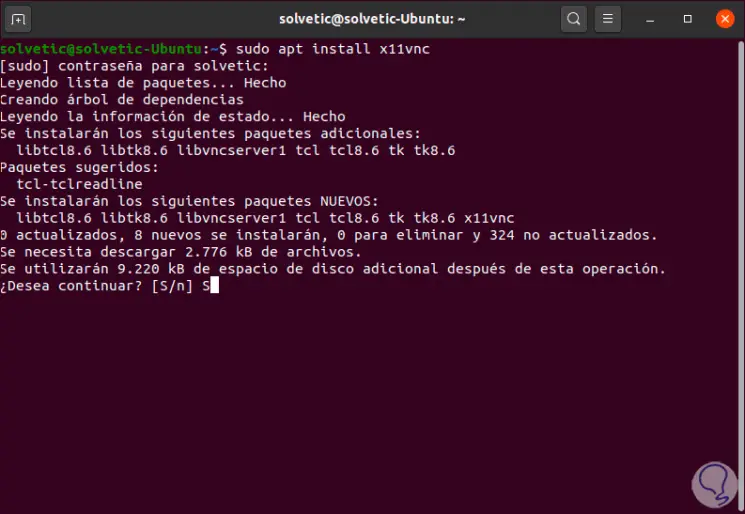
We log in and in the terminal we are going to execute the following:
sudo apt install x11vnc
Step 7
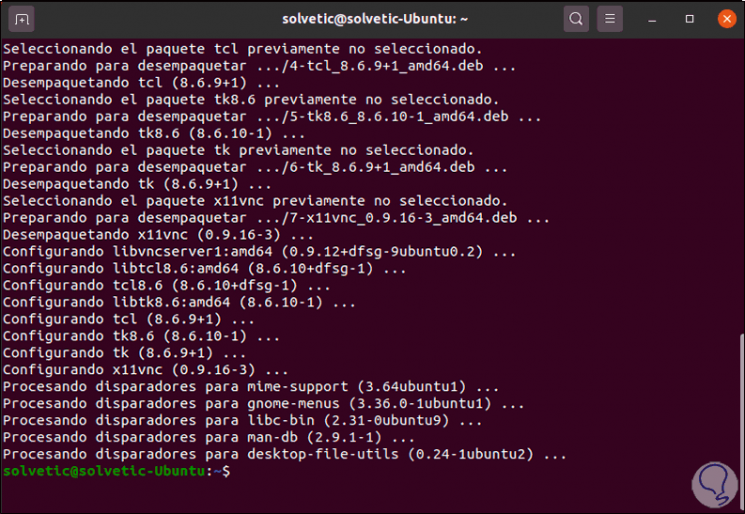
We confirm the download with the letter S:
2. Enable VNC in Ubuntu 20.04
By using x11vnc, it is possible to view remotely (and be able to work) with real X screens through any of the VNC viewers available today.
Some of the features of x11vnc are:
- Has built-in SSL / TLS encryption
- 2048-bit RSA authentication, including VeNCrypt support
- UNIX password and account login support
- HTTPS / HTTP + VNC single port
- Zeroconf service advertising
- TightVNC and UltraVNC file transfer
- It has an encrypted Terminal Services mode (-create, -svc or -xdmsvc options) based on usernames
Step 1
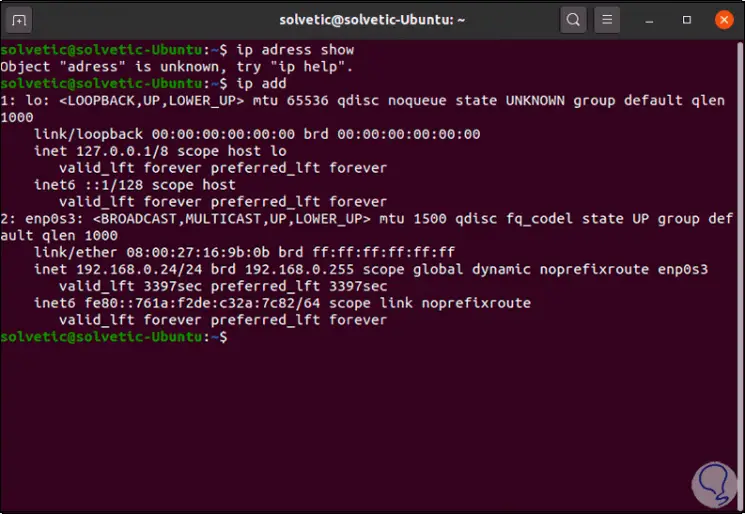
We list the IP of Ubuntu 20.04 with the command:
ip add
Step 2
With this address we will access Ubuntu 20.04 from a VNC client. In the terminal we execute the following to start VNC. This will activate VNC on Ubuntu 20.04.
x11vnc
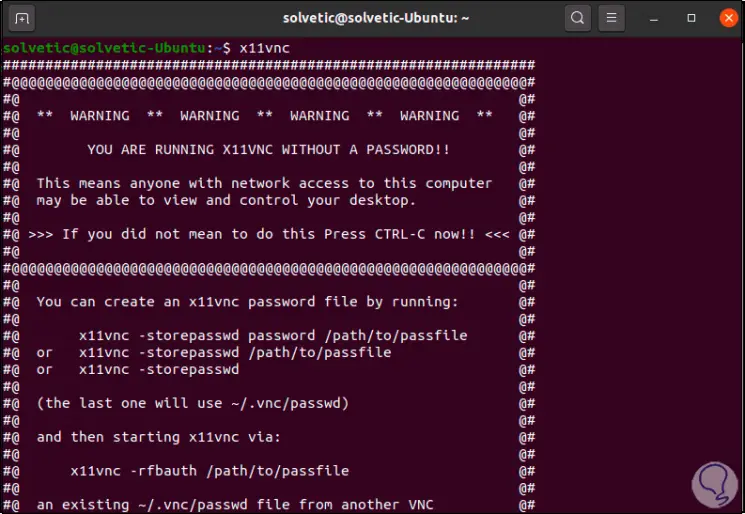
Step 3
From a remote computer, in this case Windows 10, we open the VNC client and enter the IP of Ubuntu 20.04:
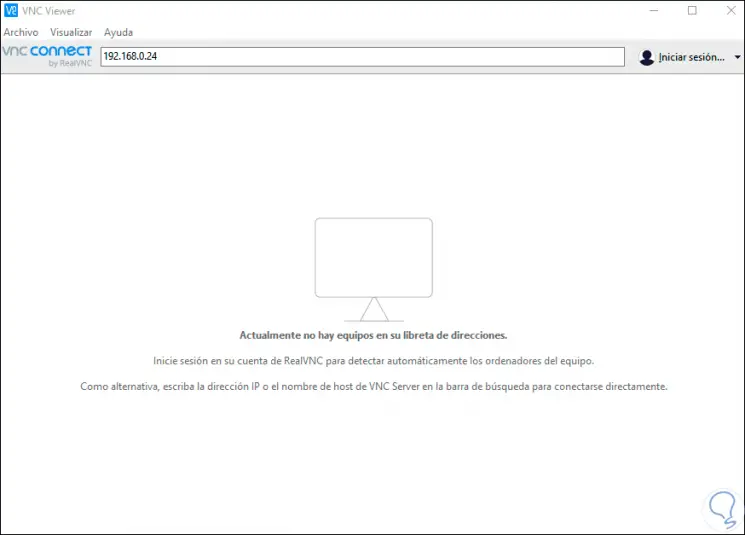
Step 4
We press Enter and we will see the following warning:
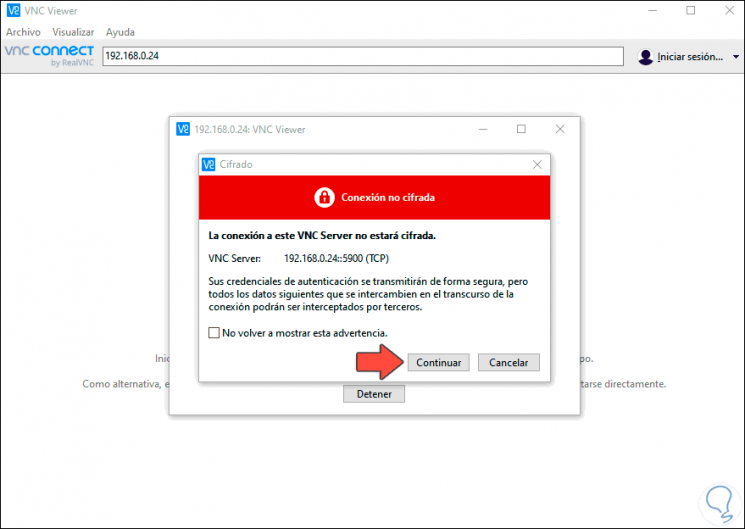
Step 5
We click on Continue and we will remotely access Ubuntu 20.04:
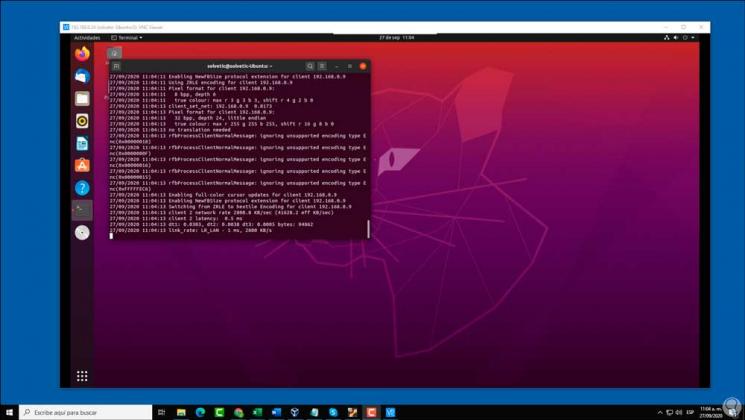
Step 6
Now in Ubuntu 20.04 we are going to create the following file:
sudo nano /lib/systemd/system/x11vnc.service
Step 7
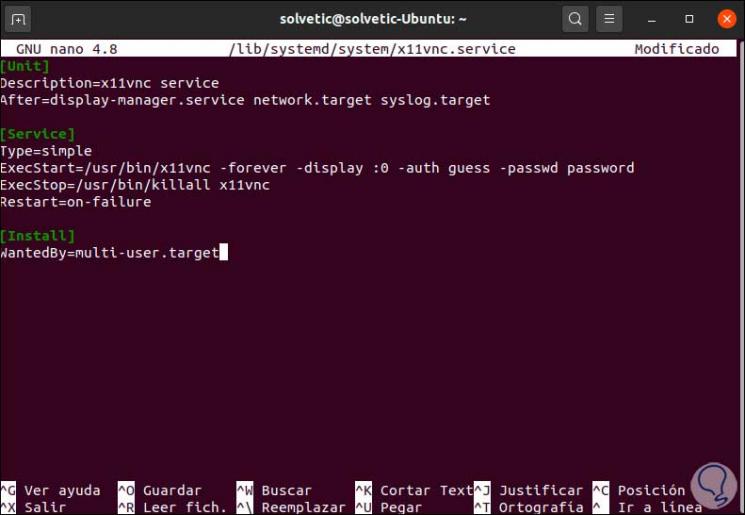
There we are going to enter the following:
[Unit] Description = x11vnc service After = display-manager.service network.target syslog.target [Service] Type = simple ExecStart = / usr / bin / x11vnc -forever -display: 0 -auth guess -passwd password ExecStop = / usr / bin / killall x11vnc Restart = on-failure [Install] WantedBy = multi-user.target
Note
password can be replaced by the desired password.
Step 8
The fields entered are:
- Activity occurs only after some other services have been started and destination points have been reached
- x11vnc creates a thread from -forever.
- ExecStart and Stop allow x11vnc to self-start in case of failures
- The service will start before the process reaches the multi-user goal
Step 9
We save the changes using the following key combination:
Ctrl + O
We leave the editor using:
Ctrl + X
Step 10
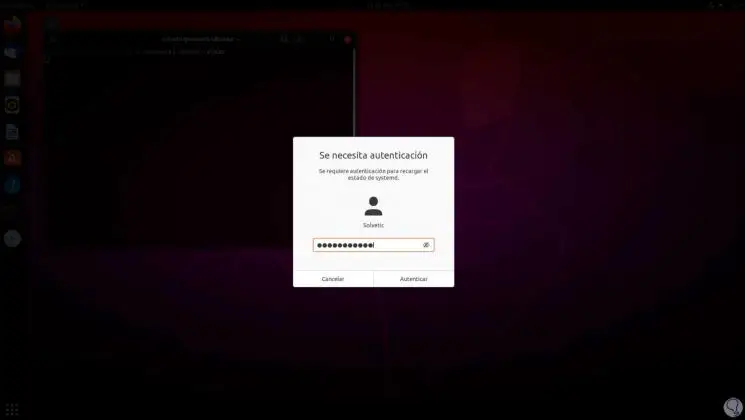
We restart the daemon to apply the changes:
systemctl daemon-reload
Step 11
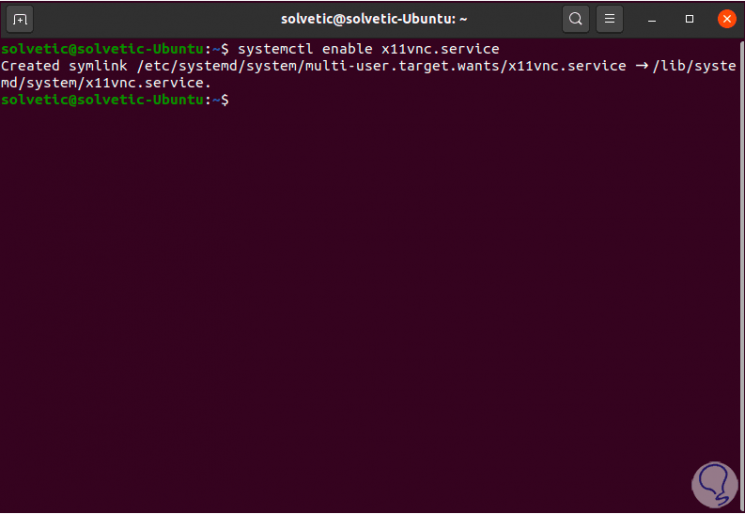
We enable the x11vnc service:
systemctl enable x11vnc.service
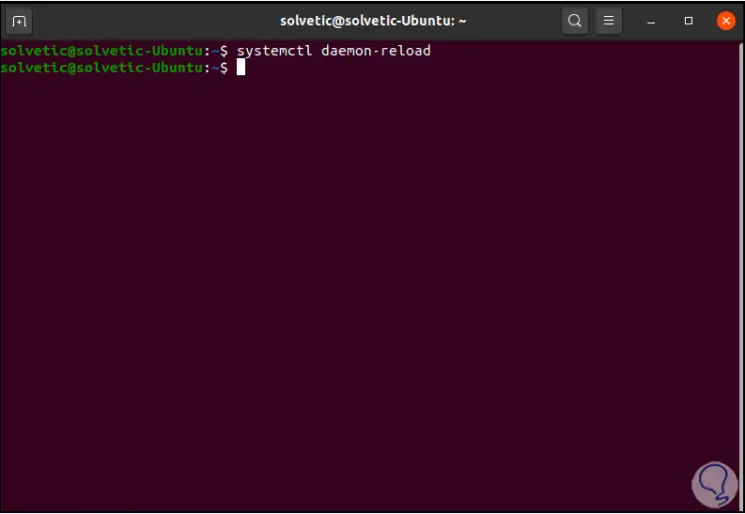
Step 12
We must enter the password to apply the changes:
Step 13
As a result we will see the following:
Step 14
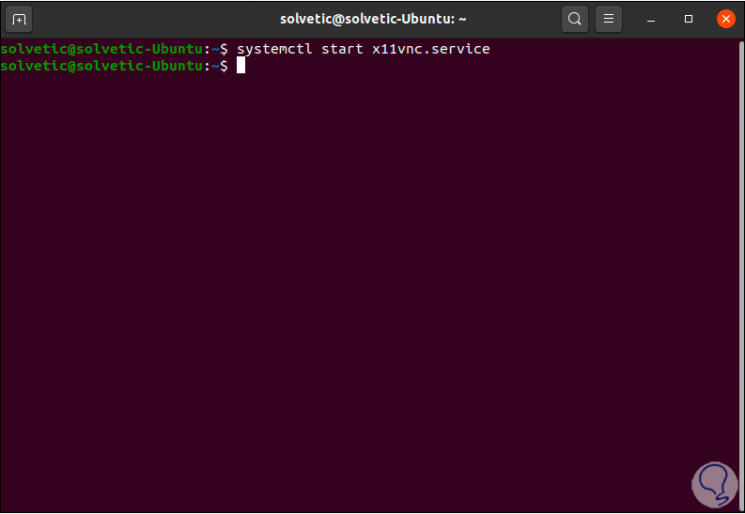
Now we start the x11vnc service:
systemctl start x11vnc.service
Step 15
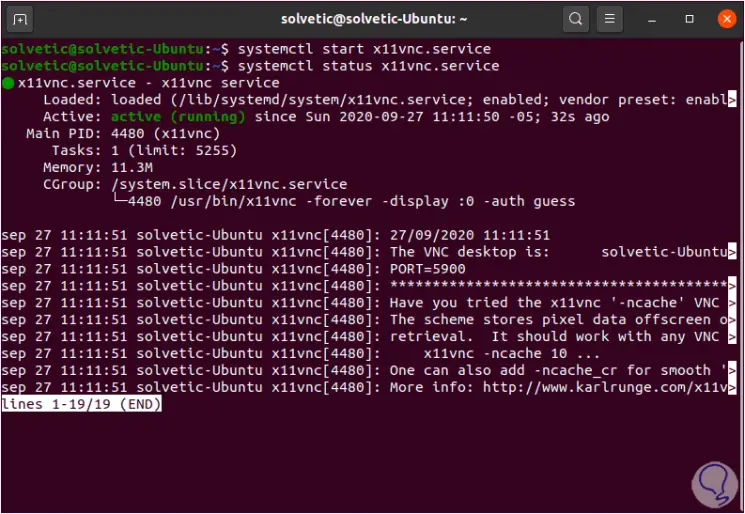
We check its current status:
systemctl status x11vnc.service
Step 16
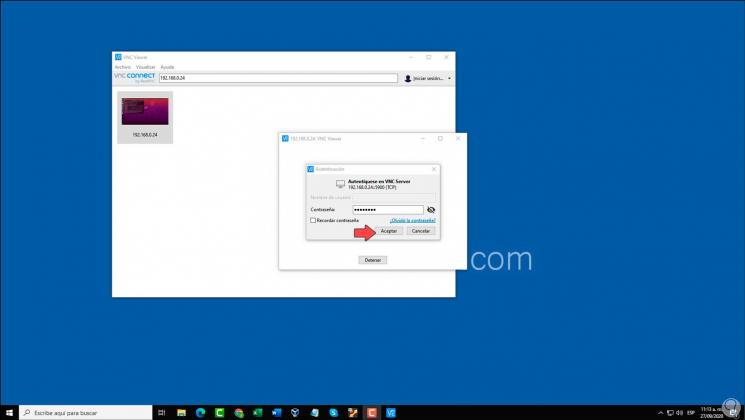
We see that its status is active and running. We go back to Windows 10 and when trying to establish the connection through VNC we must enter a password that we have established in the file created in Ubuntu 20.04:
Step 17
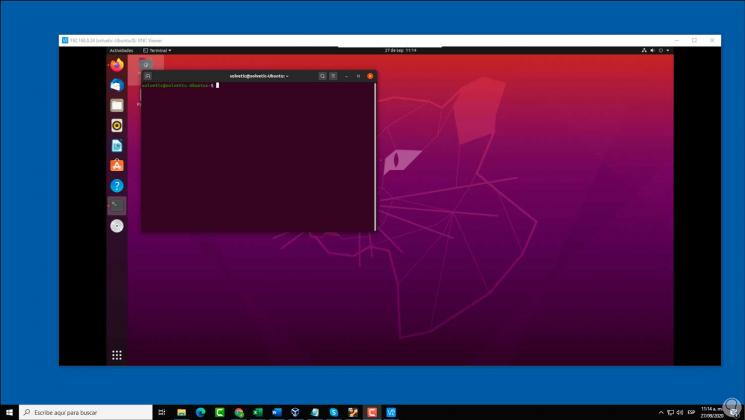
We start a remote session with Ubuntu 20.04:
Step 18
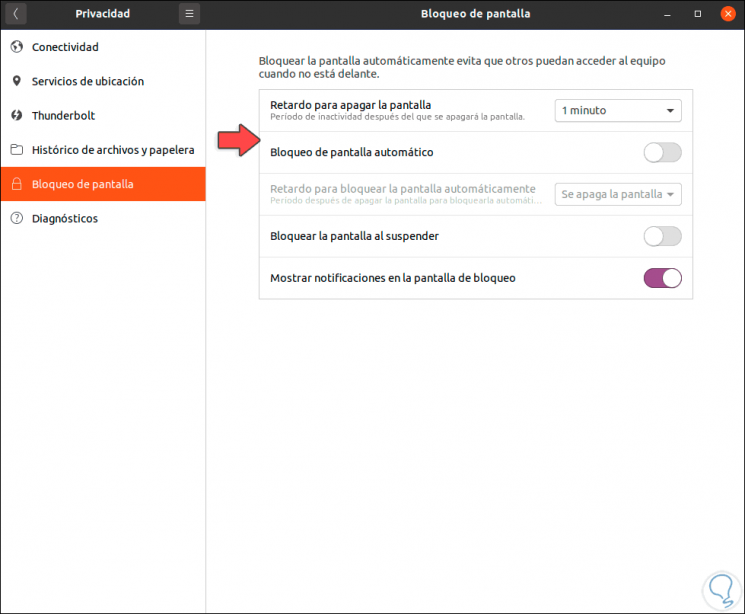
A key point is to validate that you can log in remotely from the "login" screen, for this we go to Settings and in "Privacy - Screen lock" we are going to deactivate the available options and set the delay time to 1 minute :
Step 19
We close the session and from Windows 10 we validate that it is possible to establish the connection, register the password and log in to Ubuntu 20.04:

With these steps we will be ready to use VNC to and from Ubuntu 20.04 in all tasks that involve remote management or support..