Online learning has taken a much greater boom in this time where global circumstances have had an impact on the meeting of people and therefore it is vital to have platforms that adapt to these needs, offering unique but safe and highly recurrent functionalities..
In this scenario, Moodle has become the online learning management platform (e-learning), which is open source under the GNU General Public License, more functional and dynamic and Moodle is available both for web environments and mobile devices.
Moodle aims to provide its users with a platform where there is a robust and secure integrated system allowing each object created and managed to be as recursive as possible.
Moodle gives us a simple interface which integrates drag and drop features and we find it available in more than 120 languages..
Use Moodle
We can use Moodle in two essential scenarios which are:
Regardless of the scenario used, with Moodle you can enable or not the kernel features and adjust its modular configuration so that the work is as complete as possible.
characteristics
Some of the most relevant features of Moodle are:
- Custom dashboard where we can access current, past or future courses, as well as review pending work
- Accessible user interface
- Integrate collaborative activities and tools such as forums, wikis, glossaries, database activities and more
- Simple and intuitive text editor that allows editing the elements integrated in Moodle
- Add an all-in-one calendar
- Allows you to upload files to the cloud with services such as OneDrive, Dropbox and Google Drive
- Offers activity progress monitoring
- Generate notifications about new events
- Secure authentication and secure bulk enrollments
- It is compatible with open standards such as IMS-LTI or SCORM
- We can mass create courses if necessary
- Constant security updates
Let's see how to install Moodle on Ubuntu Server 20.04..
1. How to install PHP Ubuntu Server 20.04 extensions
Step 1
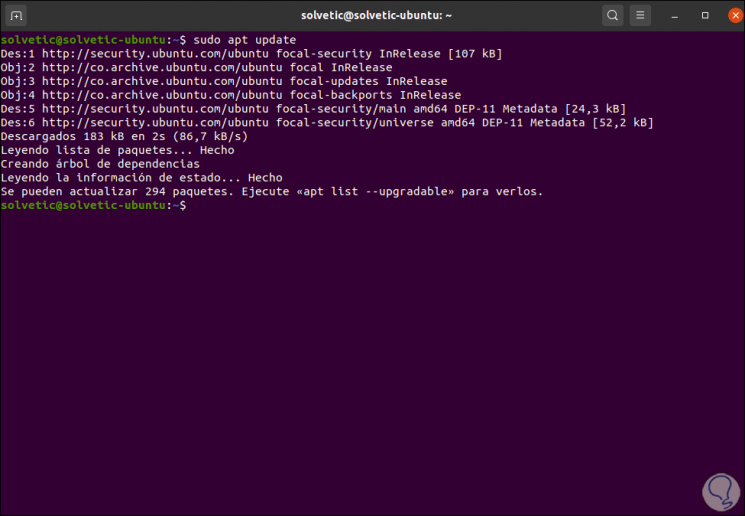
We update the system with the following command:
sudo apt update
Step 2
After this we are going to install the PHP extensions and libraries that are necessary for Moodle to work as expected, we will do this with the apt package manager like this:
sudo apt install php-common php-iconv php-curl php-mbstring php-xmlrpc php-soap php-zip php-gd php-xml php-intl php-json libpcre3 libpcre3-dev graphviz aspell ghostscript clamav

We enter the letter S to confirm the download and installation of these packages.
LEMP installation on Ubuntu Server 20.04
LEMP (Linux, Nginx (EngineX), MariaDB and PHP), is a set of utilities with which we can implement web applications, we must install this stack before installing and configuring Moodle.
2. How to install Nginx Ubuntu Server 20.04
Step 1
To install Nginx we execute:
sudo apt install nginx
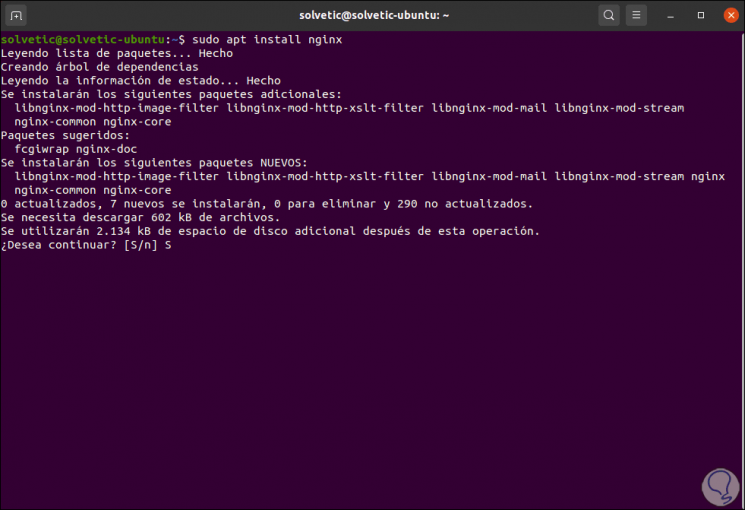
Step 2
We accept the download and installation of the packages, at the end we will see the following:
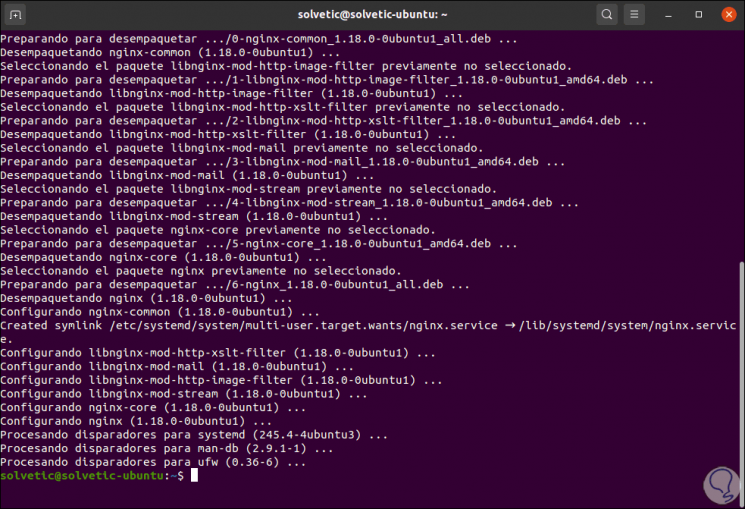
The Nginx configuration files are stored in the / etc / nginx directory and the main configuration file is /etc/nginx/nginx.conf.
Step 3
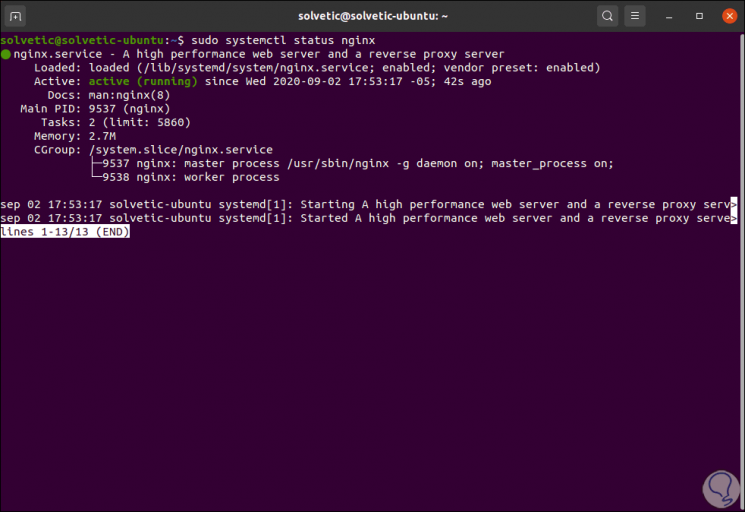
We check the status of Nginx:
sudo systemctl status nginx
Step 4
We enable Nginx at Ubuntu Server startup:
sudo systemctl is-enabled nginx

Step 5
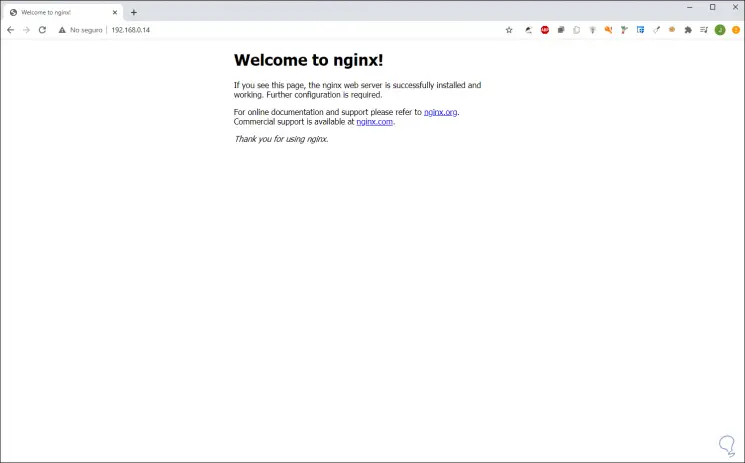
From a browser we can go to the server's IP address and validate that Nginx has been installed:
3. How to install MariaDB Ubuntu Server 20.04
Step 1
MariaDB offers us a relational database administration system, for its installation we execute the following command:
sudo apt install mariadb-server mariadb-client
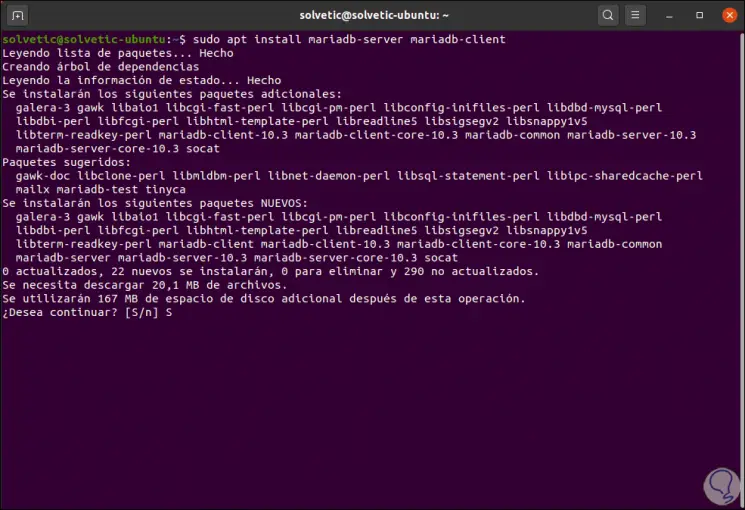
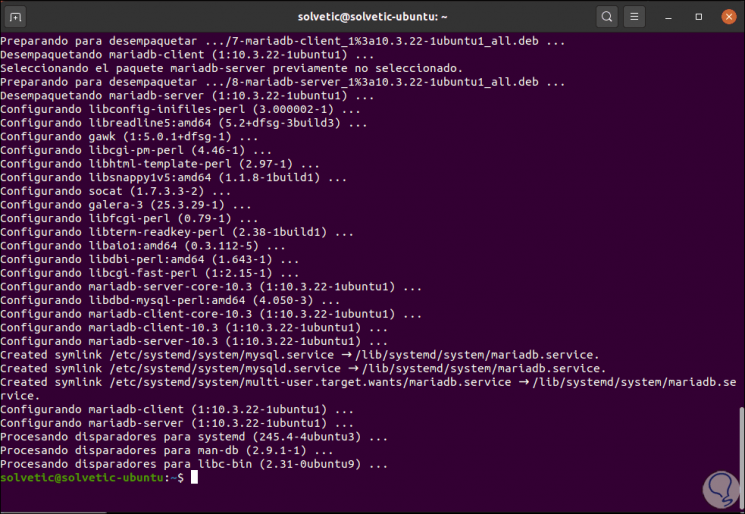
Step 2
We accept the download and installation:
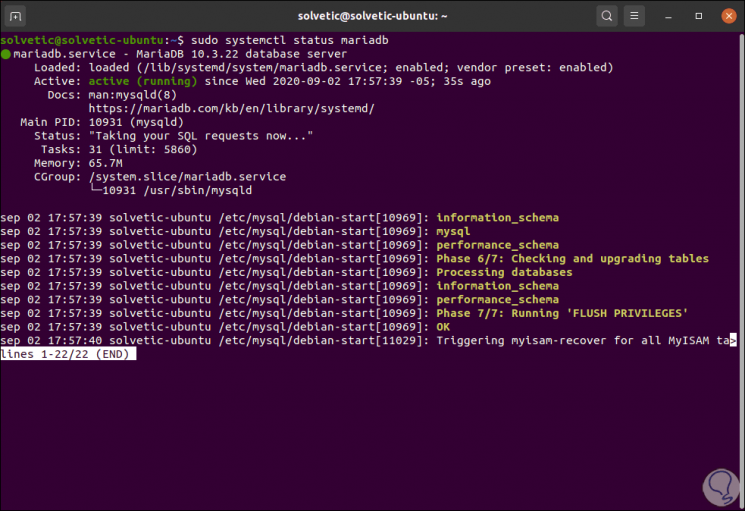
Step 3
We validate the current state of MariaDB:
sudo systemctl status mariadb
Step 4
We enable MariaDB with the server startup:
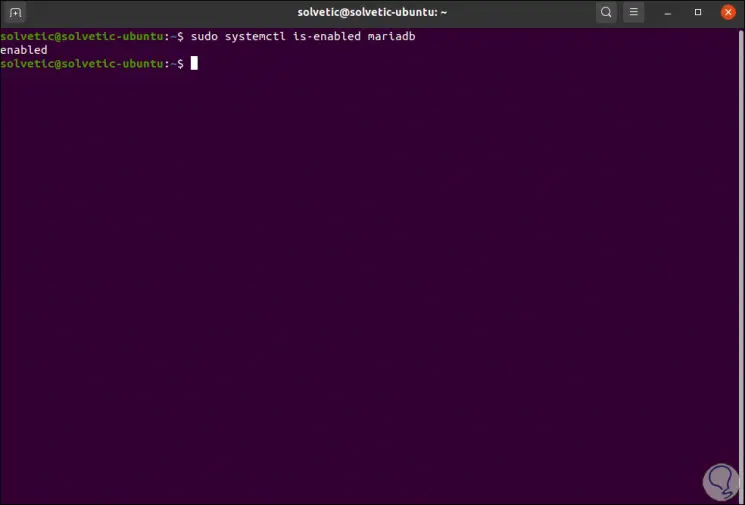
Step 5
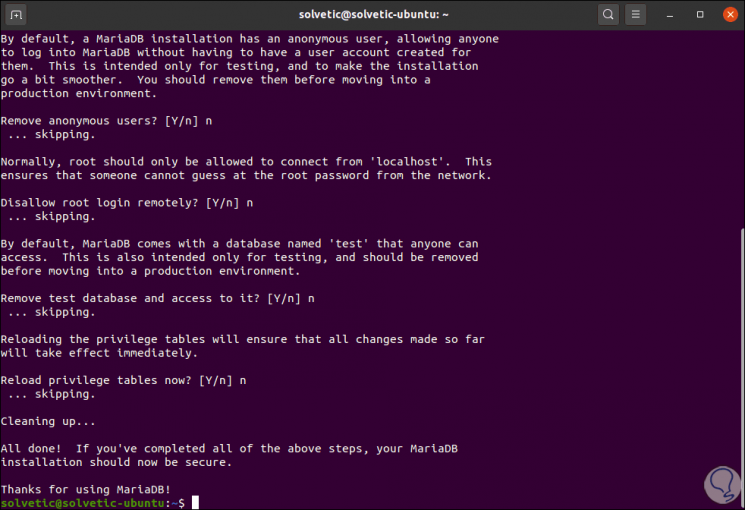
Now we must ensure the installation of MariaDB, for this we execute:
sudo mysql_secure_installation
In the first section we can

Step 6
Then we answer the following:
- Remove anonymous users? [Y / n] and
- Disallow root login remotely? [Y / n] and
- Remove test database and access to it? [Y / n] and
- Reload privilege tables now? [Y / n] and
4. Installation of PHP Ubuntu Server 20.04
Step 1
PHP is a dynamic, flexible and open source programming language with which it will be possible to create websites and web applications, its installation is carried out with the following command:
sudo apt install php php-mysql php-fpm
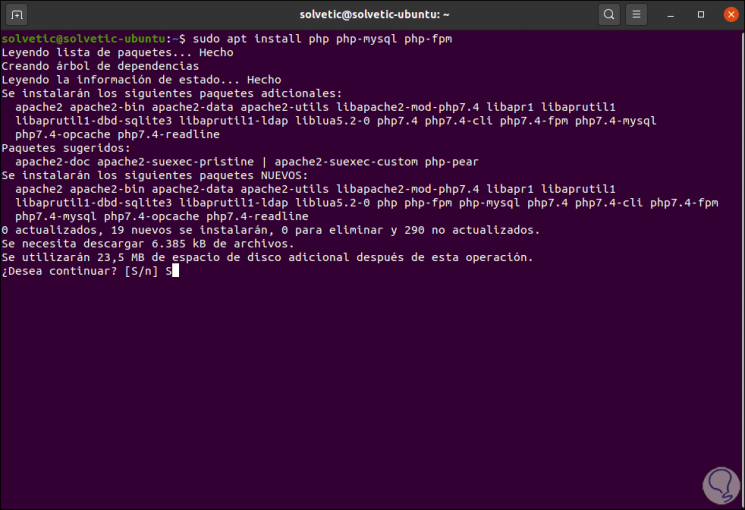
Step 2
We enter the letter S to complete the process, then we check the status of PHP:
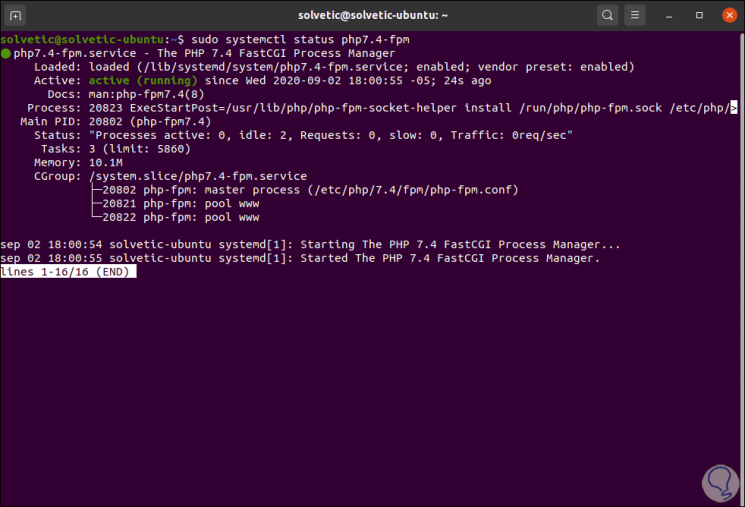
Step 3
We enable it at Ubuntu boot with the command:
sudo systemctl is-enabled php7.4-fpm
5. How to create a database for Moodle Ubuntu Server 20.04 and download repositories
Step 1
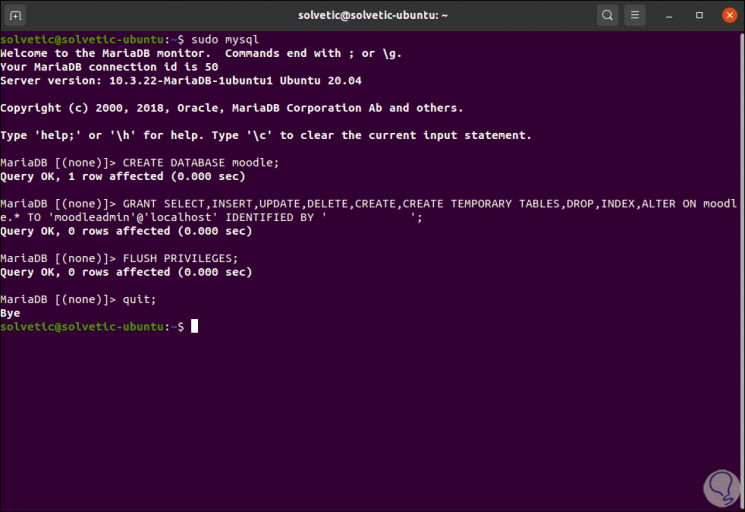
We are going to create the database to administer Moodle, for this we access MySQL with the following command:
sudo mysql
There we are going to execute the following lines:
CREATE DATABASE moodle; GRANT SELECT, INSERT, UPDATE, DELETE, CREATE, CREATE TEMPORARY TABLES, DROP, INDEX, ALTER ON moodle. * TO 'moodleadmin' @ 'localhost' IDENTIFIED BY 'password'; FLUSH PRIVILEGES; quit;
Step 2
Downloading the Moodle Ubuntu Server 20.04 repositories
We are going to download the latest version of Moodle with the following command:
wget -c https://download.moodle.org/download.php/direct/stable39/moodle-latest-39.tgz

Step 3
We extract the content of the compressed file to the / var / www / html directory:
sudo tar -zvxf moodle-latest-39.tgz -C / var / www / html /
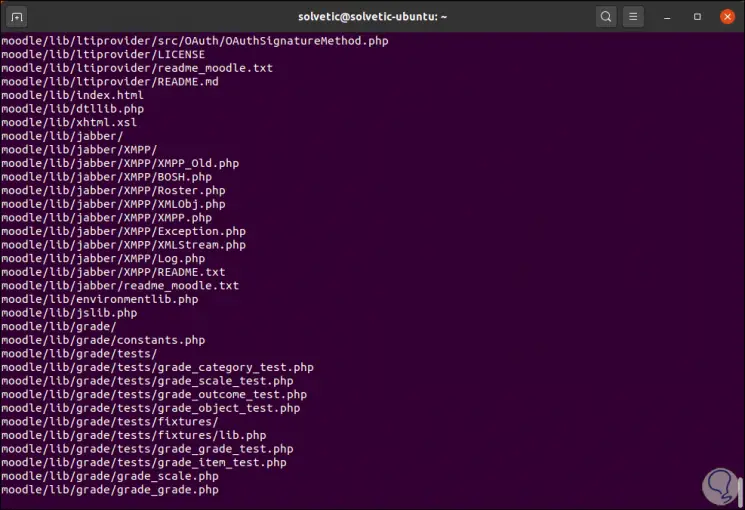
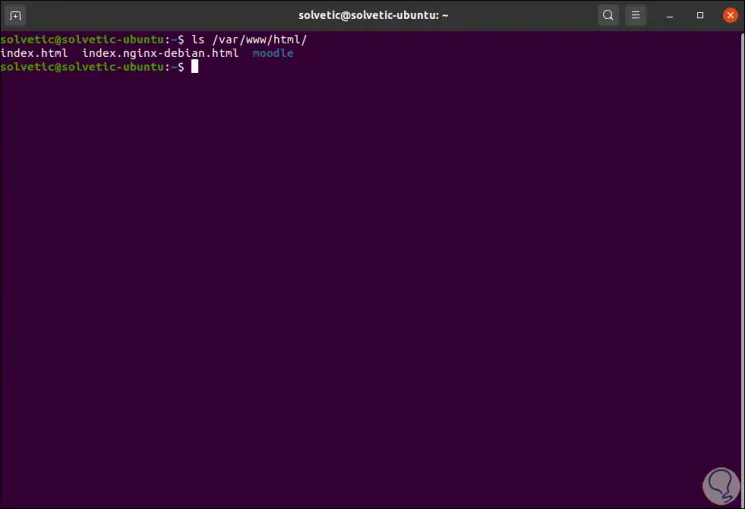
Step 4
We list the content that has been extracted:
ls / var / www / html /
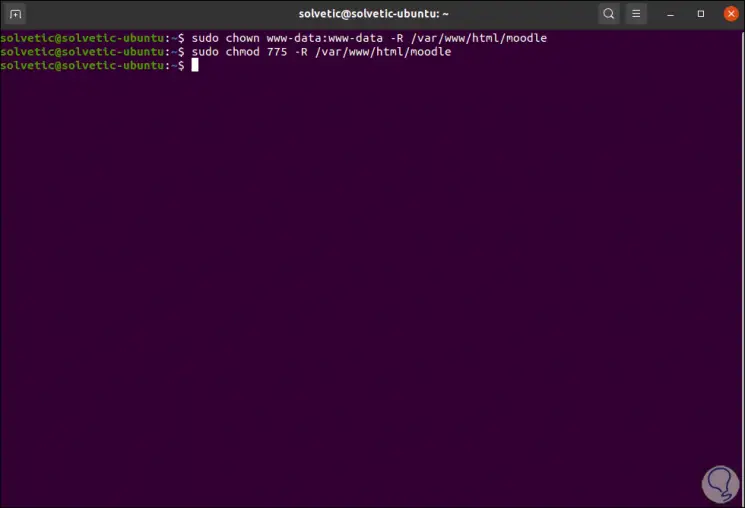
Step 5
We are going to grant the required permissions for the use of Moodle:
sudo chown www-data: www-data -R / var / www / html / moodle sudo chmod 775 -R / var / www / html / moodle
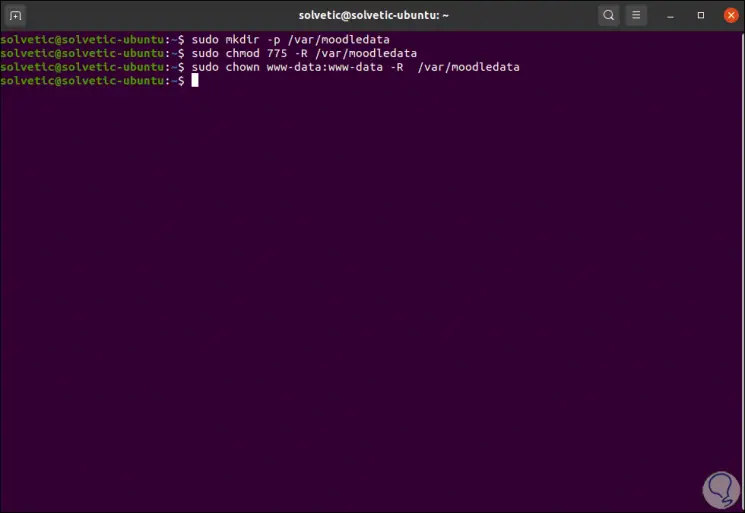
Step 6
The next step will be to create the Moodle data directory, there Moodle will save the uploaded files:
sudo mkdir -p / var / moodledata
We grant the permissions:
sudo chmod 775 -R / var / moodledata sudo chown www-data: www-data -R / var / moodledata
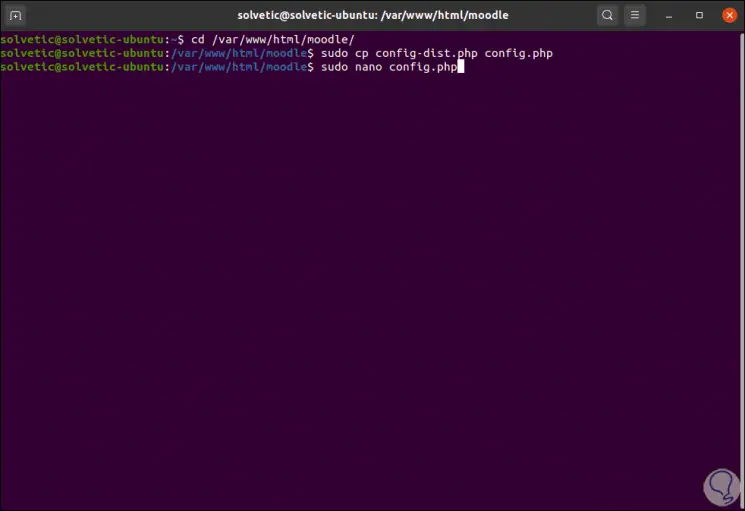
Step 7
We are going to edit the Moodle configuration file, for this we execute the following commands:
cd / var / www / html / moodle / sudo cp config-dist.php config.php sudo nano config.php
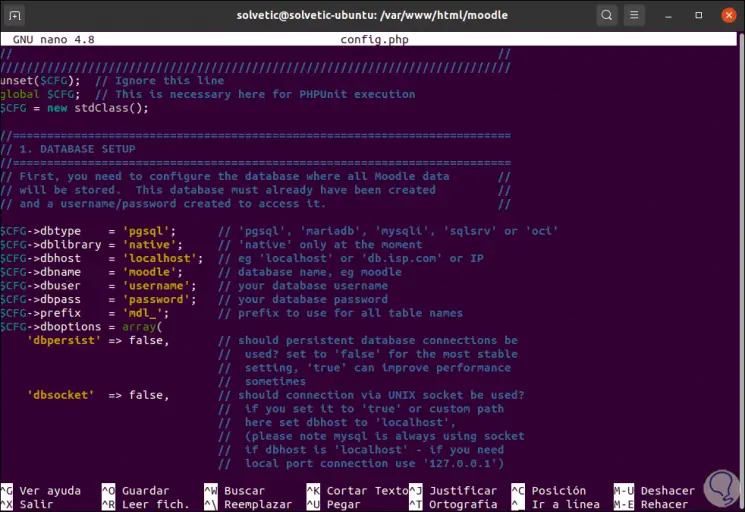
Step 8
In the file we are going to locate the following lines:
$ CFG-> dbtype $ CFG-> dblibrary $ CFG-> dbhost $ CFG-> dbname $ CFG-> dbuser $ CFG-> dbpass $ CFG-> prefix
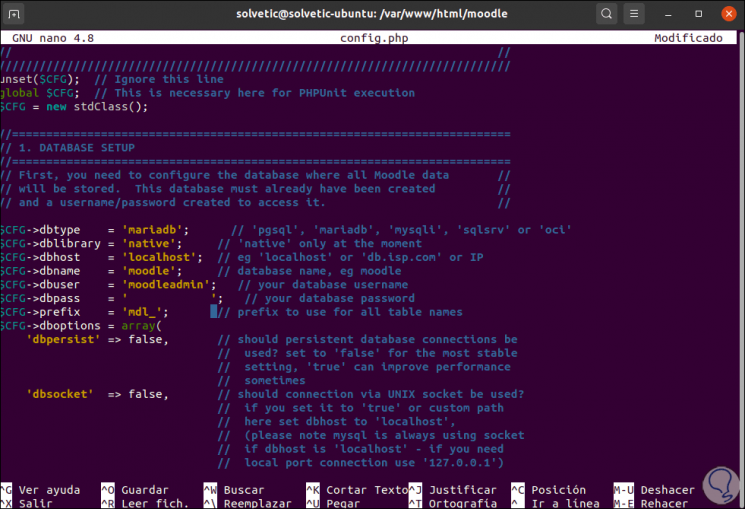
Step 9
There we replace the values with the ones we registered in the created database:
Step 10
A little further down we will edit the following lines:
$ CFG-> wwwroot = 'http: // computer_name'; $ CFG-> dataroot = '/ var / moodledata';
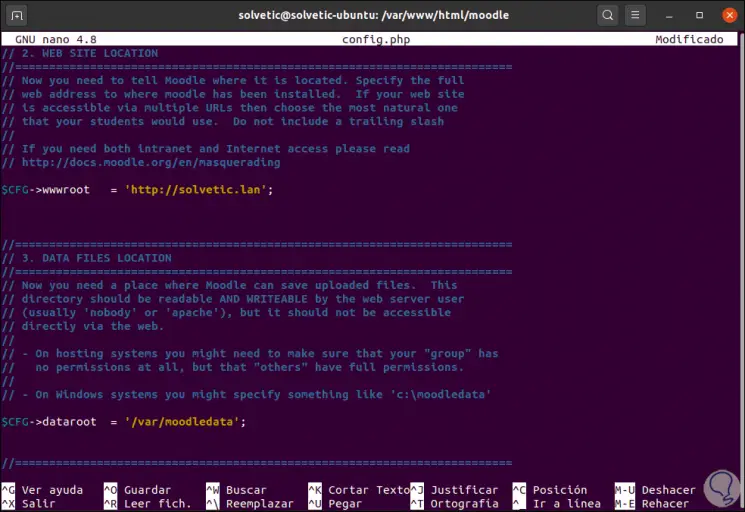
We save the changes with the Ctrl + O keys and exit the editor with Ctrl + X.
5. Nginx configuration for Moodle Ubuntu Server 20.04 application
Step 1
In order for NGINX to support the Moodle site, we must create a new server block configuration in the /etc/nginx/conf.d/ directory, we enter:
sudo nano /etc/nginx/conf.d/moodle.conf
There we enter the following information with the domain name:
server { listen 80; server_name "Team"; root / var / www / html / moodle; index index.php; location / { try_files $ uri $ uri / /index.php?$query_string; } location ~ ^ (. + \. php) (. *) $ { fastcgi_split_path_info ^ (. + \. php) (. *) $; fastcgi_index index.php; fastcgi_pass unix: /run/php/php7.4-fpm.sock; include /etc/nginx/mime.types; include fastcgi_params; fastcgi_param PATH_INFO $ fastcgi_path_info; fastcgi_param SCRIPT_FILENAME $ document_root $ fastcgi_script_name; } } 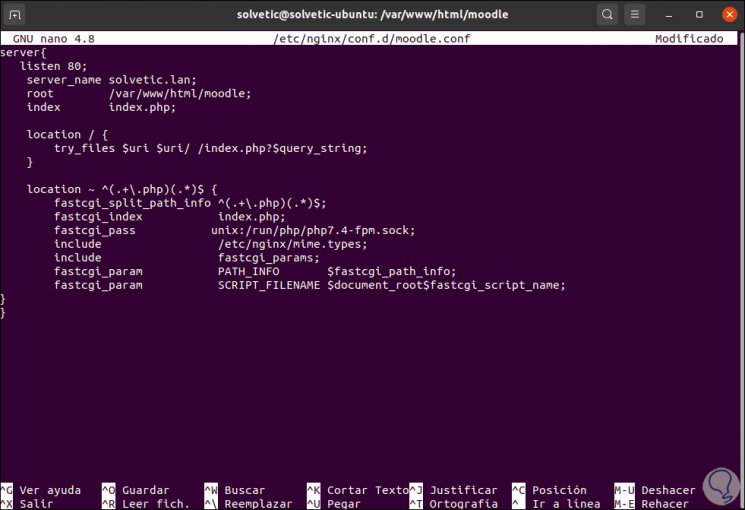
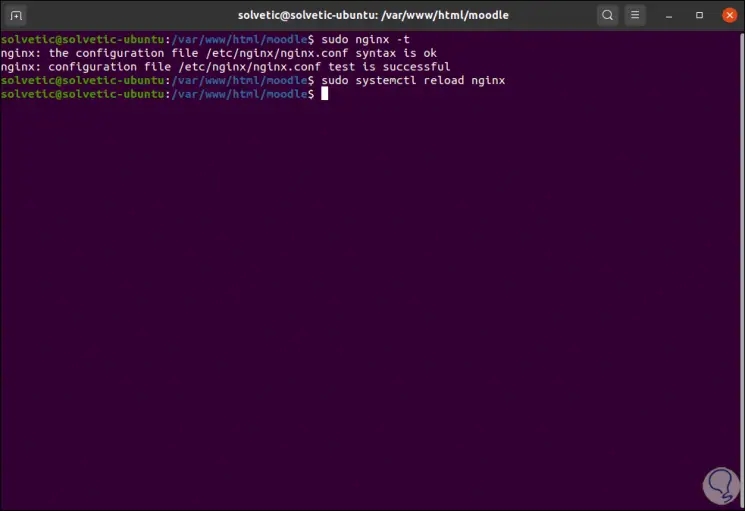
Step 2
We save the changes and after that we validate that the Nginx configuration is correct and we restart the service:
sudo nginx -t sudo systemctl reload nginx
6. How to finish the installation of Moodle Ubuntu Server 20.04
Step 1
To do this we go to a browser and enter the following:
http: // "team"
In the first instance the following will be displayed:
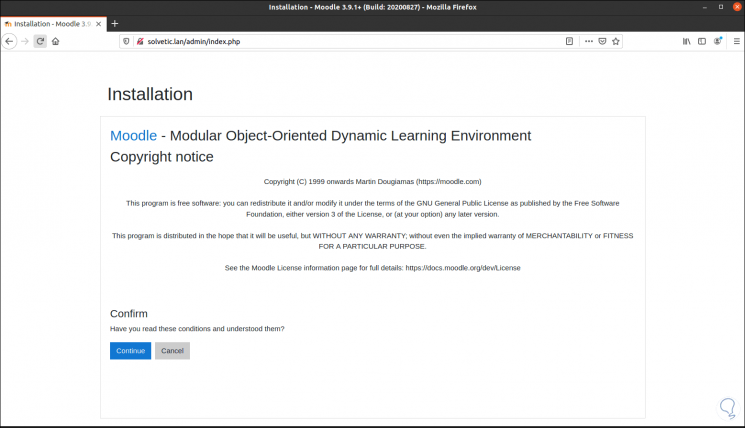
Step 2
There a brief introduction to Moodle is given, we click on "Continue" to advance, then we will see if the server meets the installation requirements:
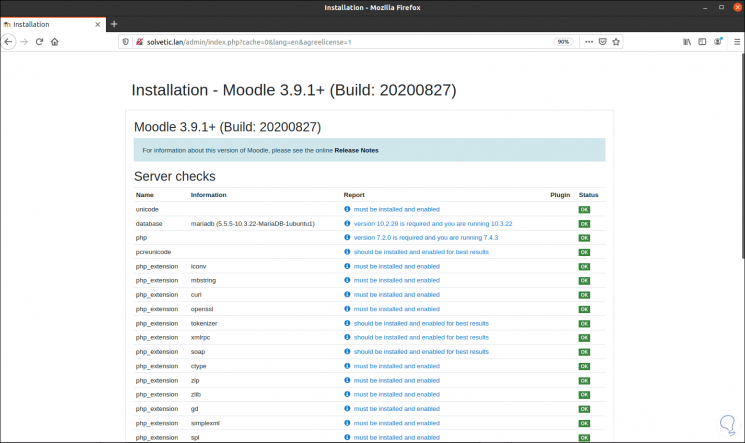
Step 3
At the bottom we will click on "Continue" if everything is OK, then the system will be installed and we will see a summary of each installed add-on:
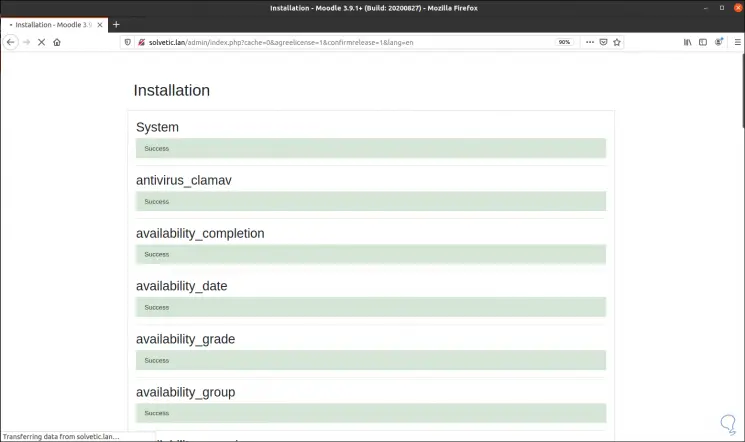
Step 4
At the end we will see this:

Step 5
Click on Continue and then we define:
- Administrator user name and password
- Email to use for notifications
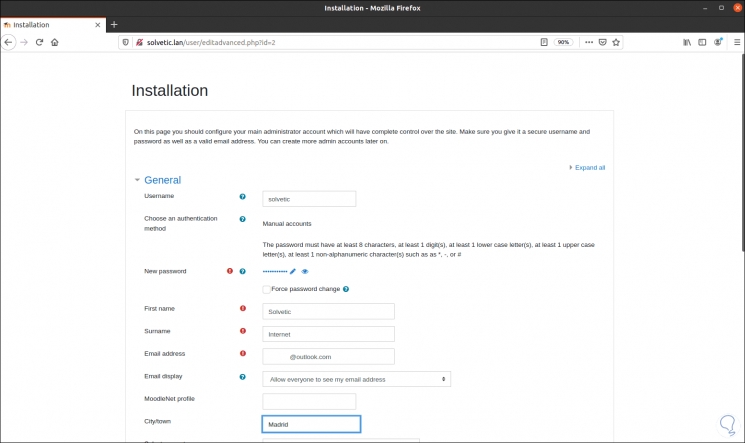
Step 6
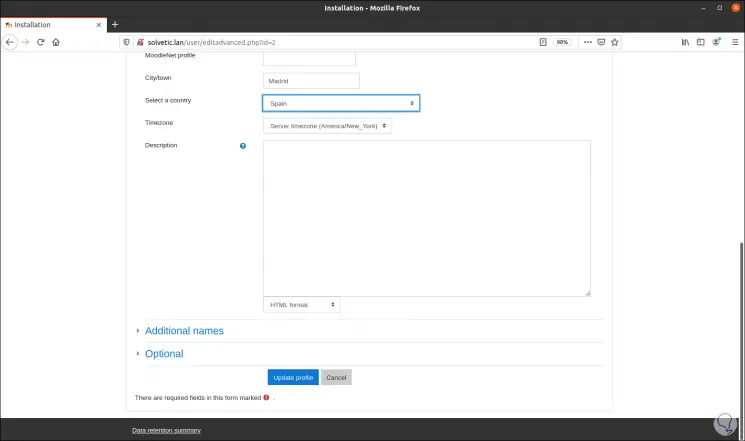
At the bottom we will click on "Update profile" to apply the changes:
Step 7
Then we access the following window where we enter the name of the site and a description if we wish:
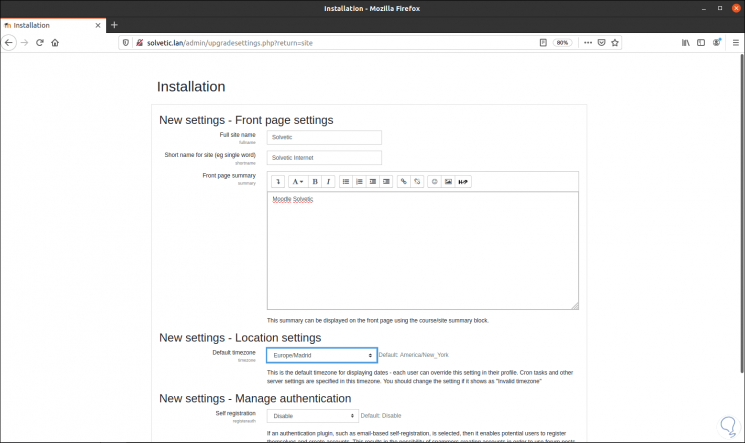
Step 8
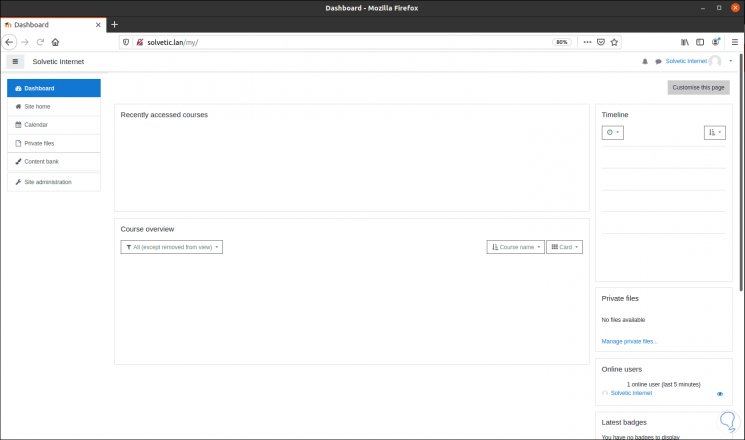
We click on Finish and we will access Moodle in Ubuntu Server 20.04:
7. HTTPS configuration in Moodle Ubuntu Server 20.04
Step 1
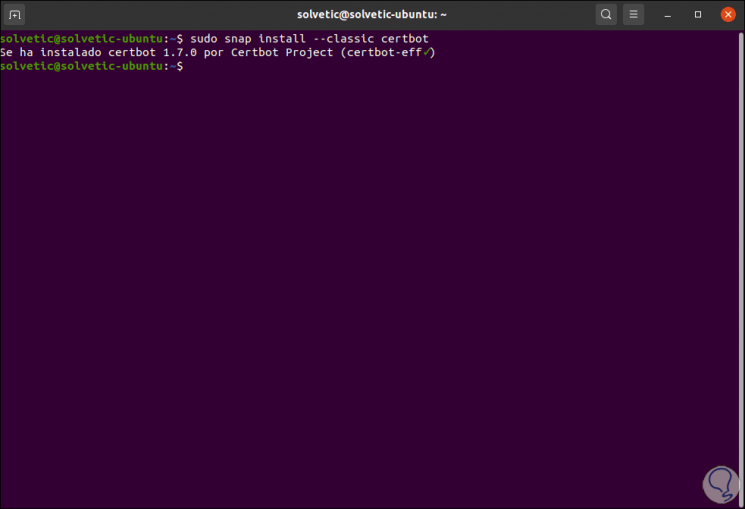
This is an additional security method to use in Moodle so it is optional, to carry out this action we will execute the following:
sudo snap install --classic certbot

Step 2
At the end of this process we will see the following:
Step 3
Next, we are going to generate a certificate for Certbot to edit the NGINX configuration:
sudo certbot –nginx
We enter an email for notifications:

Step 4
Then the process will be completed:

Step 5
Now we access the Moodle configuration file:
sudo nano /var/www/html/moodle/config.php There we go to the CFG-> wwwroot line and set HTTPS: CFG-> wwwroot = 'https://learning.testprojects.me';
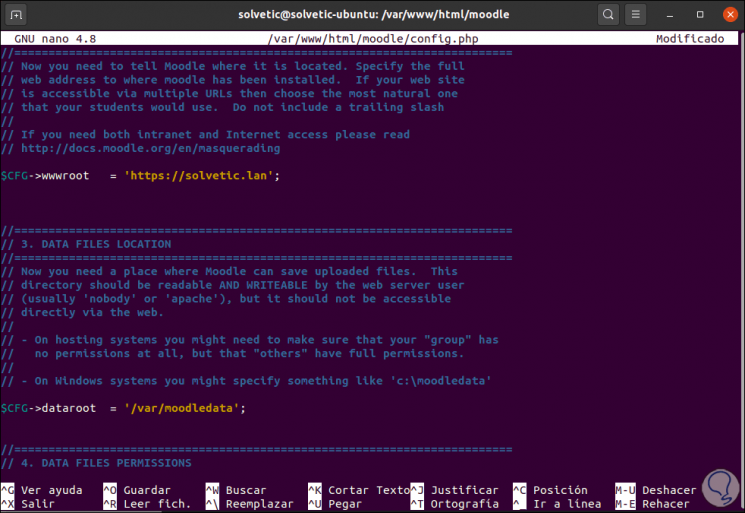
We save the changes and exit the editor and with it now the navigation in Moodle will be safe.
In Moodle we can access its various options such as:
Moodle undoubtedly integrates the necessary functions to create optimal learning sites full of key features for each type of user.