Multimedia applications are essential to carry out hundreds or thousands of tasks that involve unique functionalities so that the work is more than excellent. Within these applications we have DaVinci Resolve which is perhaps the only application that offers us 8K professional editing , color correction, visual effects and audio post-production , this allows the work on multimedia files to be as complete as possible..
This utility offers editing utilities, color, effects and much more so as not to be limited in the editing processes to be executed. In addition to this, a new DaVinci neural engine is integrated which makes use of machine learning in order to enable new functions such as facial recognition, speed deformation, etc.
DaVinci Resolver Features
Among its characteristics we find:
- Compatible with H.264 and RAW formats.
- Allows importing SRT files
- Stacked timelines with which it is possible to copy, paste and edit the content stored there
- On-screen annotation function
- 2D and 3D title templates
- Add keyframes for Resolve FX and Open FX plugins
- Audio overlays with which you can go to different parts of a clip
- Plug-in effects for adding effects and transitions
TechnoWikis will explain how to install DaVinci Resolver in Ubuntu 20.04 in a simple way..
To stay up to date, remember to subscribe to our YouTube channel! SUBSCRIBE
How to install DaVinci Resolver on Ubuntu 20.04
Step 1
We access the DaVinci website at the following link:
DaVinci Solve
Step 2
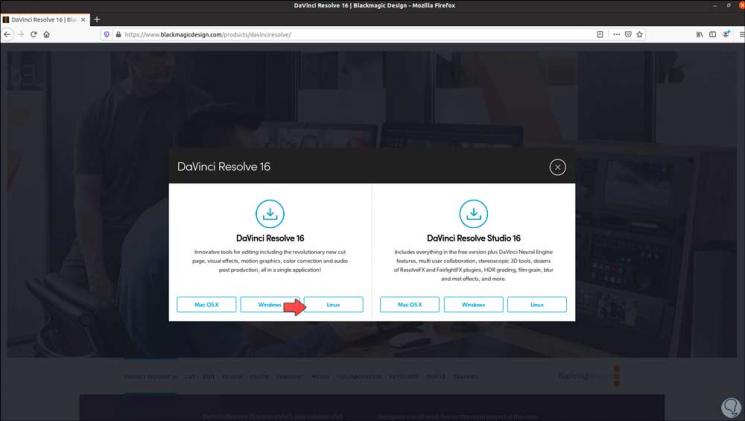
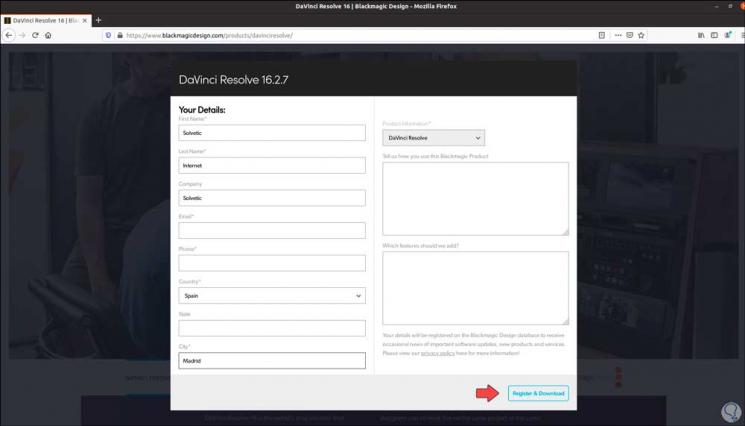
We click on the Linux version in the DaVinci Resolve 16 section, and after that we must register to proceed with the download:
Step 3
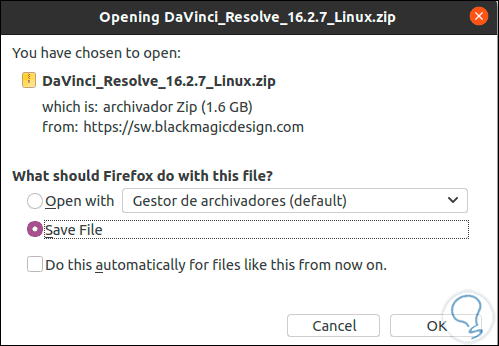
When registering we click on the "Register & Download" button, we save the installation file locally:
Step 4
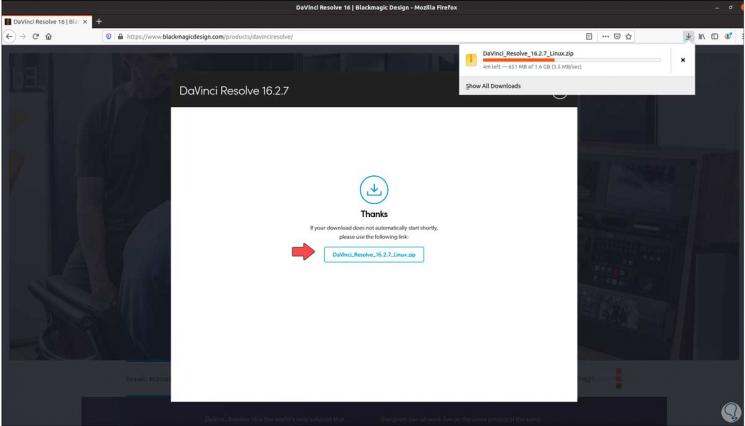
We click OK and the download process will start:
Step 5
When it is finished, we check that it has been downloaded:
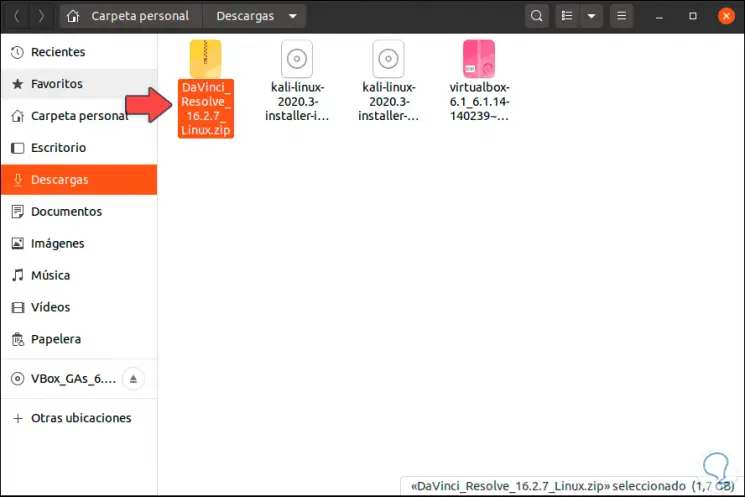
Step 6
We right click on it and select "Extract here":
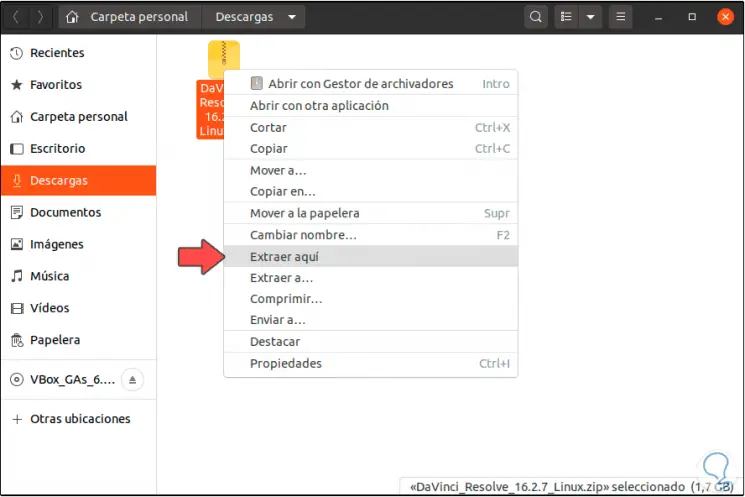
Step 7
We check that the DaVinci Resolve folder is extracted, we access its content:
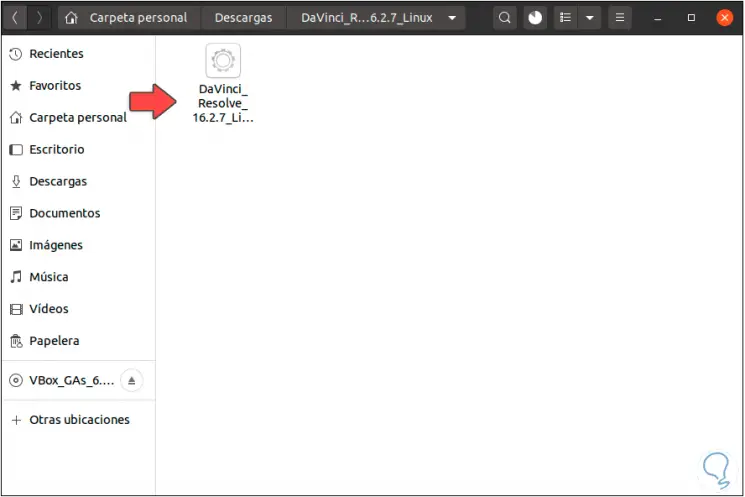
Step 8
To install it, double-click on the file and the installation wizard will be launched:
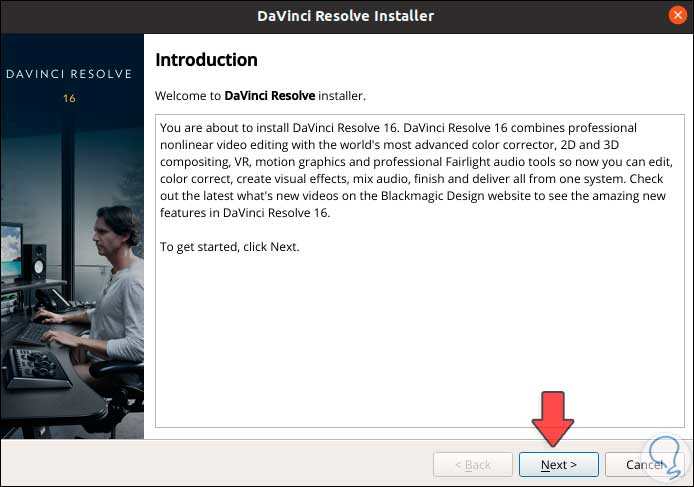
Step 9
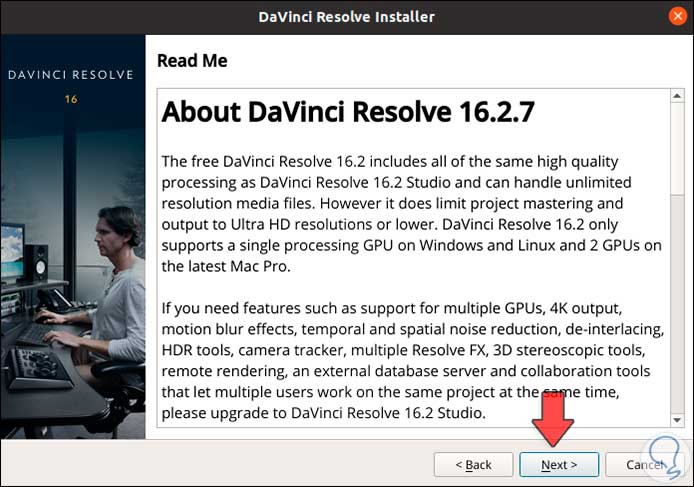
We click Next and we will see a brief summary of the application:
Step 10
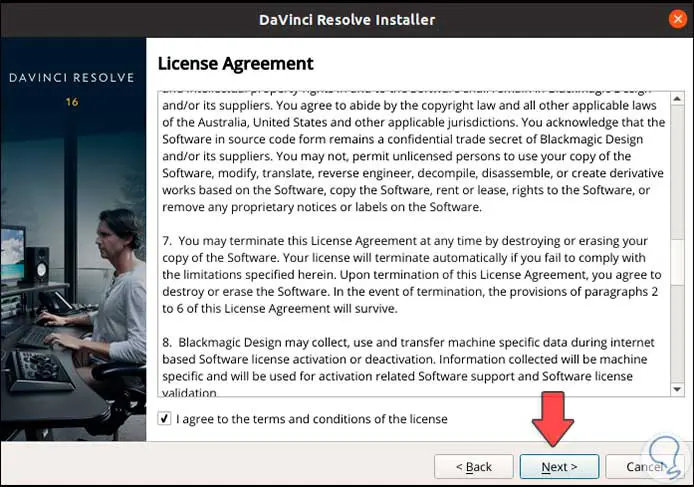
In the next window we must accept the license terms:
Step 11
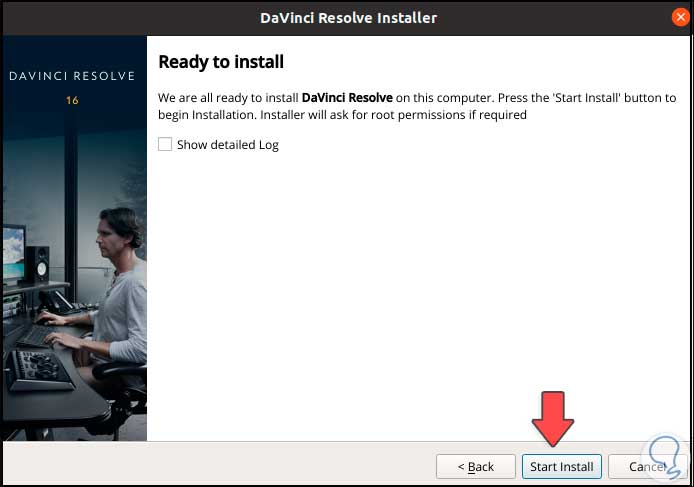
In the next window it is possible to activate the display of logs or events:
Step 12
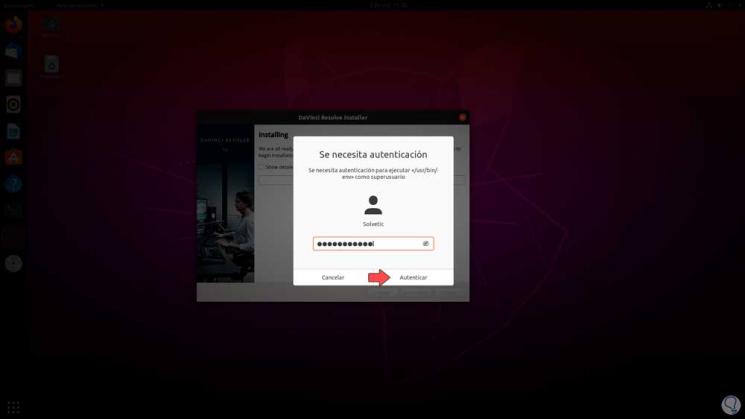
We click on “Start Install” to start the DaVinci Resolve installation and it will be necessary to enter the local administrator password:
Step 13
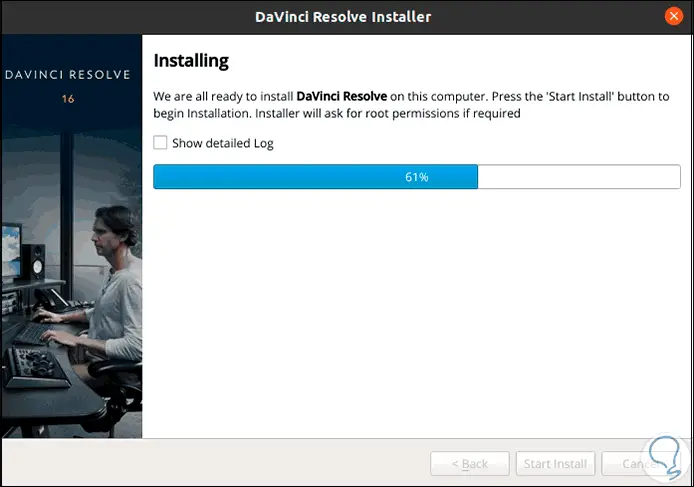
After authenticating, the installation process takes place:
Step 14
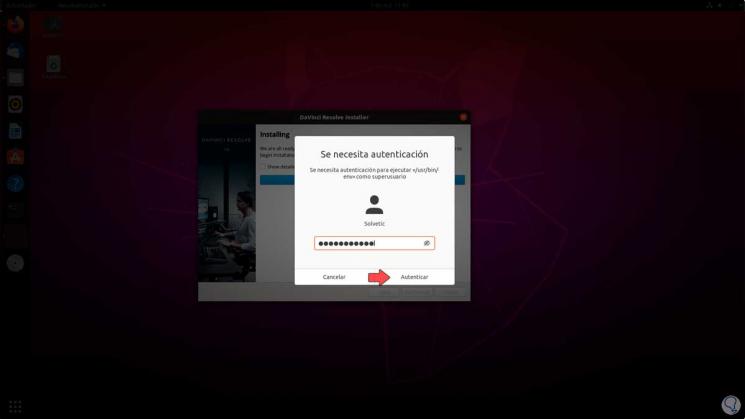
At the end of the process we must enter the administrator password again:
Step 15
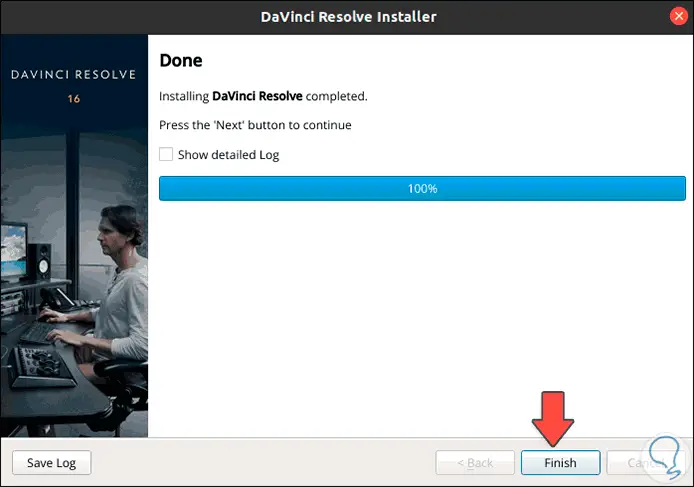
Then we will see the following when the process finishes. We click on "Finish" to finish the process.
Step 16
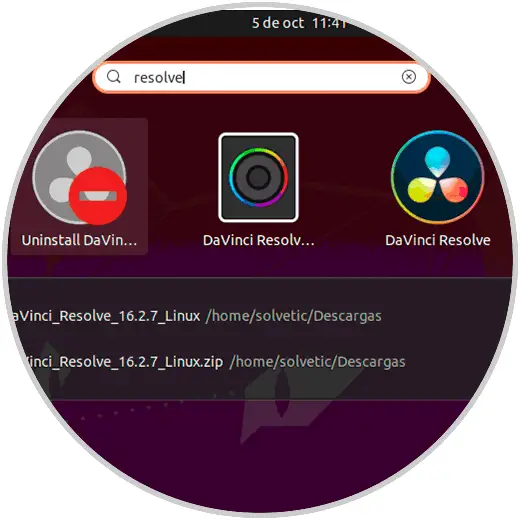
Now we can access DaVinci from Activities in Ubuntu 20.04:
Step 17
We access the application and its components:
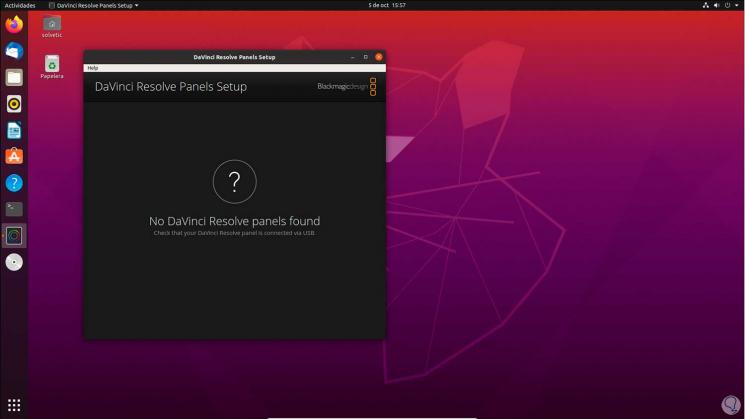
In this way we will be able to work with multimedia elements based on a high-performance application by installing DaVinci Resolve in Ubuntu 20.04.