Current technology has a premise that is to be able to transmit content from one device to another, either for reasons of better viewing or simply because we want more people to visualize that content. One of the technologies that makes this possible is Miracast. Miracast has been basically developed as a technology that allows transmitting both audio and video and image files between various devices using a special WiFi network for this group, one of the advantages is that we can transmit both individually and simultaneously..
Miracast is based on WiFi Direct , which gives us the opportunity to create the network between different devices without the need to be connected to the Internet. To this end, Miracast makes use of the 2.4 GHz and 5 GHz bands. In terms of PC or mobile, with Miracast it will be possible to duplicate our screen, but on certain occasions we may encounter errors when using this function That is why TechnoWikis brings a series of integral solutions to correct this.
Additional tips
In addition to the points we will see below we can try the following:
- Disable VPN services that we have installed since these can affect the behavior of the network towards external connections.
- Configure the BIOS (in special cases) from the Primary Graphics Adapter tab by setting the IGP value from PCI to PCI-E.
Below we can see how to know if my PC supports Miracast and how to check the configuration of my Windows 10 computer to be compatible with Miracast..
1. Know if our Windows 10 PC is compatible with Miracast
The first thing to do is validate that our equipment and system is compatible with this technology
Step 1
To do this we will use the following keys and execute the following command:
+ R
dxdiag
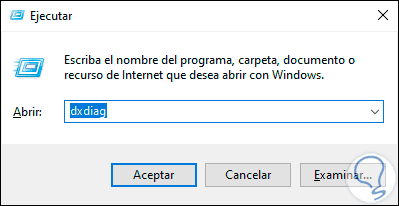
Step 2
Press Enter or Accept and the detailed information of Directx will be displayed:

Step 3
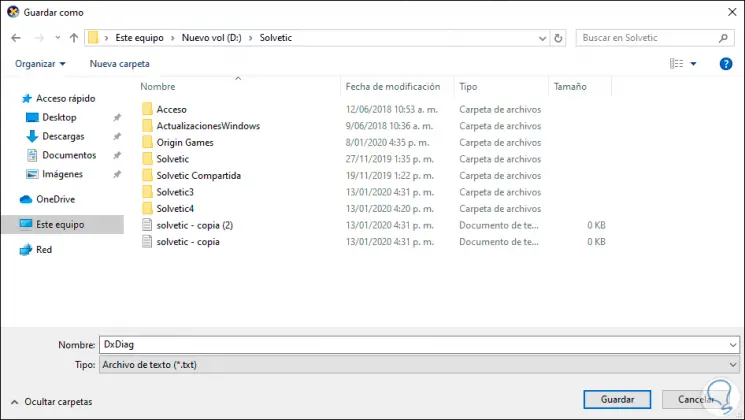
There we click on the “Save information†button at the bottom and proceed to define the path where the report will be saved:
Step 4
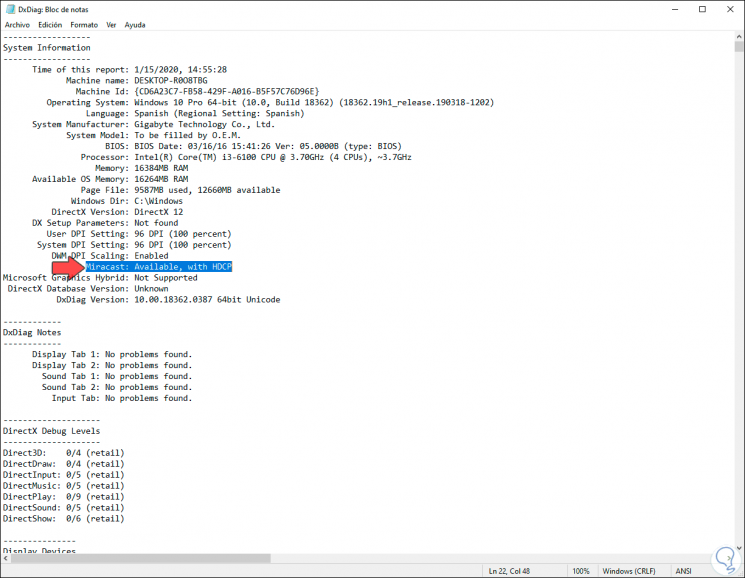
We open the text file with the notebook and there we will locate the “Miracast†line where it will be indicated on the device:
Step 5
If we see the “Available, with HDCP†line, it means that the device is compatible with this technology.
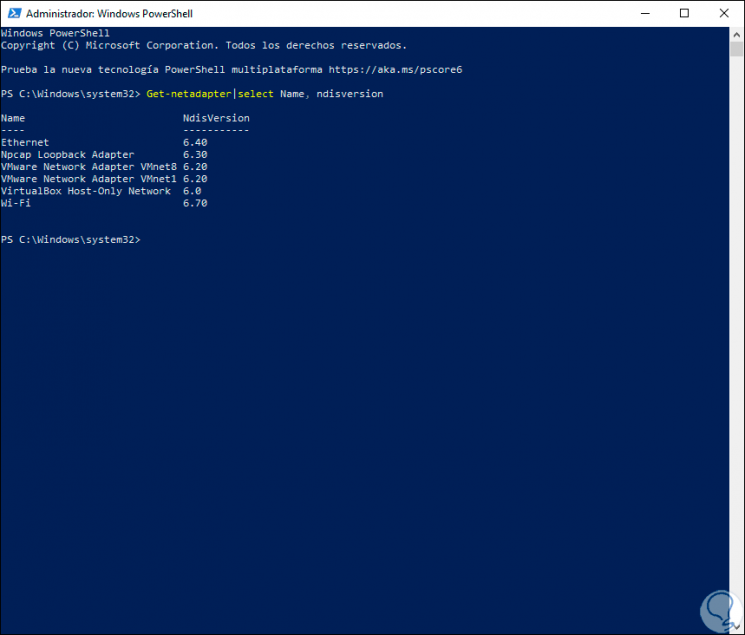
In addition to this, we can go to Windows PowerShell as administrators to validate the compatibility of the network adapter, for this we will run the following in the PowerShell console. This will display the Ndis numbers and to be compatible with Miracast we need version 6.30.
Get-netadapter | select Name, ndisversion
2. Configure properties of the Windows 10 Wi-Fi network adapter
In case of using a Wi-Fi network adapter as a means of connection (which is a necessary requirement for Miracast)
Step 1
For this we will go to the Device Manager and there we will display the active network drivers in the “Network adapters†section:
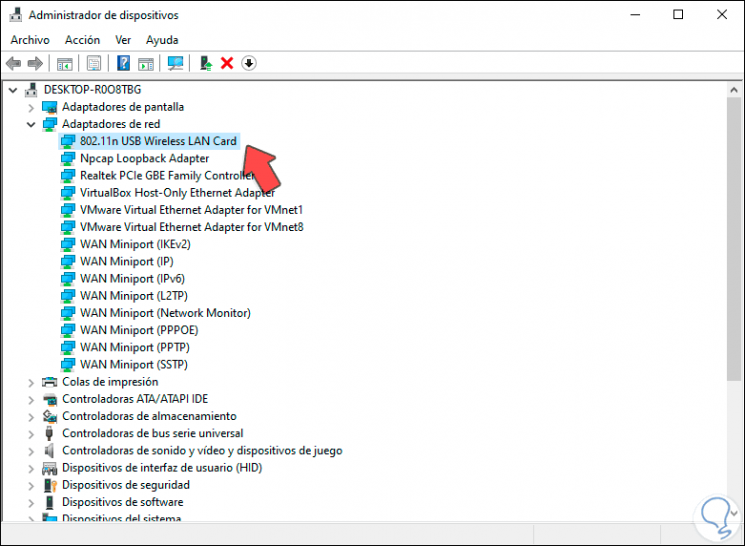
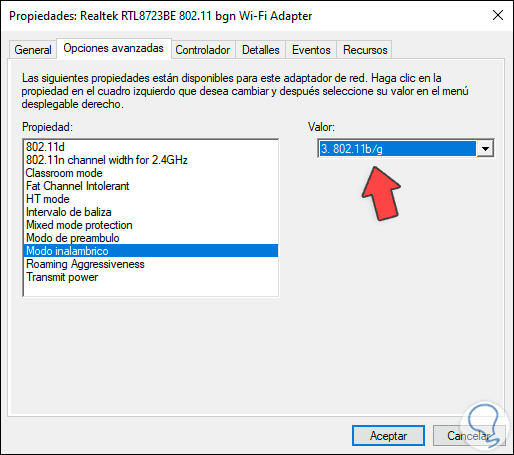
Step 2
Double click on the Wi-Fi adapter and in the "Advanced options" tab we will go to the "Wireless mode" option and there we select the value (if available) "Auto". Click on OK to apply the changes.
3. Verify that the Wi-Fi connection is active on both Windows 10 devices
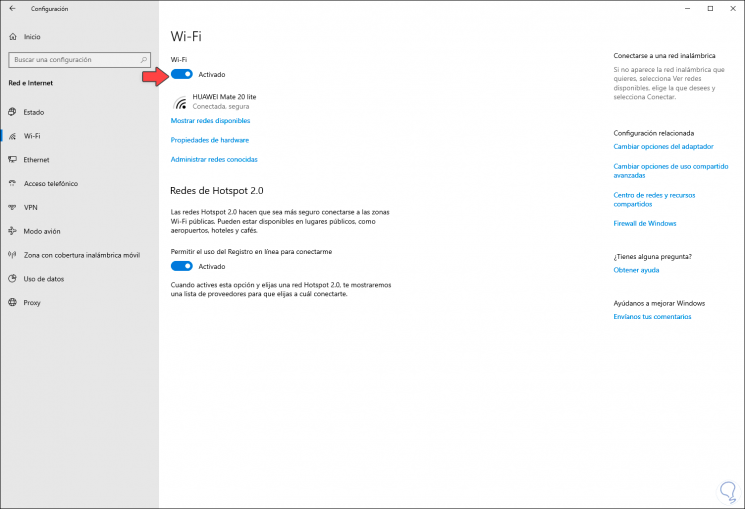
An essential step is to validate that Wi-Fi connectivity works correctly on both the receiving and the sending equipment
Step 1
For this we will simply go to the following route:
Step 2
In the section “Wi-FI†we find the current state of the connection of our Wi-Fi network:
3. Reinstall the network driver Windows 10 devices
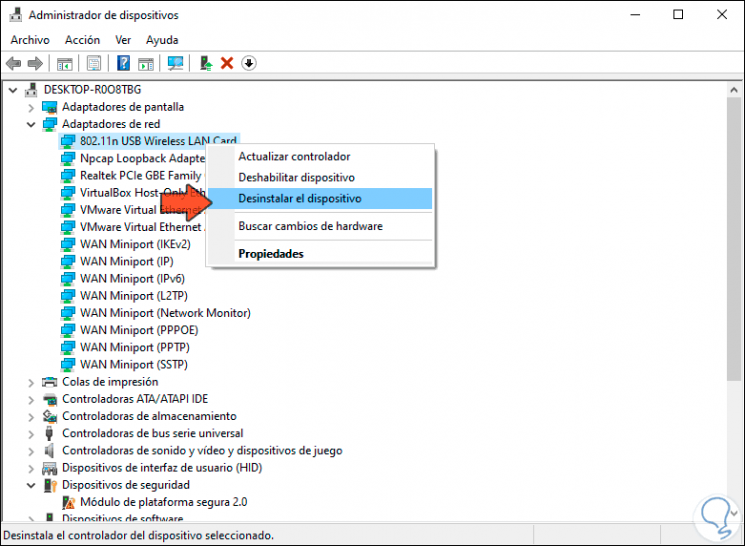
A driver with errors is the cause of multiple failures in the transmission of Miracast, so if an update of these is not enough we must resort to uninstalling the driver in order for Windows to automatically reassign the most updated drivers.
Step 1
To do this we will go to the Device Manager , click on the “Network adapters†section and right click on the Wi-Fi network controller to select the “Uninstall the device†option:
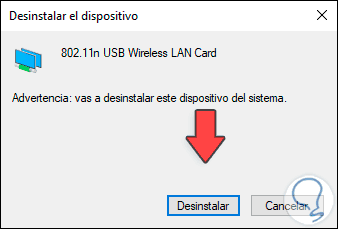
Step 2
The following warning will be issued. We click again on "Uninstall" to confirm the action, at the next login, Windows will assign the latest drivers.
4. Update the Windows 10 network drivers
Another option, if we do not want to uninstall, is to update the driver directly
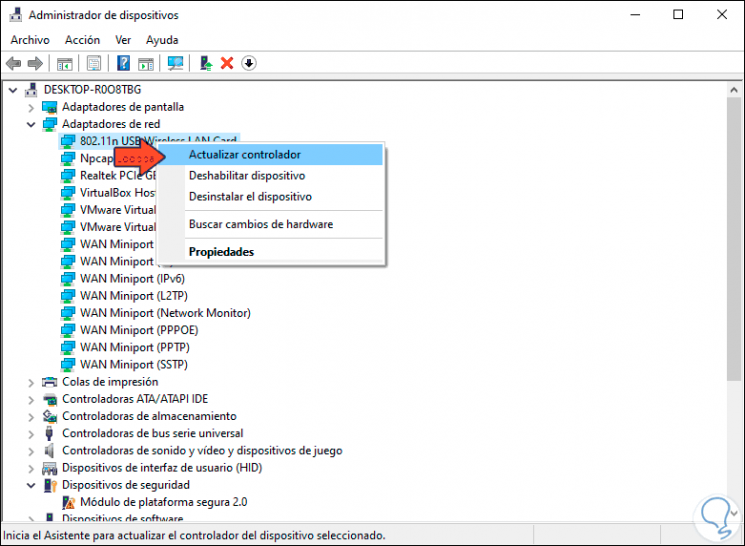
Step 1
To do this we go back to the "Network adapters" section in the Device Manager, right click and this time select "Update driver":
Step 2
We have two options to update:
- Update the driver automatically.
- Do it manually by first downloading the driver from the official site of the manufacturer.
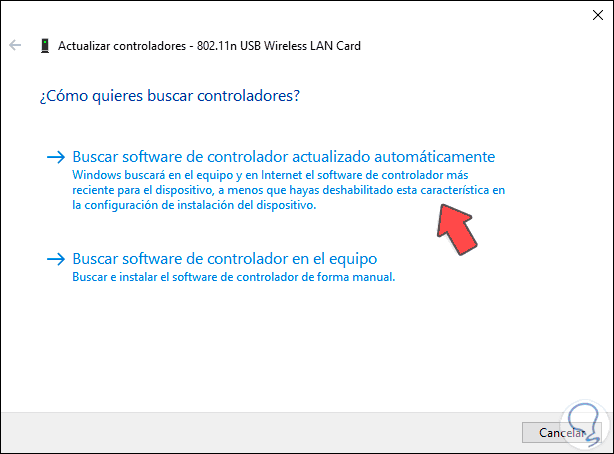
Step 3
In this case we select the automatic option and the system itself will indicate if there are updates or if we already have the latest version of the driver:

With any of these solutions we will be able to use Miracast to the fullest.