One of the advantages of Linux operating systems is its wide portfolio of options to use, we find operating systems that range from basics to scientific systems and much more. Therefore, each distro must be carefully analyzed and aware of what it offers us. Today TechnoWikis will talk about a special distribution called Gentoo and with us you will learn what it is, its main features and of course how to install it..
What is Gentoo?
Gentoo is a free Linux operating system which offers options to be optimized and automatically adjust the applications to be used according to the case of use of the system highlighting the extreme configurability, its performance, as well as a large set of users and developers of First level to maintain the best system performance.
Gentoo can be downloaded at the following link for free:
Gentoo
Download options
One of the highlights of Gentoo are the download options that it offers us, for example, for a 64-bit architecture we can download ISOs such as:
Hardware requirements
The hardware requirements to use Gentoo are:
- AMD64 CPU or EM64T CPU (Core i3, i5, i7)
- 2.5 GB hard disk space (excluding swap space)
Architectures
But remember that Gentoo can be installed in architectures:
Gentoo is different from other Linux distributions because it is based on a functionality called Portage which offers several additional features to make Gentoo a scalable system because it offers software tools that positively impact performance, reliability and reliability. general security
Let's see how to install Gentoo in a complete way.
1. How to install Gentoo on Linux
Step 1
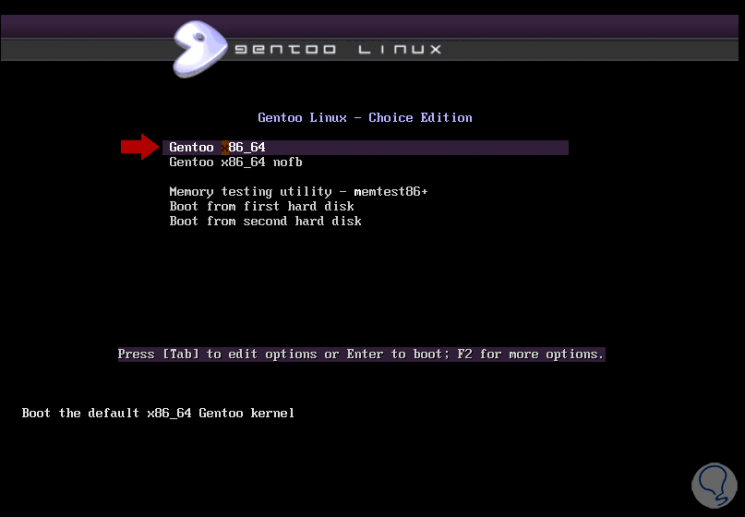
For this example, we have downloaded the ISO Live CD image which, at the time of burning to a bootable DVD or USB, will display the following:
Step 2
There we have options such as:
- Access the 64-bit Gentoo live environment or nofb mode
- Boot from the first or second disk
We select “Gentoo x86_64†and in the next window we select the language, in this case we enter “es†(Spanish):
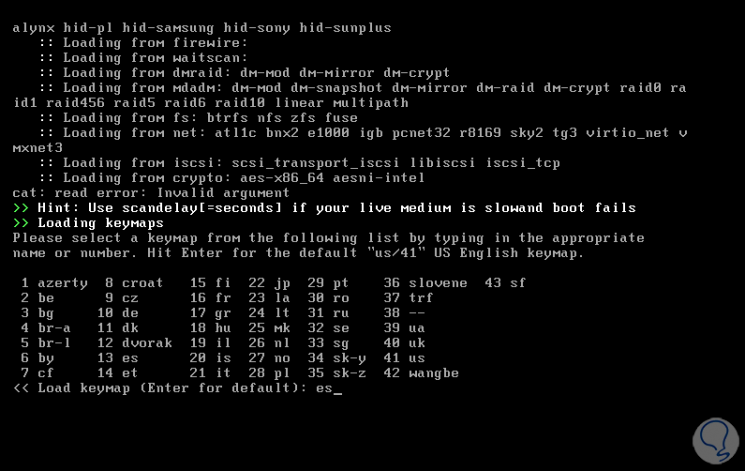
Step 3
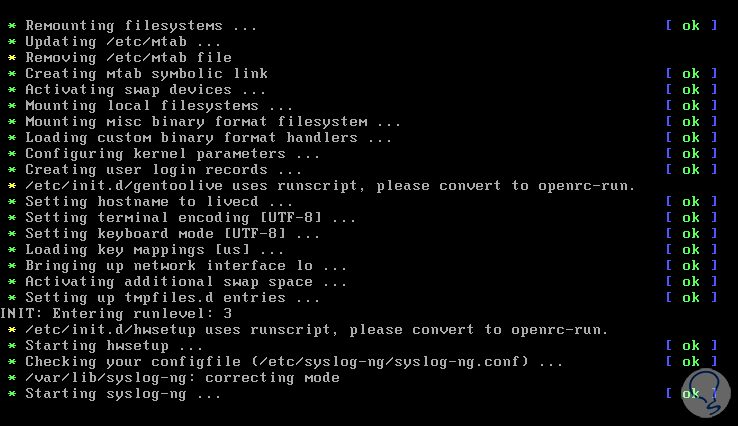
Press Enter and the service loading process will begin:
Step 4
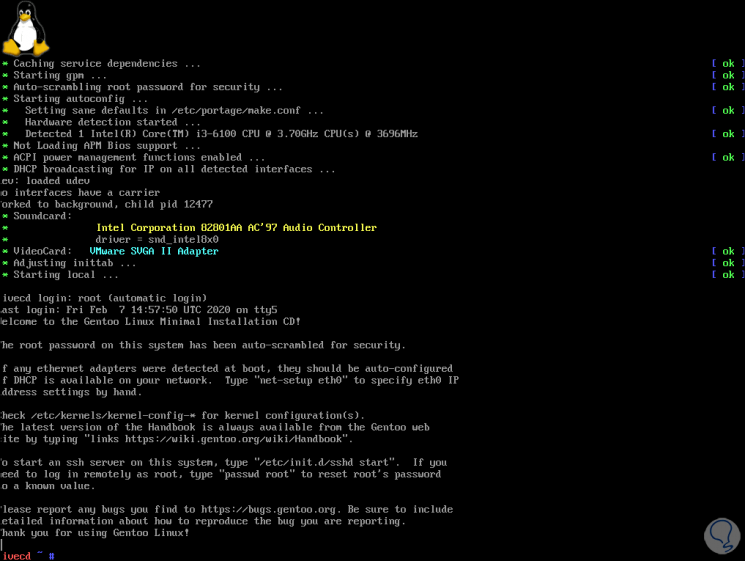
After these are loaded we will see the following:
Step 5
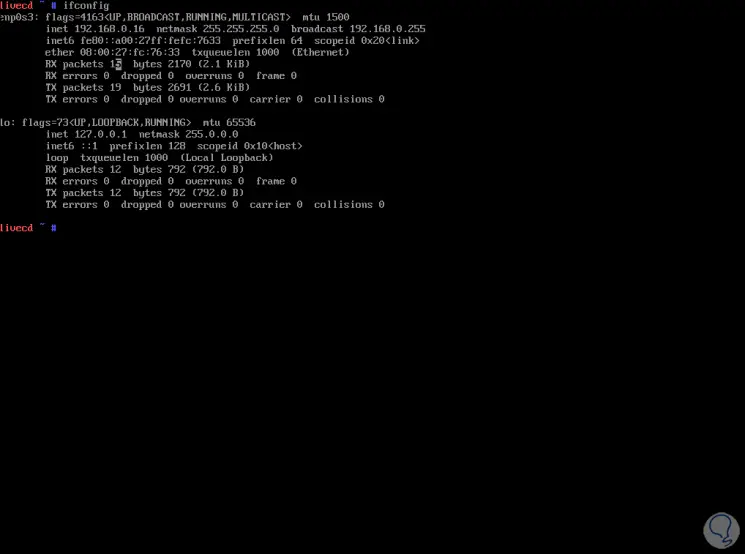
This is the livecd as we see, first, we validate the network configuration by running:
ifconfig
Step 6
In case the network fails, we must execute the following syntax for its configuration:
net -setup “adapterâ€

Login Join up!