TeamViewer is one of the most comprehensive solutions for the entire process of remote support and online collaboration since this is one of the current keys of the IT world where many actions have to be worked remotely, this saves time and resources in any organization, so TeamViewer is full of practical solutions in both its free and paid versions..
The time may come when the use of TeamViewer is no longer needed for administrative reasons or simply because more remote access will no longer be granted or requested and we look for ways to uninstall TeamViewer completely. That is why in TechnoWikis we will explain how to uninstall TeamViewer from my Mac or how to uninstall TeamViewer in Windows 10 completely.
If you need to install TeamViewer you can download the appropriate version at the following link:
TeamViewer
To stay up to date, remember to subscribe to our YouTube channel! SUBSCRIBE
1. How to uninstall TeamViewer on Mac
Step 1
To successfully uninstall TeamViewer on macOS, we must access Applications using one of the following options:
- From the Go menu - Applications
+ ⌘ + A ⇧ + ⌘ + A
Step 2
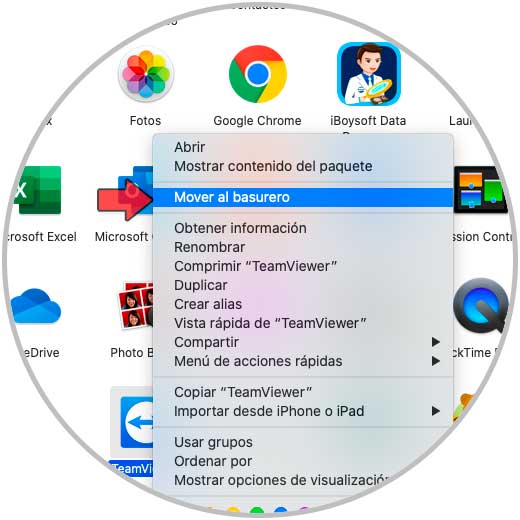
Once we access Applications, we will search for TeamViewer and we have two ways to eliminate it from there:
- Drag it directly to the Trash.
- Right-click on it and select "Move to trash can."
Step 3
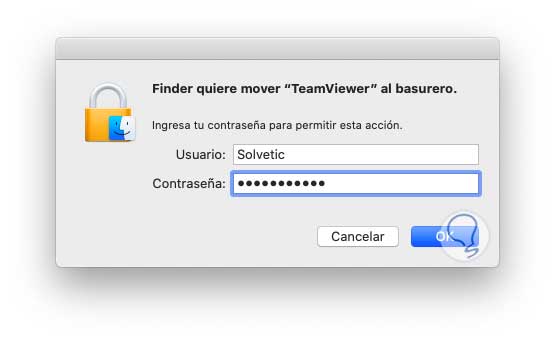
This requires entering the administrator password. We click OK to complete the process.
Step 4
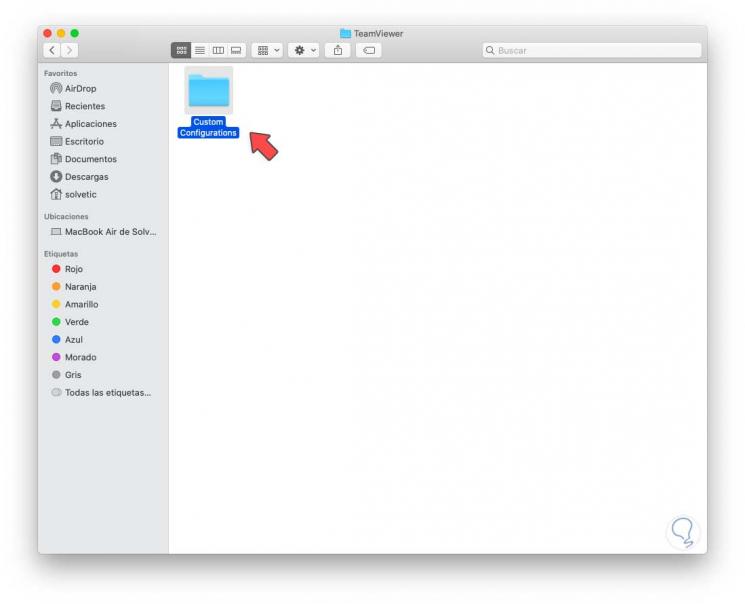
After this we will go to the Trash and empty it to complete the process. Since TeamViewer leaves some files hosted locally in macOS, we must delete them to complete the action, for this we go to the Finder and from there we will go to the local disk drive and in the path Library - Application Suport and there we will locate the TeamViewer folder and we delete its content:
Step 5
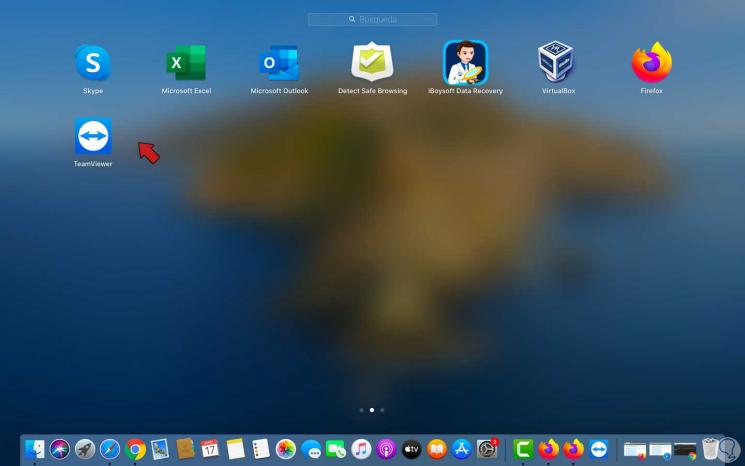
In the Preferences section there are several files with the .plist extension which belong directly to the operating system, these should not be modified. Finally, it is possible that TeamViewer continues to be displayed in the Launchpad, to check it we go to the Launchpad and if this TeamViewer there we must press it for 2 seconds and this icon will start to shake, this activates a cross at the top of the icon and when clicking on she will be removed from there.
With this process we have completely removed TeamViewer from macOS..
Note
sometimes we will not see the cross icon in Launchpad to delete the app.
2. How to uninstall TeamViewer in Windows 10
Step 1
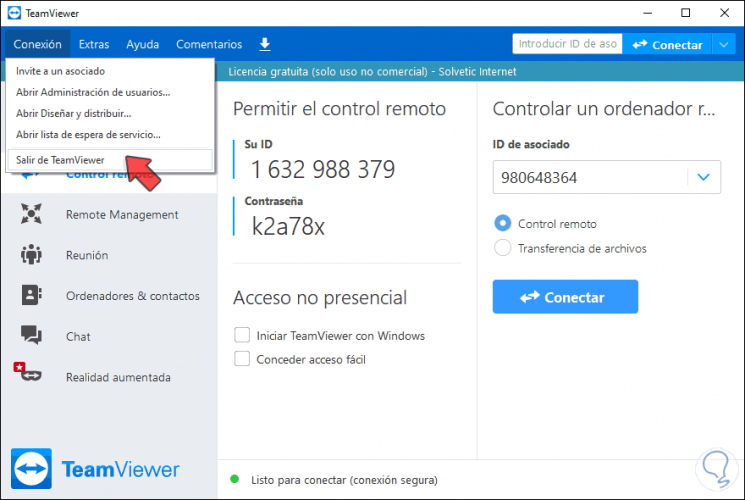
In the case of Windows 10 we must first exit the utility from the Connection - Exit TeamViewer menu:
Step 2
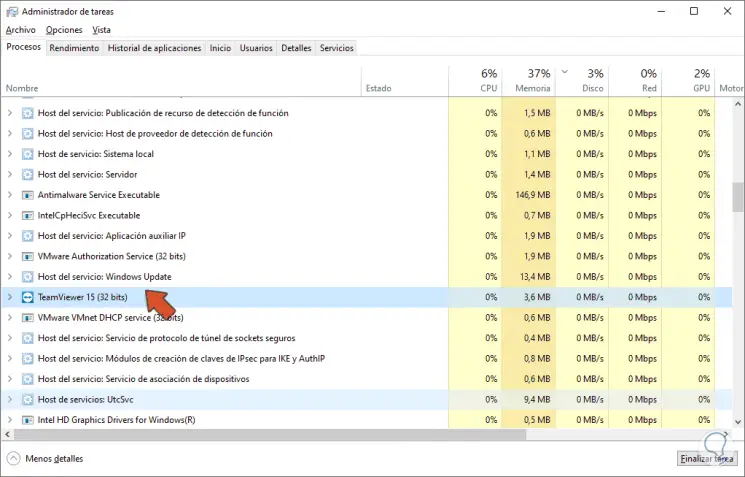
Once this is done, we will finish the TeamViewer task from the Task Manager, for this we access the Manager and in the "Processes" tab we go to the "Background processes" section and detect TeamViewer, to finish its task we can use any of the following methods:
- Select TeamViewer and click the "End Task" button at the bottom.
- Right-click on TeamViewer and select "End Task".
Step 3
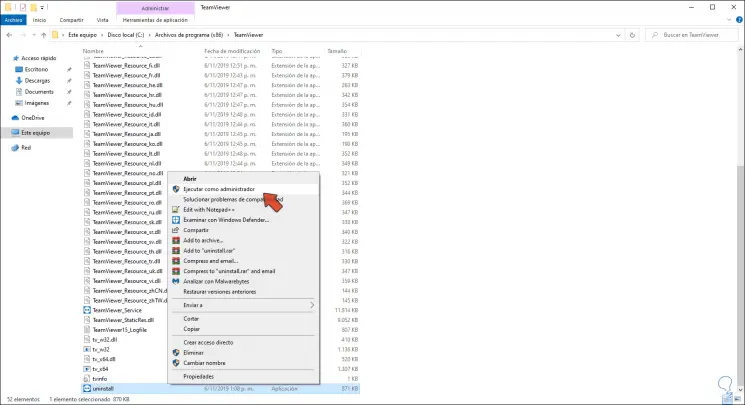
Now we will go to the path where TeamViewer has been installed which is generally the following path:
C: \ Program Files (x86) \ TeamViewer
Step 4
There we right-click on the uninstaller and select "Run as administrator":
Step 5
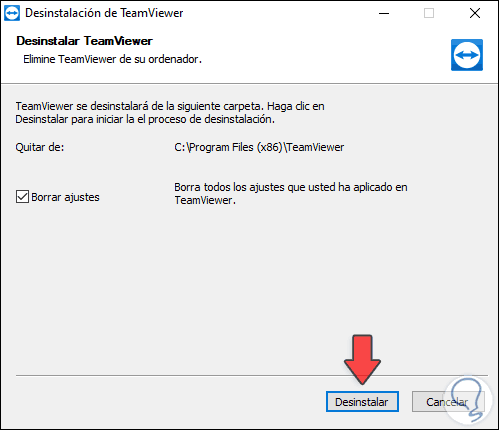
The following wizard will be displayed:
Step 6
We activate the “Delete settings†box and click “Uninstallâ€:
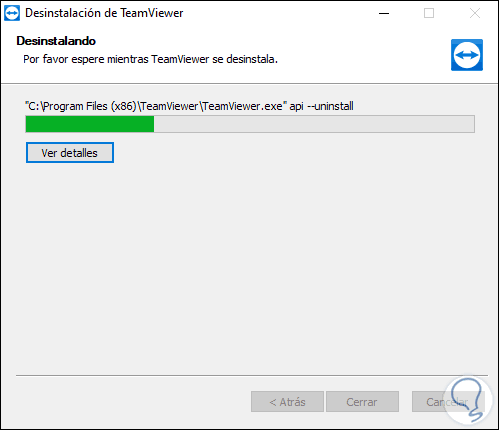
Step 7
When this ends we will see the following:
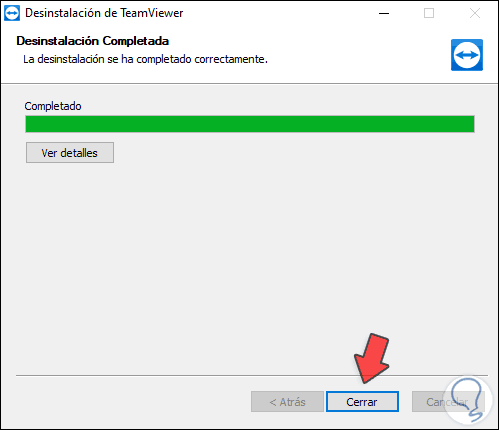
Step 8
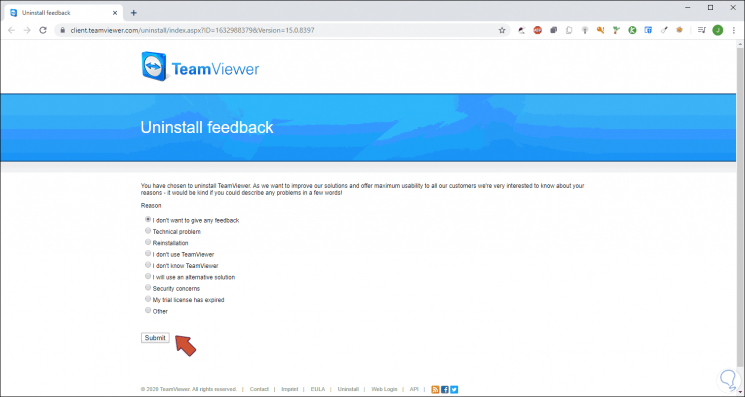
We click Close to exit the wizard and we will be redirected to the TeamViewer website to indicate the reason for uninstallation. After this we restart the operating system.
Step 9
When accessing again, we go to the File Explorer and there we select Folder Options, in the "View" tab we must activate the "Show hidden files, folders and drives" box:
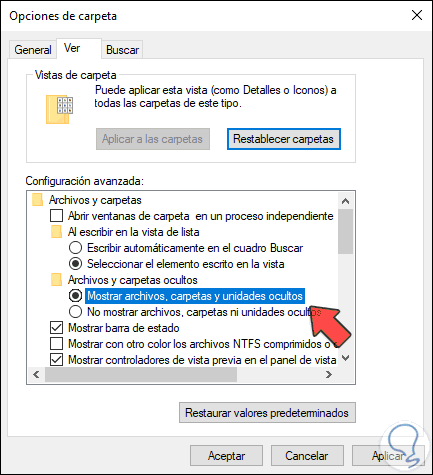
Step 10
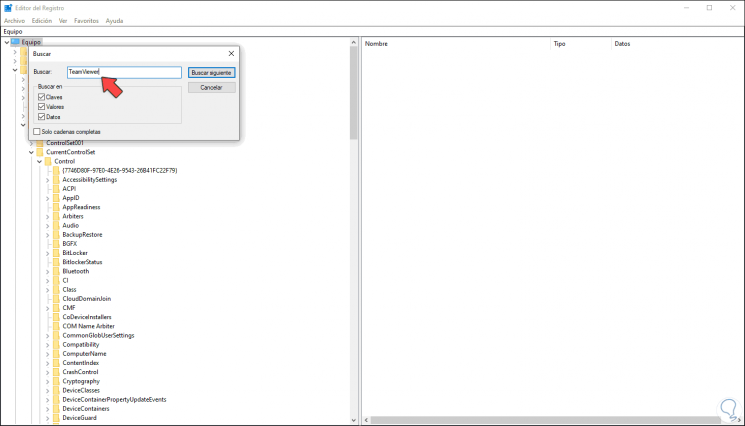
We click Apply and OK and after this we will go to the Windows 10 registry editor using the following keys and executing the command "regedit"
+ R
Step 11
We will go to the Edit - Search menu and enter "TeamViewer":
Step 12
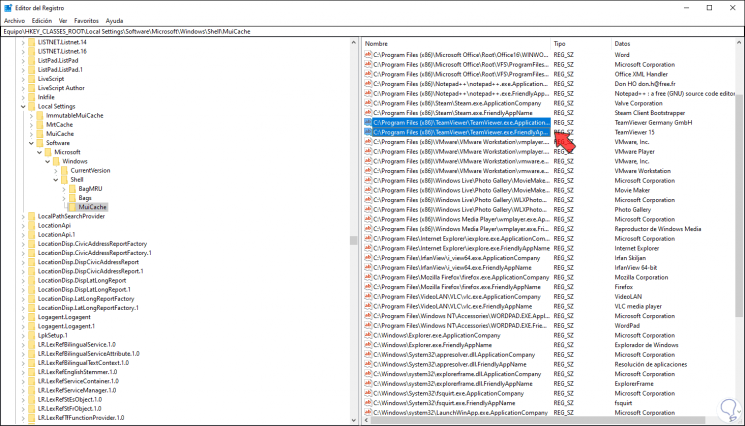
We click on "Find next" or we go directly to the path:
HKEY_CLASSES_ROOT \ Local Settings \ Software \ Microsoft \ Windows \ Shell \ MuiCache
Step 13
There we will locate 2 files associated with the TeamViewer installation path in Windows 10:
Step 14
We delete these files and the following warning is displayed:
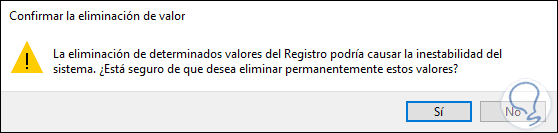
Step 15
We confirm by clicking Yes and validate that no TeamViewer files remain there. Finally, we go to the Windows 10 File Explorer and in the search field enter "TeamViewer" to display all possible results:
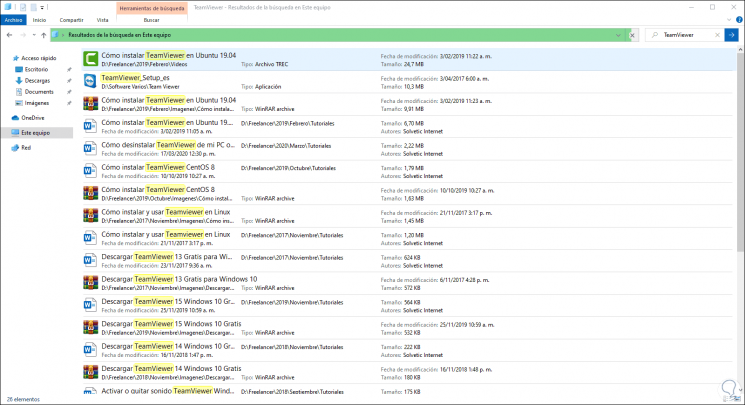
With these steps we have eliminated TeamViewer in both macOS and Windows 10 in a comprehensive way because normally there are some files that can affect some tasks where the file name is linked, but in this way it will have been completely removed.