Support tasks have always existed, and will continue to exist, because despite the modern operating systems and applications we will always be prone to errors or require some additional configuration. The natural thing is that many times in-person support is requested (in the case of companies) or we do it ourselves, but there is a special option that is very helpful and it is remote support which helps a user receive help without leaving his place as well as the person who provides such help. This is a saving of resources and time especially..
Today we will explain in detail how you can activate and configure the remote desktop on Mac and with it not only receive but be able to offer support to other users.
1. How to activate and configure Mac remote desktop
Step 1
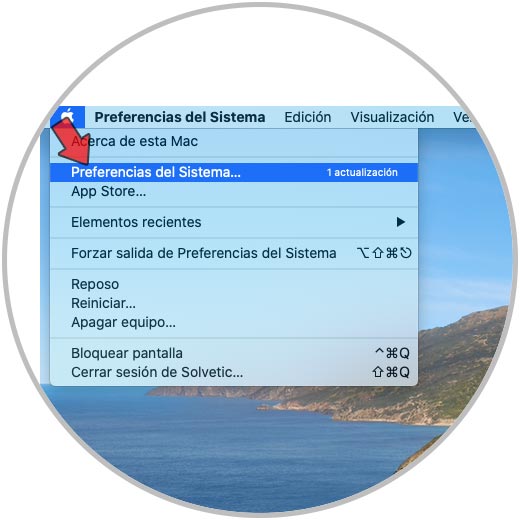
The first step to take will be to access System Preferences using one of the following methods:
- From the Apple menu - System Preferences
- Clicking on the icon in the macOS Dock
Step 2
In the System Preferences window we enter "remote" in the search engine and in the available options we activate the "Remote Administration" box:
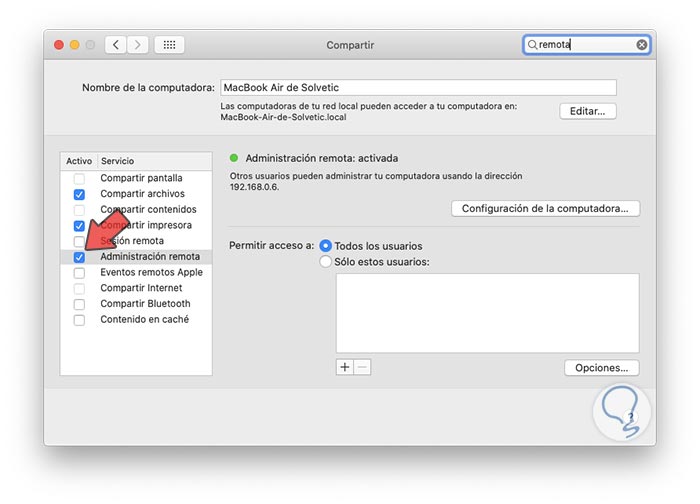
As we can see, it is made up of various parameters that TechnoWikis will explain in detail..
Step 3
At the top we can change the name of the team that will be visible to users who want to establish the connection by clicking Edit.
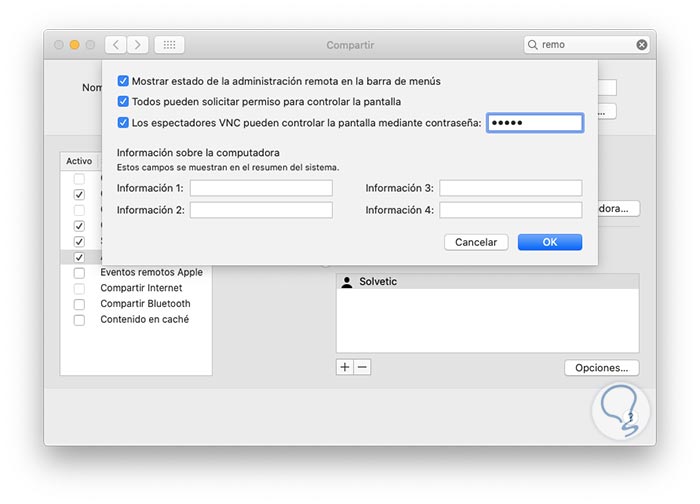
With the button "Computer Configuration" it will be possible to:
- Enable administration status in macOS menu bar
- Enable option to grant screen control
- Require that the use of VNC be by password
You should know that in macOS a standard VNC connection integrated to the system is attached by default.
Step 4
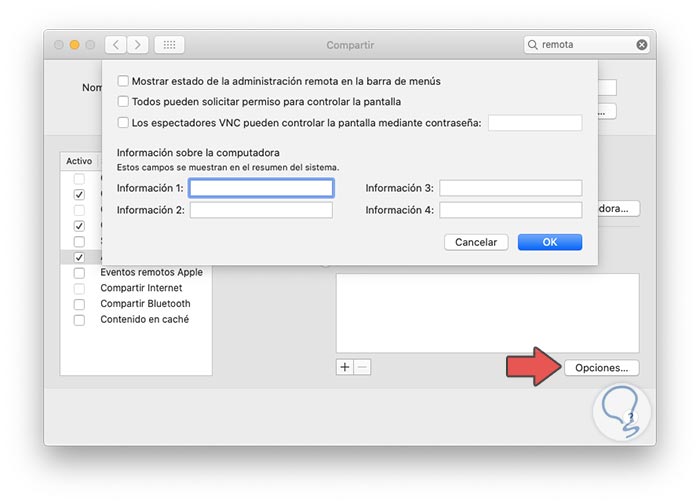
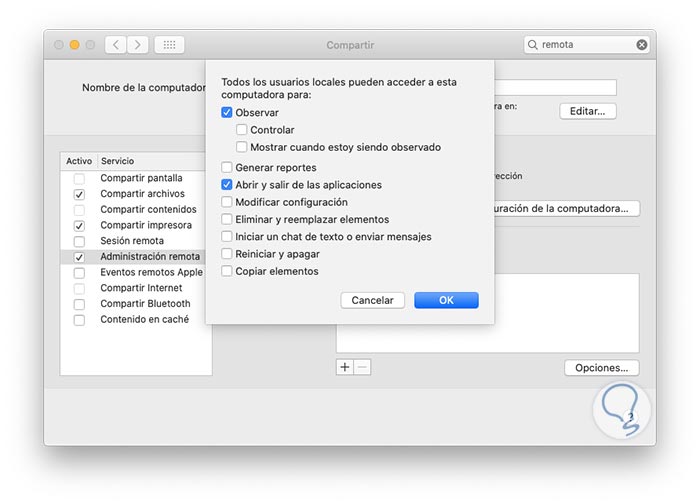
In the users section we find the "Options" button with which we can activate or not what type of tasks can be performed by users who connect to the macOS equipment, this ranges from controlling the equipment to turning it off:
Step 5
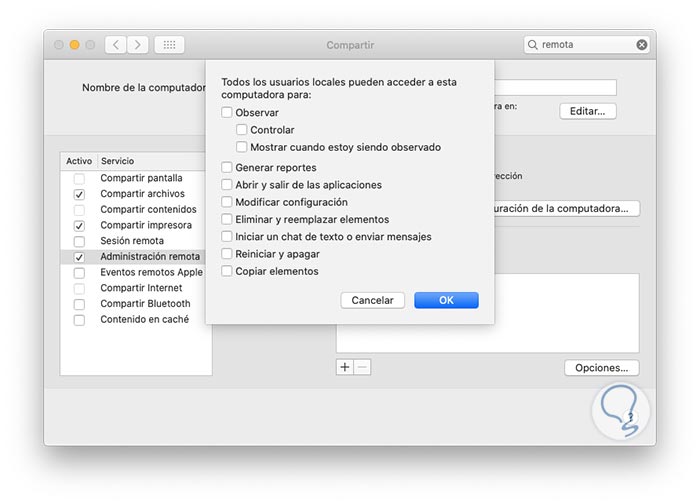
These must be enabled based on the permissions that we consider necessary for this purpose, just activate the appropriate box:
Step 6
Each configuration aspect must be worked according to the requirements of the environment and the type of user who is going to connect to the equipment:
With this defined we will be ready to use the remote desktop in macOS and TechnoWikis will explain the different use options..
2. How to use remote desktop on Mac through VNC
As we have mentioned, macOS uses a standard VNC with which we can resort to a free VNC client for connection. Before you should know that macOS allows us to connect to a remote computer and mount folders locally. This does not have a graphical interface but it allows working internally on the computer.
Step 1
If we want to use this method we go to the Go menu (of Finder) and select "Connect to the server", in the pop-up window we enter the following syntax:
smb: \\ Remote_IP_Address
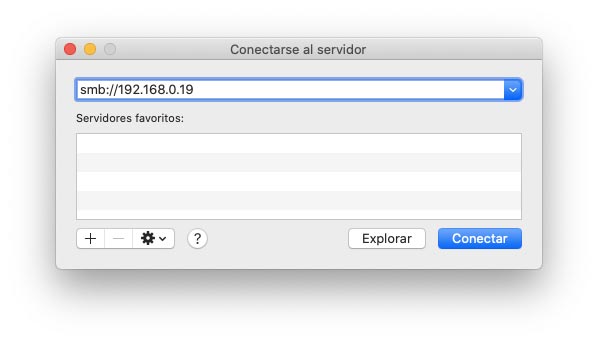
Step 2
We click "Connect" and we will see the following window:

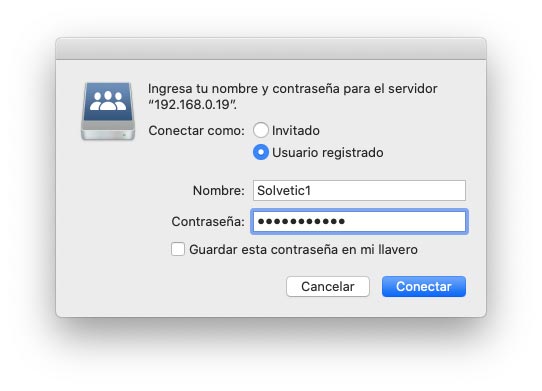
Step 3
We click "Connect" to start the process and we have the option to access the remote computer as a guest (without permissions) or with an account registered on that computer:
Step 4
Click on "Connect" and then select which volume to mount remotely:
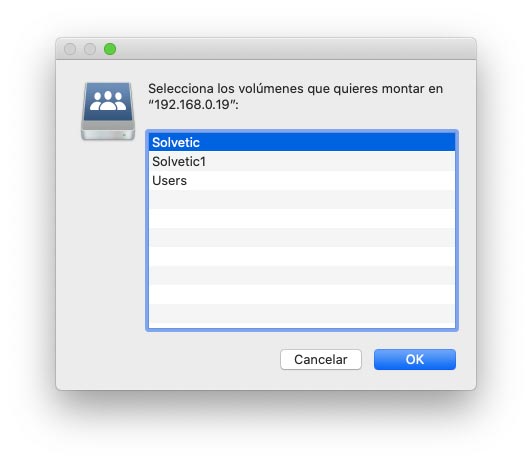
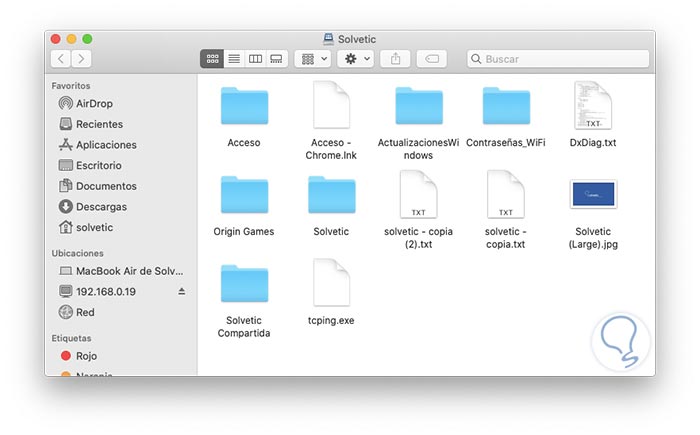
Step 5
Once selected we click on "OK" and we will see the files of the remote computer to be used with this option of the remote desktop in macOS:
Step 6
Now, if the idea is to use the graphical environment 100% we must use some free VNC client, in this case we will use RealVNC which is freely available at the following link:
RealVNC
Step 7
We access the client and there we will enter the IP of the remote computer (Windows, macOS or Linux) and the following will be displayed:
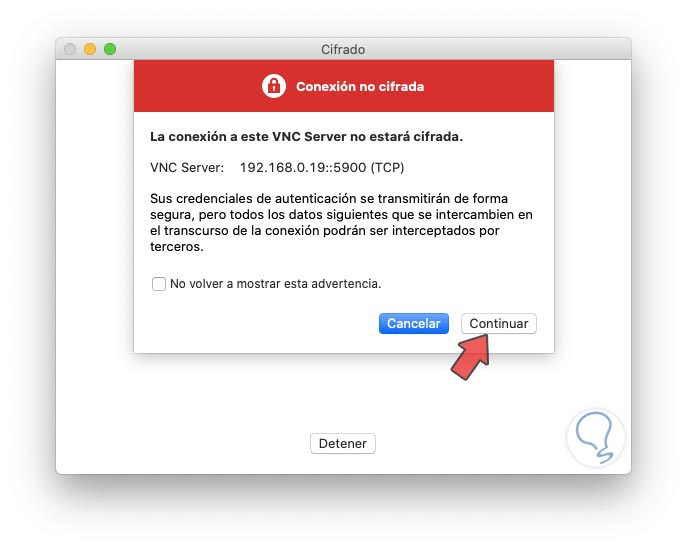
Step 8
We click "Continue" and we will enter the respective user credentials:
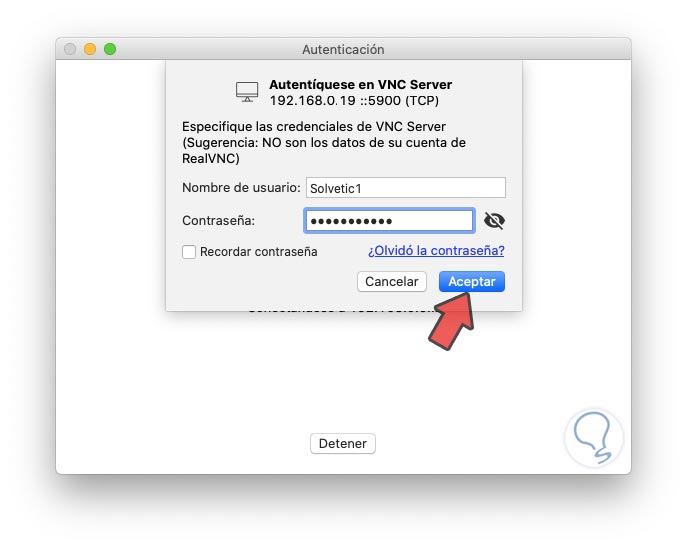
Step 9
We click on Accept and we will connect remotely to this equipment:
3. Remote Mac desktop connection
If the purpose is to access macOS from another computer, we must use the VNC client as we have described.
Step 1
For this we access the VNC client and enter the macOS IP and the following warning will be displayed:
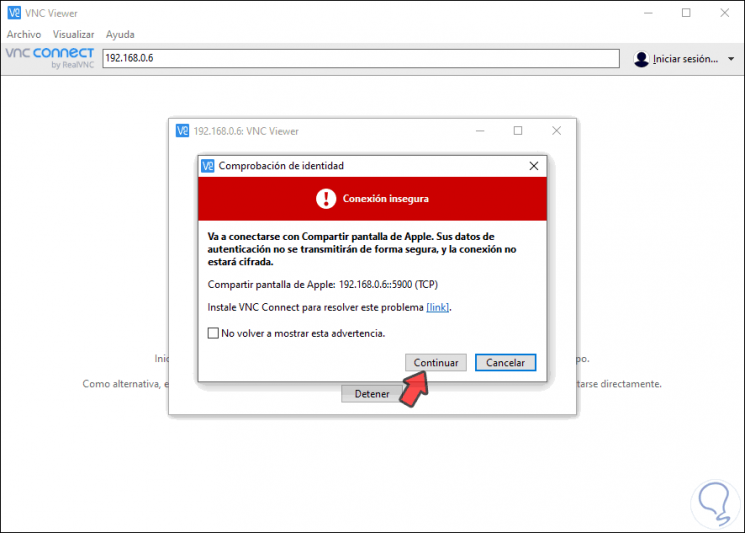
Step 2
We click "Continue" and proceed to enter the access credentials:
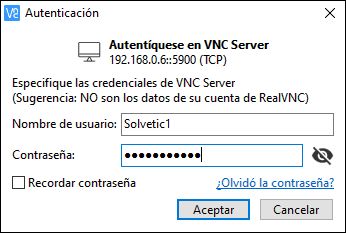
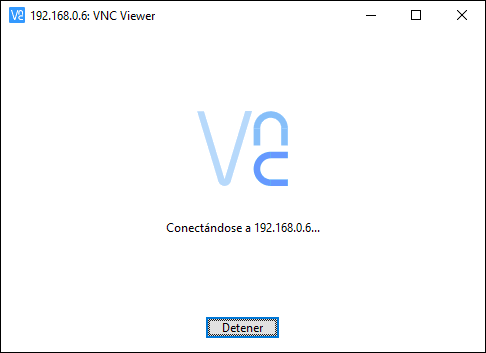
Step 3
We click OK and the connection process will take place:
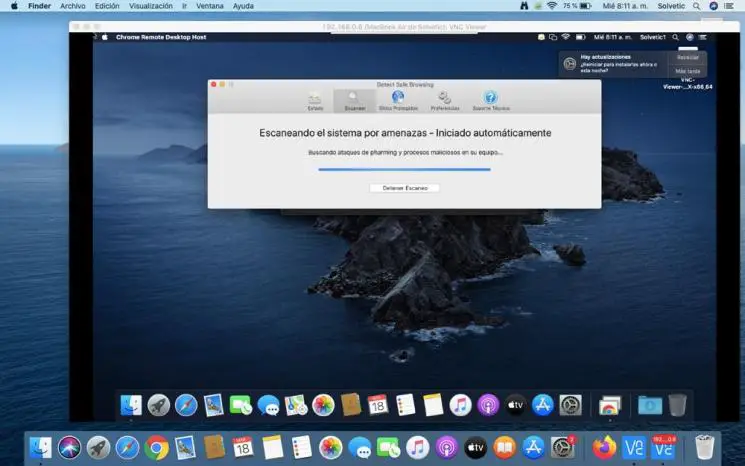
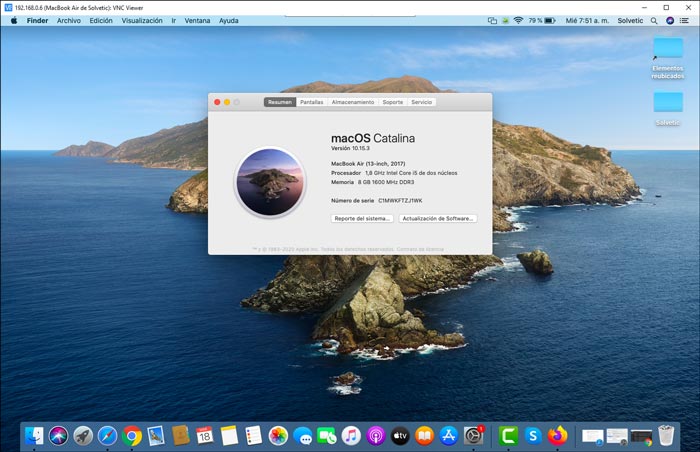
Step 4
This will give us remote access to Mac.
4. How to use TeamViewer for Mac remote desktop
TeamViewer is one of the most used platforms for the entire remote support process in the world due to its simplicity of use and integrated functions.
Step 1
We can download TeamViewer at the following link:
TeamViewer
Step 2
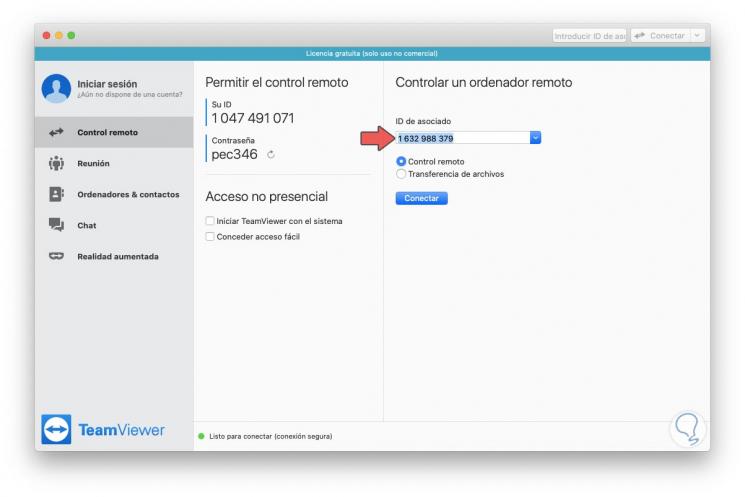
In Windows, Linux or macOS the process is identical. First, we access the application and there we find the ID of the local computer, as well as the access password.
On the right side, we must enter the ID of the remote equipment to use:
Step 3
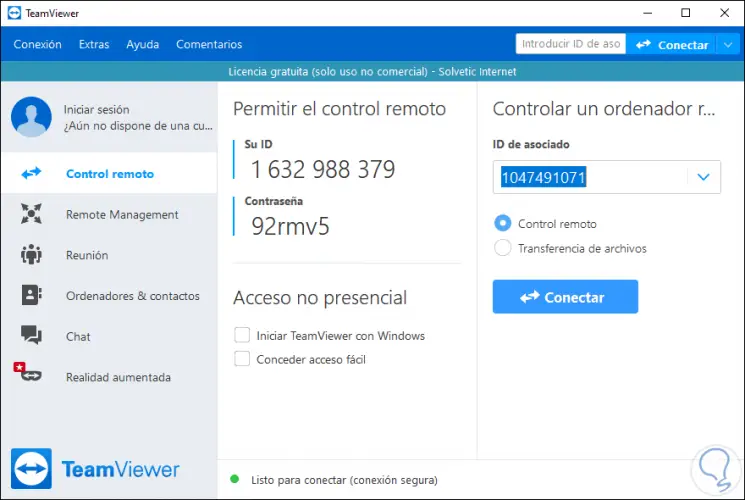
We can select the option "Remote control" to have full control of the equipment or select "File transfer" to only move files between both computers.
We can see that in other systems like Windows the TeamViewer console is identical:
Step 4
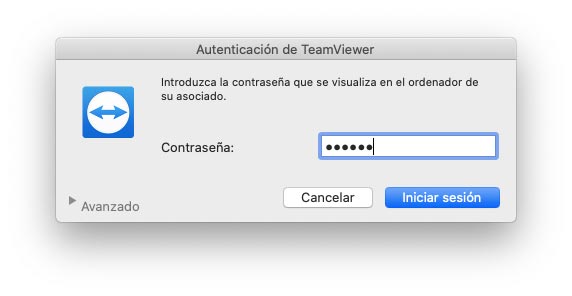
We click "Connect" and we must enter the password of the remote computer:
Step 5
We click on "Login" to go through this connection process:
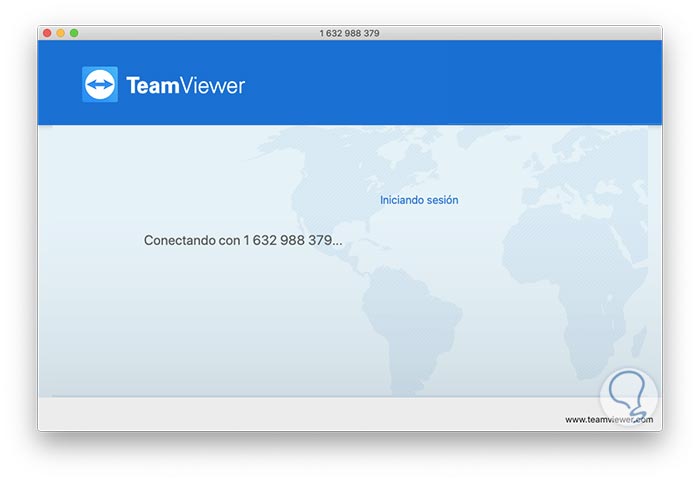
Step 6
With this we will access the remote team through TeamViewer:
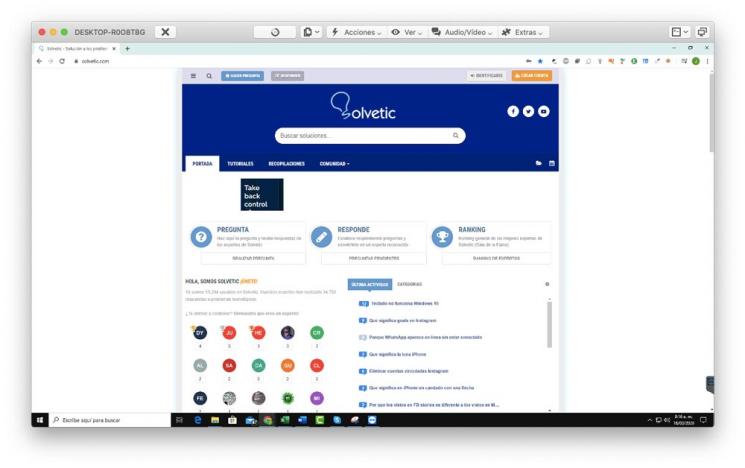
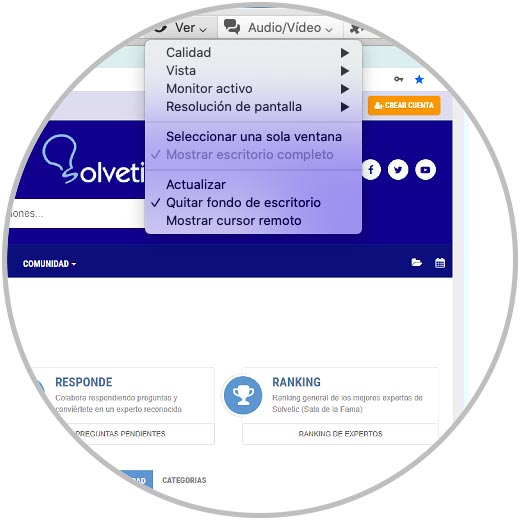
Step 7
TeamViewer provides us with a series of special functions when working remotely:
5. Remote desktop Mac terminal mode
The idea of ​​a remote desktop is to access it in a graphical interface, but some of us can choose to access it in a terminal way to work on files and folders in macOS.
Step 1
In this case we can make use of Putty which allows establishing the SSH connection with macOS, we can obtain it at the following link:
Putty
Step 2
Once we access Putty, enter the macOS IP and it will always be with port 22 and with the SSH box active:
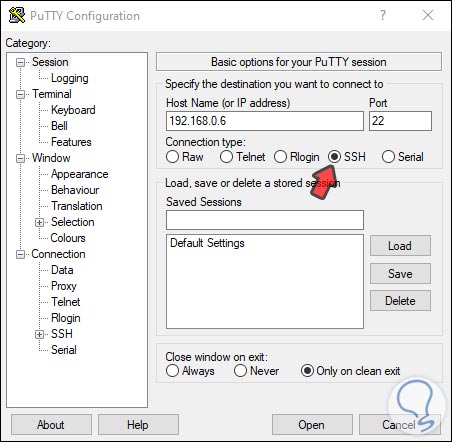
Step 3
We click "Open" and we will receive the following warning:
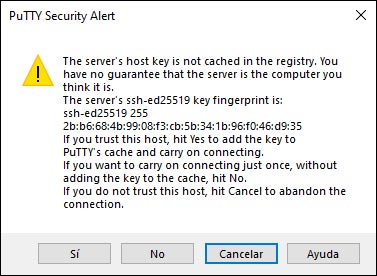
Step 4
We click Yes to accept the access key and then simply enter the user credentials to access the macOS computer:
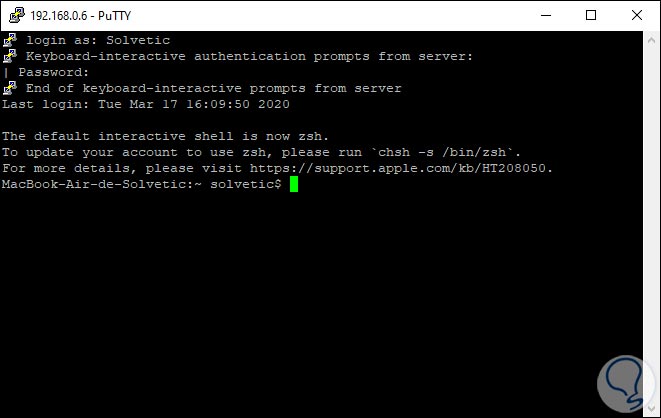
From this point we can work in Shell mode on the remote computer.
Note
In case you want to know how to configure remote desktop in Windows, in the following video you will see all the steps to know how to do it.
To stay up to date, remember to subscribe to our YouTube channel! SUBSCRIBE
Whichever option is selected, each is a comprehensive solution for using remote desktop and its benefits in macOS.