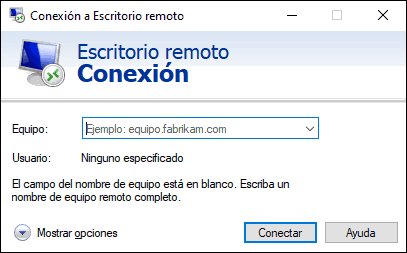
Among the support options that we have as administrators we have a classic one that is integrated into the Windows 10 operating system itself and is the remote desktop which allows us to connect to a computer remotely to provide support, management and collaborate with the user. In this way we will avoid having to physically go to the place since this implies saving time and money:
Mistakes
In some situations, the remote desktop in Windows 10 may have errors such as:
- It does not connect correctly with the remote computer
- The remote desktop does not work after the Windows 10 system has been updated
- Remote desktop credentials are not recognized
With this tutorial in TechnoWikis we will give you a series of tips to solve the problems related to remote Desktop access.
Check the Internet connection
The first and most basic step is to verify that our Internet connection is correct, this can be verified in various ways such as:
- Accessing a browser and visiting a website.
- Checking the status of the network in the taskbar.
- Verifying the connections in the modem or router.
1. How to check the permissions of the Windows 10 Remote Desktop
The Remote Desktop is configured by default with some security policy focused on optimizing and improving the security of the equipment, preventing external attackers from accessing.
Step 1
We can validate that the remote access permissions are well configured, for this we will go to the following route:
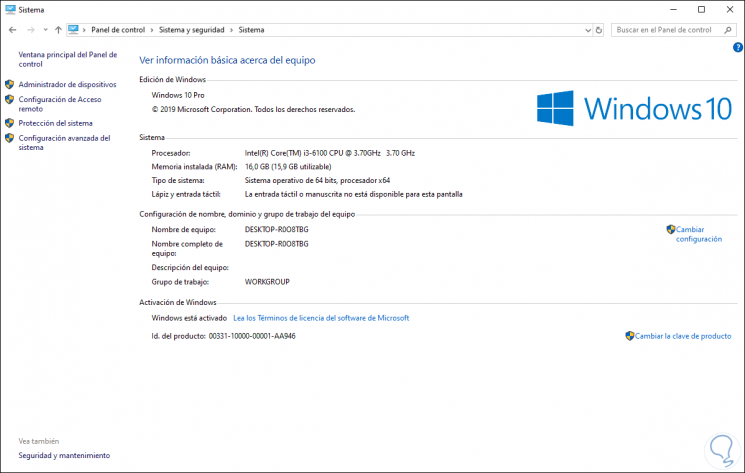
Step 2
There we click on the “Advanced system configuration†line and in the pop-up window we will go to the “Remote access†tab. There we must validate that the box "Allow remote assistance connections to this equipment" is active:
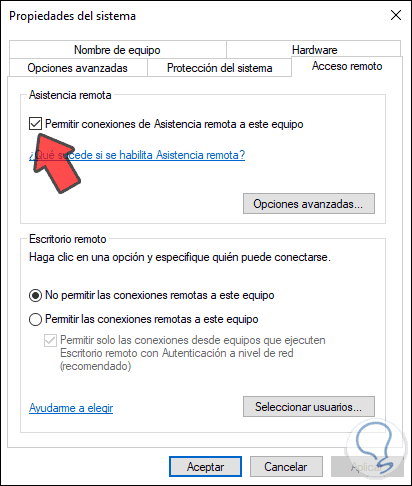
If it is not, we activate it and click Apply and Accept to confirm the changes..
2. How to validate Windows 10 Firewall settings
The Windows 10 Firewall is designed in a series of rules (input and output) which allow everything that happens on the computer to have the necessary permissions. Thus, if a port or program is restricted, it cannot send or receive data, because the Remote Desktop requires an external connection, it is possible that the Windows Firewall prevents its connectivity.
Step 1
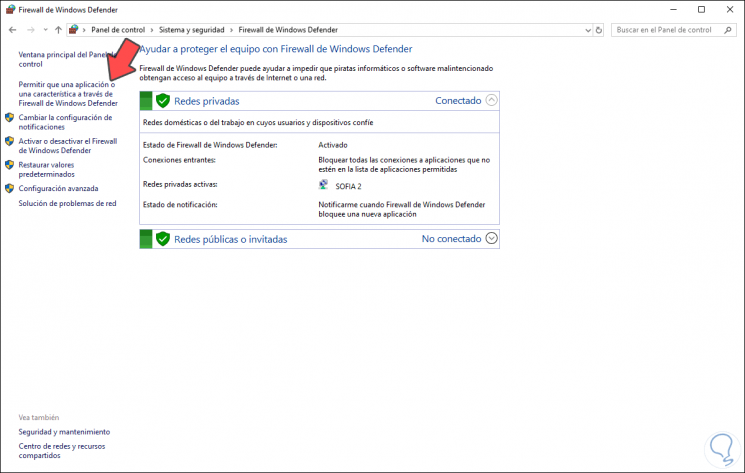
We must validate this from the following route:
- Windows Defender Firewall
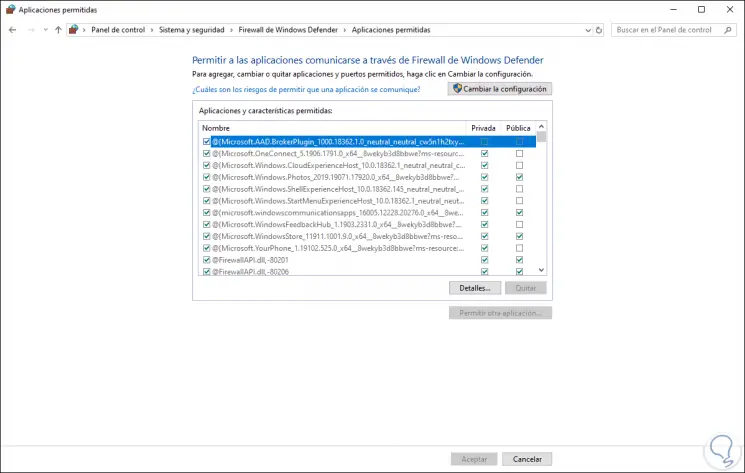
We will click on “Allow an application or a feature through Windows Defender Firewallâ€, we will see the following:
Step 2
We click on the “Change settings†button
Step 3
Next we locate “Remote Desktop†and select the type of network to allow access. We click OK to save the changes.
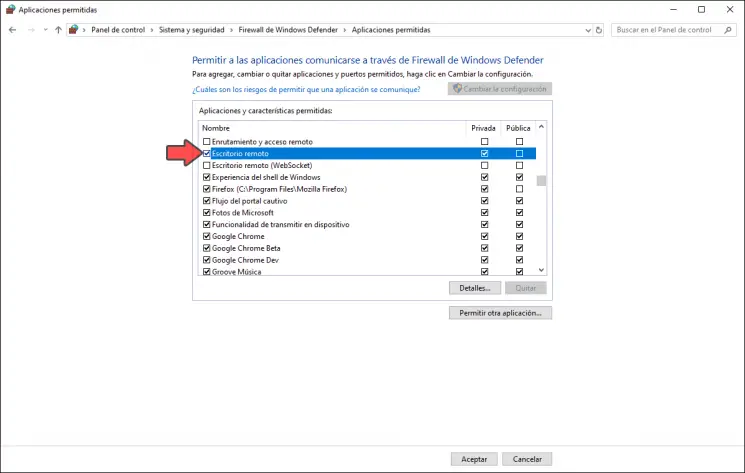
It is important to clarify that by default the Remote Desktop is not enabled in Windows 10 Firewall.
3. How to remove credentials from the Windows 10 Remote Desktop
It is possible that connectivity errors are caused by failures with current credentials, so deleting saved credentials and entering new credentials can help correct the Remote Desktop connection problem.
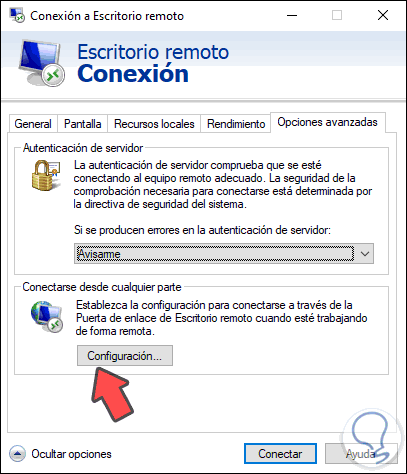
Step 1
To do this we access the Remote Desktop utility from the Start menu and the application will go to the "Advanced options" tab. We click on the "Settings" button
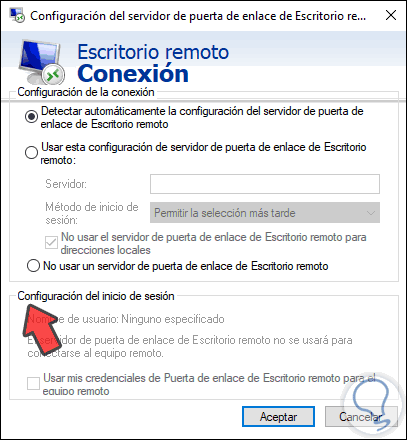
Step 2
In the window that appears, we must delete the credentials in the section "Login configuration":
4. How to configure Windows 10 screen scaling
Because the remote connection makes use of the hardware resources it is possible, in some cases, that the screen scaling is the cause of the Remote Desktop connection errors.
Step 1
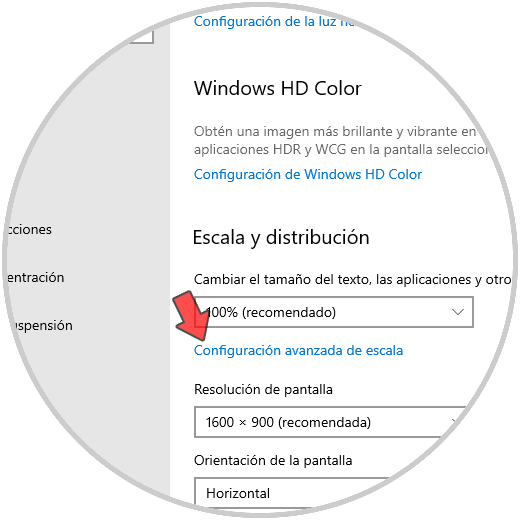
To correct this we will go to the Start / Settings menu and there we go to the System category and on Screen we will click on the “Advanced scale settings†line:
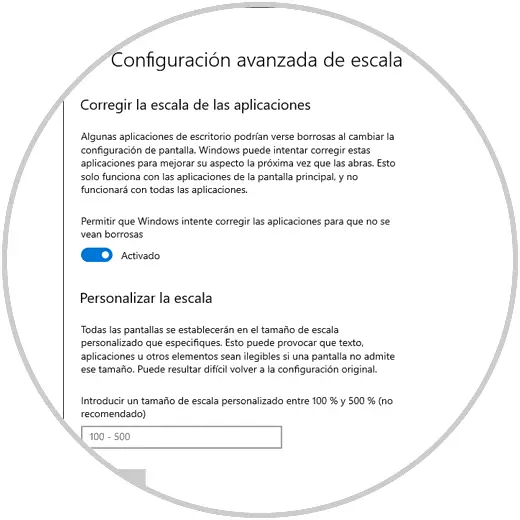
Step 2
In the next window we can make the adjustments we consider necessary.
5. How to edit Windows 10 logs
This is a delicate point since a bad configuration can bring system performance errors. That is why it is ideal to create a backup, as well as create a restore point.
Step 1
Next we will use the Windows + R keys and execute the “regedit†command and go to the following path:
HKEY_CURRENT_USER \ Software \ Microsoft \ Terminal Server Client
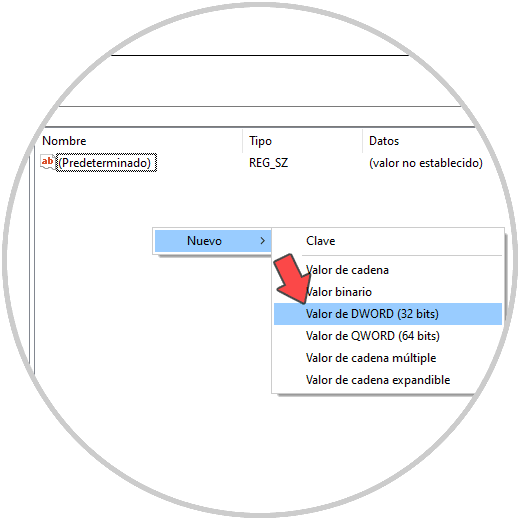
There we will right click on some free place and select “New / DWORD Value (32 bits)â€:
Step 2
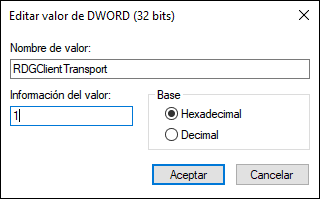
This value will be called “RDGClientTransportâ€:

Step 3
Then we will double click on this DWORD value and set the number 1 in the Value data field. Click on accept and we can close the Windows 10 registry editor.
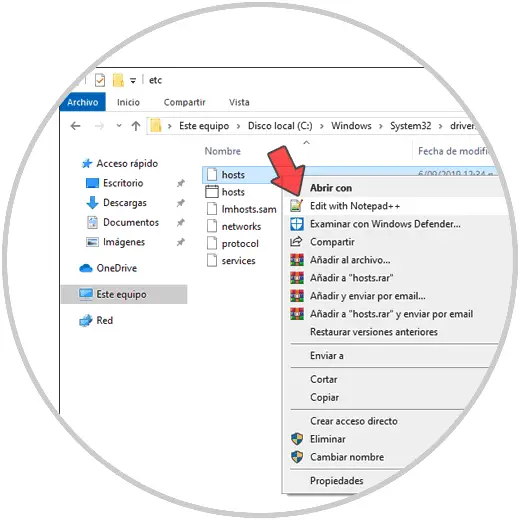
6. How to add the IP and computer name in the Windows hosts file
The hosts file allows you to specify some connection parameters of the device both by enabling and restricting them.
Step 1
For this process we will go to the following route:
C: \ Windows \ System32 \ drivers \ etc
There we right click on the hosts file and choose the editor with which to modify:
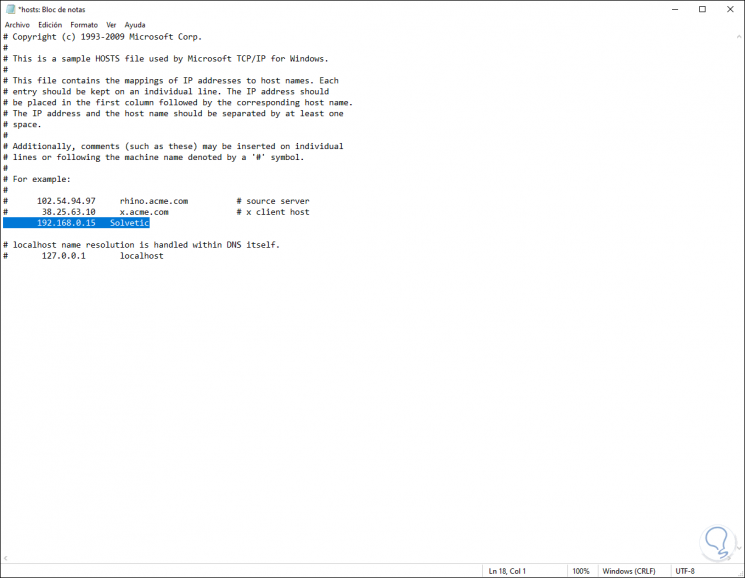
Step 2
Once open, enter the IP and name of the remote computer. We save the changes to complete the process.
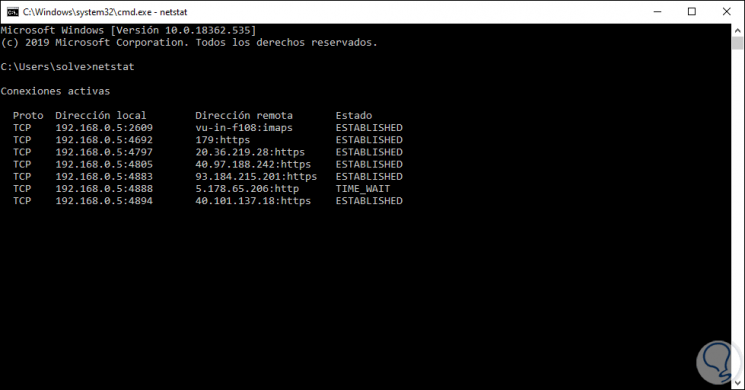
7. How to check the Remote Desktop ports in Windows 10
By default the Windows 10 Remote Desktop makes use of port 3389 for outgoing connections. If this port is closed it will be impossible for the connection to be correct. We can use the netstat command to validate the status of port 3389:
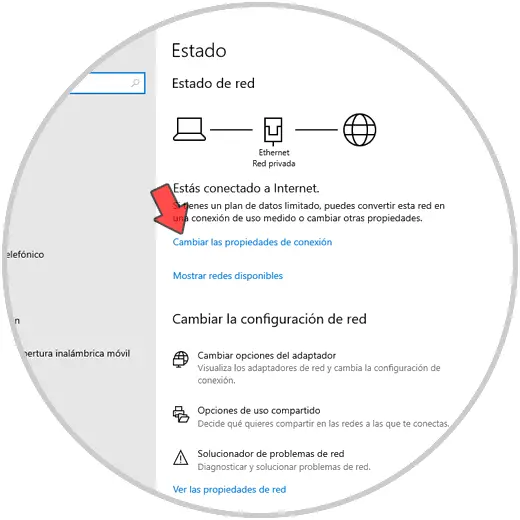
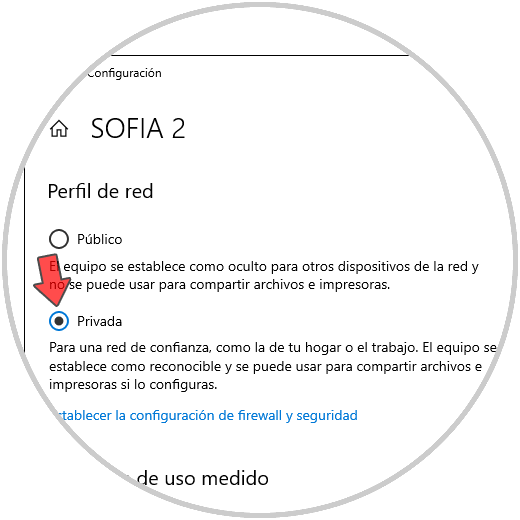
8. How to edit the type of network used in Windows 10
We know that Windows allows us to manage a public or private network in the system, each with its characteristics, but always the private network will be the safest to use.
Step 1
Therefore, if we use a public network, we can make it private to optimize usage permissions. For this we will go to the next route. We click on the line “Change connection propertiesâ€
Step 2
Next we activate the “Private†box:
9. Using a third-party application to fix remote desktop does not work and does not connect Windows 10
If finally nothing solves the connectivity of the Remote Desktop, we can make use of an application that handles the same functionality, we can use some such as:
Teamviewer
Splashtop
Remote Desktop
Chrome Remote Desktop
Thus, we can use any of these solutions to allow the support and use of Remote Desktop to be as complete as possible and we will not be restricted for any reason to provide or receive help at any time..