The calendar in Windows 10 has undergone significant changes focused on allowing users to manage all related topics (events, meetings, etc.) that are always in accordance with the established dates and times. It is not a secret for any of us that at some point with which to do daily, we can forget some key activity and that is why the calendar integrated in Windows 10 is an ideal company to help us always be up to date with these kinds of situations:
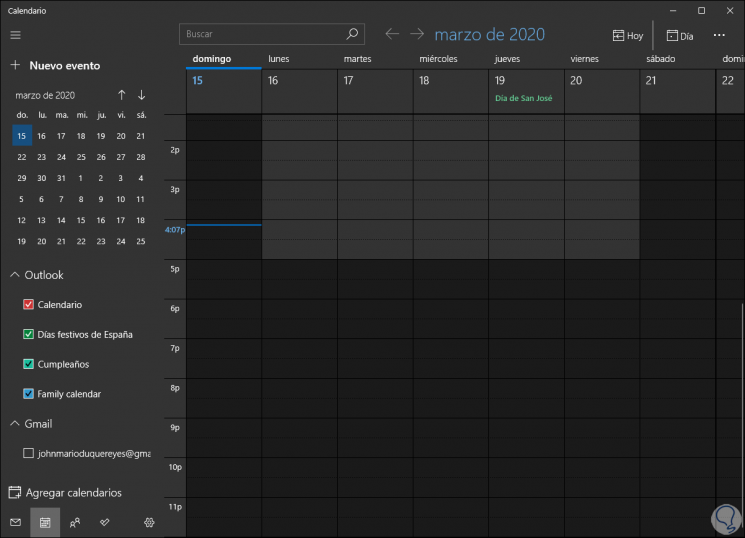
One problem that some users have reported is that the Windows 10 calendar has some open and use errors, does not synchronize events or simply displays incorrect data. If this is your situation TechnoWikis comes to the rescue with a series of tips to correct this calendar failure..
1. How to reconfigure Windows 10 calendar sync
In some situations, errors may occur associated with the internal settings of the Windows 10 calendar.
Step 1
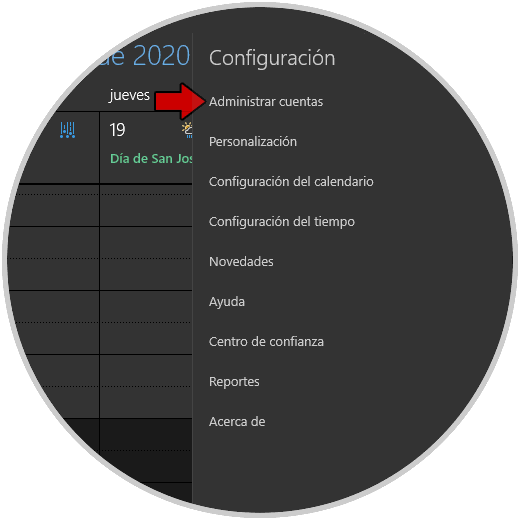
For this we can validate the values ​​established in the general calendar settings by accessing the Calendar application in Windows 10 and in the application we click on the gear icon located in the lower right.
A series of options will be displayed on the side of the calendar:
Step 2
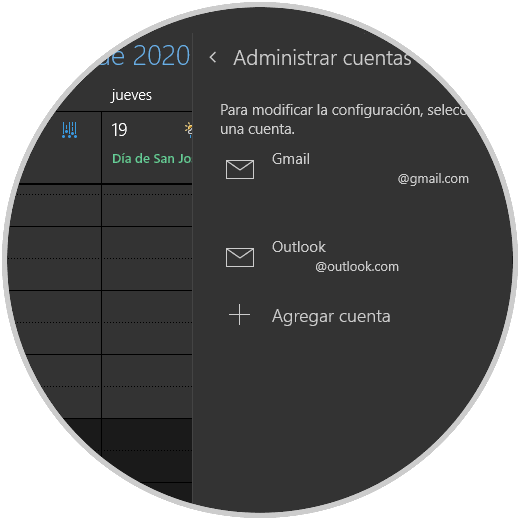
We click on the line "Manage accounts" and we will see the active accounts associated with the calendar:
Step 3
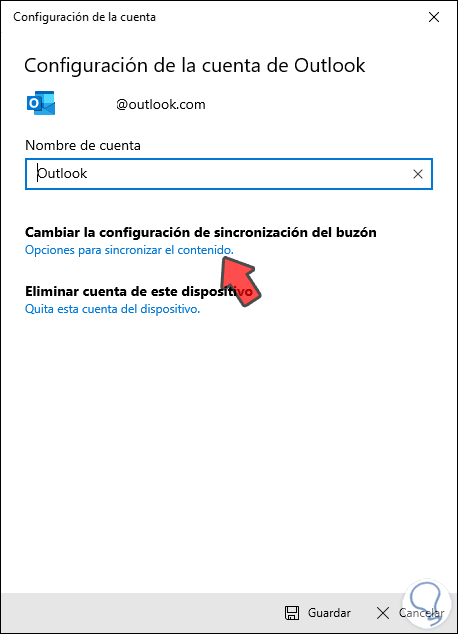
We click on the account with errors and the following pop-up window will be displayed:
Step 4
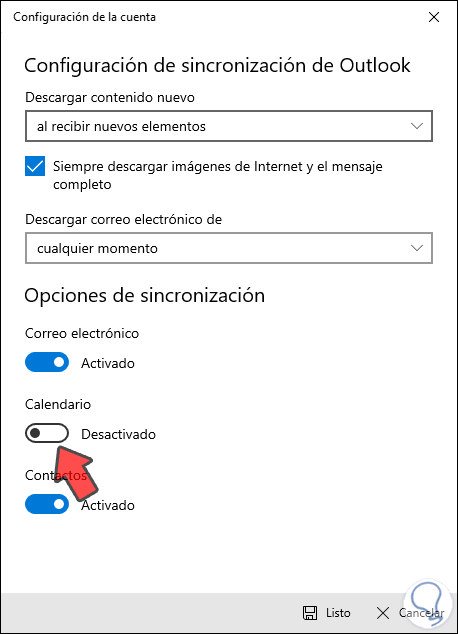
There we will click on the line "Options to synchronize the content" and first we deactivate the "Calendar" switch. Then we activate it again. We click on the "Done" button to complete the process.
Step 5
This will cause the sync task to update between Calendar and the selected account.
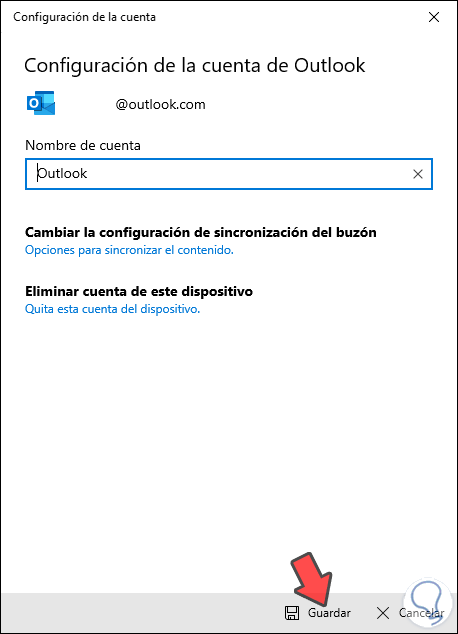
Finally we click on "Save":
2 . How to update Calendar app in Windows 10
TechnoWikis has mentioned to you many times that an outdated system or application is synonymous with errors since it can lead to multiple errors, including its non-opening or operation.
Step 1
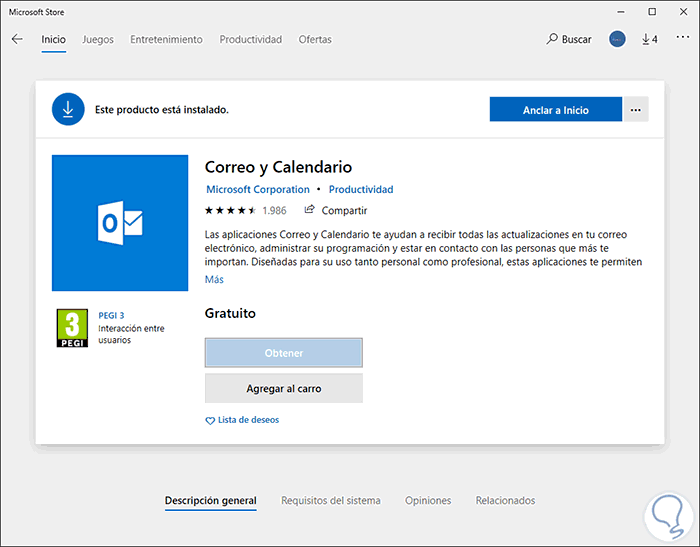
To find out if we have the latest update of the Calendar application, we go to the Windows Store and in the "Search" field we enter Calendar. In the deployed application we must validate if there is any update since we will see the "Update" button at the top:
Step 2
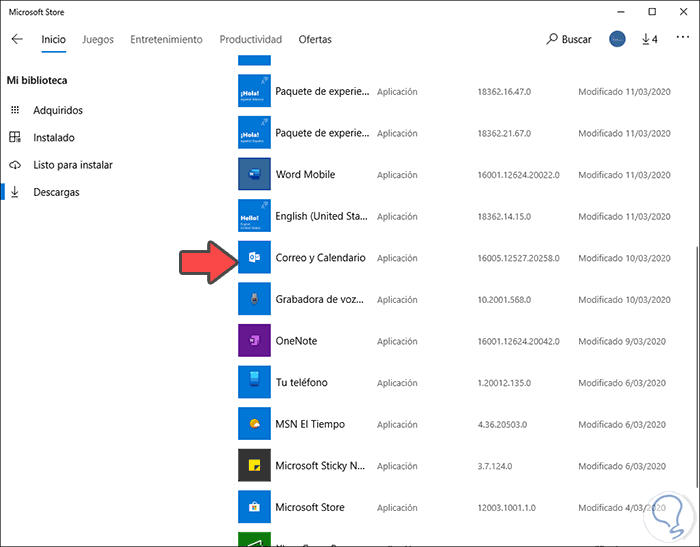
If there is no update (as in this case) it means that everything is correct. If we want to validate when the last update was, we will go to the download icon and there we will locate the “Mail and calendar†application where the modification date of this is indicated:
3. How to validate the synchronization ability of Calendar in Windows 10
Calendar in Windows 10 is in the ability to support various email clients such as Google, Yahoo !, iCloud, Microsoft Exchange, Office 365, etc., but a practical tip is to validate that the calendar account to use this in the conditions to use sync with Microsoft Calendar app on Windows 10.
When we go to the calendar settings and select "Manage accounts" / "Add account" we will see the following:
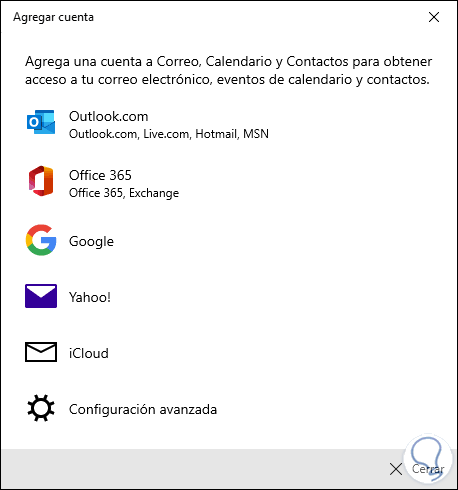
If the account to register and associate is not one of these, we will simply have multiple errors when using it.
4. How to run Windows 10 troubleshooter
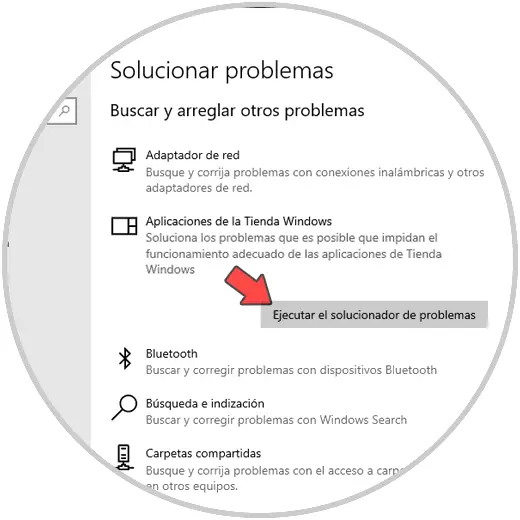
Windows 10 comes equipped with a tool called "Troubleshooter" which is responsible for performing a thorough analysis of errors in different aspects of the system and its components to correct them or give us insight that it is failing. Since Calendar is a proprietary Windows 10 application available from the Windows Store, we are going to run the Store troubleshooter, for this we go to the following route:
Step 1
There we will locate the "Windows Store Applications" section and clicking on it will activate the "Run the troubleshooter" button:
Step 2
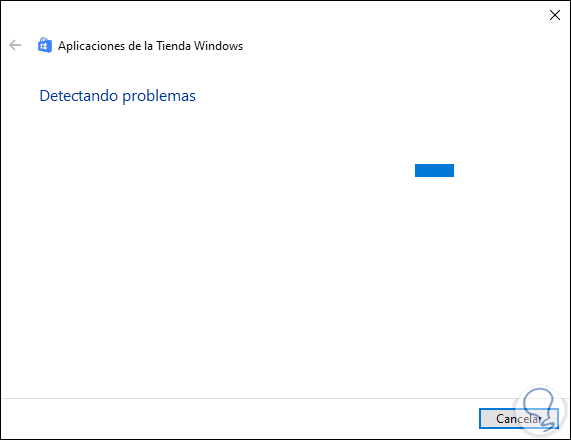
The analysis process will take place:
Step 3
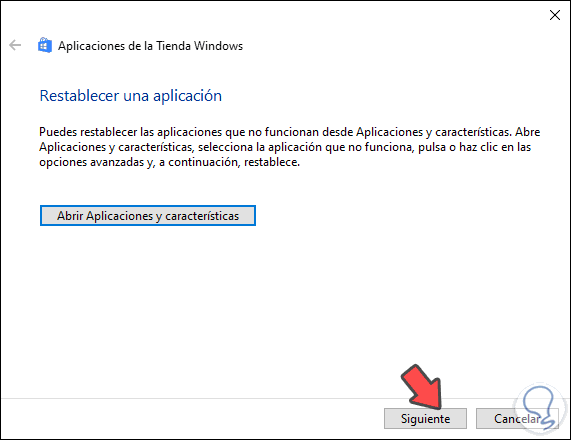
This will result in errors that affect the behavior of the applications (including the calendar):
Step 4
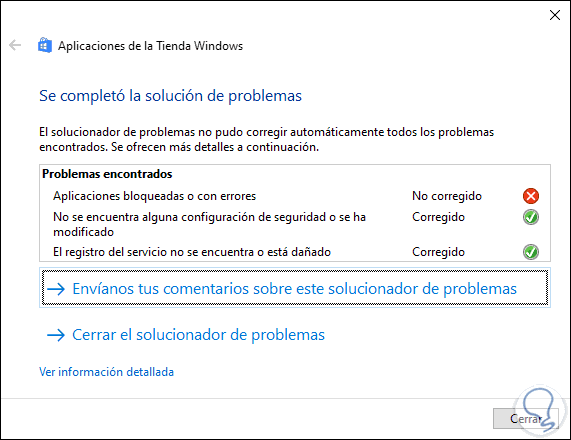
In this case we click Next and finally we will see which aspects of the store were solved and which were not:
5. How to reset Calendar application Windows 10
If the failures persist even after applying these changes, we can reset the Calendar application to its original values. This implies that after this process we must configure everything again since the data will be deleted.
Step 1
If you accept this condition, we will go to:
- Applications and features
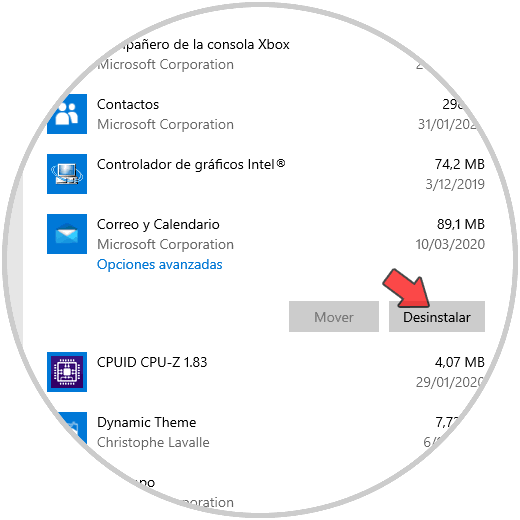
- There we must locate the application "Mail and Calendar" and click on it:
Step 2
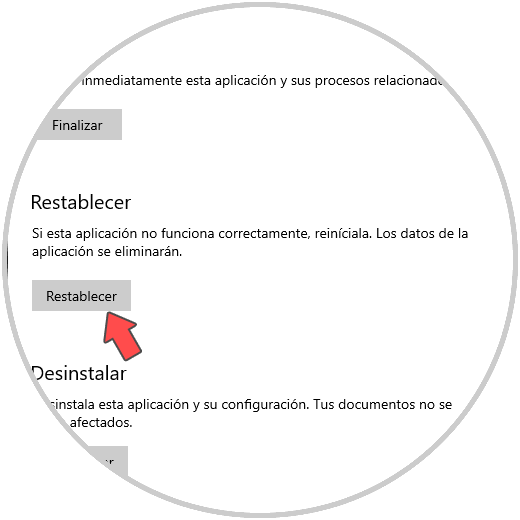
We click on the line "Advanced options" and at the bottom we click "Reset":
Step 3
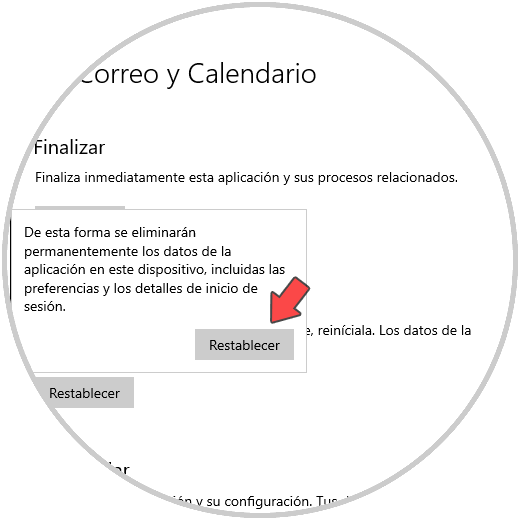
The following will be displayed. We confirm the action by clicking on "Reset" again and we hope that the process ends.
With the solutions that TechnoWikis has given you, you can recover the correct functioning of Calendar in Windows 10..