The Remote Desktop in Windows 10 has been around for several decades giving to the user the ability to support remote (or receive it ) with the advantage of taking control of the team and its services or perform tasks extras from anywhere avoiding travel and translating this in better support. Thanks to the remote desktop we can perform remote support tasks without having to make an expensive trip and solving problems in a much faster way by taking control of another team that needs help..
To access the remote desktop in Windows 10 we do it directly from the Start menu, but TechnoWikis will explain two methods to create a shortcut to the Remote Desktop and simplify access to it.
To stay up to date, remember to subscribe to our YouTube channel! SUBSCRIBE
1. Create Windows 10 Remote Desktop shortcut on Desktop
Step 1
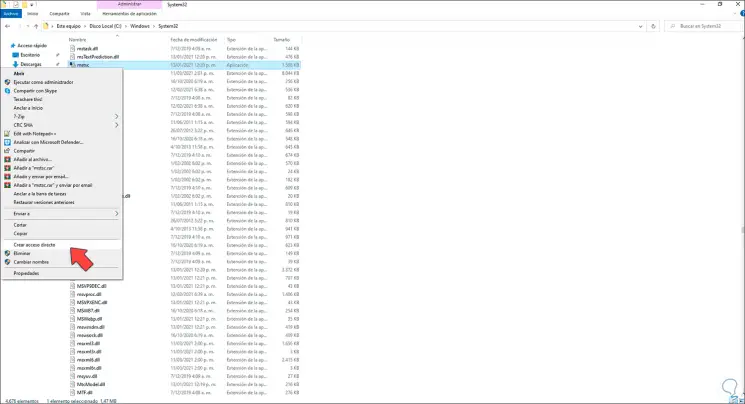
For this method we will go to the path "C: \ Windows \ System32", there we right click on mstsc and select the option "Create shortcut":
Step 2
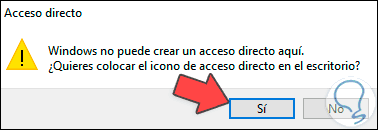
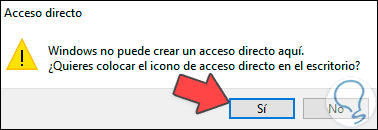
The following message will be displayed:
Step 3
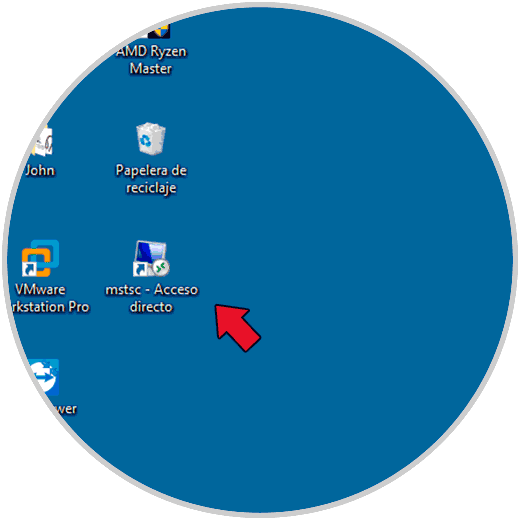
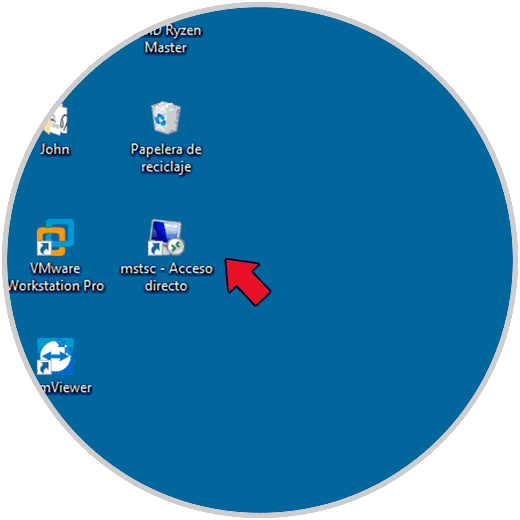
We click Yes, this will allow us to see the access on the Device Manager desktop:
Step 4
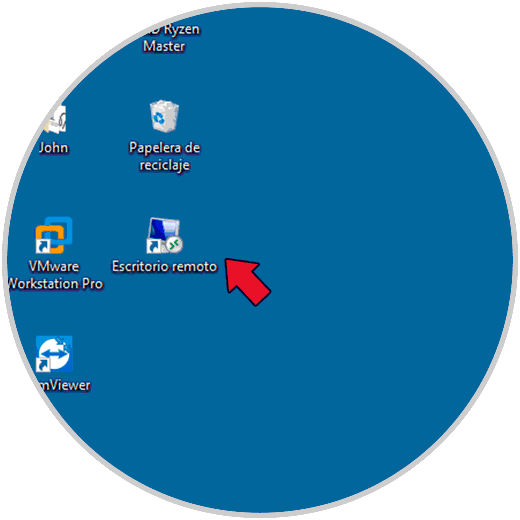
It is possible to change its name and access it by double clicking on it:
2. Create remote desktop connection shortcut Windows 10 | IP and Port
Step 1
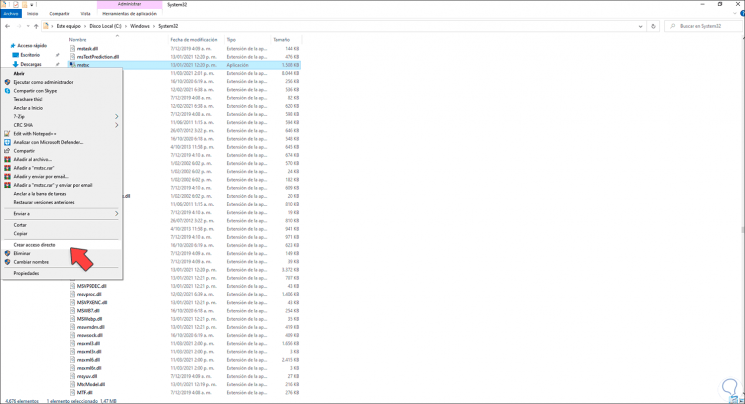
This method gives us the opportunity that when executing the direct access we are redirected to the desired IP and port, we go to the path "C: \ Windows \ System32", there we right click on mstsc and select "Create direct access":
Step 2
We will see the following:
Step 3
Click Yes and we will see the Administrator access on the desktop:
Step 4
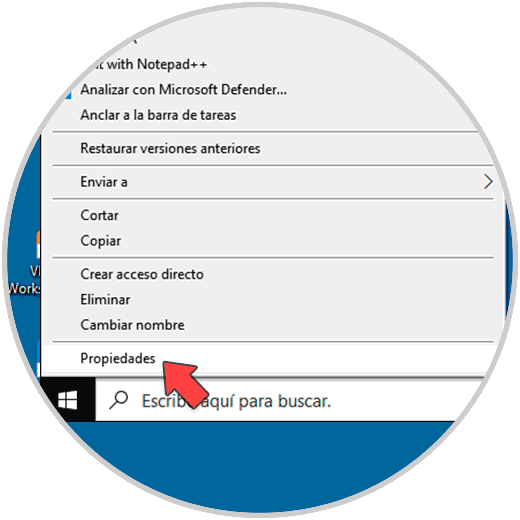
We right click on the shortcut and select "Properties":
Step 5
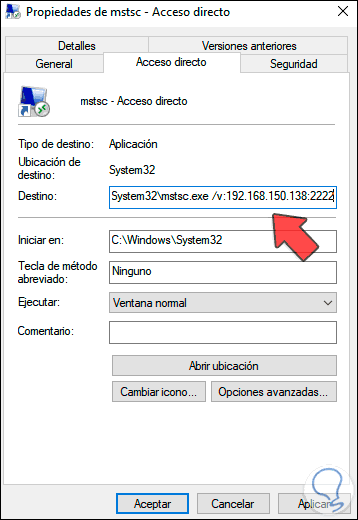
In the pop-up window we go to the Destination field and at the end we enter the syntax "/ v: IP: Port". Apply the changes.
Step 6
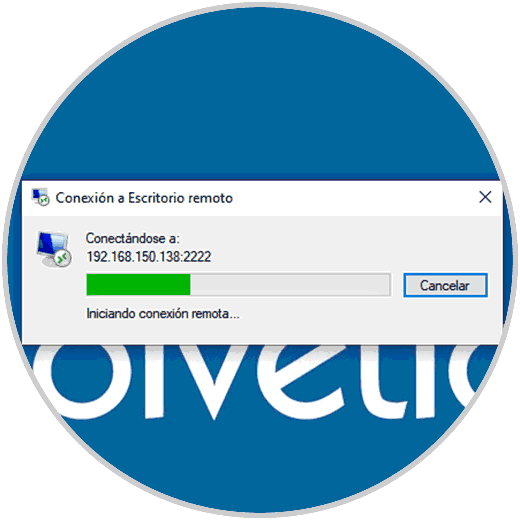
We establish the connection by double clicking on the access and it will try to connect to the IP address and port described:
These are the key steps to create the Windows 10 remote desktop shortcut..