Screenshots have become a frequent task that many users carry out in their teams in order to have additional activities in which these captures play a very important role, some of these are:
- Offer support for audit or administration issues.
- Have help when making presentations or tutorials.
- Manage evidence and many more actions.
In the case of Linux environments, there are several options to carry out this action of screen captures and for this TechnoWikis will explain what these options are and how to use it effectively in Linux, in this case in Ubuntu 19.04 which is the next version that will be launched for millions of users..
1. Make screenshot with application integrated in Ubuntu 19.04
Step 1
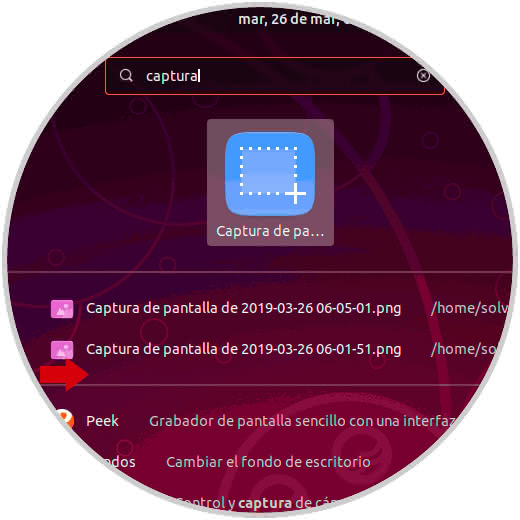
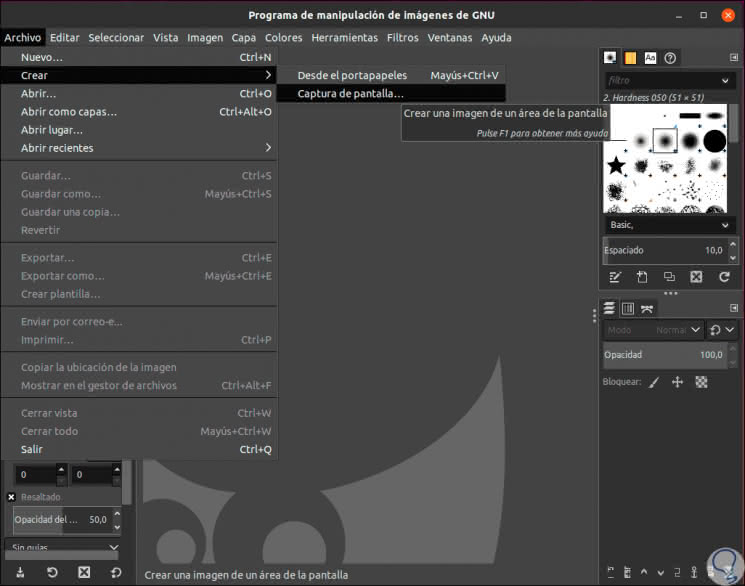
By default Ubuntu 19.04 integrates a light but practical function to capture screens or windows within its environment, this is with the Capture screen utility to which we can access directly from the browser of Ubuntu 19:
Step 2
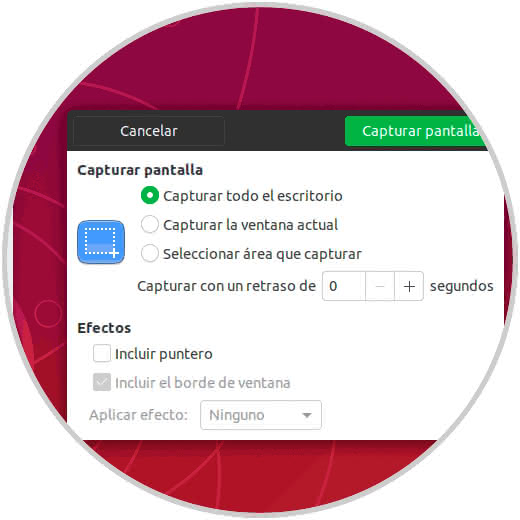
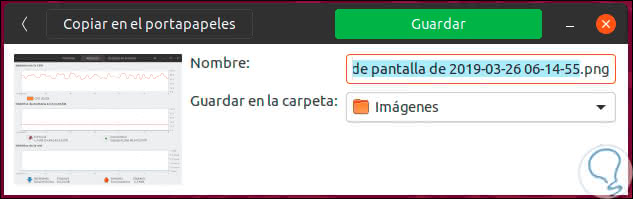
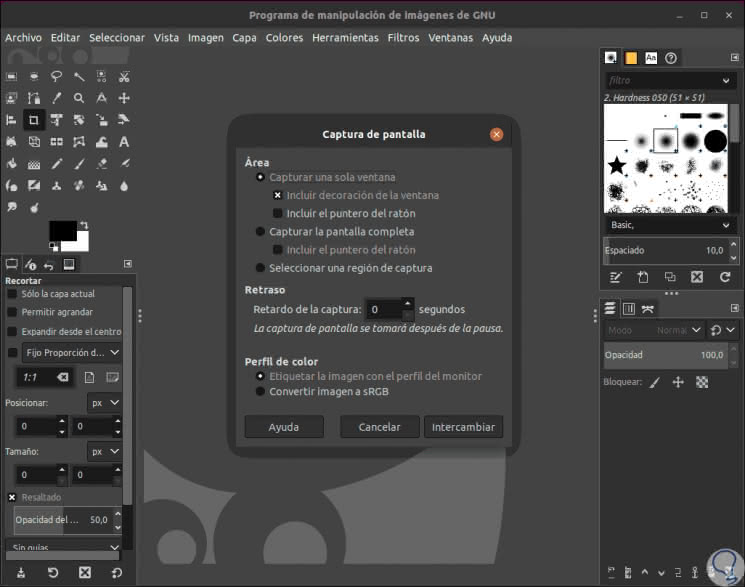
There we select the application which offers us the following alternatives. Once we have defined the type of capture to be taken, click on the "Capture screen" button and a pop-up window will appear where we can assign the name to the capture, define the route where it is to be stored or copy it to the clipboard.
- Capture the entire desktop which will take a screenshot of the entire Ubuntu 19.04 desktop with everything that is there active.
- Capture the current window which will only take the window that is active at that moment.
- Select the area to be captured, this option works in the same way as free clipping because with the mouse pointer we must select which area of ​​the desktop or window has to be captured.
- Option to define a timer, in seconds, to capture the screen.
- Include the mouse pointer
2. Make screenshot with keyboard shortcuts in Ubuntu 19.04
This is one of the simplest methods to capture screen in Ubuntu 19.04 is using key combinations which simplifies the action, in this case we have the following options.
Screenshot with keyboard shortcut
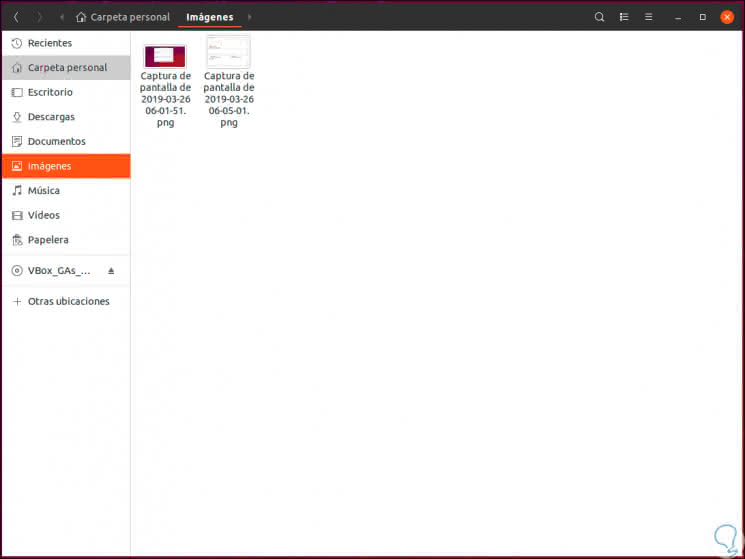
- Take a screenshot of the entire desktop: for this case, just press the PrtSc or Print Screen key which will automatically save the capture in the Images directory.
PrtSc or Print Screen
- Make a screen capture of an active window: if we want to capture only the active window of Ubuntu 19, it will be necessary to use the key combination ALT + PrtSC or ALT + Print Screen, this image will be stored in Images.
+ PrtSc o Impr Pant Alt + PrtSc or Print Screen
- Take a screenshot in a specific area: This option gives us the opportunity to capture only a part of the desktop or window without seeing all the other content, it is useful for security reasons, for this we can use the key combination Shift + PrtSC or Shift + Print Screen
+ PrtSc o Impr Pant Shift + PrtSc or Print Screen
Other additional options when using our keyboard to capture images are:
- Ctrl + PrtSc: this option copies the screenshot of the entire screen to the clipboard.
+ PrtSc Ctrl + PrtSc
- Shift + Ctrl + PrtSc: Copy the screenshot of a specific region to the clipboard.
+ Shift + PrtSc Ctrl + Shift + PrtSc
- Ctrl + Alt + PrtSc: Copy the screenshot of the current window to the clipboard.
+ Alt + PrtSc Ctrl + Alt + PrtSc
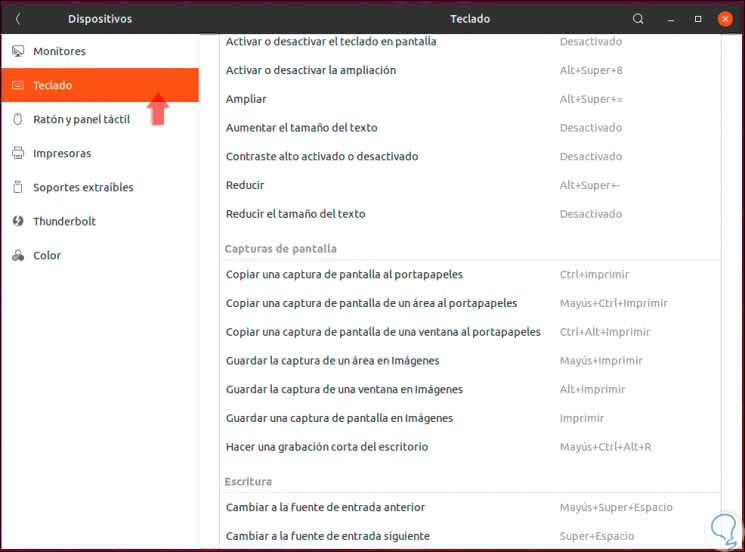
When using the keyboard shortcuts in Ubuntu 19, it will be possible to configure the already predetermined options or configure your own, for this we go to System Configuration / Devices / Keyboard where we will see the section "Screenshots":
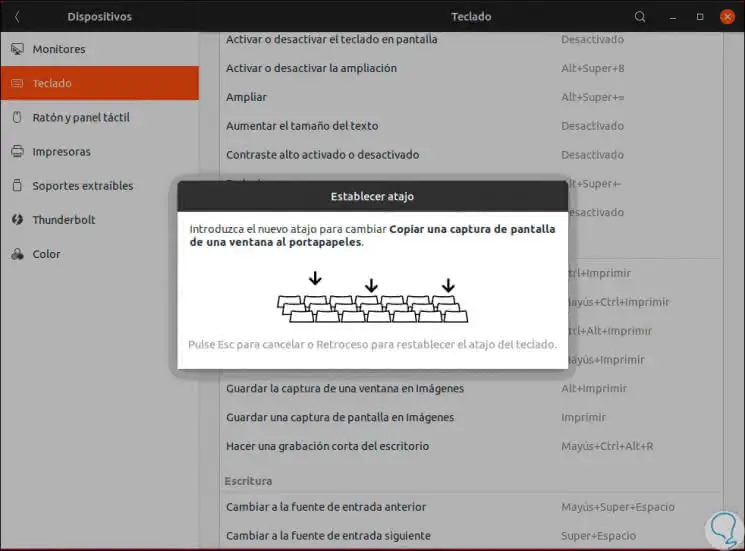
If you wish to establish a new shortcut, we must click on the function to be edited and the following window will be displayed where we will enter the desired shortcut:
3. Make screenshot with Flameshot in Ubuntu 19.04
Flameshot features
This is a simple use utility for screen capture tasks in Linux environments, some of its features are:
- Screen capture edition integrated in the application.
- Extensive customization options
- We can upload the screenshots to Imgur.
- Available for multiple operating systems.
Step 1
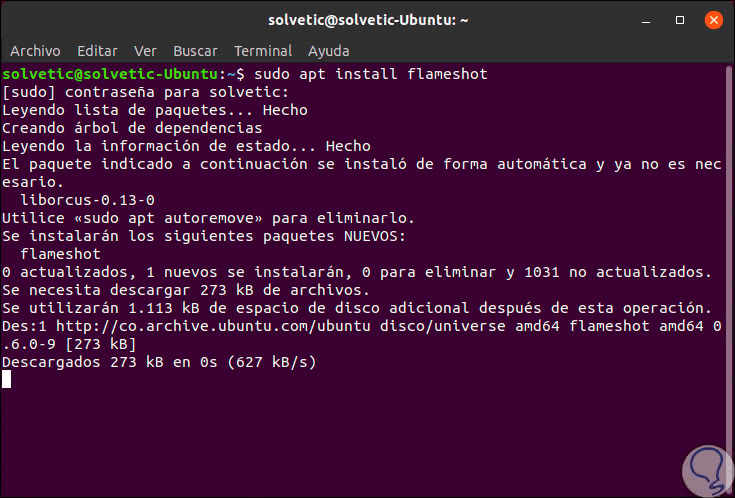
For its installation we will execute the following command:
sudo apt install flameshot
Note
It is also possible to install it from the Ubuntu Software Center
Step 2
Once installed it is possible to access it from the Ubuntu search engine or activate the Flameshot screen capture tool through the PrtSc or Print Screen key, for this it will be necessary to assign a custom keyboard shortcut.
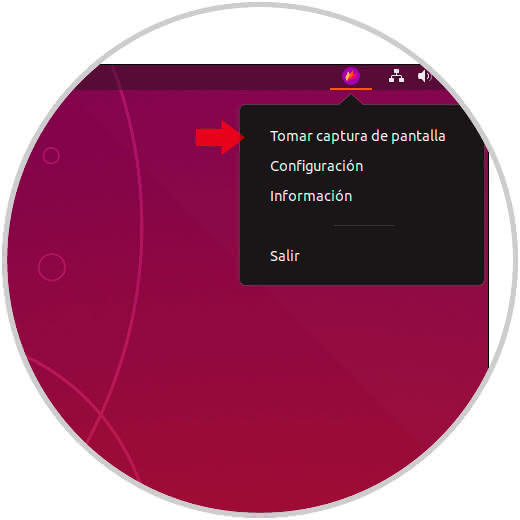
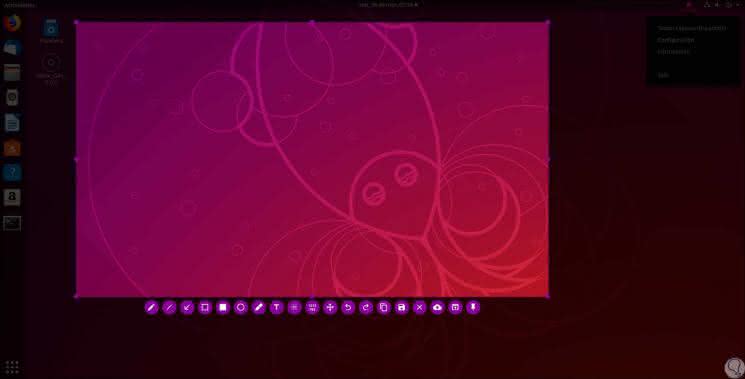
When you open it, it will be located at the top of Ubuntu 19.04, from there it will be possible to take the necessary screen captures as well as make full use of its integrated functions:
Step 2
Some options that we can see are:
Flameshot options
Some of the available options to use are:
flameshot gui
- Open the interface with a time delay, for example 3 seconds:
flameshot gui -d 3000
- Capture the active window:
flameshot screen -r
- Capture screen 1 (if we have several) and copy it to the clipboard:
flameshot screen -n 1 -c
Step 3
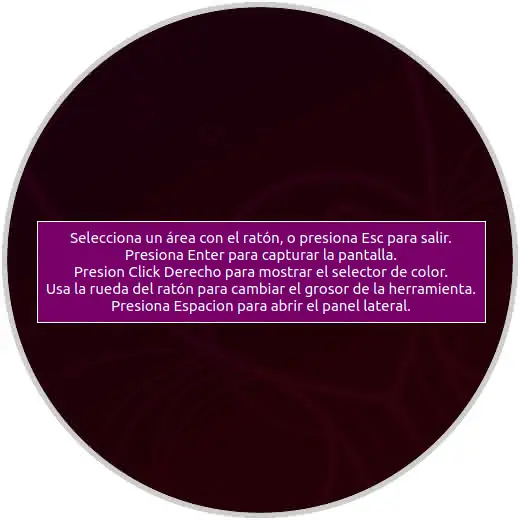
By selecting the option "Configuration" we can see a brief summary on how to use the utility:
Step 4
When we use this app, in the lower part we will find all the alternatives to manage the screen capture that we have taken:
Flameshot keyboard options
The keyboard options with Flameshot are:
- Using the arrow keys we will move the 1px selection
- Shift + arrow keys will change the size of the 1px selection
- The Esc key removes the capture
- Ctrl + C copy to clipboard
- Ctrl + S saves the capture
- Ctrl + Z undo the action performed
- Spacebar allows us to toggle the visibility of the sidebar with the options of the tool
- Selected, the color picker for the drawing color and the history menu
- Right click displays the color palette
- Print Screen or Prt Sc start Flameshot and capture the screen
- Ctrl + Print Screen or Prt Sc wait for 3 seconds, then start the Flameshot screen capture tool and take a current screenshot.
- Shift + Print Screen or Prt Sc screens the entire screen
4. Make screenshot with GIMP in Ubuntu 19.04
The GIMP utility is one of the best known for screen capture and image editing in Ubuntu 19 thanks to its various functions and features, among which we highlight:
GIMP features
- Support for multiple devices such as Tablets and including USB or MIDI.
- Compatible with TIFF, GIF, JPEG, PSD, PNG, BMP, TGA, PPM, MNG, XWD, XPM, PIX, CEL formats
- Customizable interface
- Improvement of photographs since it gives us utilities to adjust the distortion of the images using the GIMP filters and the included channel mixer.
- Ability to share projects through SSH, SMB, FTP or HTTP.
- GIMP can be installed in Windows, Mac OS, Linux, Sun or FreeBSD with total practicality.
Step 1
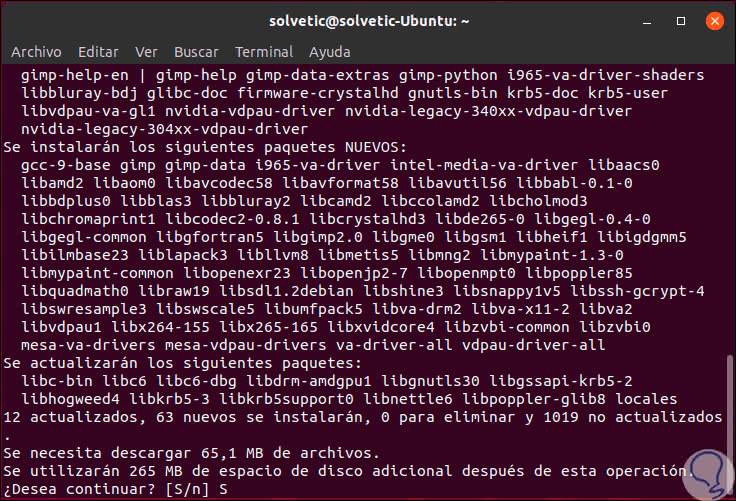
For its installation we must execute the following commands through a repository:
sudo add-apt-repository ppa: otto-kesselgulasch / gimp sudo apt update sudo apt install gimp
Step 2
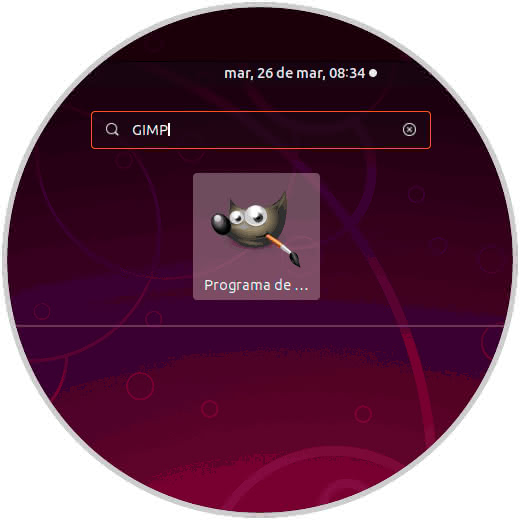
There we will enter the letter S to confirm the download and installation of GIMP and be able to use each of its functionalities. Once installed we can access it from the search engine in Ubuntu 19.04:
Step 3
To take a screenshot using GIMP we must go to the File / Create / Screenshot menu:
Step 4
The following window will be displayed where we can configure the following:
- Capture the type of window (region, active window)
- Define the delay of seconds to use
- Convert the image to sRGB
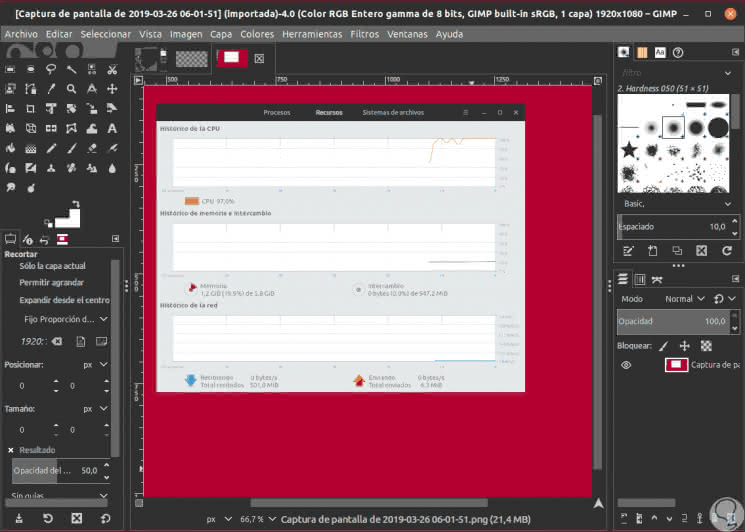
Step 5
Once the capture is taken, we can open it with GIMP and use some of its integrated editing tools:
5. Make screenshot with the terminal in Ubuntu 19.04
Step 1
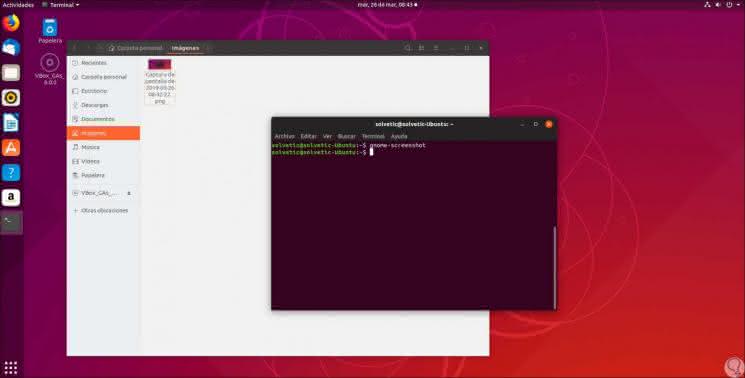
The terminal in Ubuntu 19 is another of the options we have to capture the screen, in the case of using the GNOME environment we can execute the following to capture the entire screen:
gnome-screenshot
The capture will be automatically saved in the Images library:
Step 2
If we want to take the screenshot with delay we will use the -d parameter like this:
gnome-screenshot -d -4
6. Make screenshot with ImageMagick in Ubuntu 19.04
This utility allows us to create, edit, compose or convert bitmap images in Linux, supports formats such as PNG, JPEG, GIF, HEIC, TIFF, DPX, EXR, WebP, PostScript, PDF and SVG and when taking a screenshot We will have several editing options such as flip, mirror, rotate, distort, distort, transform images, adjust image colors, add various special effects or draw text on it.
Step 1
For its installation we execute:
sudo apt install imagemagick
Step 2
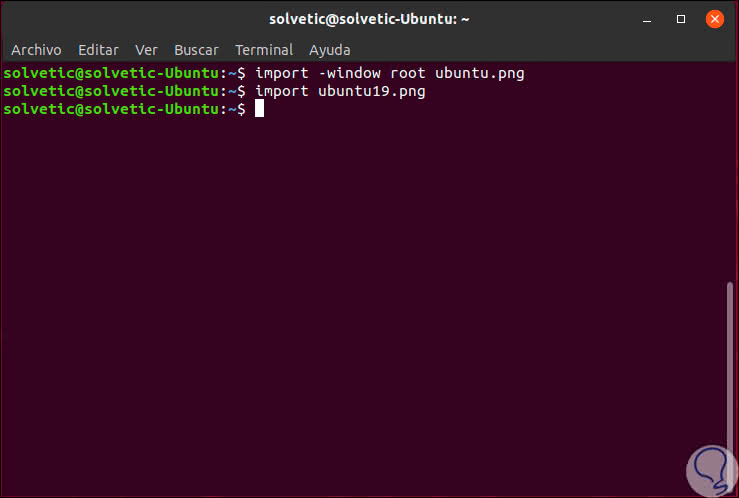
Once installed to take the total capture of Ubuntu 19.04 we will execute the following:
import -window root ubuntu.png
Step 3
Now, if we only want to capture a specific area, we execute:
import ubuntu19.png
Step 4
When using this last option we will have the cross-shaped mouse pointer to capture the desired area, these images will be available in the personal folder.
7. Make screenshot with Deepin Scrot in Ubuntu 19.04
Deepin Scrot functions
Deepin Scrot is a screen capture application for Linux Deepin which gives us functions such as:
- Full screen capture (PrintScreen or Print Screen)
- Take the screenshot of the window below the cursor (Alt + PrintScreen / Print Screen)
- Rectangular region and freehand region (Ctrl + Alt + A)
- Delay the full screen capture (Ctrl + PrintScreen / Print Screen)
- Delay the capture of the cursor window (Alt + Ctrl + PrintScreen / Print Screen)
Step 1
For its installation we will execute the following:
sudo apt install scrot
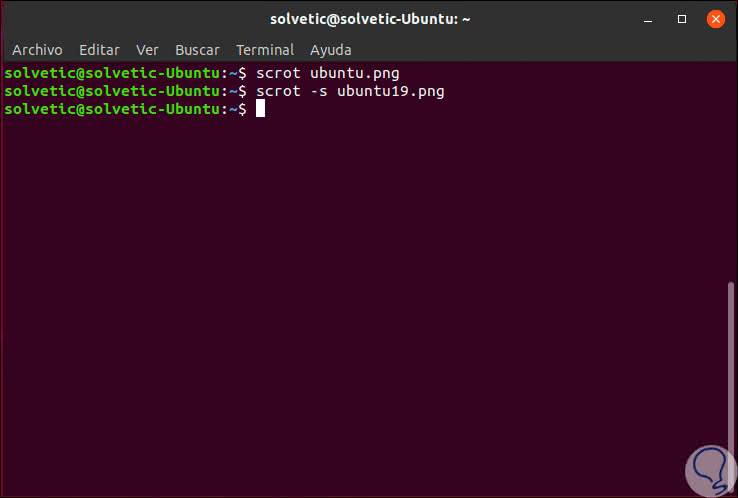
Step 2
To take a full screen capture we execute:
scrot ubuntu.png
Step 3
To capture the current window we execute:
scrot -s ubuntu19.png
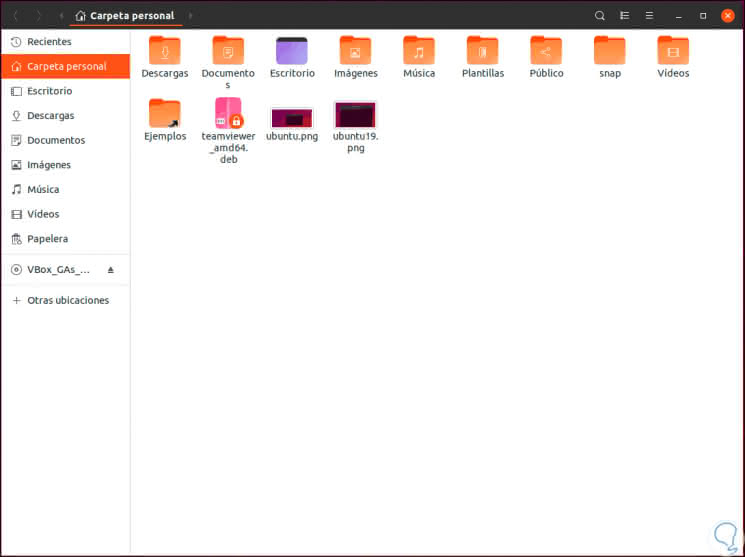
Step 4
These screenshots will be available in the user's personal folder:
8. Make screenshot with Shutter in Ubuntu 19.04
As an additional point, we have the option to use Shutter which is available until Ubuntu 18. Shutter is another option available for screen capture which is available for all major distributions of Linux, currently not in active phase but still being a useful option for this task.
Shutter features
Some of its characteristics are:
- Capture of independent and active windows.
- You can capture a complete web page.
- Zone capture with free selection.
- Able to capture drop-down lists and contextual menus.
- Display the option to capture the help text.
- It allows to blur part of an image.
- We can cut part of an image.
- Catches can be uploaded to web hosting sites and more.
For its installation we can go to the Ubuntu Software Center 19 or execute the following command. Once installed the next step is to access your app but for Ubuntu 19.04
sudo apt install shutter
The alternatives to capture the screen in Ubuntu 19.04 are varied and each offers the best options that we can use according to our need.