When you access a web browser and enter the address of the site you wish to visit, various aspects, services, configurations and protocols that allow safe and effective access to this site come into play. This is invisible to you and me but if one of these values ​​is wrong the communication will not be 100% appropriate, so the result will not be as expected. If you are from the IT world, or have basic knowledge, you will know that one of the essential components when establishing a web communication is the IP address since this will not only allow us to access the Internet but also to communicate with other teams in the local network..
Basically an IP (Internet Protocol) address is an identifier that is composed of a group of four numbers from 0 to 255 separated by periods. This identifier is unique and is not repeated on any other equipment in the world and has the task of registering the equipment to the global network. But an IP address is not only owned by computer equipment, you should know that modems, routers, websites and more have associated IP addresses .
Now, understanding the role of an IP address, it is necessary to know that there are two types of IP addresses and that today we handle two protocols for them. These are the IPv4 protocol but with the increasing boom of requests for IP addresses, the total implementation of IPv6 is at the doorstep which offers a higher level of addresses to offer, but in the world of IP addressing we find the following types of IP addresses:
Dynamic IP addresses
They are variable addresses, are delivered and managed by a DHCP server and their operation is based on the leasing of this address for a specific time, after this period of time the address will be renewed by modifying its syntax.
Static IP addresses
As the name implies, they are IP addresses that will remain fixed, without any variation. They are used in servers, production machines connected to the network and in general any user who does not require that their IP be modified since other services depend on it.
In Linux environments we have the ability to establish an IP address either static or dynamic on our servers and that is why TechnoWikis will explain the detailed process to achieve such action..
For this tutorial we will use Ubuntu Server 19.04 and Ubuntu 19.04 Desktop which are already available in the following link:
Ubuntu Server 19.04
Ubuntu Desktop 19.04
1. Configure the network with Netplan on Ubuntu Server 19.04
In the case of Ubuntu Server 19.04 and since its use is through core (terminal), we must use some utilities available for this purpose and in this case we will use the netplan tool.
Netplan has been developed as a utility thanks to which it will be possible to configure the network in various Linux systems in a simple but at the same time complete way, this will be achieved by creating a YAML description of the network interfaces available in our team defining the action that Each one will comply with it, based on this configuration, the Netplan utility is responsible for applying the configuration that is necessary for these actions to be executed as expected.
Note
To understand a little more, YAML is a human readable data format which is based on programming languages ​​known as XML, C, Python, Perl and the email format specified in RFC 2822.
When we define the task of each network interface, Netplan proceeds to read this configuration which is saved in the /etc/netplan/*.yaml directory, after this, during the system boot process, Netplan will generate files Specific configuration of back-end executables whose mission will be to transfer the control of devices to a special network daemon, with netplan the following commands are supported:
NetworkManager Systemd-networkd
Netplan has a group of subcommands that allow controlling the actions to be carried out, these are:
netplan generate
This command makes use of / etc / netplan in order to generate the required configuration for the selected renderers.
netplan apply
This command is responsible for applying the configuration of the renderers and proceeds to restart them if necessary.
2. Know the network interfaces in Ubuntu 19.04 Server
Step 1
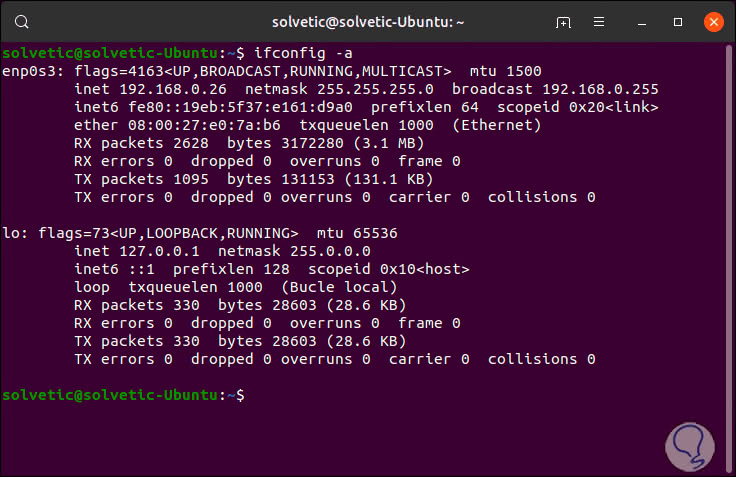
The first step to take will be to know the identifiers of the network cards in our team, for this we will execute the following order:
ifconfig -a
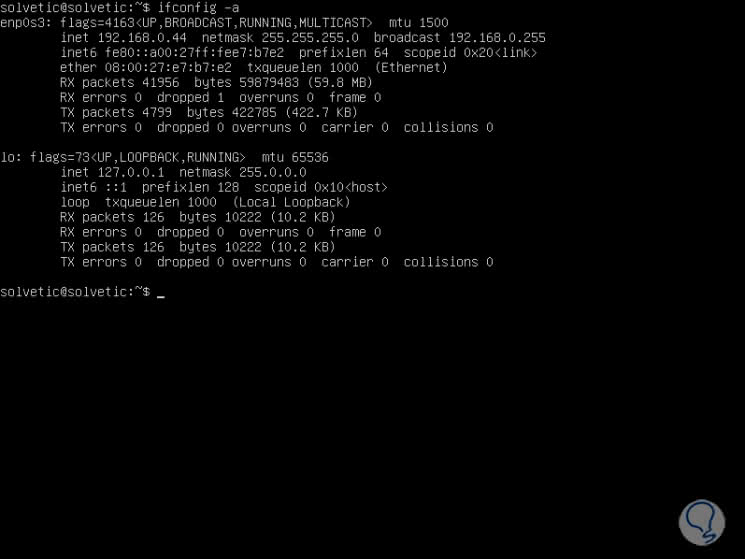
Step 2
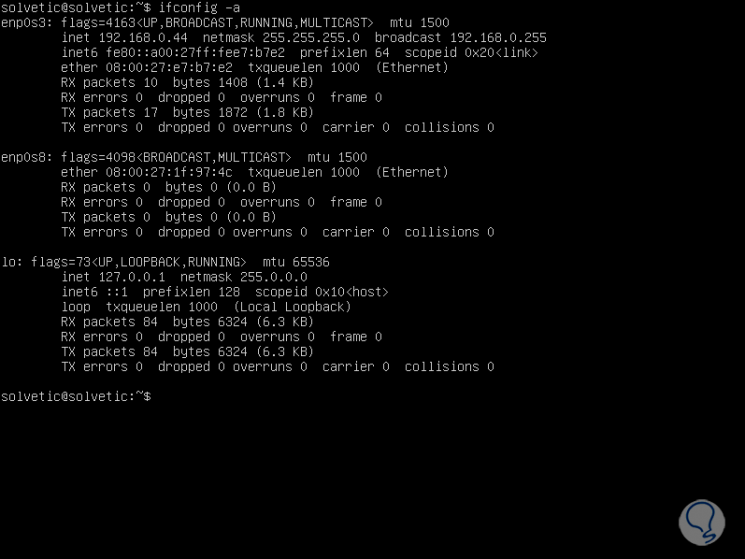
We can see in the result, that our network interface is “enp0s3â€, in case we have more network adapters we will see the respective IDs associated with each of them:
Note
The interface is not integrated as an operations backlock.
3. Put a static IP address in Ubuntu 19.04 Server
We have mentioned that at the server level it is essential to manage fixed IP addresses since they are responsible for delivering services, process and roles to client computers.
Step 1
To configure a fixed IP address on our server, we must access the Netplan configuration file using some text editor and executing the following:
sudo nano /etc/netplan/50-cloud-init.yaml
Note
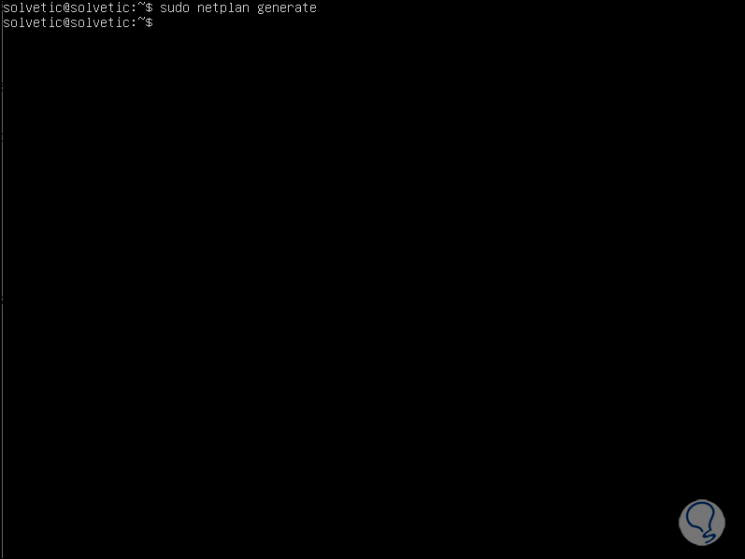
In case the distribution installer does not create the YAML file, we can generate the required configuration for the processors using the following command:
sudo netplan generate
Step 2
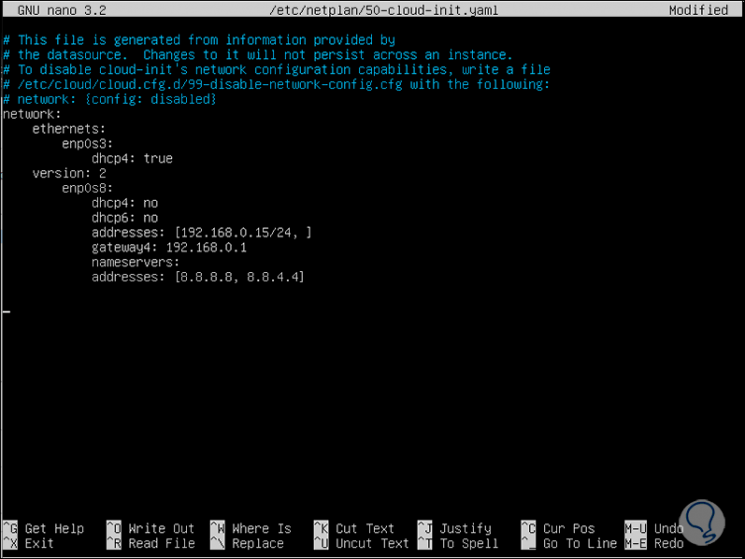
When accessing the file in Ubuntu 19.04 we will see the following:
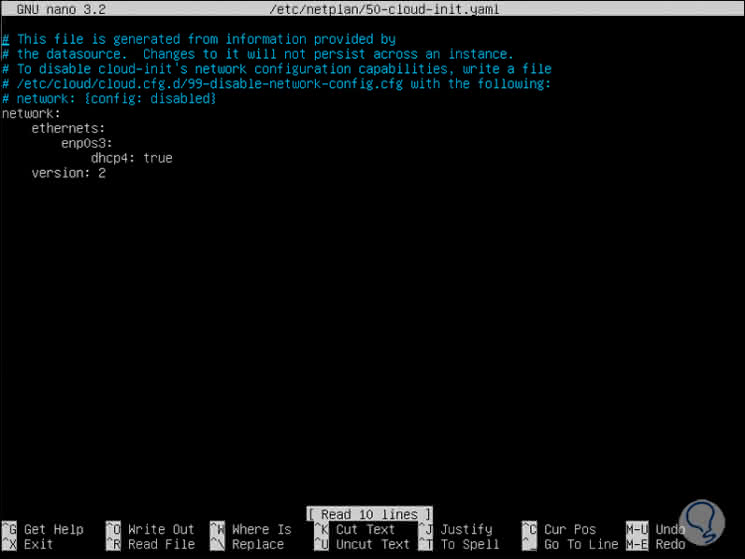
Step 3
By default we see the active network interface enp0s3, at the bottom we will enter the following values:
enp0s8: dhcp4: no dhcp6: no addresses: [192.168.0.15/24,] gateway4: 192.168.0.1 nameservers: addresses: [8.8.8.8, 8.8.4.4]
Step 4
We have added the following:
- Name of the network interface.
- We have disabled DHCP (both IPv4 and IPv6) so that dynamic IPs are not granted.
- We have assigned the IP address.
- The gateway address has been assigned.
- DNS servers have been defined in this case using Google's public DNS.
Step 5
We save the changes using the following key combination:
+ O Ctrl + O
We leave the editor using:
+ X Ctrl + X
Step 6
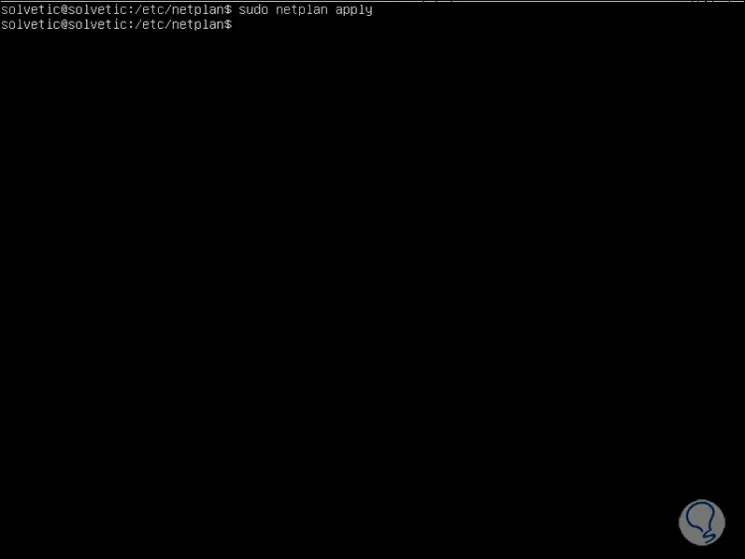
Next we will apply the changes by executing:
sudo netplan apply
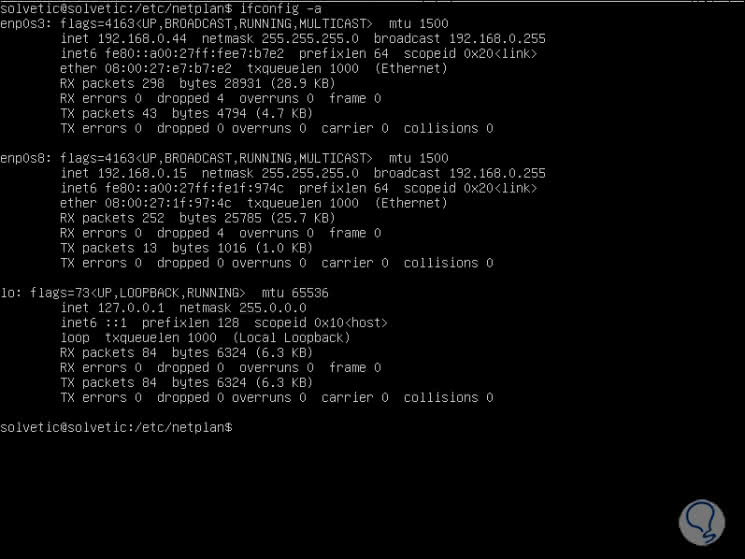
Step 7
When executing ifconfig -a again, we can see that our interface enp0s8 is assigned the IP that we have defined, in this case 192.168.0.15:
4. Put a dynamic IP address in Ubuntu Server 19.04
Step 1
To configure the IP address based on the DHCP server, we must access the previous configuration file again:
sudo nano /etc/netplan/50-cloud-init.yaml
Step 2
There we configure the following lines:
network: version: 2 renderer: networkd ethernets: enp0s8: dhcp4: true dhcp6: true

Step 3
We save the changes using the following key combination:
+ O Ctrl + O
We leave the editor using:
+ X Ctrl + X
Step 4
After this we apply the changes using the following command.
sudo netplan apply
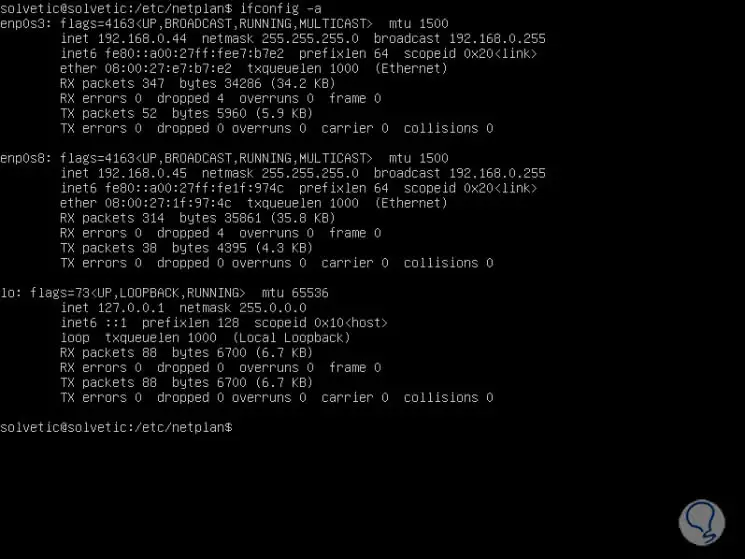
Step 5
After this we execute ifconfig -and we will see that the IP of the selected interface assumes the address based on DHCP:
Step 6
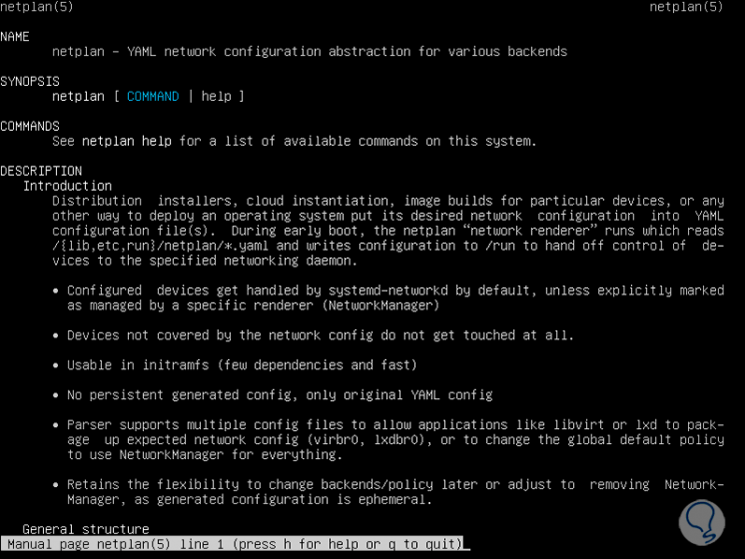
Finally, if we want to access the help of the man command we can execute the following:
man netplan
5. Put a static IP address in Ubuntu 19.04 Desktop
Step 1
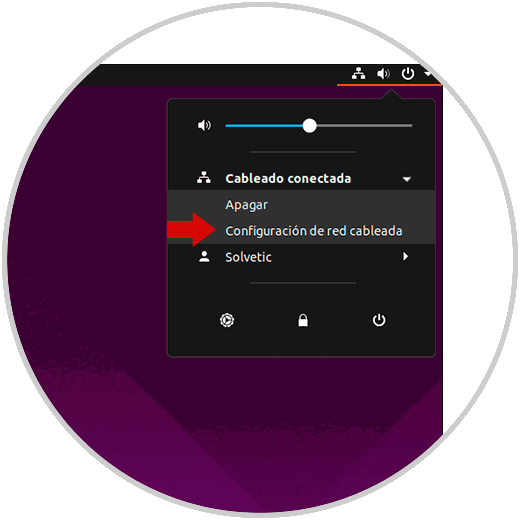
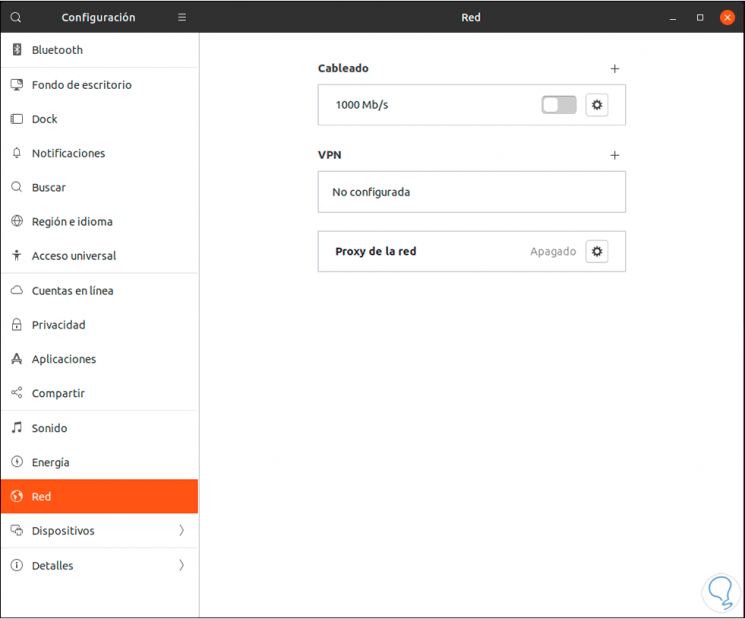
In the case of graphic systems it is a simpler process than we can think, for this we must click on the network icon located at the top of the screen and there select the type of network used and then click on the option “Wired network configurationâ€:
Step 2
The following window will be displayed:
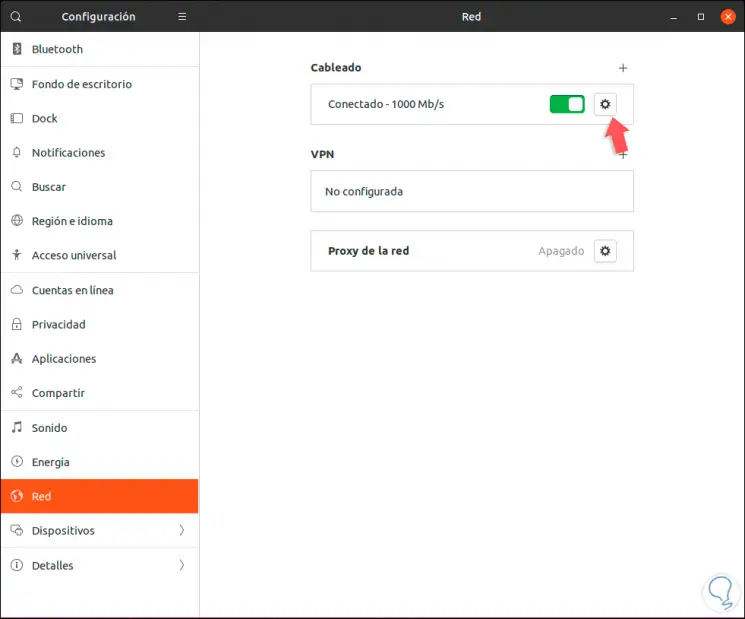
Step 3
There we click on the configuration icon located on the right side of the current network and in the next window we will go to the IPv4 tab and there we activate the Manual box and enter the following:
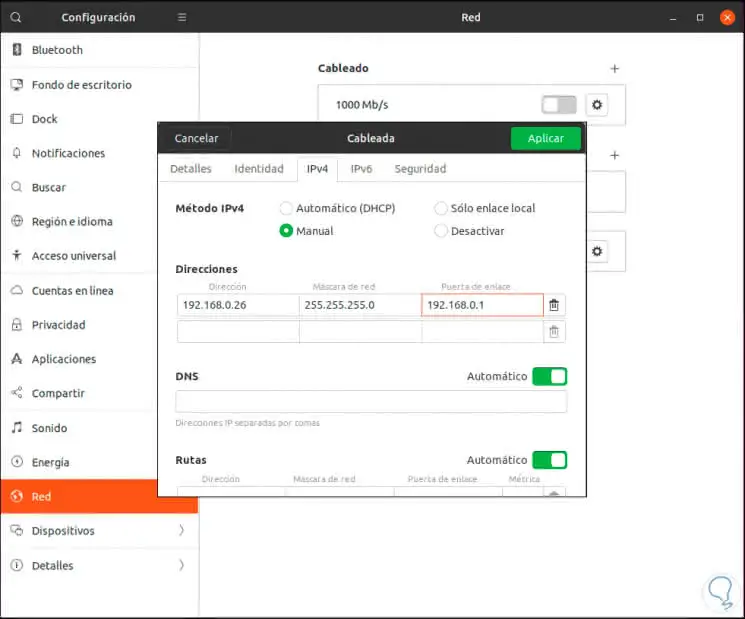
Step 4
Once we enter these values, click on the Apply button and for the changes to take effect we must disconnect temporarily by pressing on the switch of the wired network:
Step 5
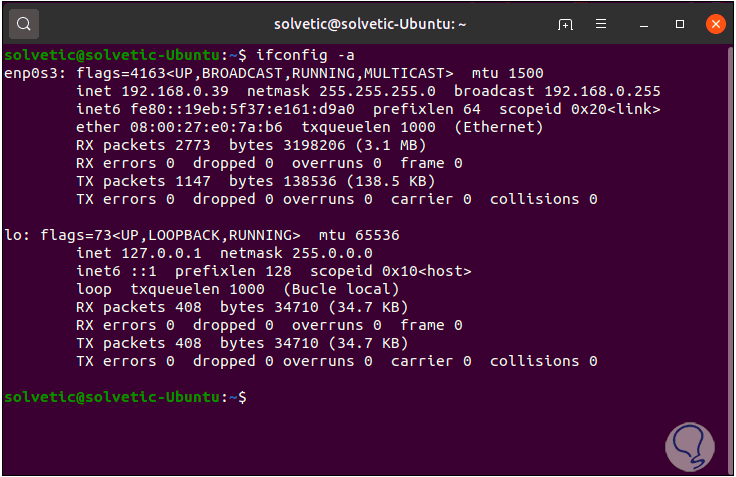
Then we activate the network again and verify that the assigned address is correct:
6. Assign a dynamic IP address in Ubuntu 19.04 Desktop
Step 1
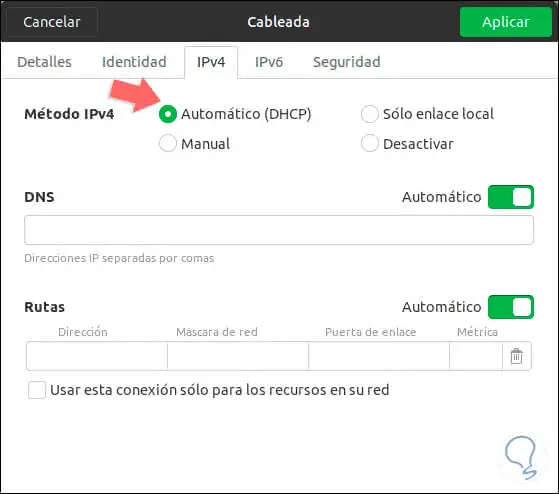
Finally, if we want to obtain the IP address directly from the DHCP server, we must go back to the network configuration window and in the IPv4 tab we must activate the “Automatic (DHCP)†box:
Step 2
Click on Apply and we must again disconnect and reconnect the network so that the changes are applied correctly:
We see how easy it is to define the type of IP address both on our servers and on the graphical interface equipment of Ubuntu 19.04 and thus use these addresses according to the necessary and vital cases of operation, but we always remember the fundamental mission of IP address