Sharing files in the cloud is one of the most popular tasks today and we can see this in action with integrated platforms such as DropBox and Google Drive which are linked to our emails, but have certain limitations such as capacity or internal functionality of them. To improve this experience of exchanging information through the network , we have a platform that is offered both free and paid and is ownCloud which we will discuss in detail..
What is ownCloud
ownCloud has been developed as an open source software thanks to which it will be possible to synchronize and share files between users with various security, access and operability options.
By using ownCloud, we can manage everything from a centralized point defining who will have access to the files and having applications for both desktop and mobile devices.
characteristics
Some of the most outstanding features of ownCloud are:
- It integrates a synchronization client managing in real time what happens on the web, the desktop and mobile devices, this allows ownCloud to constantly monitor the changes in the files and if there were any, it will send that new update to all the linked devices .
- It has an interface from which it is possible to access, synchronize or share files on any device or from anywhere.
- Add security features like password protection, link expiration, anonymous access or full shared access which always guarantees the integrity of shared objects.
- Security using the Encryption 2.0 model which has a global protection encryption architecture for each transferred item.
- We can transfer information to ownCloud from various media such as SAN, NAS, direct, virtual connection or through applications.
- Compatible with FTP, Swift, S3, Dropbox and more platforms or protocols.
- Integrates a storage API for better and greater scalability.
- It has a sharing API with which other third-party applications are enabled to configure and query shared files in ownCloud.
- Federated Cloud Sharing function which allows you to share items in different time zones and geographies.
- Protection against ransomware attacks.
- It has the ownCloud Guest function with which we can create a guest account with restricted permissions.
- Compatible with OAuth2 which is a standard open protocol for secure client authorization.
- It integrates a password policy with which administrators are able to set password requirements such as minimum characters, numbers, capital letters or symbols.
- Integration with Outlook.
- Secure View function which allows only the recipient to see the detail of the shared items.
- Supports storage encryption of master keys stored in hardware security modules (HSM).
- Point-to-point encryption for added security.
- Integration of Collabora Online, ONLYOFFICE and Microsoft Office for a greater number of possibilities for mutual work.
- Integrated antivirus (ClamAV).
With all this now we are going to see how to install ownCloud in Ubuntu 19.10 and we must remind you that for now it is not possible to do it in Ubuntu 20.04 because Ubuntu 20.04 supports since PHP 7.4 which is not compatible with ownCloud.
1. How to update Ubuntu 19.10 packages and PHP 7.2 installation
Update Ubuntu 19.10 packages
The first step will be to run the following command to update the system packages and repositories:
sudo apt update -y && sudo apt upgrade -y

Step 1
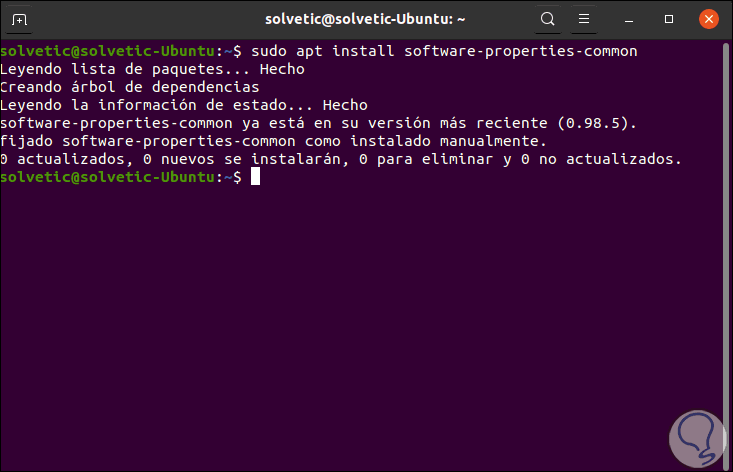
PHP 7.2 is not available in the official Ubuntu repositories so we must perform an additional task, first, we will install the following:
sudo apt install software-properties-common
Step 2
Now we will add the following repository:
add -apt-repository ppa: ondrej / php

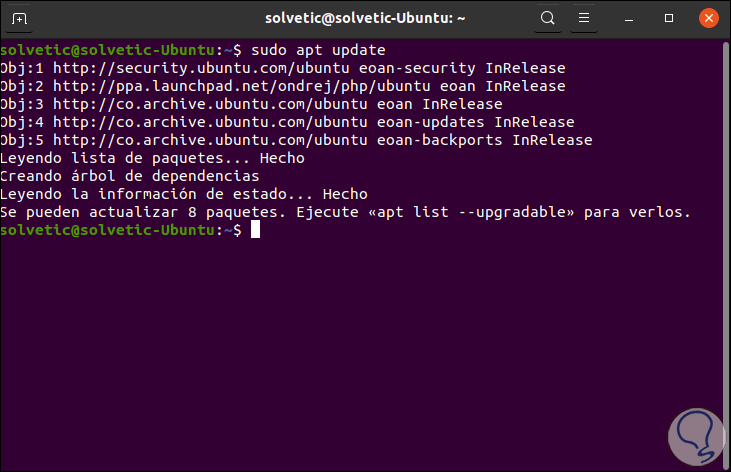
Step 3
Press the Enter key to confirm the action and then we must update them with "sudo apt Update":
Step 4
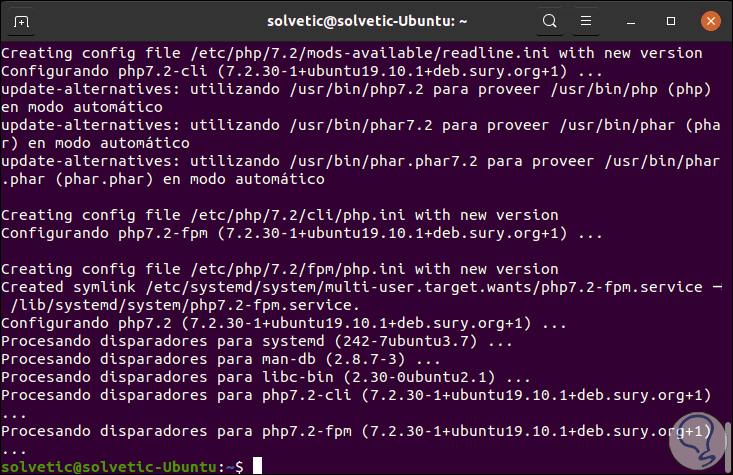
After this we will install the necessary PHP packages:
sudo apt-get install php7 .2 php7 .2-fpm php7 .2-cli php7 .2-xml php7 .2-mysql
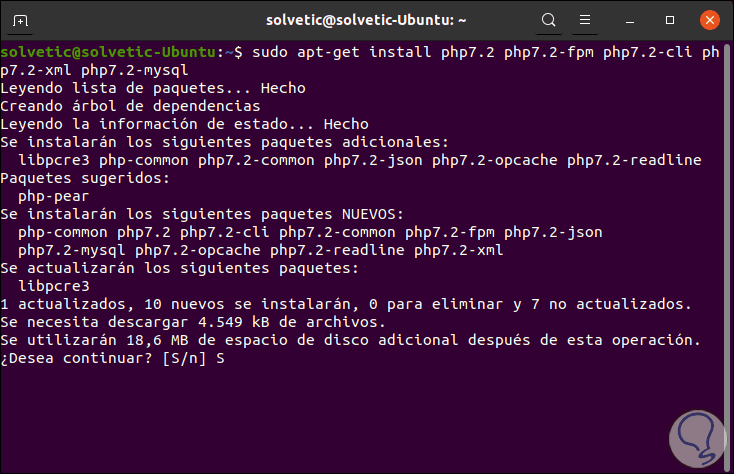
Step 5
We enter the letter "S" to confirm the download and installation of the packages.
Step 6
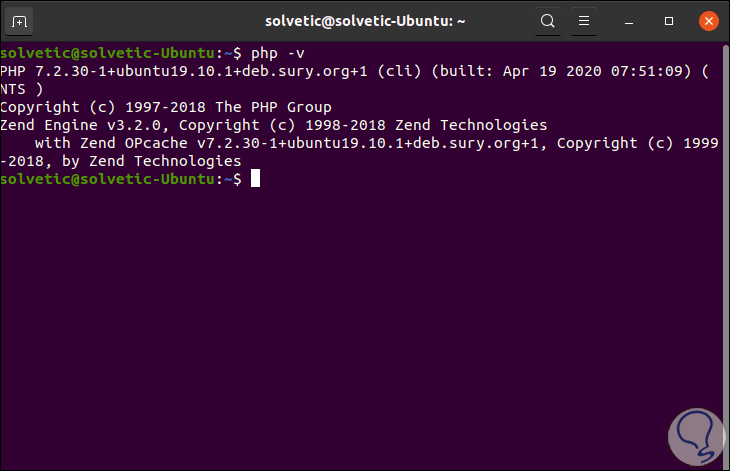
We check the version of PHP installed with the command "php -v":
2. How to install Apache in Ubuntu 19.10
Step 1
The next step will be to install Apache in Ubuntu 19, for this we will execute the following:
sudo apt install apache2
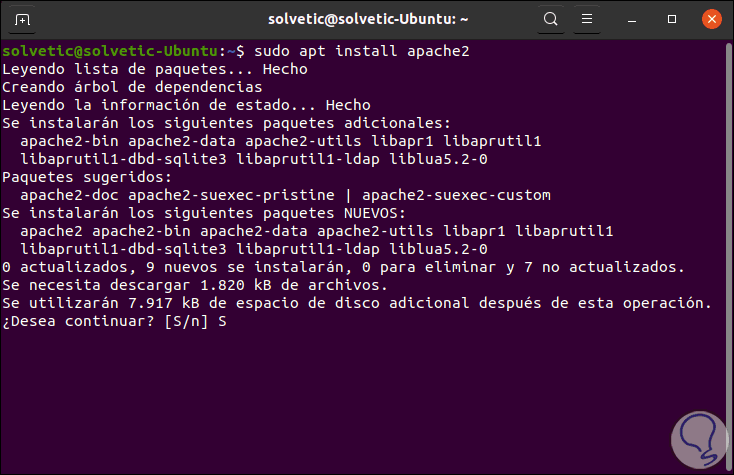
We enter the letter "S" to confirm this action..
Step 2
We check that Apache has been installed by executing:
sudo dpkg -l apache
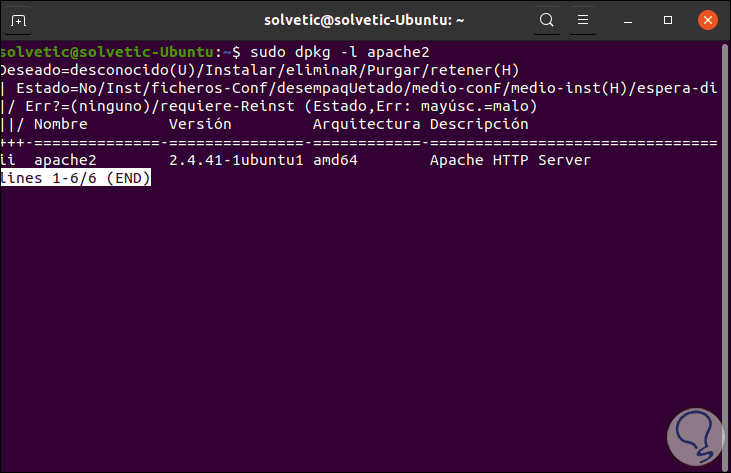
Step 3
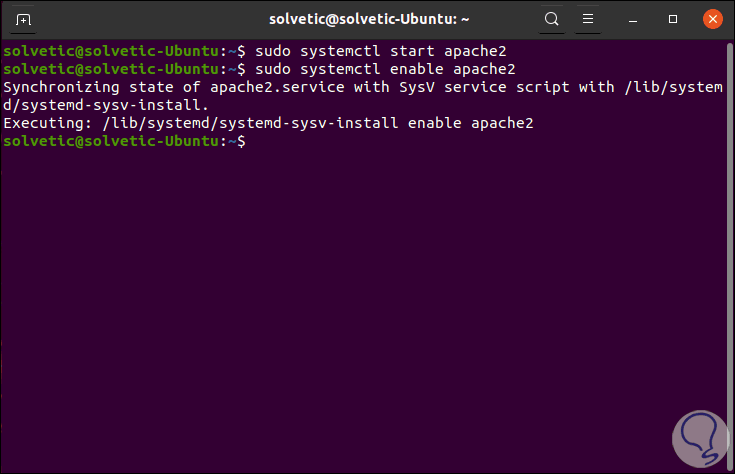
There we see the version of Apache installed, now we start and enable the Apache service:
sudo systemctl start apache2 sudo systemctl enable apache2
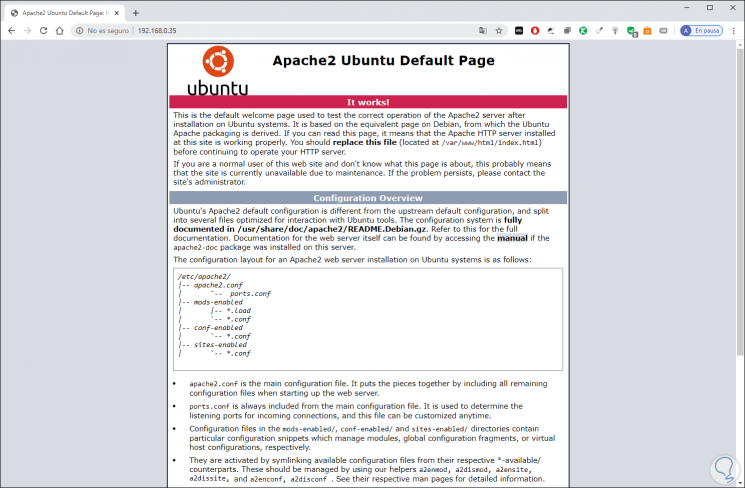
Step 4
To check the operation of pache we will go to a browser and enter the IP of the computer with Ubuntu 19.10, we will see the following:
3. How to install Apache in Ubuntu 19.10
Step 1
It is required that MariaDB, or MySQL, have the database for ownCloud, for this installation we will use the following command:
sudo apt install mariadb- server
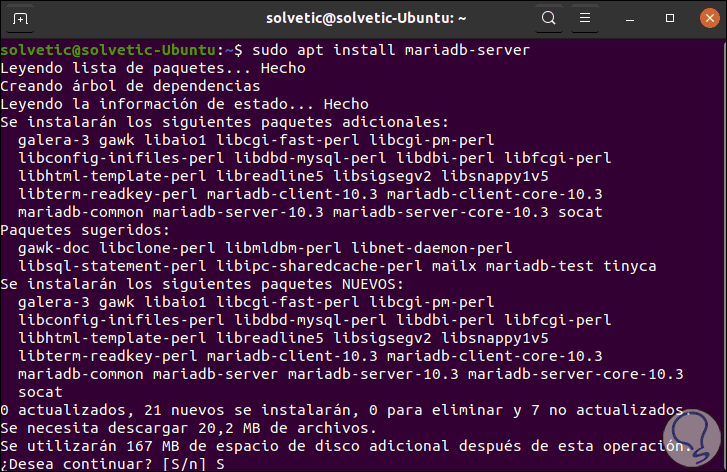
Step 2
Again we enter the letter "S" to validate the download and installation, after this we must ensure the installation of MariaDB with the following command:
sudo mysql_secure_installation
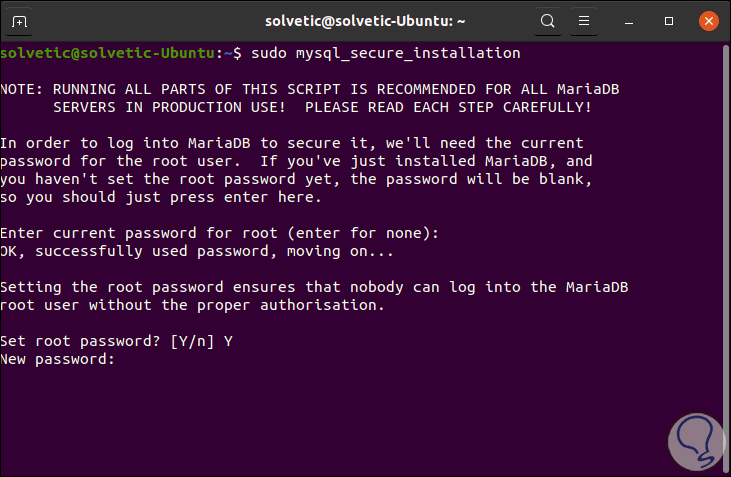
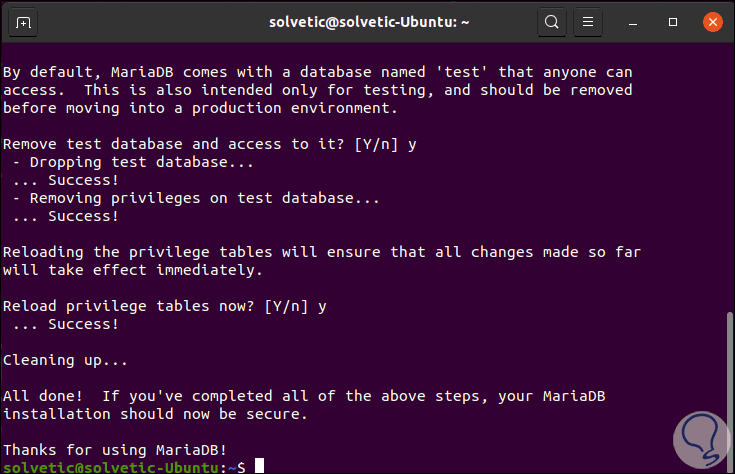
Step 3
There we can set the root password and after this confirm some general parameters of the database:
4. How to create ownCloud Ubuntu 19.10 database
Step 1
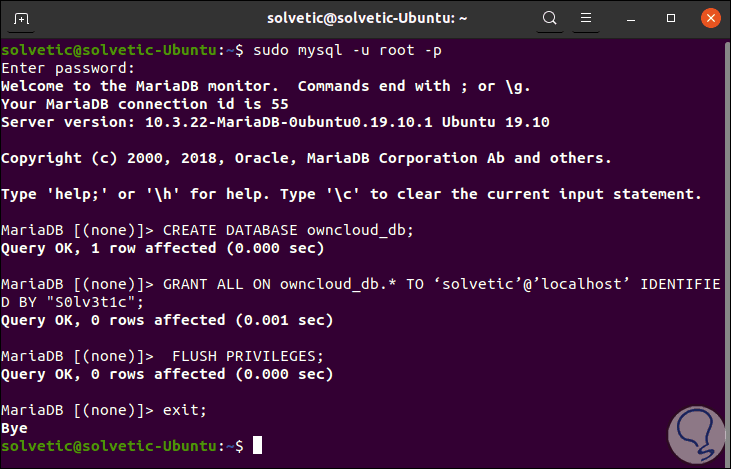
Defined this we are going to create the database, for this we execute the following command and enter the root password of MariaDB:
sudo mysql -u root -p
Step 2
There we will enter the following lines:
CREATE DATABASE owncloud_db; GRANT ALL ON owncloud_db. * TO 'user' @ 'localhost' IDENTIFIED BY “ password ”; FLUSH PRIVILEGES ; EXIT;
5. How to download ownCloud Ubuntu 19.10
Step 1
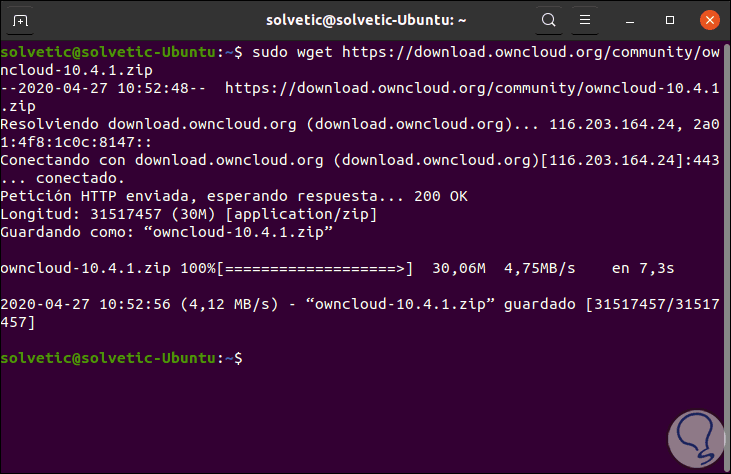
Once the database is created, we will locally download ownCloud with the following command:
sudo wget https: //download.owncloud.org/community/owncloud-10.4.1.zip
Step 2
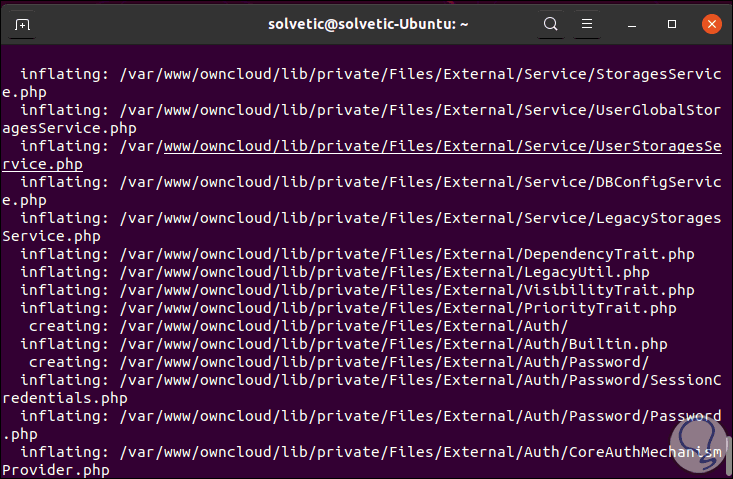
We proceed to unzip the content and move it to the / var / www / directory:
sudo unzip owncloud- 10.4 . 1 . zip -d / var / www /
6. How to configure Apache for ownCloud Ubuntu 19.10
Step 1
We are going to create a .conf file which will be used for the Apache configuration process with ownCloud, we create the file as follows:
sudo nano /etc/apache2/conf-available/owncloud.conf
There we enter the following:
Alias / owncloud "/ var / www / owncloud /" < Directory / var / www / owncloud /> Options + FollowSymlinks AllowOverride All < IfModule mod_dav. c > Dav off </ IfModule > SetEnv HOME / var / www / owncloud SetEnv HTTP_HOME / var / www / owncloud </ Directory >
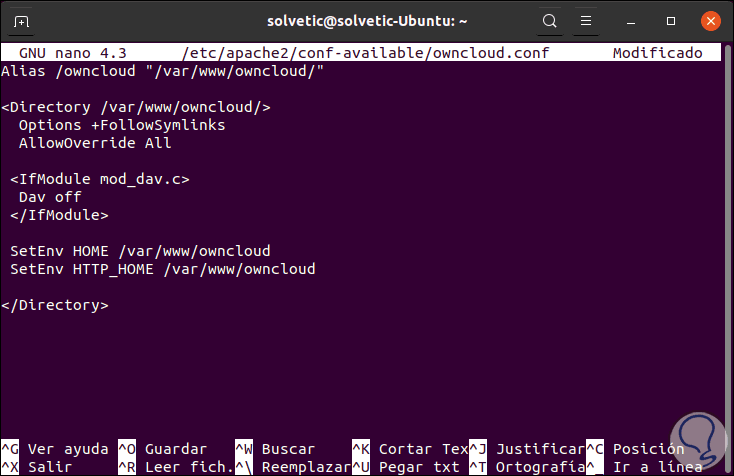
We save the changes with the Ctrl + O keys and exit the editor with the Ctrl + X keys.
Step 2
We enable Apache modules with the following commands:
sudo a2enconf owncloud sudo a2enmod rewrite sudo a2enmod headers sudo a2enmod env sudo a2enmod dir sudo a2enmod mime
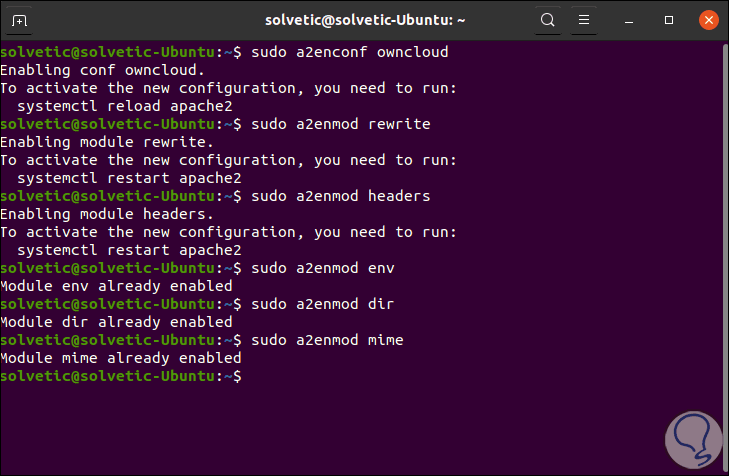
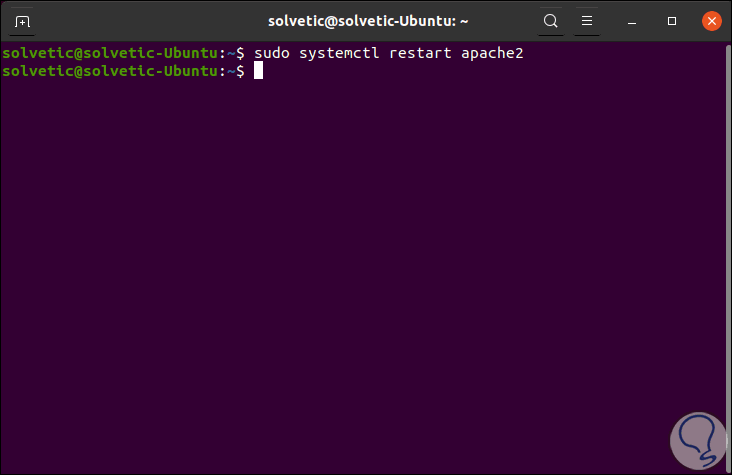
Step 3
We restart Apache to complete the process:
sudo systemctl restart apache2
7. How to access and configure ownCloud Ubuntu 19.10
Step 1
Once this is complete we will go to a browser and enter the following:
http: // IP_Ubuntu / owncloud
In the displayed window we must create an administrator user:
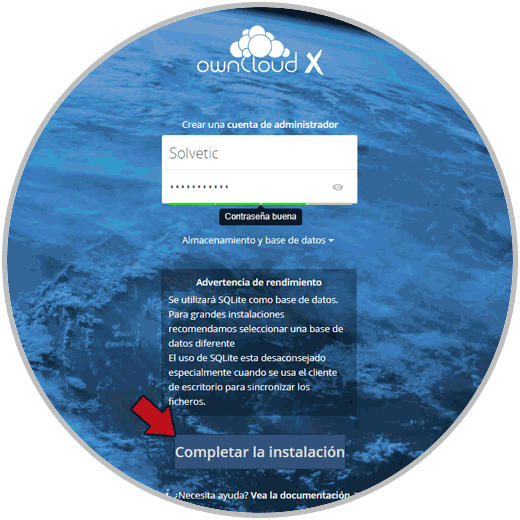
Step 2
We click on the "Complete installation" button to finish the configuration:
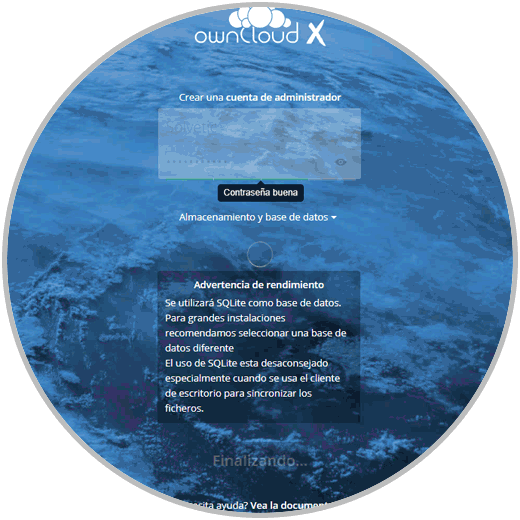
Step 3
After this we must enter the user we have created:
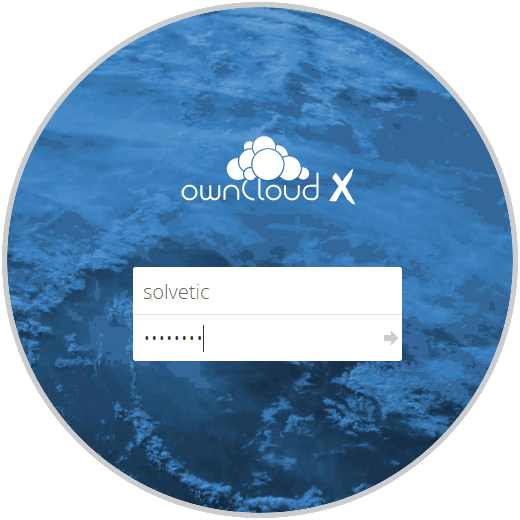
Step 4
We are logged in and on the welcome screen we can access the download links of the ownCloud applications:
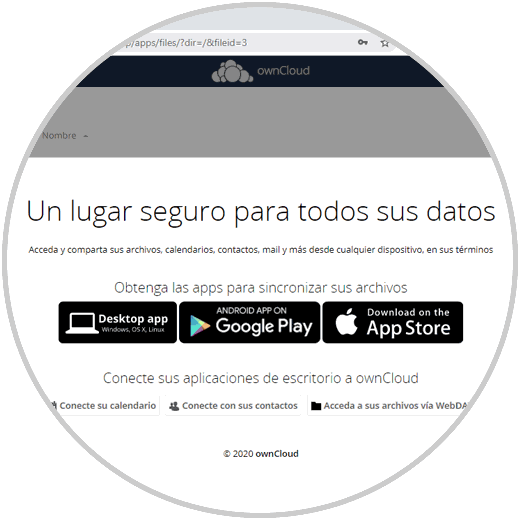
Step 5
The general context of the platform is as follows:
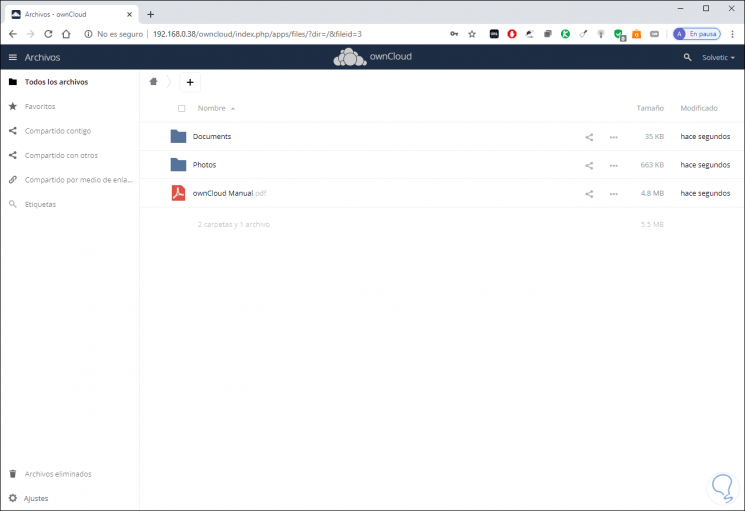
Up to this point we have installed and configured ownCloud in Ubuntu 19.10, now we will learn to create the local client..
8. How to create ownCloud client in Ubuntu 19.10
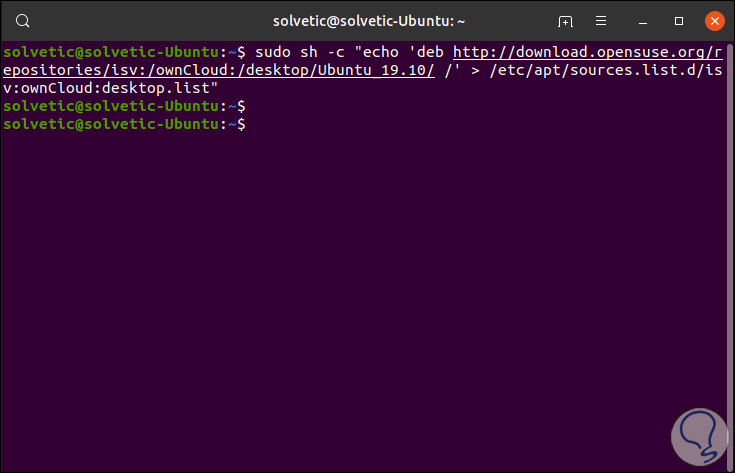
Step 1
For this we will first execute the following command:
sudo sh - c "echo 'deb http://download.opensuse.org/repositories/isv:/ownCloud:/desktop/Ubuntu_19.10/ /'> /etc/apt/sources.list.d/isv:ownCloud: desktop.list "
Step 2
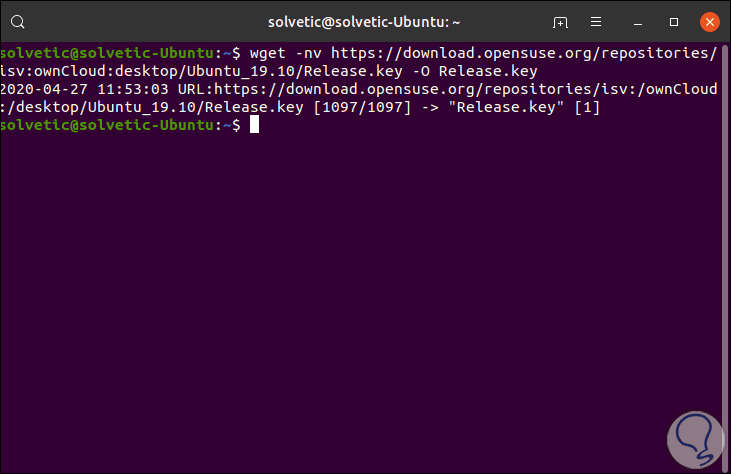
Then we run the following to download the key:
wget -nv https: / /download.opensuse.org/repositories /isv:ownCloud:desktop/ Ubuntu_19. 10 /Release.key -O Release.key
Step 3
We add the key:
sudo apt-key add - <Release.key

Step 4
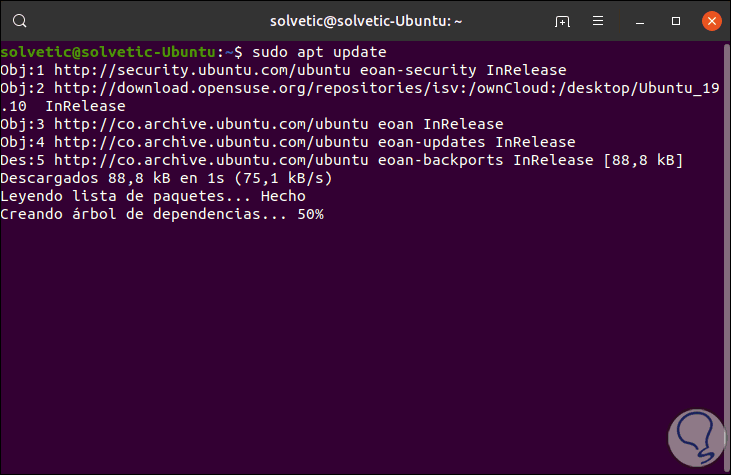
We update the system:
sudo apt update
Step 5
We install the ownCloud local client:
sudo apt install owncloud- client
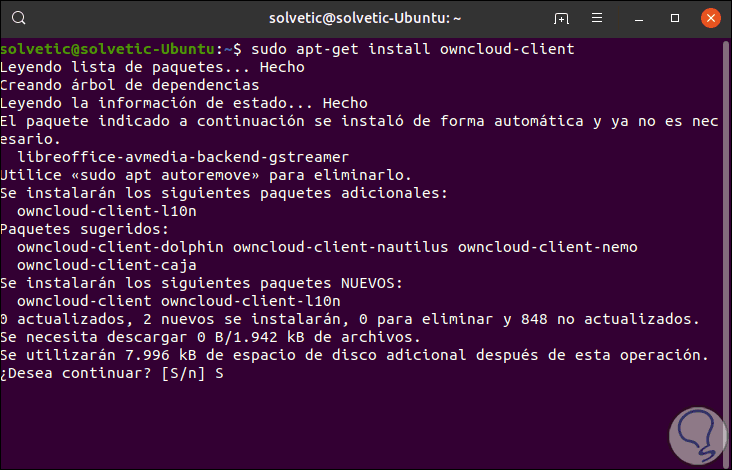
Step 6
We enter the letter "S" to confirm and then simply run the command "owncloud" to launch the client:
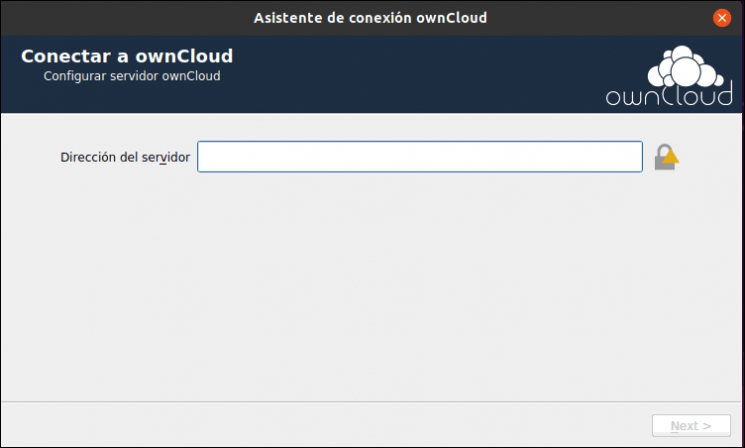
There we will follow the connectivity process to the server that has been configured.
TechnoWikis has explained you step by step how to configure ownCloud and thus have a powerful web management tool.