Whenever we delete a file in Windows 10 by pressing the Delete button or by right clicking, delete these files will be transferred to the recycling bin and remain there until we empty it..
The problem is that in many occasions we pass the empty waste bin and this causes it to take up a lot of unnecessary space on the local disk C and can affect the performance of the computer . Storing files in the trash can not control the amount we eliminate , it can turn against us and take up a lot of space. In this tutorial we will see how we can automate the process of deleting the trash can in Windows 10.
Note
Recall that if we have deleted a file using the key combination:
+ Supr Shift + Delete
The file will be permanently deleted and will not be in the trash.
Automate erasing the Recycle Bin in Windows 10
For this process we will create a task using the
Task Scheduler included in Windows 10.
Step 1
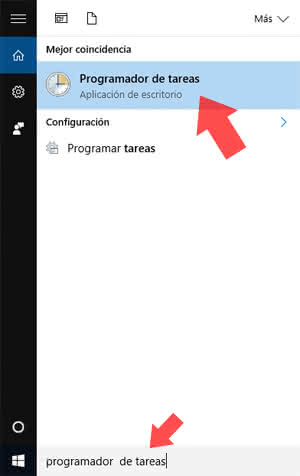
To
open the Task Scheduler. To do this we write in the search engine "Task Scheduler" to get the option to enter it.
Step 2
We will see the next window.

Step 3
To start the process we must select the option
Create basic task using one of the following options:
- Go to menu Action / Create basic task.
- Select the option Create basic task from the right panel.
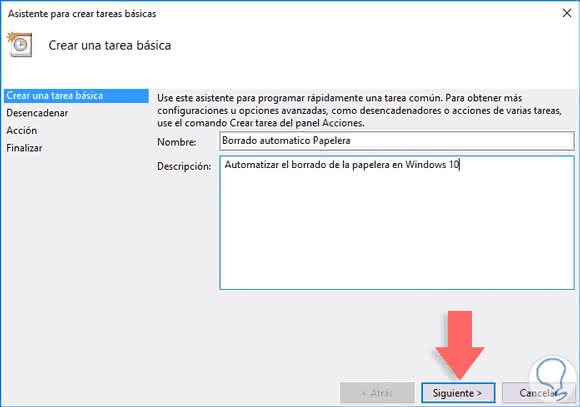
Step 4
The following wizard will be displayed where we must establish the name of the task to be performed.
Step 5
Press
Next and in the displayed window we must define the periodicity with which the trash can be deleted, we can define parameters such as daily, weekly, monthly ... In this case we select
Weekly and click
Next. 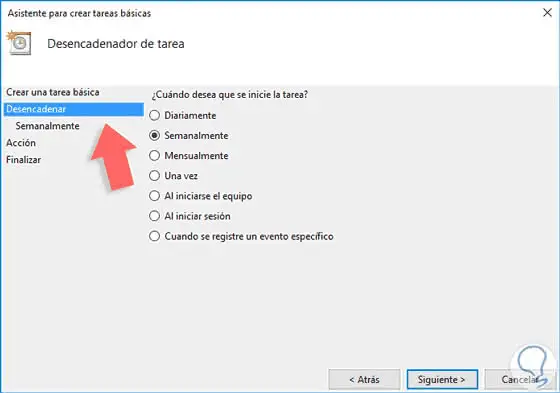
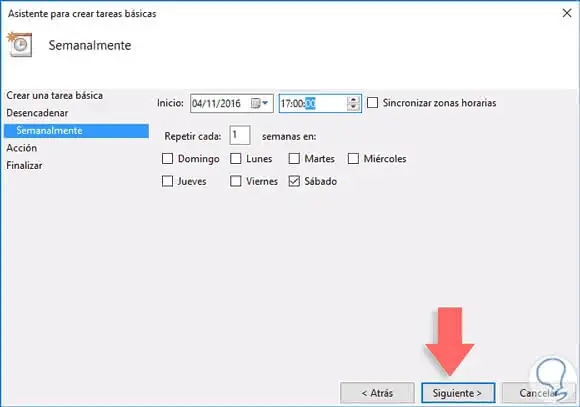
Step 6
In the next window that we will see we must
define the day and time of the week in which the deletion task has to be performed.
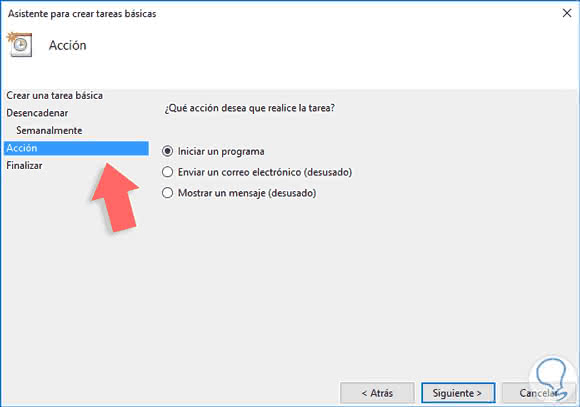
Step 7
When clicking
Next we must define which action will execute the task, in this case we select the option
Start a program and press
Next again
. 
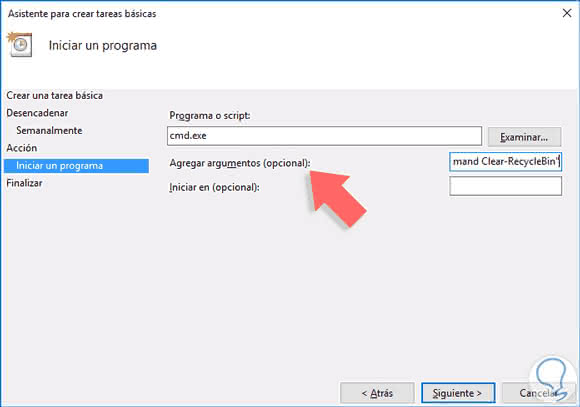
Step 8
In the next window we must add the following values:
In the field Program or script enter the line
cmd.exe
In the field
Add Arguments (optional) enter the following line:
echo Y | PowerShell.exe -NoProfile -Command Clear-RecycleBin
Step 9
Once this is added, click
Next and we will see a summary of the task to be created.
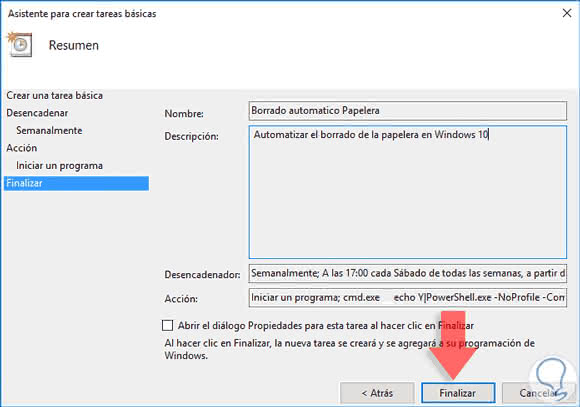
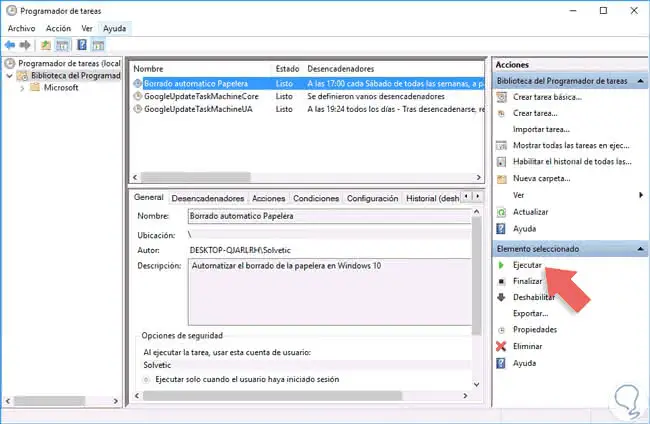
Step 10
Press
Finish and we will see that the task has been created correctly. If we wish, we can execute the task by clicking on the
Execute button located in the lower right panel, there we can perform other tasks like:
- Disable the task
- Finish the task
- Export the task
- See properties, among others
Step 11
When we have executed the task we can see that the recycle bin in Windows 10 has been unoccupied according to the configuration made.

With this simple task we have programmed our recycling bin in Windows 10 to be unoccupied automatically. With this simple tutorial, you can forget about always thinking about if your recycling bin is very full and you should free up space. By programming tasks we can delegate tasks on our own computer. To remove even more load, we suggest you take a look at how to program the auto shutdown of Windows 10.